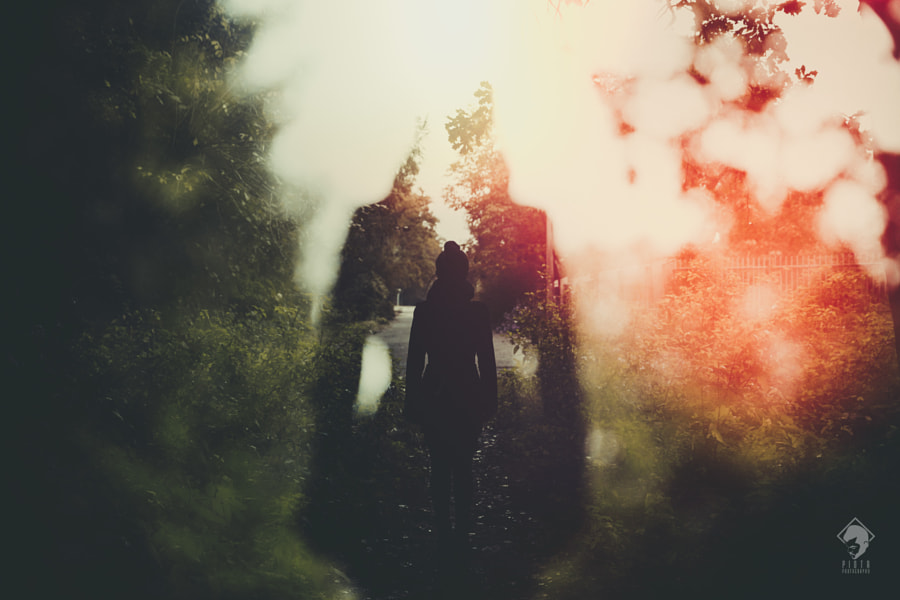
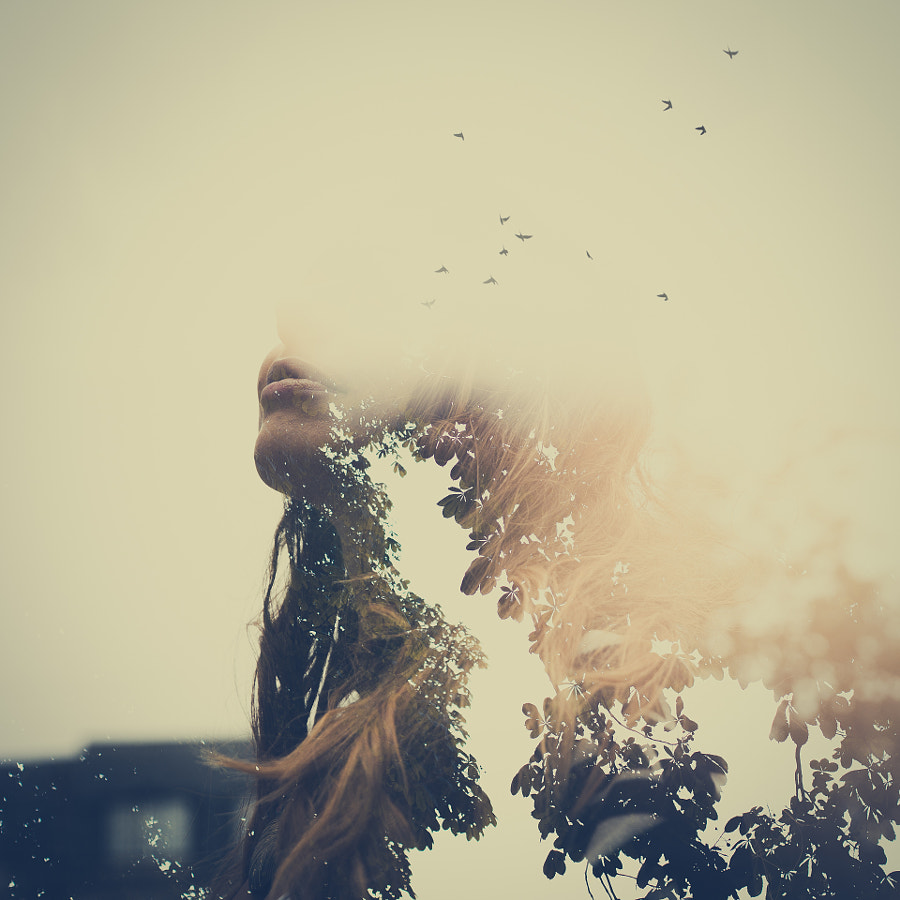
Surreal photography—especially with multiple exposures—has become more popular in recent years. This style of photography allows me to tell a person’s story of a person using only one photograph. The kinds of stories I am inspired by are usually deep and personal, which are hard to portray without words, but with modern cameras and software make it a reality.
In this post, I will show you how to create a double-exposure photograph like the one above.
The inspiration
I often try to translate emotion into a picture. Have you ever felt alone, with no purpose, burned out? Those feelings are certainly not new to me; sometimes it feels like there is nothing within you—just emptiness. That was my inspiration for this photo. I didn’t know exactly what I was looking for in the beginning, but rather than planning, sketching and overthinking, I decided to go to the forest with an open mind. There are so many factors that can change your initial plan—sometimes you just have to trust yourself and your creative mind.

The execution
Double-exposure photography means to overlap two pictures on top of each other. While not every DSLR supports this option, I found quite few do. I use Canon EOS 5D Mark III, but you can also try 1D X, and 70D; most Nikon DSLRs; Fujifilm’s X-Pro1 and X100s. Play with the settings: each camera may have slight variations, but the effect should be the same.
Here are steps and tips to help you create a surreal double-exposure:
- Ensure you’re shooting in RAW for maximum control in your post-processing.
- Save your source images so you can adjust your frame later in Photoshop, if necessary.
- When you begin shooting, use live view mode: after taking the first exposure, Canon allows you to view it transparent while taking another shot, just press live view mode. It will allow you to perfect your composition.
- Shoot a person’s silhouette against a white background (e.g. sky).
- The second exposure works best with when you find something with complex, interesting patterns with light shining through it.

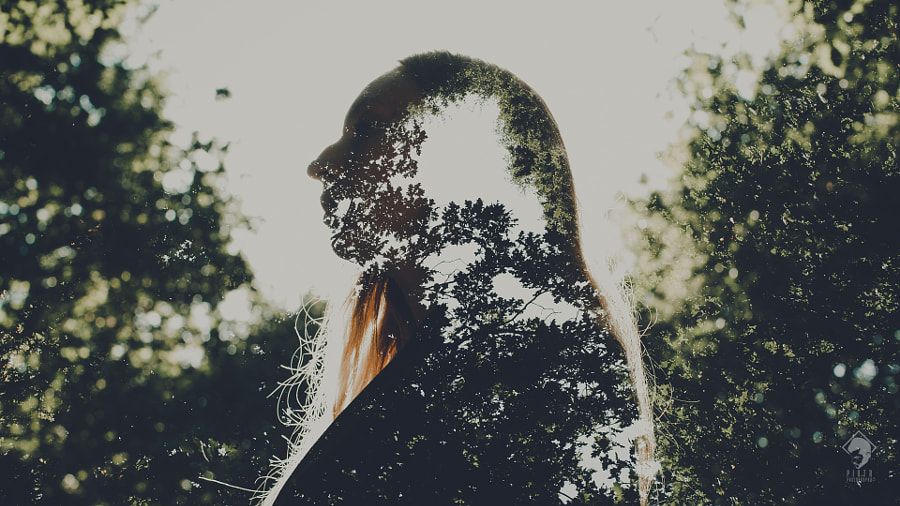
You can also achieve this effect with Photoshop. Just put two appropriate photos on top of each other, and change the blending mode of the top one. Because I set the camera to save both exposures, I was able to layer them on top of each other in Photoshop and slowly change the opacity on the top layer. It’s the same as what happens in-camera:
Voilà! This is the final result:
