In this quick tutorial, you’ll learn about a creative technique – smoke photography. For times when you have to stay home such as bad weather, you don’t feel like going out for a photo walk, or because of the current circumstances, photographing smoke trails is a project you can try at home.
Perhaps you have seen some smoke photographs before and wondered how to do it. It is not as difficult as it looks. Let’s take a look at how it’s done.
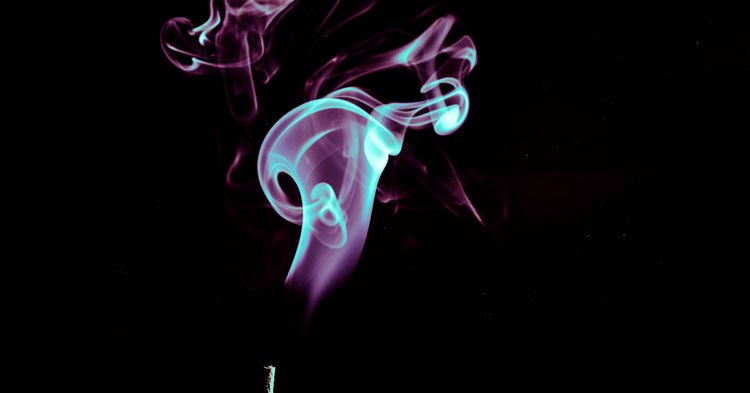
Note from Darlene: Juanucho is an active member of the DPM Facebook group and he shared some of his smoke photos and I asked him if he could write about how to do it. He graciously agreed. So follow along, this is written by an enthusiastic amateur photographer just like you, so you can do this!
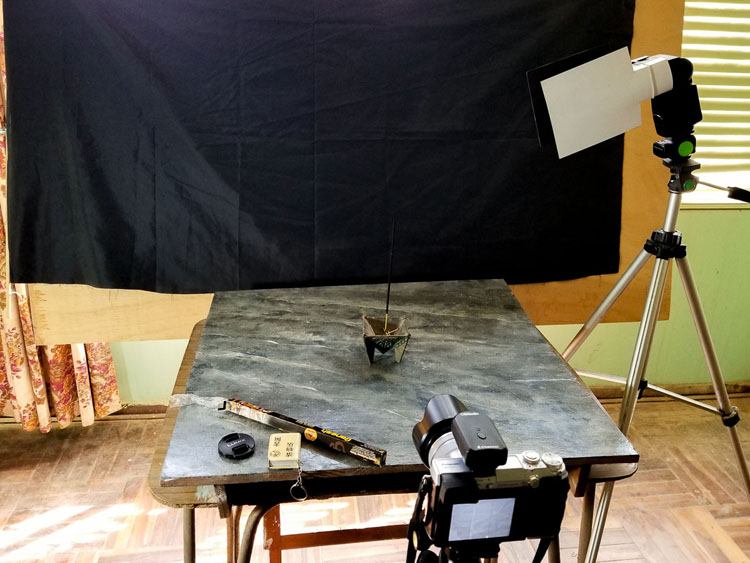
Equipment needed for smoke photography
All you need is some basic gear to do this, nothing fancy.
- A camera and lens
- Speedlight
- Wireless trigger (or use the 2-second timer on your camera)
- A tripod (or two if you have them)
- A black or dark backdrop
- A closed and dimly lit space
- Incense sticks as the smoke source and a match or lighter
That’s it.
Camera settings
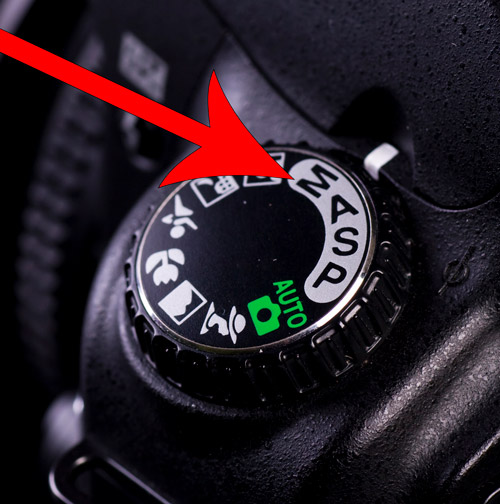
For setting the exposure, put the camera in Manual shooting mode. Don’t worry about what lens to use, any lens that you have will be fine. You just need to change the distance between the camera and the smoke (subject) to get the composition you desire.
Here are some starting exposure settings. But you’ll need to take a test shot, review the histogram, and adjust as needed.
- For a starting point, use an aperture of f/ 8 or f/11.
- Set the shutter speed to 1/250th (or 1/200th if that is your camera’s flash sync speed). If you aren’t sure, use 1/200th to be safe.
- Set the ISO to 200.
Setting up the flash
Place the flash at a 90-degree angle to the camera and set it to manual mode (you set the flash power manually)
Next set the flash to half-power (1:2 or 1/2) as a starting point. Keep in mind, you may need to try different settings. If your flash is more powerful turn it down to 1/8 or 1/16 or lower as needed.
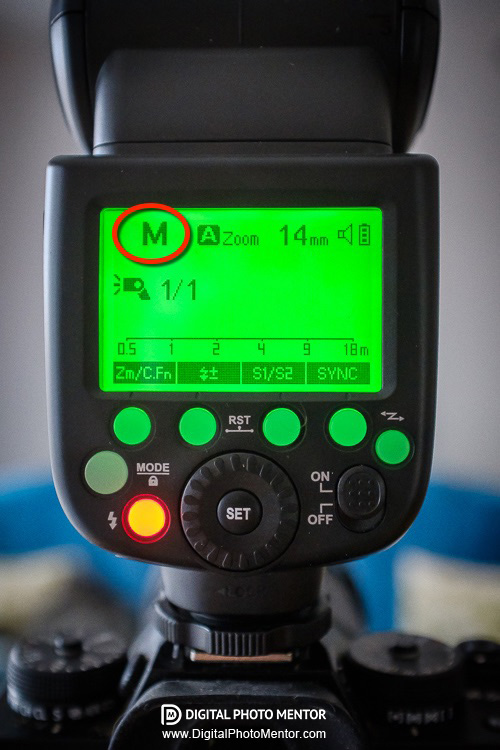
Half of the fun is finding out what works for you and the scene you’re shooting. So take one shot, review it, and adjust the flash power lower if it’s too bright, or higher if it’s too dark.
A couple of flags (pieces of paper used to block stray light) were attached to the flash to concentrate the light on the smoke and prevent any light from hitting the backdrop and illuminating it.
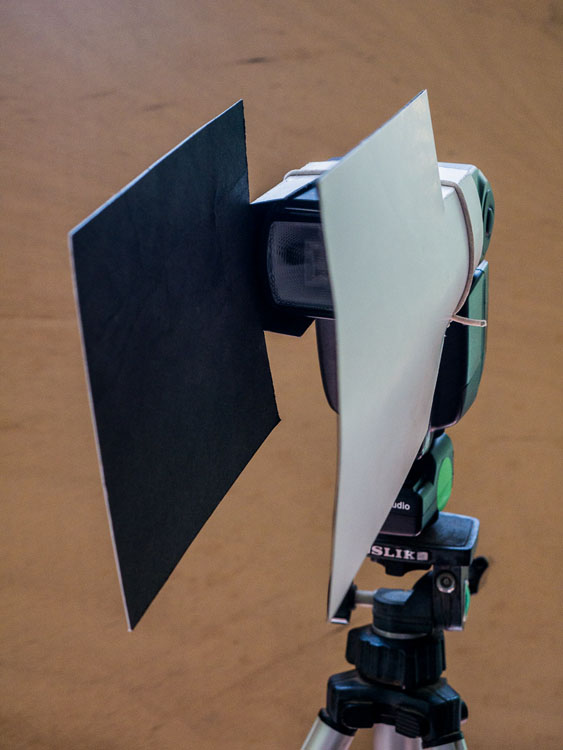
Also, make sure to aim and block the flash from hitting the camera which can produce unwanted lens flare in your images. Position the flash close to the smoke (subject) and a bit higher, pointing slightly downward.
Tripod and focus
You will need to use a tripod for smoke photography in order to stabilize your camera.
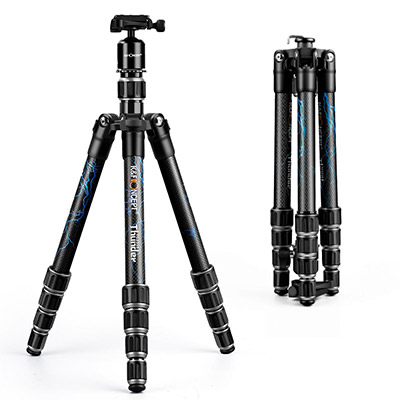
This way you can leave the camera in one spot, so you won’t need to refocus on the smoke every time you take a shot. The smoke will be moving in every direction, so if you and your camera are moving too, it will become very frustrating. Trust me, I know!
For focusing, set up your shot with the incense in position so the end appears near the edge of your frame. Focus on the end of the stick using autofocus. Then either turn the autofocus off (switch it to manual) or use back button focus.
This will prevent the camera from attempting to focus every time. Then as long as you place a new incense stick in the same spot each time, you won’t need to refocus between shots.
Backdrop
Ideally, it will work best if your backdrop or background is black. Then the smoke will show up nice and sharp and clean. A large (42″) reflector with a black side could work, or a dark-colored bed sheet.
Place the backdrop at least one meter (3 feet) behind the subject. Make sure the background fills your camera’s viewfinder completely. If it doesn’t, try and get a larger backdrop or move it a little bit closer.
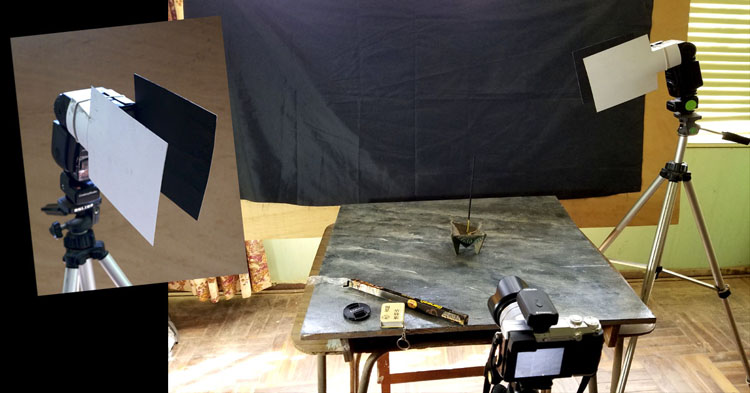
Lastly, make sure that no light from the flash or any bright room light is hitting the background.
Incense Sticks
Incense sticks are a safe and fairly inexpensive smoke maker, you can start with one, or use as many as you want. It depends on what you wish to create.
Look at your local dollar store. Make sure you get one that you like the smell!
Workspace
You can use any room in your house to do this. As long as it’s dimly lit and has enough space to move around, it will be fine.
Close all the windows in the room and turn off any fans. You don’t want the wind blowing the smoke away. You want to have some control over the smoke movement.
Creative photography technique
Once you have everything in place, take a shot without the flash. Your aim here is to get a completely black frame. If you can see the room, turn the ISO down, or close the aperture one stop (go from f/8 to f/11 for example).
Now getting the smoke in focus is the tricky part. What works for me is to place an object next to the incense stick and focus on it. Using a small aperture gives you a larger depth of field (more of the scene in focus).
Next, light the incense stick. Wait for the smoke to start showing, then take a shot to check for the exposure and focus. Make the necessary adjustments and when you are satisfied with the settings, you can start shooting.
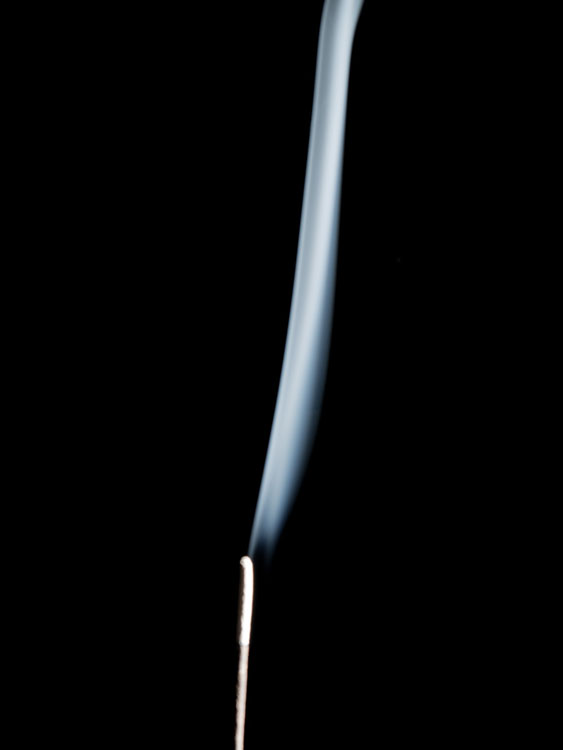
You will notice the smoke going up in a straight line which is not at all interesting. So this is where you get into action.
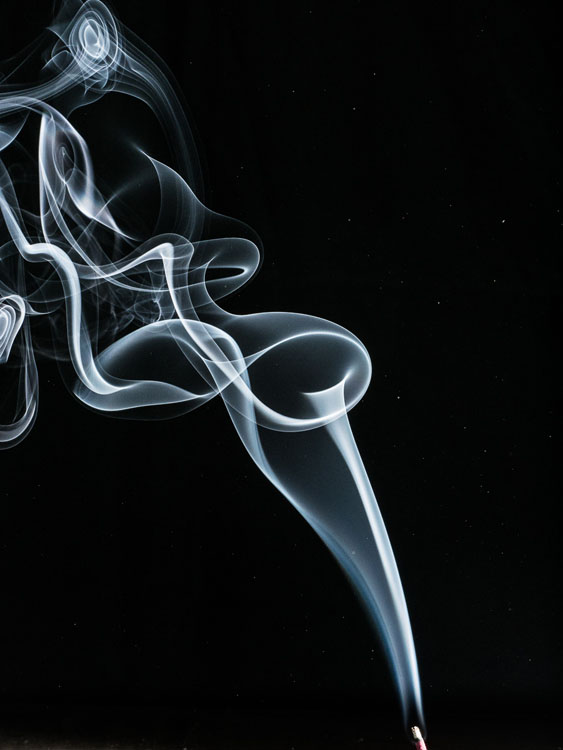
Pass your hand through the smoke, from left to right, right to left, top to bottom, bottom to top, make your hand swirl over the smoke, blow on it, use a piece of paper like a fan,
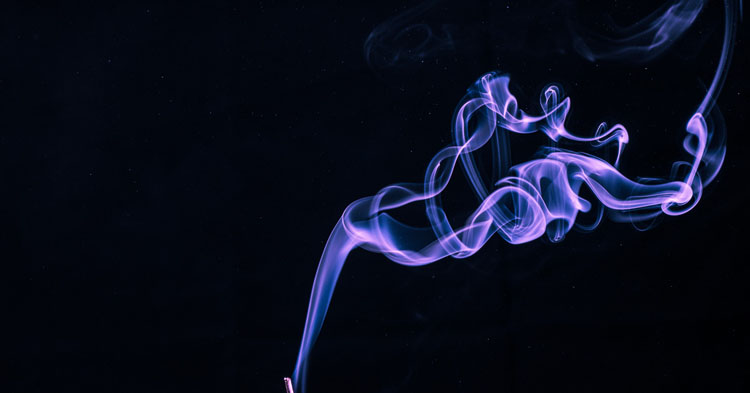
Every movement of your hand will make the smoke behave differently. Every photograph you take will be unique.
Warnings and cautions
Just a couple things to note regarding safety.
- Keep a door open. You don’t want the smoke to build up in the room. It is not good for your health and will make your photos look foggy.
- You must be very careful if you are using other sources of smoke.
- Remember where there’s smoke there’s fire.
Get even more creative
Using the tone curve in Photoshop or the split toning tool in Lightroom, you can add color to your images and give them that “something special.”

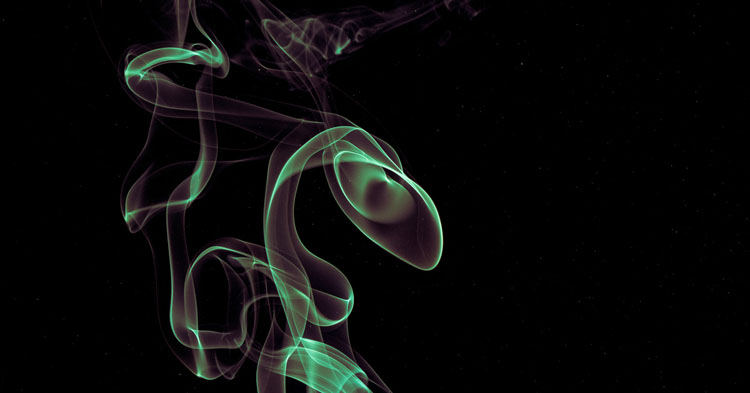
You can also get more creative shooting by having more than one incense stick burning at a time. Maybe try other sources for the smoke and see how they differ.
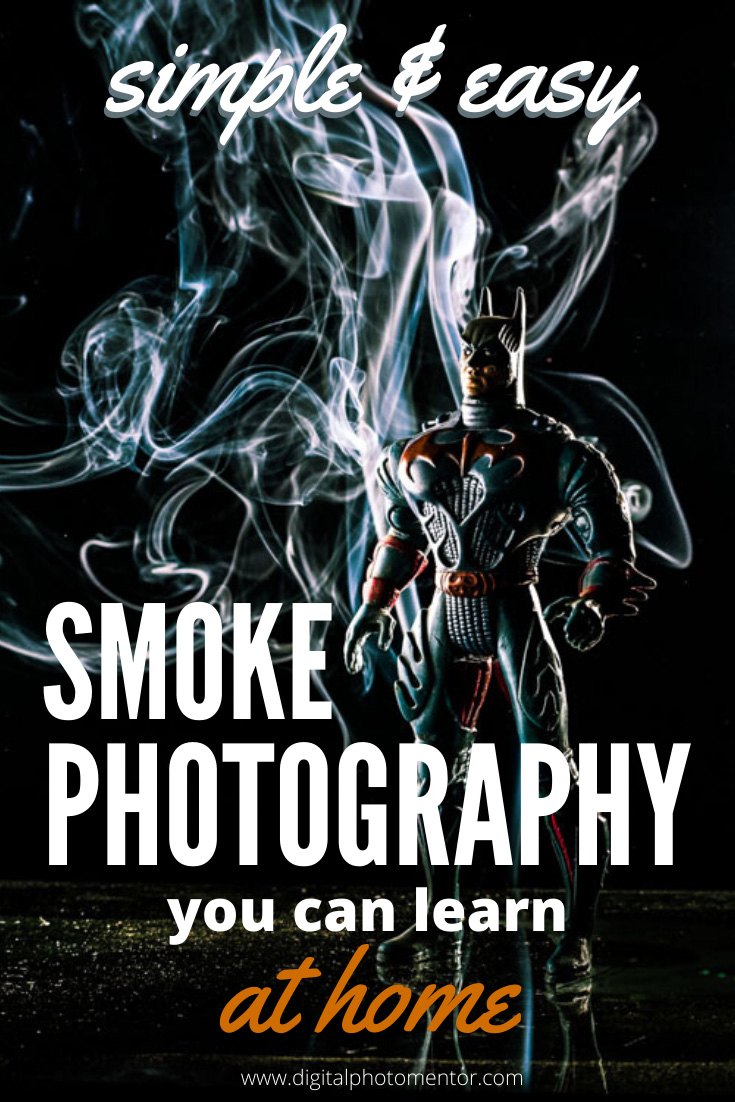
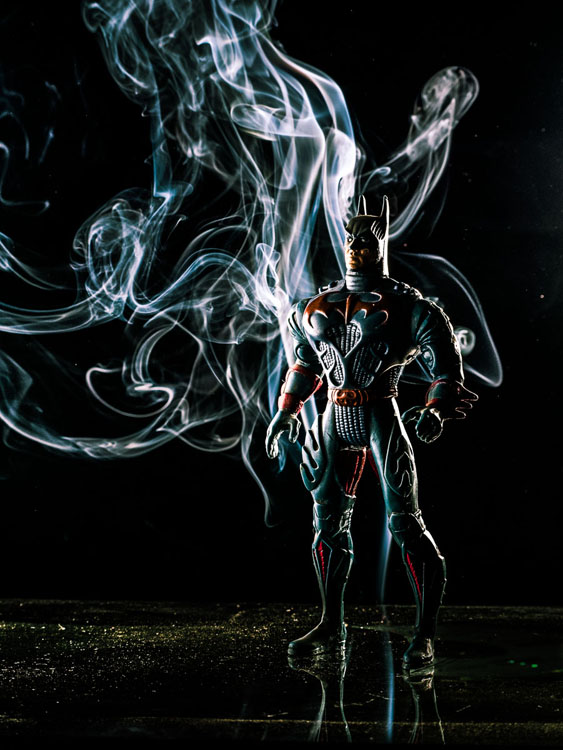
Another idea is to add in other subjects to interact with your smoke like this action figure.

Conclusion
Are you ready to give this creative photography technique a try? I hope you do give it a whirl, I’d love to see your smoke images. Please share them in the comment area below.
If you have any questions ask, and we’ll try and answer for you. Have fun with it!
Author bio
Juanucho Nakazaki is an amateur photographer that lives in Chiclayo, Perú. He has been doing digital photography for 12 years, most of what I know about it I got it from the internet, watching videos and reading articles. He is an active member of the Digital Mentor Group Facebook group. See more of his work on his Facebook page.