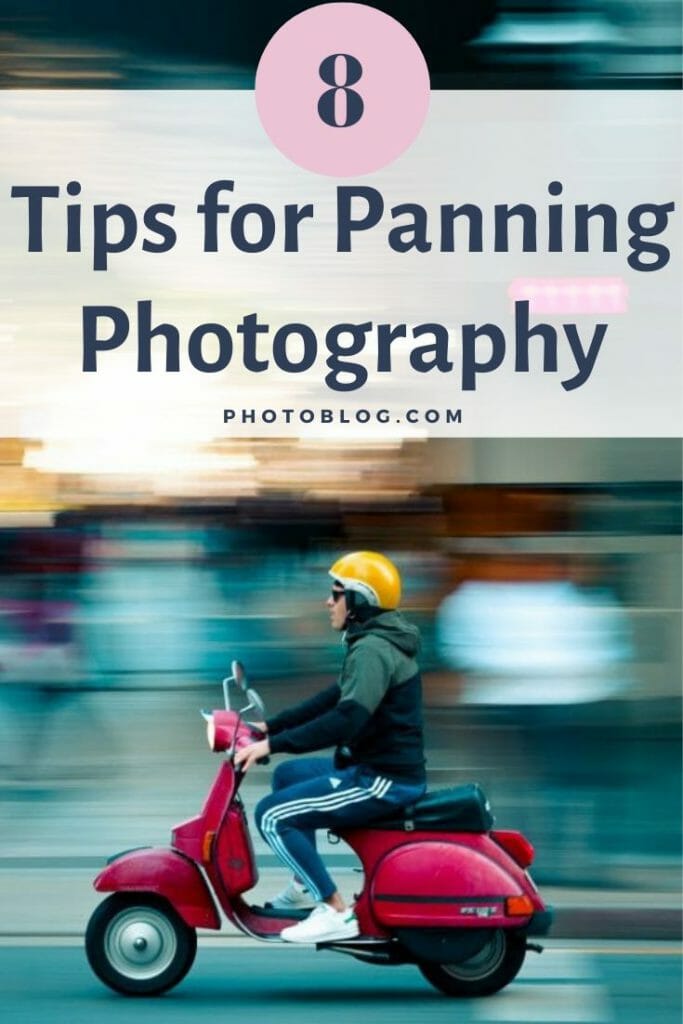
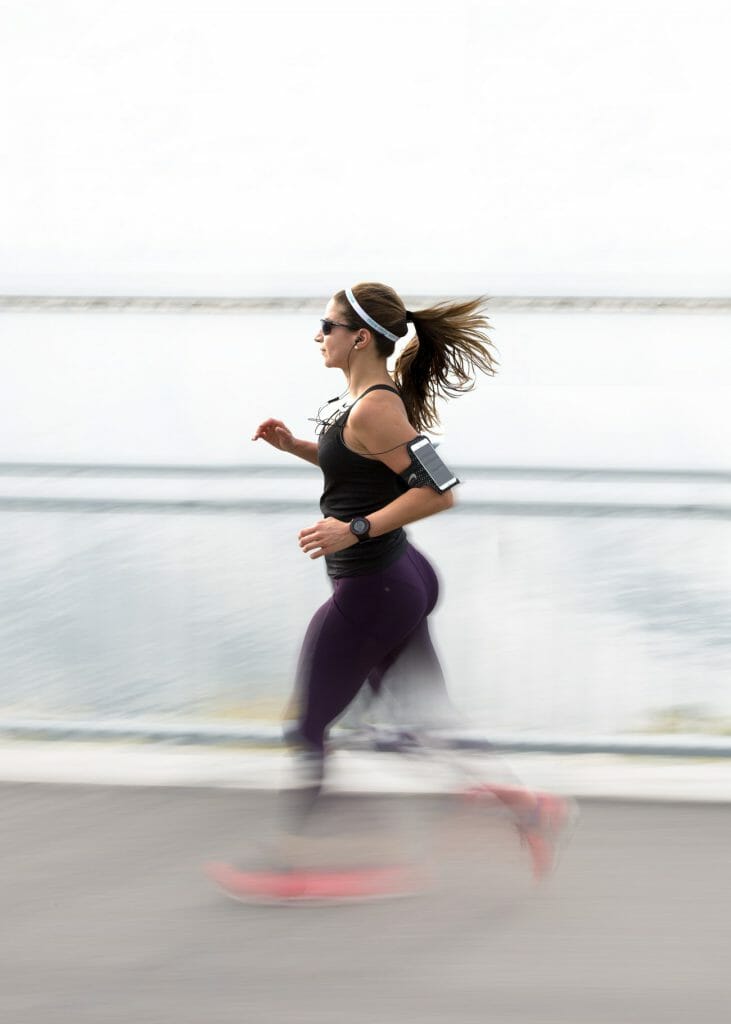
Panning is a great way to imply motion in your photography. This technique can be used to create a sense of motion in your photography thanks to the combination of a sharp subject and a motion-blurred background.
Knowing how to pan to capture motion isn’t as difficult as you might think. In this post, we will teach you how do panning photography
What Is Panning?
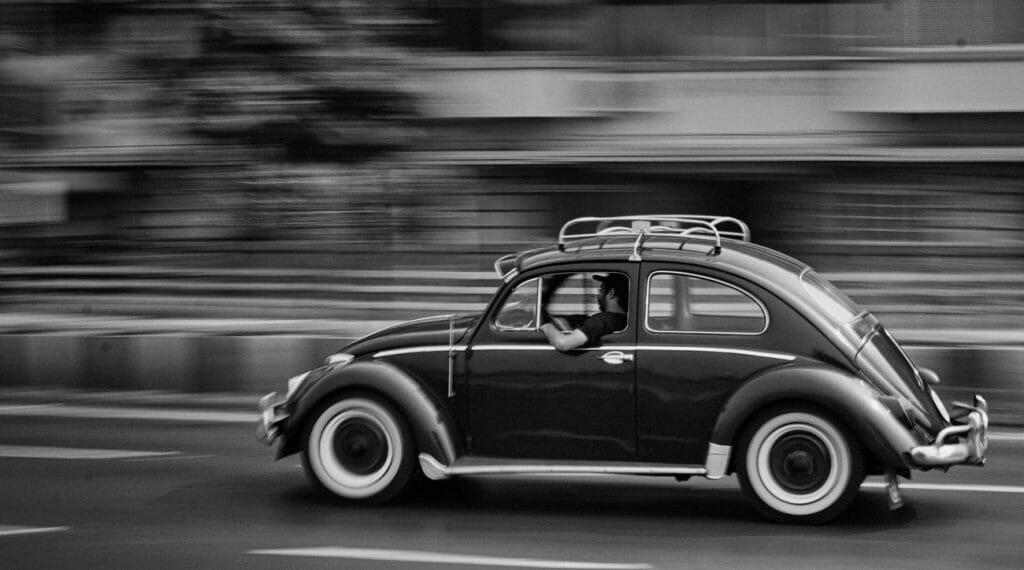
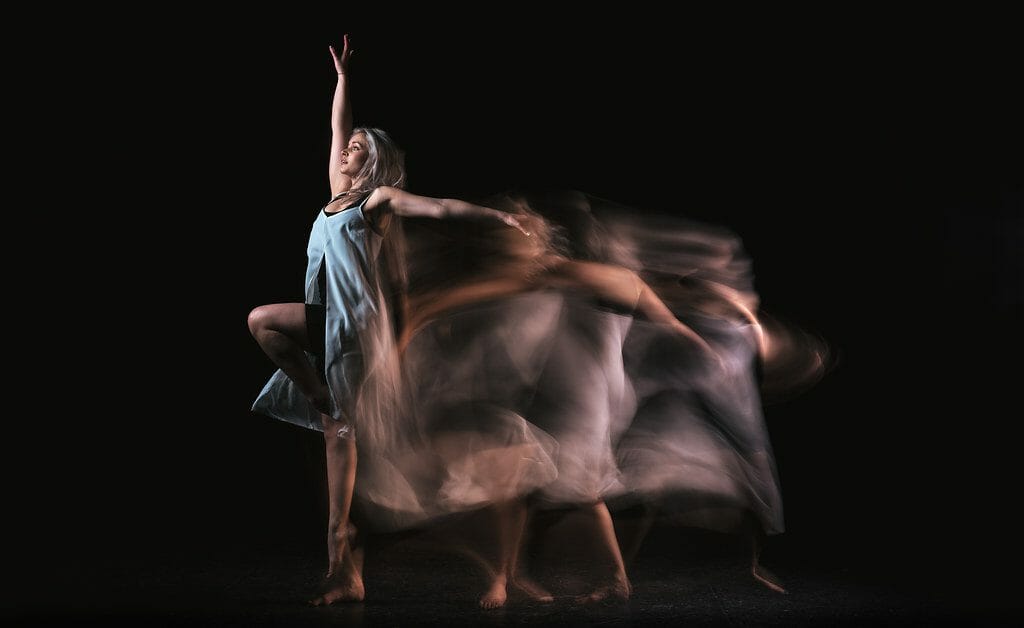
Panning is a technique where you pan your camera while tracking a moving subject. By doing so, you end up with the subject that is in focus, but a motion-blurred background. This gives the image a feeling of movement and speed. In some cases, it even makes the image look almost ethereal.
Panning Vs. Motion Blur
Often when you shoot a picture, you and the subject are both stationary; you point and you shoot. If, however, the subject is moving and you use relatively lower shutter speed, you will capture the subject with motion blur.
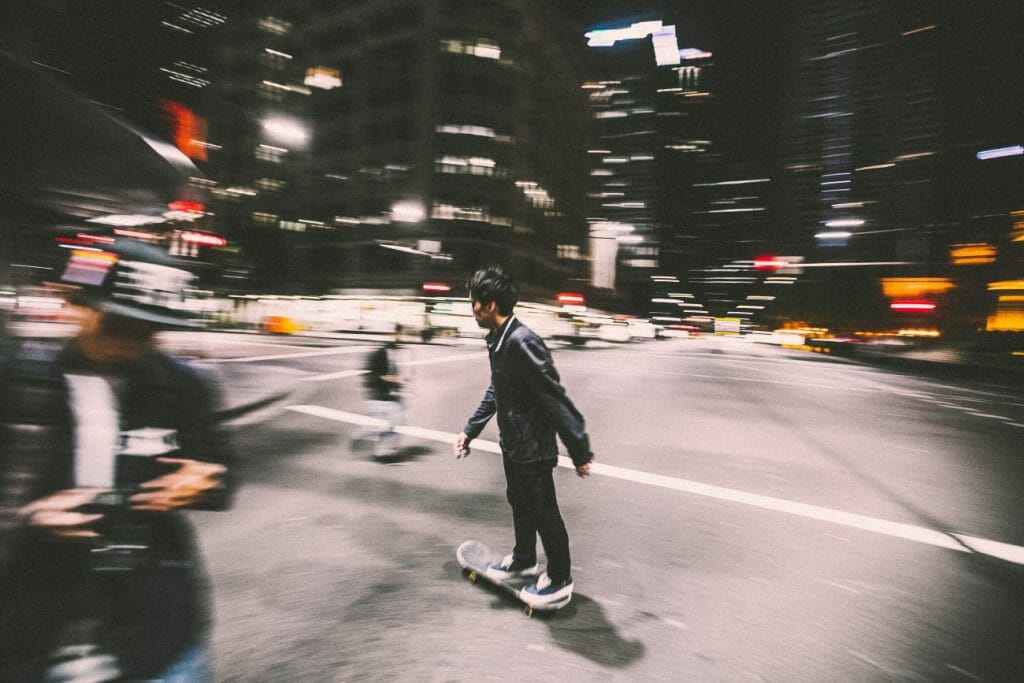
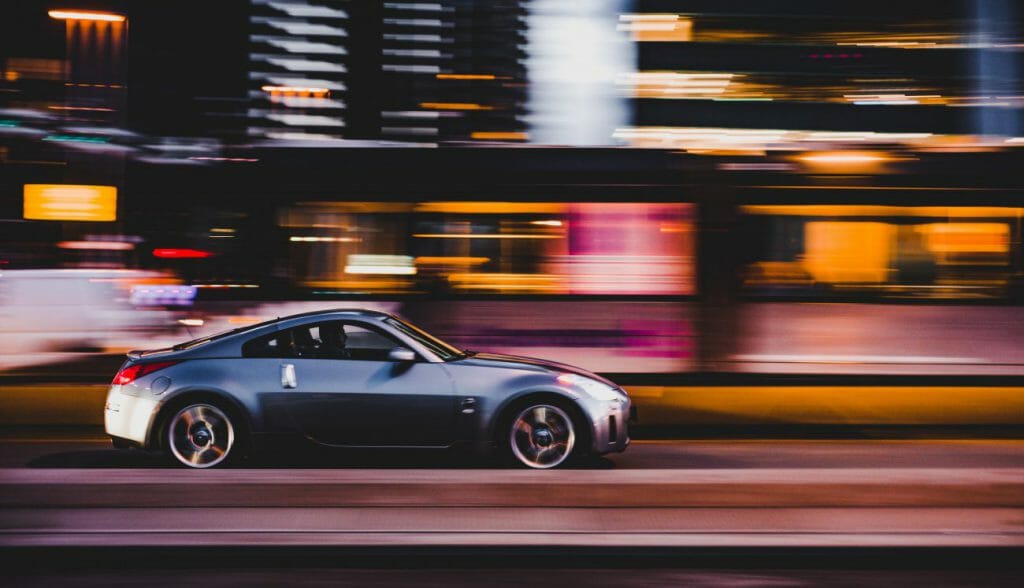
Panning is quite different from motion blur photography because the main subject you are tracking has minimal motion blur. Instead, the subject is relatively frozen in motion while the background is moving. To get this effect, you need to pan your camera with the moving subject while taking the shot.
The blurred background, which almost appears streaked, gives the image its sense of motion. Let’s take a look at how to achieve this effect.
1. Good Stance Is the Key
The way you stand is one of the most important factors in creating panning shot success. Follow these simple tips to master the panning technique:
- Stand up straight and plant your feet shoulder-width apart;
- Don’t move your feet while you pan;
- Swivel towards your subject in the direction they are coming from (remember to keep your fleet planted). Rest your index finger lightly on the shutter button;
- Follow your subject in the viewfinder as they move closer to you;
- Turn your torso to track the subject; this means rotating your body at the same speed of the subject, in the same direction, while keeping your feet planted firmly; and
- Press the shutter as they cross in front of you while continuing to follow them with your camera.
2. Use a Slow Shutter Speed
Set your camera to shutter priority mode to get the best results. Choose a moderately slow shutter speed, relative to the speed of the subject.
You will have to experiment to get the right speed setting to achieve the effect you want. A few tips include:
| Subject | Example | Shutter Speed (s) |
| Slow | Slow-moving cyclists or runners | 1/4 to 1/15 |
| Moderate | Cars or bikes on a city street | 1/15 to 1/30 |
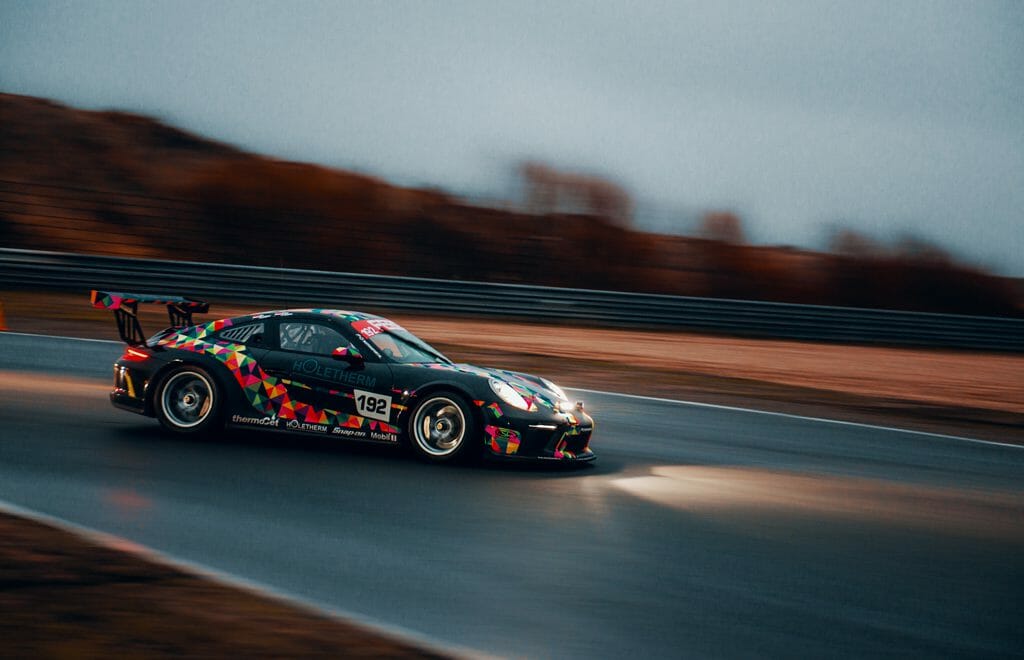
| Fast | Fast-moving car | 1/60 to 1/125 |
You’ll need practice with varying shutter speeds to learn more about which speeds can achieve your desired effect.
If your images turn out over or under-exposed, use the exposure compensation dial to correct the exposure.
3. Panning and Motion Blur
As well as adding motion blur to the background, various shutter speeds will also affect the motion blur of your subject.
A slower shutter speed creates motion blur on any moving part of the subject. For example, if you use a slower shutter speed when photographing a jogger, it will blur their moving legs but keep their body in focus.
You may or may not want that effect, so you’ll have to experiment. Take several pictures at varying shutter speeds and write down which speeds created what effect.
4. Manually Focus on the Subject
Now that you know a few basics of how to pan, let’s discuss focus.
You’ll likely want your subject focused and the background blurred. But how do you keep your subject in focus?
Of course, you can use autofocus but that might not do the trick. So you’ll need to manually focus–this is where it gets slightly tricky.
You will need to focus manually on a predetermined position in front of you, to guess or estimate where you’ll actually be snapping the picture. To get this right, you’ll need to follow these two steps:
- Determine (a.k.a. guess) the point where the motion might look best as your subject passes in front of you; and
- Manually focus the camera on that point before your subject reaches that point.
If you have full faith in your camera’s autofocus, go ahead and set it to its continuous autofocus. That allows the camera’s viewfinder to use several focus reference points to predict (a.k.a guess) and track your subject.
If all that works, you should end up with at least a few good shots with the subject in focus!
5. Use Continuous Shooting Mode
Today’s digital cameras can quickly shoot at six frames per second, if not more, using continuous shooting mode.
It’s a good idea to set your camera to continuous shooting mode when panning. By doing so, you increase the chances of getting both an excellent image and a subject that is in focus.

6. Panning and Image Stabilization
If your lens has image stabilization (IS), you might want to turn that off when panning.
This is because image stabilization is specifically designed to counteract camera movements and vibrations; which is intended behavior when panning.
The only time when you should leave the image stabilization ON is if your lens has an advanced image stabilization mode. For example, some Canon cameras have an IS mode 2, which is specially designed to be used with panning. It works by ignoring motion in the direction of panning while counteracting other movements of the camera.
In Nikon cameras, Normal Vibration Reduction (VR) mode can detect panning, It will then attempt not to counteract the intended camera movements created by panning.
7. Use Rear Curtain Sync Flash
To both amplify the motion blur and get the subject frozen in motion at the same time, use a rear curtain sync flash.
This flash technique fires the flash towards the end of your exposure–just before the shutter closes.
The slow shutter speeds recommended for panning will blur the motion while the rear curtain flash freezes the subject towards the end of your exposure. You also get a really cool light flow in the opposite direction of the subject’s movement.
8. Practice Your Panning
The secret to successful panning is simple: practice.
Create a plan for your practice. Consider how much time you can dedicate, plus when and where you can shoot. Panning is not a particularly easy skill to acquire, but practice will help you improve and perfect it.
Shoot a lot of pictures. It can take a lot of shots to get one great one. Experiment with your settings and re-shoot if necessary. It helps to practice in a place where there are lots of moving subjects, such as a busy street.
It’s also a good idea to review your images while you’re out practicing; this will help you to review what works and what doesn’t.
This article was written by Arthur Berlin, from BeArt-Presets, Lightroom Presets and Photoshop Actions Store for professional and beginner photographers.
Now that you’ve learned these tips for stunning photos, you’re a better photographer.
Guaranteed.
But the fact is, the journey doesn’t stop there. There are more tips, tricks, and secrets–all of which will help you take gorgeous photos.
And if you want to learn all of these secrets, I recommend you sign up for the PhotoBlog newsletter. We send our subscribers all sorts of great stuff–including the tips, tricks, and secrets, straight from the experts. All to help you capture world-class photographs.
Did I mention that it’s all totally FREE?
(Oh, and we’ll send you a natural lighting cheat sheet–designed to help you use light in ways you’ve never considered.)
So to start taking stunning photos, enter your email: