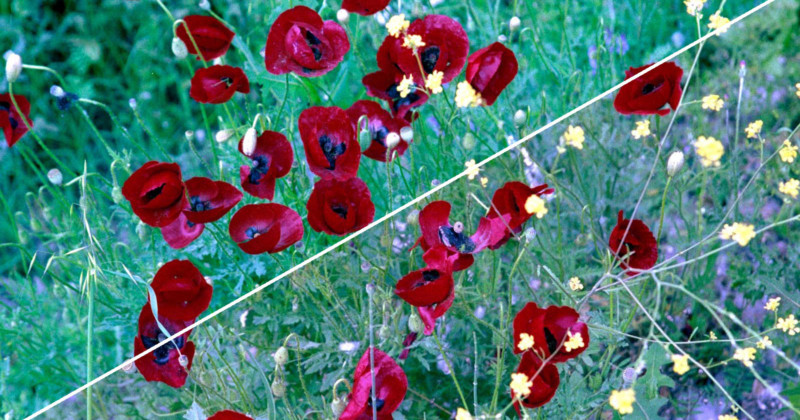
In this post, I’ll share how I do quick and easy color cast removal using Photoshop. I will provide some examples to show you that it can work for a wide range of images. The color cast removal process I will explain may not be a universal solution but it seems to be very resilient.
That said, Photoshop is a deep well, for every task in hand there is a multitude of ways of getting the desired results. This is one in the toolbox but you may have tools superior, easier to use, or more commonly used. That is perfectly fine. I am sharing one simple way of removing color cast which works for me. I hope you give it a try.
Color Cast
When you look at an image, you may “feel” that the color is not right but be hard-pressed to pinpoint its source. In all likelihood, a slight color cast may subtly shift all the colors. This is particularly problematic in my scanned images no matter how carefully I try to adjust the colors in the scanning stage. There may be an overall green, magenta, cyan, blue, … cast that degrades the image quality.
In the banner area, you see a corrected image although no other adjustment beyond color cast removal is applied. Under that is a before/after comparison image where you can move the slider with your mouse to see the two versions for comparison. As you probably can see, the colors in the original are not quite right. The poppies in the original don’t look right and the grass is a strange shade of green. And, there is no neutral area for me to click on to set the white balance to remove the color cast. So, Photoshop to the rescue!
Color Cast Removal Steps
These are very simple, mechanical steps, there is no thinking involved. Let’s go:
- Open the image
- Click on the background layer
- Press Ctrl-J to create a duplicate copy
- From the menu, follow Filters/Blur/Average, you will have a single color layer
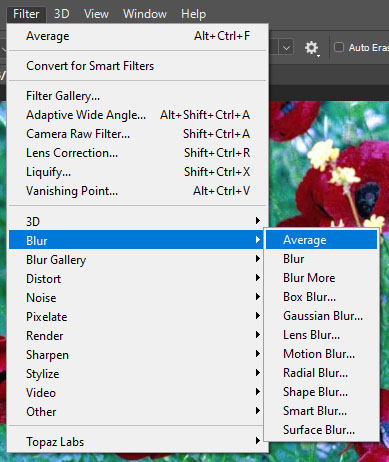
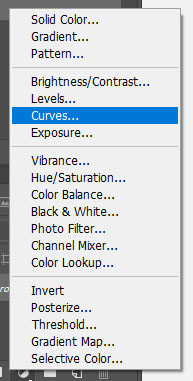
- From the Layers panel tool icons at the bottom of it, click the half-moon and select Curves to insert a curves adjustment layer
- From the blending mode drop-down menu, choose Color
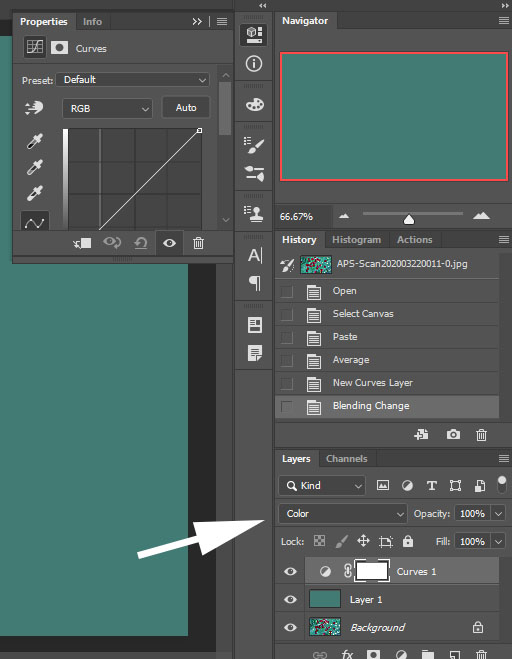
- Now, look at the three eyedrop icons on the left side of the Curves panel and click on the middle icon to set the gray point
- Click anywhere on the single color layer
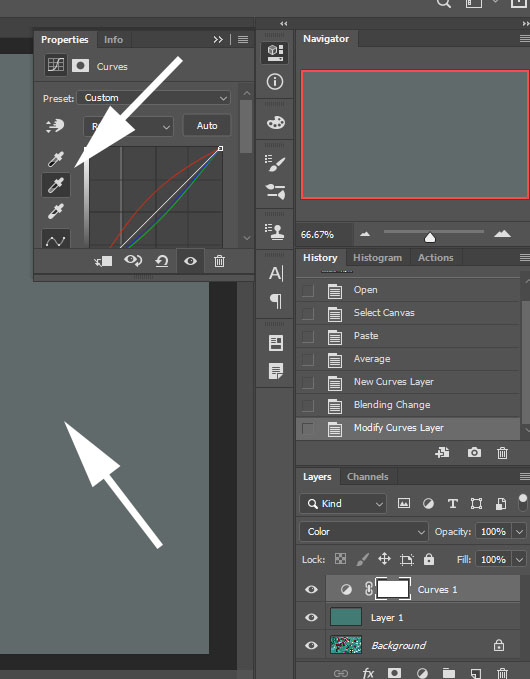
- Click on the eye icon to the left of the single color layer to turn it off or simply delete that layer as it is no longer needed
- Enjoy your image free from color cast
Here is the above image along with the color cast removed version. There is no other adjustment applied other than the steps outlined above.


Tonal Adjustments
Although it may be tempting to make tonal structure adjustments using the same curve, I will advise against it for the simple reason that it will not work! Remember, we changed the blend mode to Color.
In order to adjust the tonal structure:
- Add a new curves layer above the first one
- Change its blend mode to Luminosity
- Now, you can adjust the luminosity, the darks and the lights of the image or select a suitable one from the drop-down list
- You can use individual channels or Red, Green, and Blue and make them lighter or darker without changing the hue. But, be careful; a little goes a long way.
Additional Comparative Images
The images below have captions that will appear when you click and enlarge them in the lightbox. Some have a second curves layer with either Medium Contrast or Lighter may be adjusted, direct from the curves options.


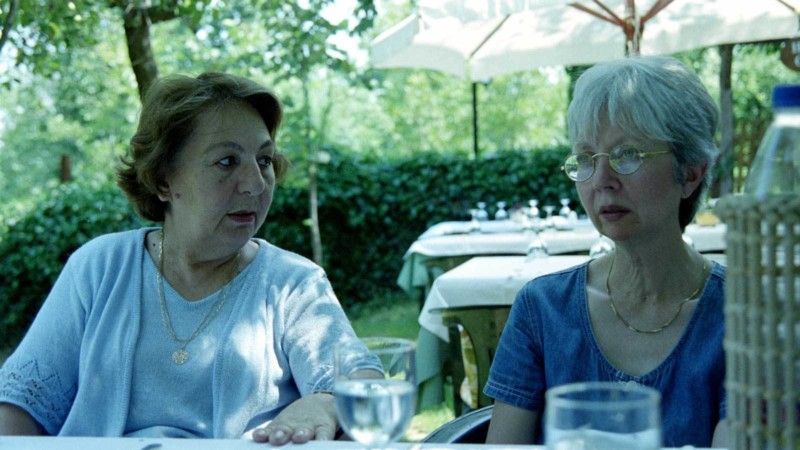
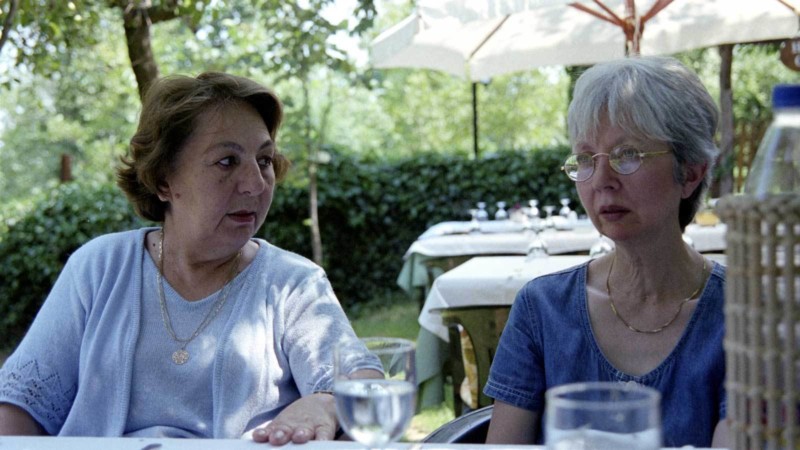
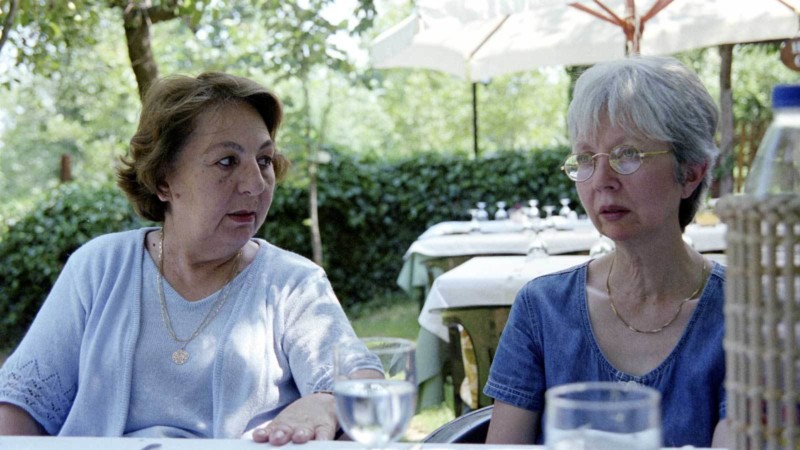
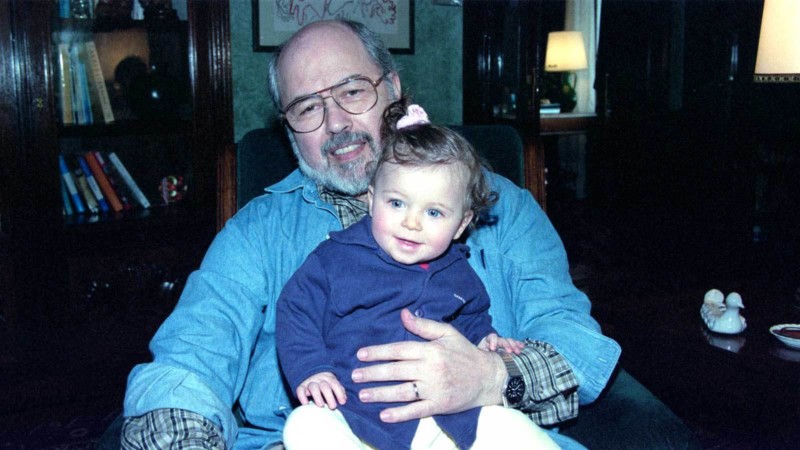

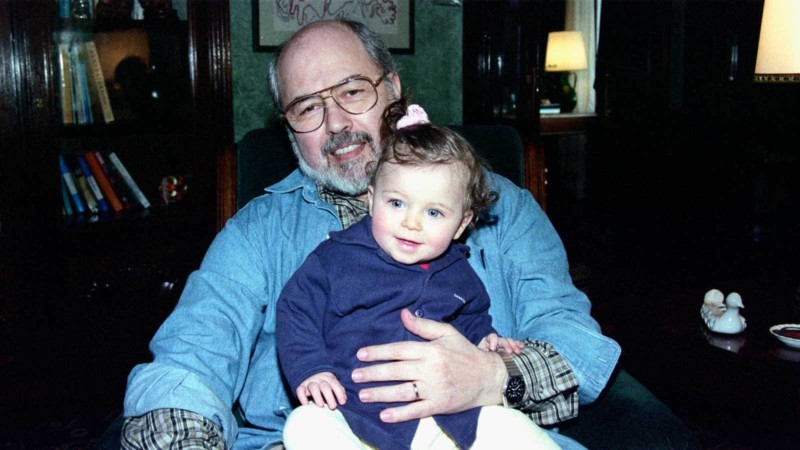
In the last example, I finalized the image with a new curves layer, blend mode set to luminosity. Using the drop-down selector, I added a Medium contrast curve adjustment then pulled down the top right corner of the curve from 255 down to 248. That last move was to prevent blown highlights on her face and make the image fit the original mood.
Now, it is your turn!
About the author: A. Cemal Ekin is a photographer based in Warwick, Rhode Island who has been shooting for roughly 60 years. The opinions expressed in this article are solely those of the author. Ekin retired as a professor of marketing emeritus from Providence College in 2012 after 36 years of service there. Visit his website here. This article was also published here and here.