You don’t need an Adobe subscription to use these presets. You simply need to download the Lightroom Mobile App and create an account with Adobe. Now install Lightroom mobile from your phone’s market.
Transfer DNG image file (preset) to your mobile device. For example, send it to your mail and save it in your phone’s photo gallery or use your cloud to synchronize file with your gallery.
Open this DNG image with Lightroom mobile (any other viewer program will write that it can not open the file, do not be scared of this). Select this DNG image that represents the preset you’d like to apply to a future image, and you should see that image, with the preset applied, in full screen on your device.
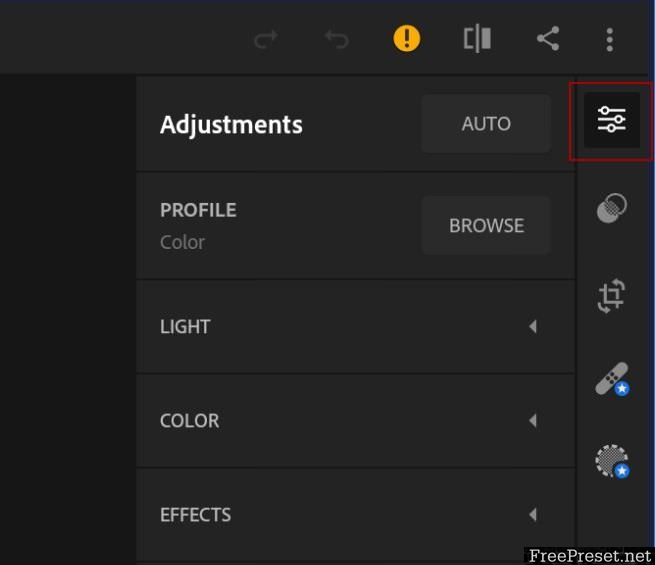
Select the editing button.

Now touch the “…” in the upper right corner and select “Copy Settings”. This will copy the Preset settings to be used on future images.
When you’ve got the settings copied, head on back to the main screen of Lightroom mobile, and locate the image you’d like to edit. Select the image to have it fill the screen.
With the image selected, you have to touch the “…” once more, select “Paste Settings”. This should “apply” the preset to your image.
From here, you can continue to edit the image (Crop, Rotate, modifying slider values, etc.) until you’ve got an image with which you’re satisfied.
And you always can save opened DNG as a preset. In this case you don’t have to copy-paste settings no more – but can use preset already saved in the Lightroom by yourself. Please look at screenshot bellow for details.
Password Unzip : Freepreset.net
The file is compressed using Zip or Rar format...please use Winrar to extract this file
If you found the link was error , please comment !!!