
I love bokeh and wanted to incorporate it into some upcoming holiday-themed beauty shoots. Well, I didn’t want to shoot in the cold and I really didn’t want to buy strings of lights (or generally spend any money at all) so I put together this great backdrop with basically just tinfoil.
I was really happy with how it turned out so, I decided to write this little tutorial on how to make and shoot a tinfoil backdrop for some bokehlicious shots.
What I used for this project:
- Tinfoil
- Foam core/cardboard
- Lighting stands
- Clip mount
- Speed lights
- Canon 5D Mark III
- A fast lens
- Ring light / soft box
I lightly scrunched up tin foil then unraveled it, then I used double sided tape to stick it to a 32×40 foam core board.
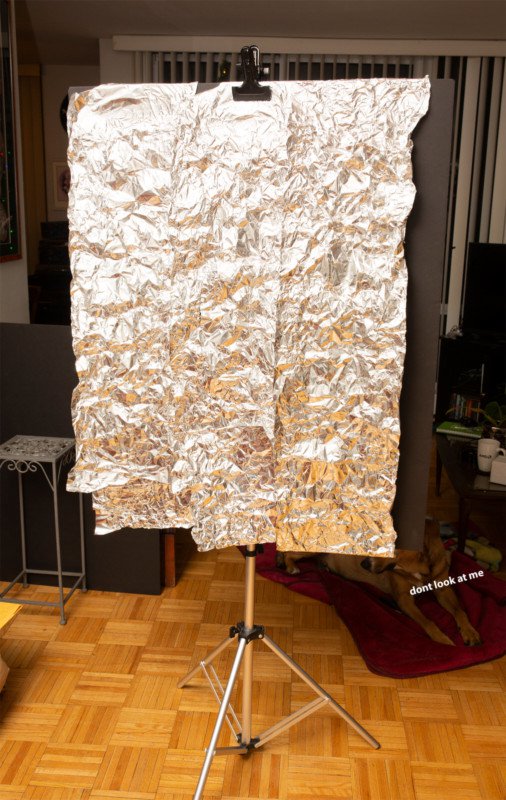
I used a lighting stand with a clip mount to hold the foam core in the perfect height for the backdrop. Make sure you have your aperture set wide open in order to make the tinfoil out of focus, but don’t open it too wide or your bokeh will look too large and blend together. Below are some test photos with my dog Macro using only window light.
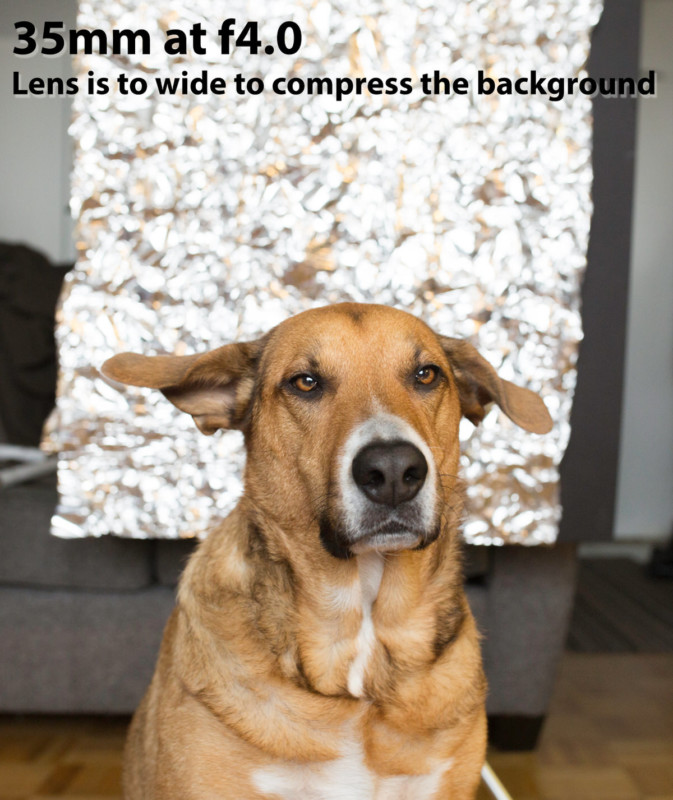
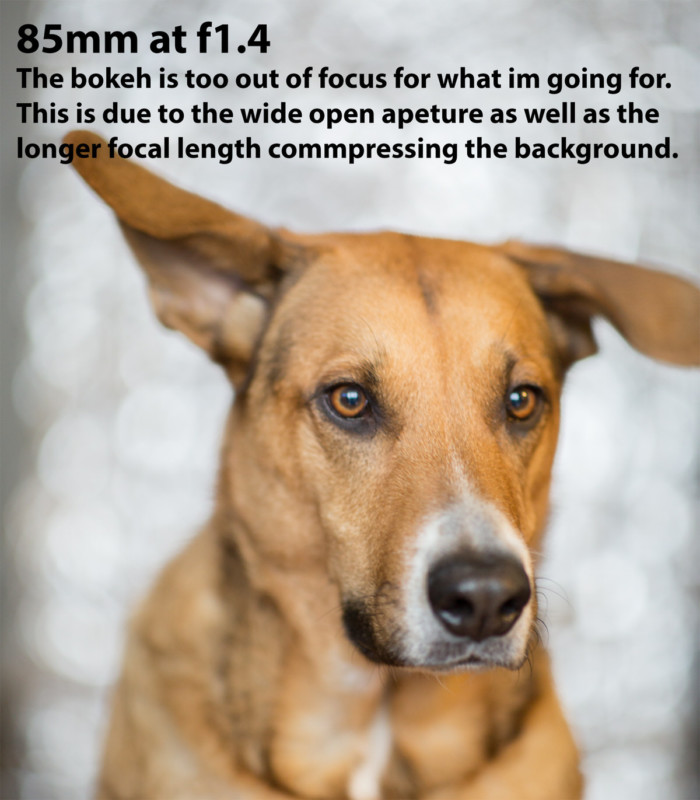
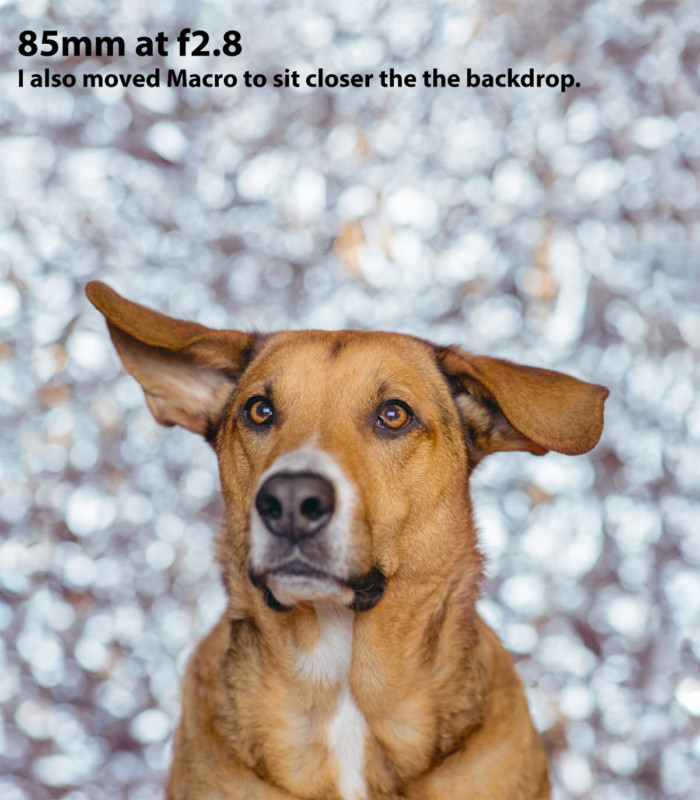
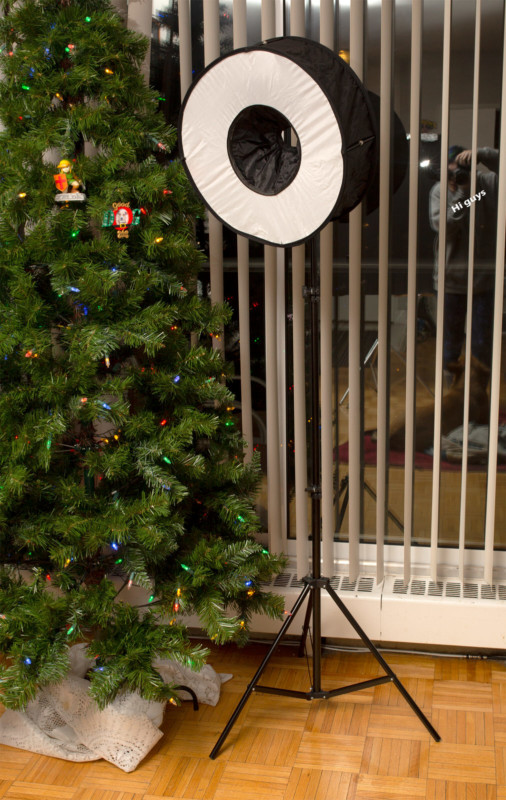
I had a fellow photographer friend come sit for me to help practice some lighting setups for a beauty shoot I would be photographing later that week. I decided I wanted to play with my speed lights, so I lit him with a ring light/softbox (that I got from Wish for only about $20) and lit the tinfoil backdrop with a second bare speed light.
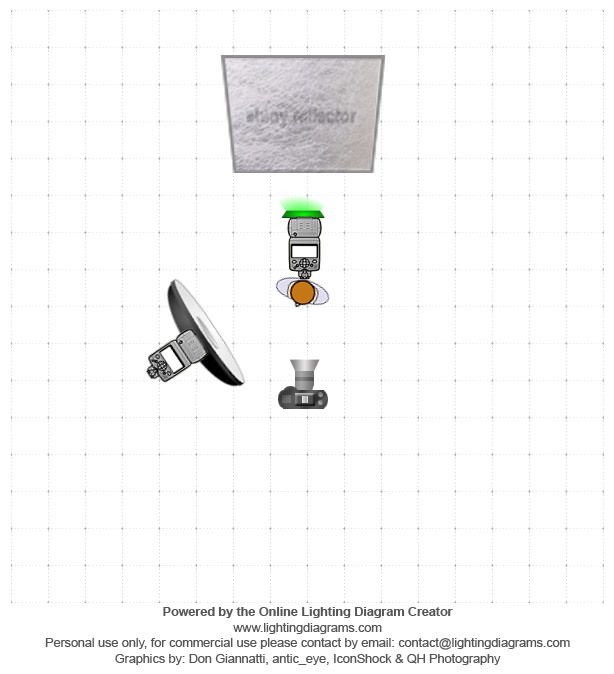
My settings for these photos were f2.8 1/100 ISO 400 with my 85mm lens. I had two-speed lights, One aimed at the backdrop behind the subject set at 1/128 power, the other was attached to the ring light facing Joe. I also thought it would be fun to use gels to add a pop of color.
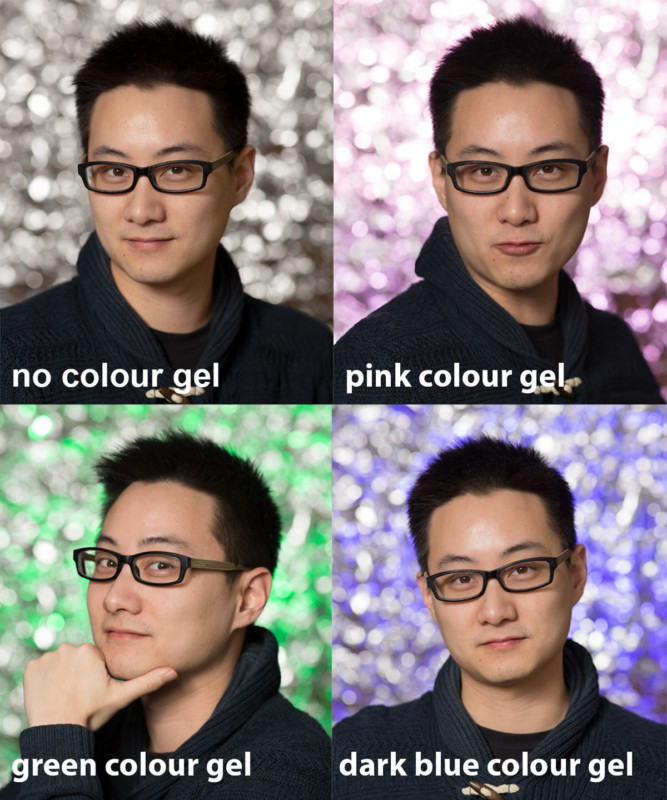
Tadaa! My final image after editing, perfect for Mums holiday gift.

About the author: Nicola Yardy is a portrait photographer and retoucher. The opinions expressed in this article are solely those of the author. You can find more of Yardy’s work on her website. This article was also published here.