Making creative self-portraits with your camera is so much simpler than you may think, and it’s a great opportunity for both creativity and storytelling within your own life.
As a lifestyle family and newborn photographer, I understand the importance of me being present in photos. I want my children and one day, my grandchildren to have photos of this time that include me. And for me, a selfie with a phone camera doesn’t cut it.
That, combined with the creativity they inspire, helped me to embrace self-portraiture.
In this article, I’ll walk you through the steps of creating a self-portrait. That includes setting up your camera, focusing tips, and the best options for controlling the shutter (firing the camera).
I’ll also share some ideas to help you go further, creatively, with your self-portraits.
NOTE: Keep in mind that self-portraits can include your entire family too. It just means that you are both taking the portrait AND are also in it at the same time!
Positioning your camera
The first step to taking self-portraits is to position your camera. Typically, you’ll want your camera height to be on your eye line (at eye level), or slightly higher.
If you don’t have a tripod, look around for a flat surface that could safely support your camera. Tables, bookshelves, and dressers all work well. I’ve even been known to stack books or chairs on top of my coffee table to get the right camera height and composition I wanted for my image!
Once you have your camera on your tripod or make-shift support, look through the viewfinder to confirm that this is the composition you want, and make adjustments as needed.
If you’re not using a tripod, sliding a rolled washcloth under the back of your camera or front of the lens can help you get the angle you want for your shot.
Unless you’re setting up a documentary-style shot, take a moment to eliminate any distracting elements in the background. Also, check the lighting on you (and anyone else in the photo) for any objectionable shadows with the light and camera position you’re using.
Then, make any changes necessary. For example, if the light is coming from a window too far over on one side, move the camera position closer to the window and adjust your pose to face the camera.
Camera settings
For self-portrait photography, you’ll want to use Manual Shooting Mode.
Note on exposure from Darlene
If you are either not comfortable or used to shooting in Manual Mode – switch to Aperture Priority and use AutoISO to do some of the work for you. Then just choose the aperture you want like f/2.8-5.6 and you should be good to go. But a test shot is always a good idea!
Aperture
When shooting self-portraits, you may want to start off with a slightly narrower aperture than you would normally use for portraits. Giving yourself a little bit of wiggle room with a wider depth of field will help to ensure that your nail your focus for your self-portraits. This is the trickiest part of this process!
For me, that means I’m keeping my aperture in the f/2.8-4 range (but you may need to start at f/5.6-8 until you have a bit of practice). As you do more self-portraiture and continue to improve, you may want to consider challenging yourself further by shooting at a wider aperture.
Shutter Speed
Because you’re using a tripod or other steady surface, you can reduce your shutter speed a little slower than what you would normally. Don’t be afraid to use as slow as 1/30th. Just remember to sit still until the shutter closes.
I typically shoot my self-portraits at 1/160th or 1/200th if my children are also in the shot and are trying to be still (trying, being the key there). For more documentary style or active self-portraiture, I will usually shoot at 1/250th or even 1/500th.
ISO
Set your ISO for proper exposure based on the amount of light in the room, and the aperture and shutter speed you’ve chosen. This may be lower than you’d expect if you’re using slower shutter speeds.
In other words, set the aperture and shutter speed you desire first – then choose the ISO that makes the correct exposure. Watch your in-camera meter. Take a test shot first, review the exposure, and adjust the Exposure Compensation (plus if the image is too dark, minus if it’s too bright) as needed before you proceed.
Focus
Focus is the aspect of self-portraiture that photographers often find the most frustrating. There are two different ways to set your focus easily and accurately that work every time. Let’s look at each option.
Using your tripod as the focus point
For this method, first, position your camera and tripod and choose your camera settings. Then take your camera off of the tripod and go stand in the spot where you will be for your self-portrait.
It helps if you put a place marker in the spot where you plan to sit or stand. You can use tape, but a sock or washcloth works nicely, too.
Next, get into a position for your self-portrait (exactly where you will be, BUT holding the camera). Then, using autofocus, focus on the top of your tripod. This works because the distance between you and the camera will remain the same once you swap places and you will be sharp in the self-portraits.
Once your focus is set, switch your camera to manual focus. This is super important!! This is what will hold the focal distance between your eye and your tripod and keep your self-portrait in focus.
When you’re ready to take the photo, put your camera on the tripod, go back to your place marker, and get in the same position ready for taking the photo.
This tip will work even if you are using a shelf or your dresser to hold your camera for your self-portrait. You just need to put a place marker in the spot where you will put your camera so you can focus on it instead of the tripod.
Using a stand-in to lock the focus
Another option is to set up a focus point at the spot where you will be sitting or standing for your self-portrait. I’ve used plastic cups, but anything will work. Choose an item with a little bit of height, so it’s easier to line up the top of the item vertically with your eye line.
With your camera on the tripod, use autofocus and lock it on the stand-in item. Then switch your camera to manual focus. Again, this switch is what will hold the focal distance and keep you in focus in your self-portrait.
When you go to get in place for your self-portrait, remember to line up your eye on the same vertical plane before you move the stand-in item out of the shot.

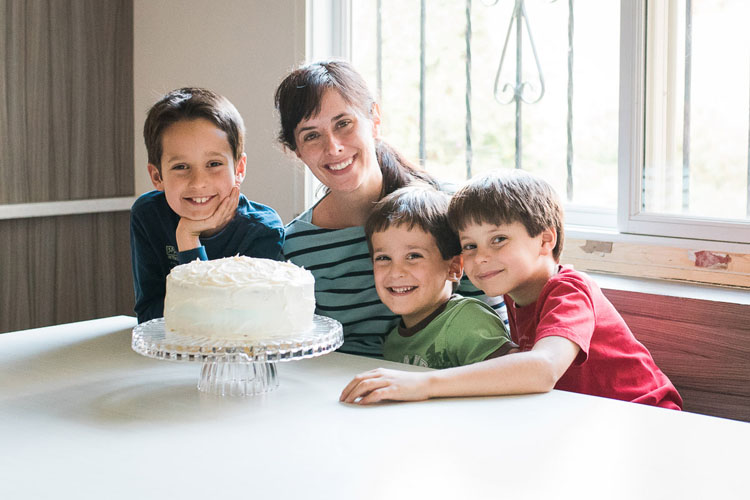
Of course, if you’re including other people in your self-portrait, a family portrait, for example, you can focus on one of them instead. Then just hop in the shot after switching your camera over to manual focus.
Note: You can also use Back Button focus if you’re familiar with that procedure. Just use AF-S or One-Shot focus and lock on the subject.
I can’t overstate how important it is to switch your camera to manual focus after setting your focus. Forgetting this step means your camera will take guesses on where to focus, and you may end up with a self-portrait that’s completely blurry.
Controlling the camera
You have two main options for controlling the camera to actually fire and take your self-portrait.
Remote shutter release or camera trigger
You can purchase a remote shutter release or trigger that will work with your camera. They come in wired and wireless varieties. For this kind of photography, you’ll need the wireless kind which is small with a button that will trigger your camera to take the shot.
Some cameras (like the Nikon D750 I shoot with) have a free downloadable app that works as a remote. Search “your camera model (insert your camera name) remote app” on Google to see if one is available for your camera.
Remote shutters are great, and I’ve used them many times. The issue with using one, though, is that you have to hold it, which means you have to find a way to hide it from the camera.
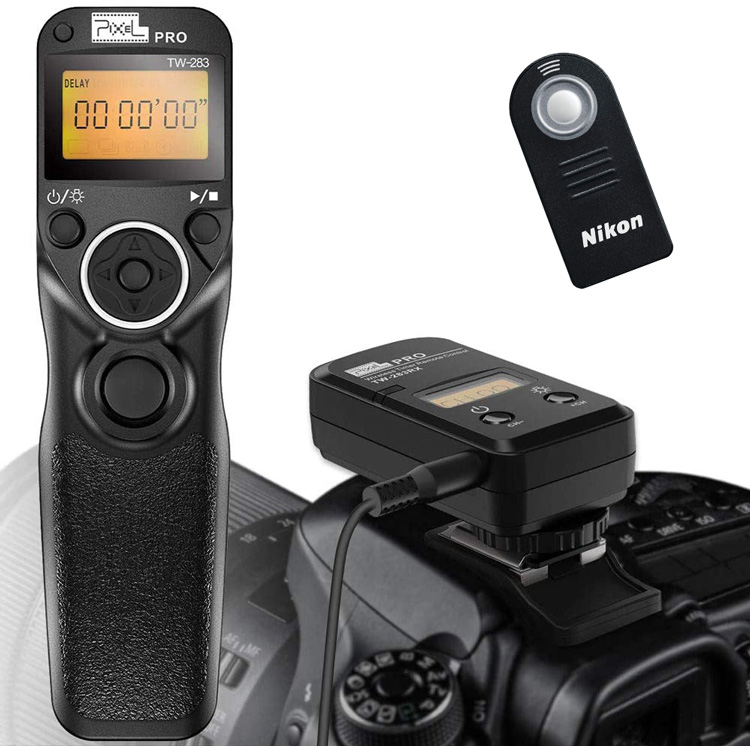
If your camera doesn’t have interval shooting, you can also get a remote shutter release such as the one in the image above (left) that has that capability. There are several available, just make sure the one you choose is compatible with your camera brand and model.
It can be as easy as having your arm around someone else or one hand on top of the other. Just keep your hand and the remote out the line of sight of the camera.
The more creative you get with your self-portraiture, though, the harder it is to hide the remote shutter. That’s why I prefer to use the self-timer method.
Self-timer with interval shooting
Go into your camera menu and set your camera to self-timer drive mode with interval timer shooting. The self-timer should be set to give you enough time to get in place for your self-portraits – usually, five to 10 seconds will do it.
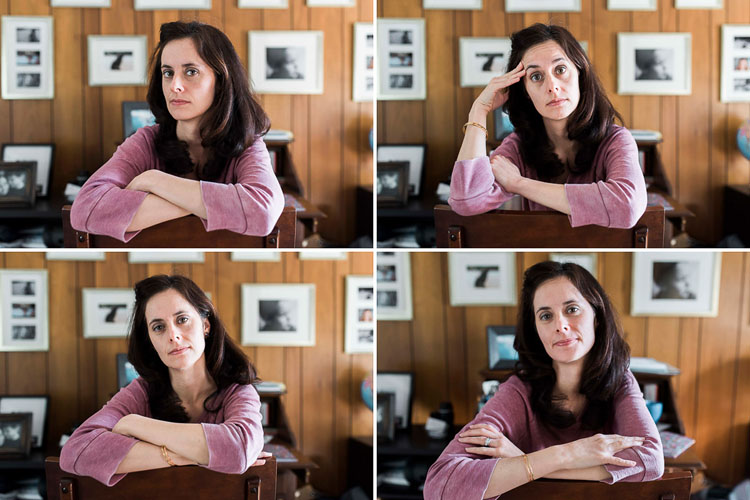
The interval timer will give you the opportunity to take multiple photos (see above) at equal intervals to have a variety of shots. I like to set my camera to capture anywhere between 10-50 shots, at a one or 2-second interval.
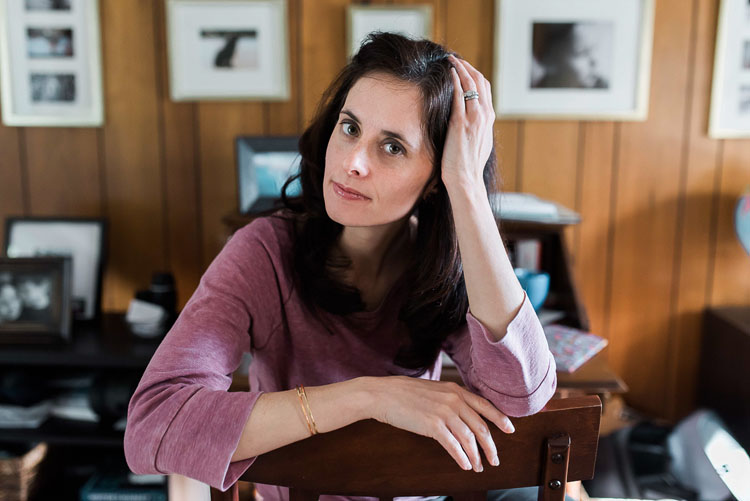
You’ll likely find that the more shots you take within one self-timer session (without getting up to reset the camera), the more relaxed, more creative, and more likely you are to love a few from the bunch (below).
Ask a friend
If you’re stuck without a remote and your camera doesn’t offer interval shooting, ask someone else to press the shutter button for you.
When you set up every aspect of the photo including the camera location, camera settings, and you do the directing as to when to click – it’s my belief that you’ve created a self-portrait, even if someone else touches the shutter button.
Creative exploration
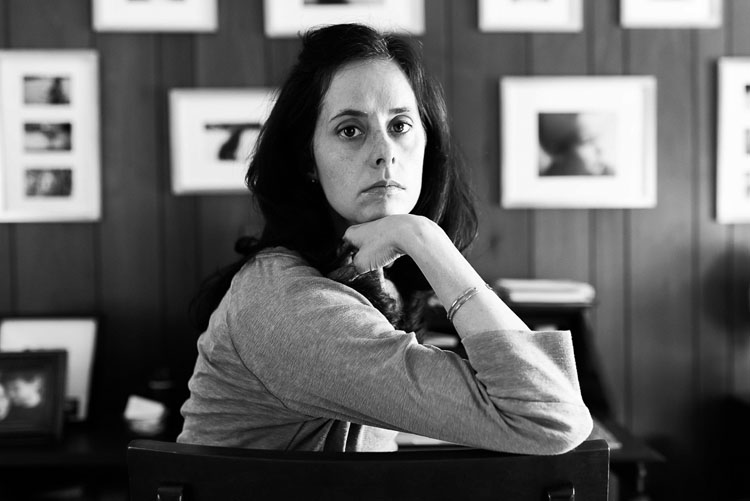
Self-portraiture is an incredible avenue for creativity. Beyond the traditional headshot option, think about playing with focus, lighting, and a variety of different poses.
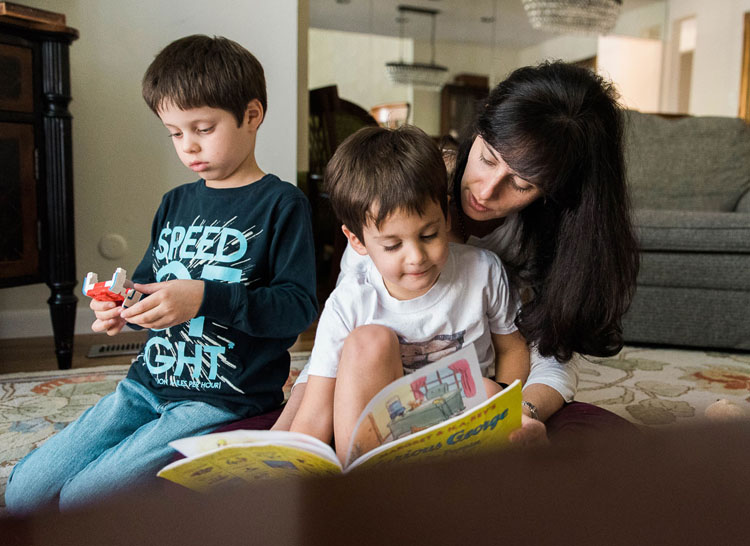
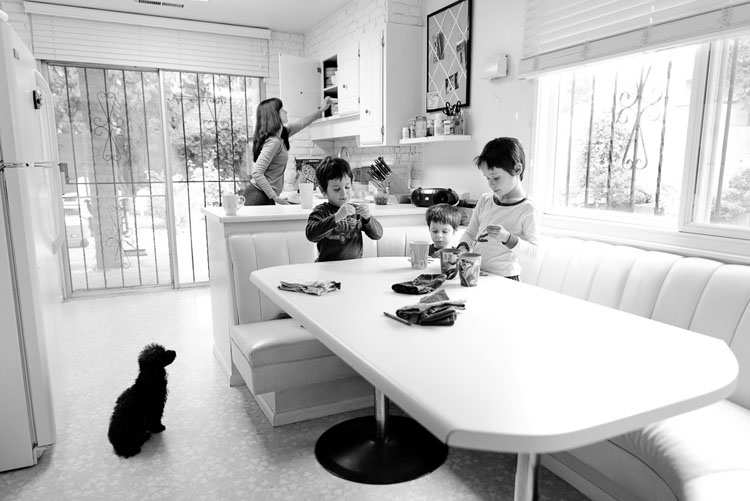
Consider setting up documentary or lifestyle self-portraits of yourself within your everyday life or your home. Use them to create a photo-journal to record specific memories or emotions.
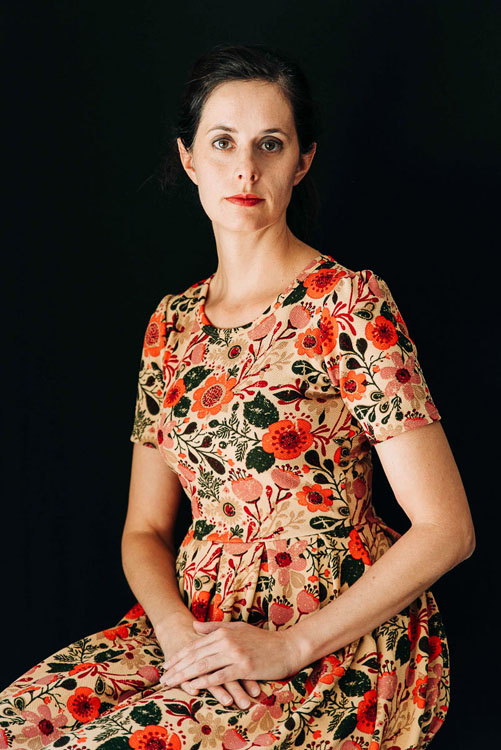
Create different characters by costuming yourself or different looks by dressing up in various outfits.
Or experiment with motion blur, intentionally setting a slow shutter speed for a long-exposure shot with some movement.
Conclusion
The possibilities for creativity within self-portraits are endless. It’s a wonderful opportunity to explore different sides of your personality, get inspired to make something new, and capture your life on camera.
I hope that you’ll experiment with taking self-portraits by using these tips. You’ll find it’s not difficult to get started.
Please share your self-portrait images in the comment area below, I’d love to see them.