In this tutorial I’ll show you how to paint a realistic tear with Photoshop.
Final Image

Tutorial Details
- Program : Photoshop CS3+
- Estimated Completion Time : 15-20 minutes
- Difficulty : Intermediate
Resources
Step 1
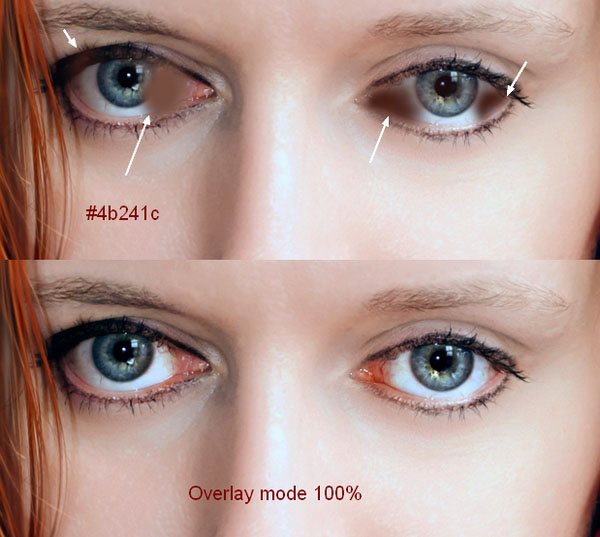
Open the woman image. You should choose a model image with a sad kind of expression ( not laughing or smiling…etc,…). The first thing to do is to increase the redness of the eyes. Create a new layer and use a soft brush with the color #4b241c to paint on the whites of the eyes as shown. Change this layer mode to Overlay 100%:
Step 2
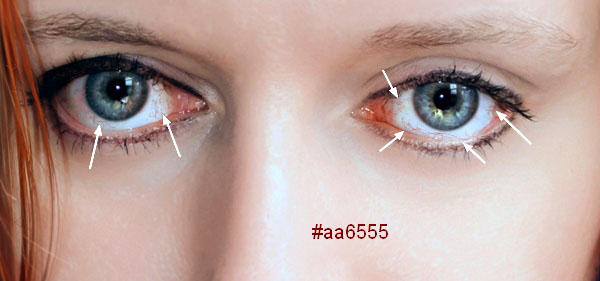
When you’re crying, the veins will appear more than usual. Make a new layer and use a hard brush with the color #aa6555, the size about 2-3 px ( it depends on the size of your image) to paint the red veins.
Step 3
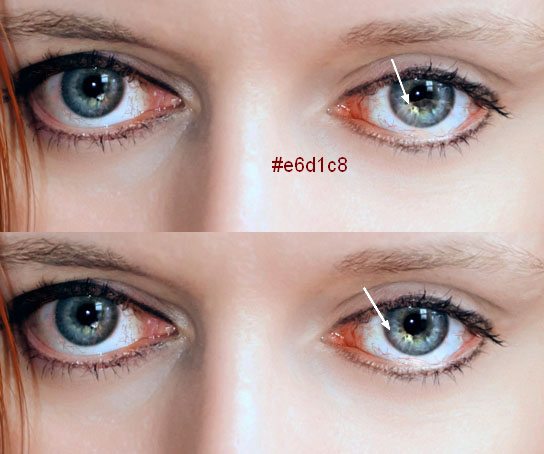
Create a new layer and use a brush with the color #e6d1c8, the opacity and flow about 10-15% to paint on the bottom of the right eye (from the viewer). Change this layer mode to Overlay 100% to make the eye look wet.
Step 4
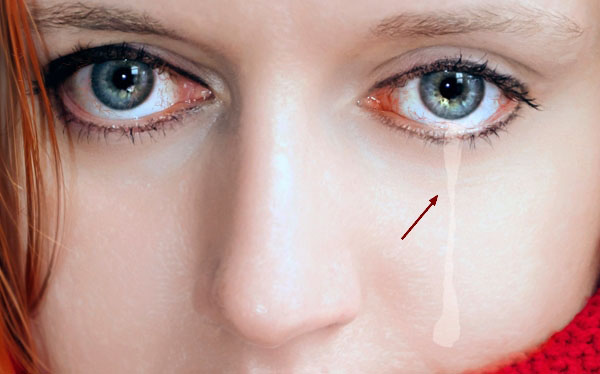
Make a new layer and use the Lasso Tool (L) to make the basic shape of the tear. Fill this layer with the color #e6d1c8.
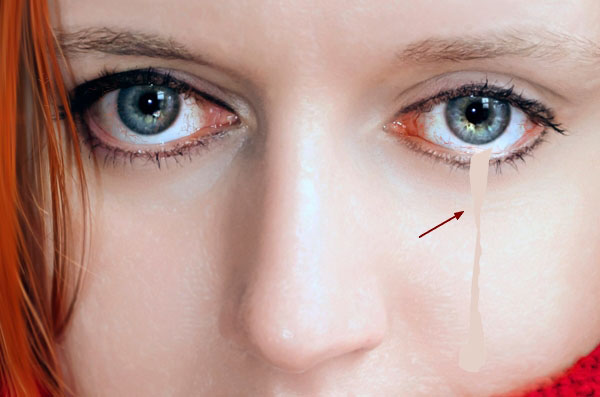
Change this layer mode to Overlay 50%:
Step 5
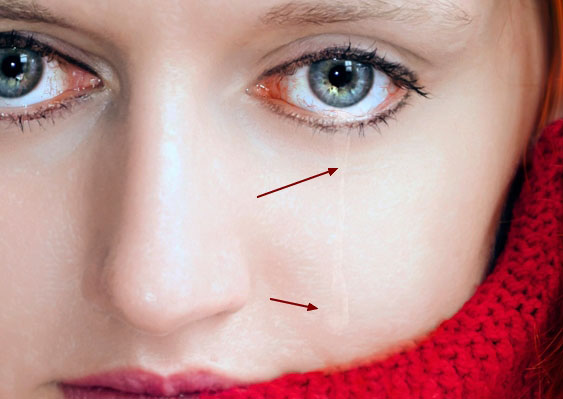
Click the second icon at the bottom of the Layers panel to add a mask to this layer. Use a soft black brush to soften the edge and form of the tear, make it appear more subtle.
Step 6
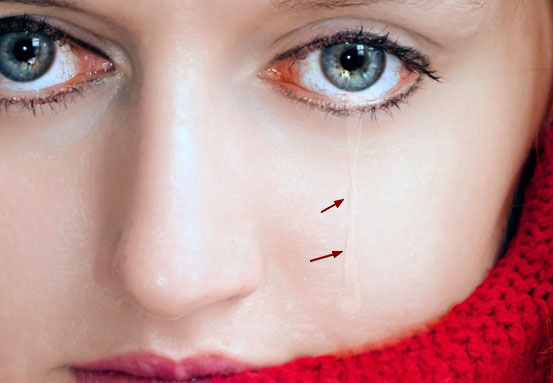
There is a very important thing you should remember, that a tear has shadow and volume. Determining the light source will help you know where to paint the shadow. In this image, the light comes from right to left so the shadow should be on the left. Make a new layer and pick a soft brush with the color #cca396. Lower the opacity to 20-30% to paint a thin shadow. Make it subtle otherwise it would look unnatural.
Step 7
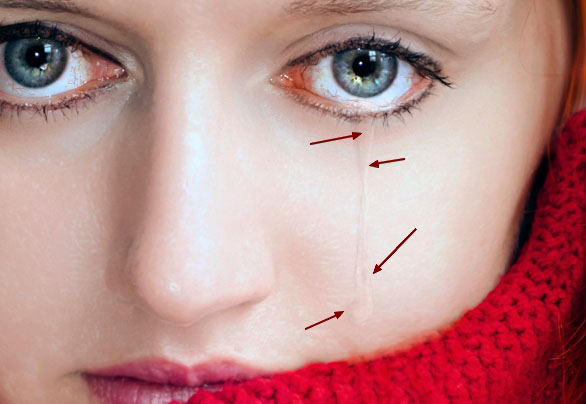
Use the same brush to paint inside the tear to define its detail and volume . Change the mode of this layer to Multiply 60%:
Step 8
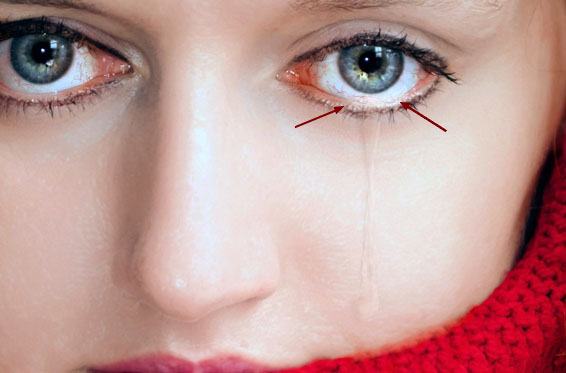
On a new layer, paint more wet at the bottom (contour) of the eye where the tear starts using a soft brush with the color #e6d1c8. Set this layer mode to Color Dodge 100%:
Step 9
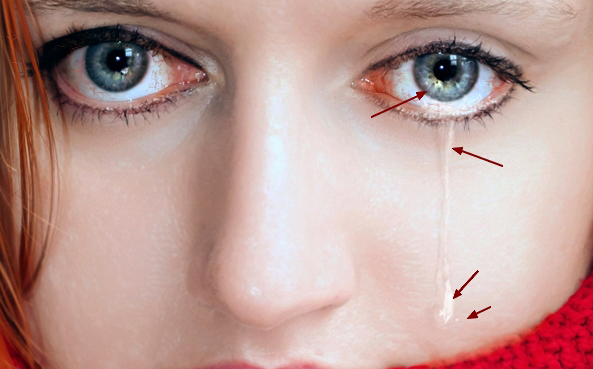
To paint the highlight of the tear, use the same brush to paint inside the pupil and along the tear. Lowering the brush size, using a tablet pen and zooming in very well will help you to achieve a better result. Change this layer mode to Color Dodge 100%:
And We’re Done!
I hope that you enjoyed the tutorial.
