Astrological phenomena are always fascinating, as we turn our eyes to something that the vast majority of us will never be able to see except from afar. It’s no wonder, then, that it is also a fascination for many to capture these events with our cameras, especially when something unusual takes place.
A lunar eclipse may not be as rare as a solar eclipse, but it can still be a beautiful sight. When combined with a gorgeous landscape, or even standing alone, you can create an amazing photograph that will take pride of place in your portfolio. Here’s everything you need to know about capturing these moon moments.

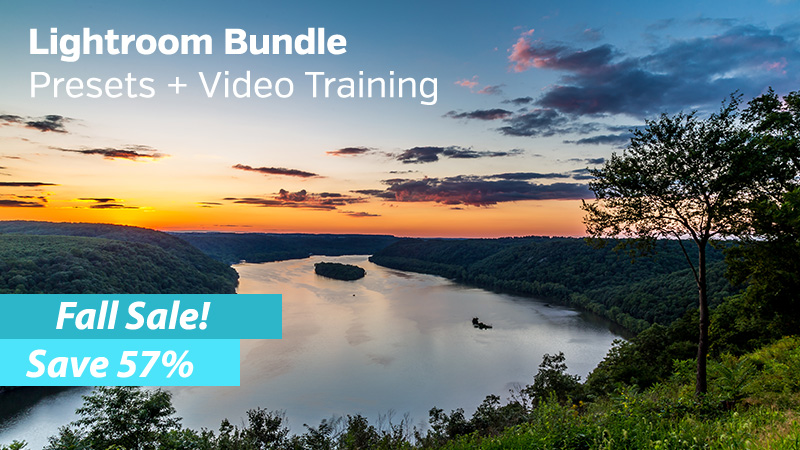
Photo by D Mz | Pixabay License
Lunar eclipse 101
Let’s start with an understanding of what a lunar eclipse is, what it looks like, and when you can find it.
During the lunar eclipse, the moon is partially lit by the sun thanks to the way that the planets and stars align. Gradually, as the moon moves across our sky and the alignment changes, the lighting shifts across the surface of the moon as the earth blocks it, plunging it into a deep red or orange colour. This phase is known as the totality, when the eclipse is happening in full.
Then, the sun and moon continue moving, and the light gradually returns to give the moon back that bright silvery-white colour that we all recognise in our normal skies. You will start with silver crescents, through to thin red crescents, to a full red moon, and back again on the other side.
This does not happen every night – you will have to wait until a new lunar eclipse is reported. You can keep an eye on organisations like NASA or apps like The Photographer’s Ephemeris or PhotoPills, which will tell you when the lunar eclipse is coming and where in the world it can be seen.
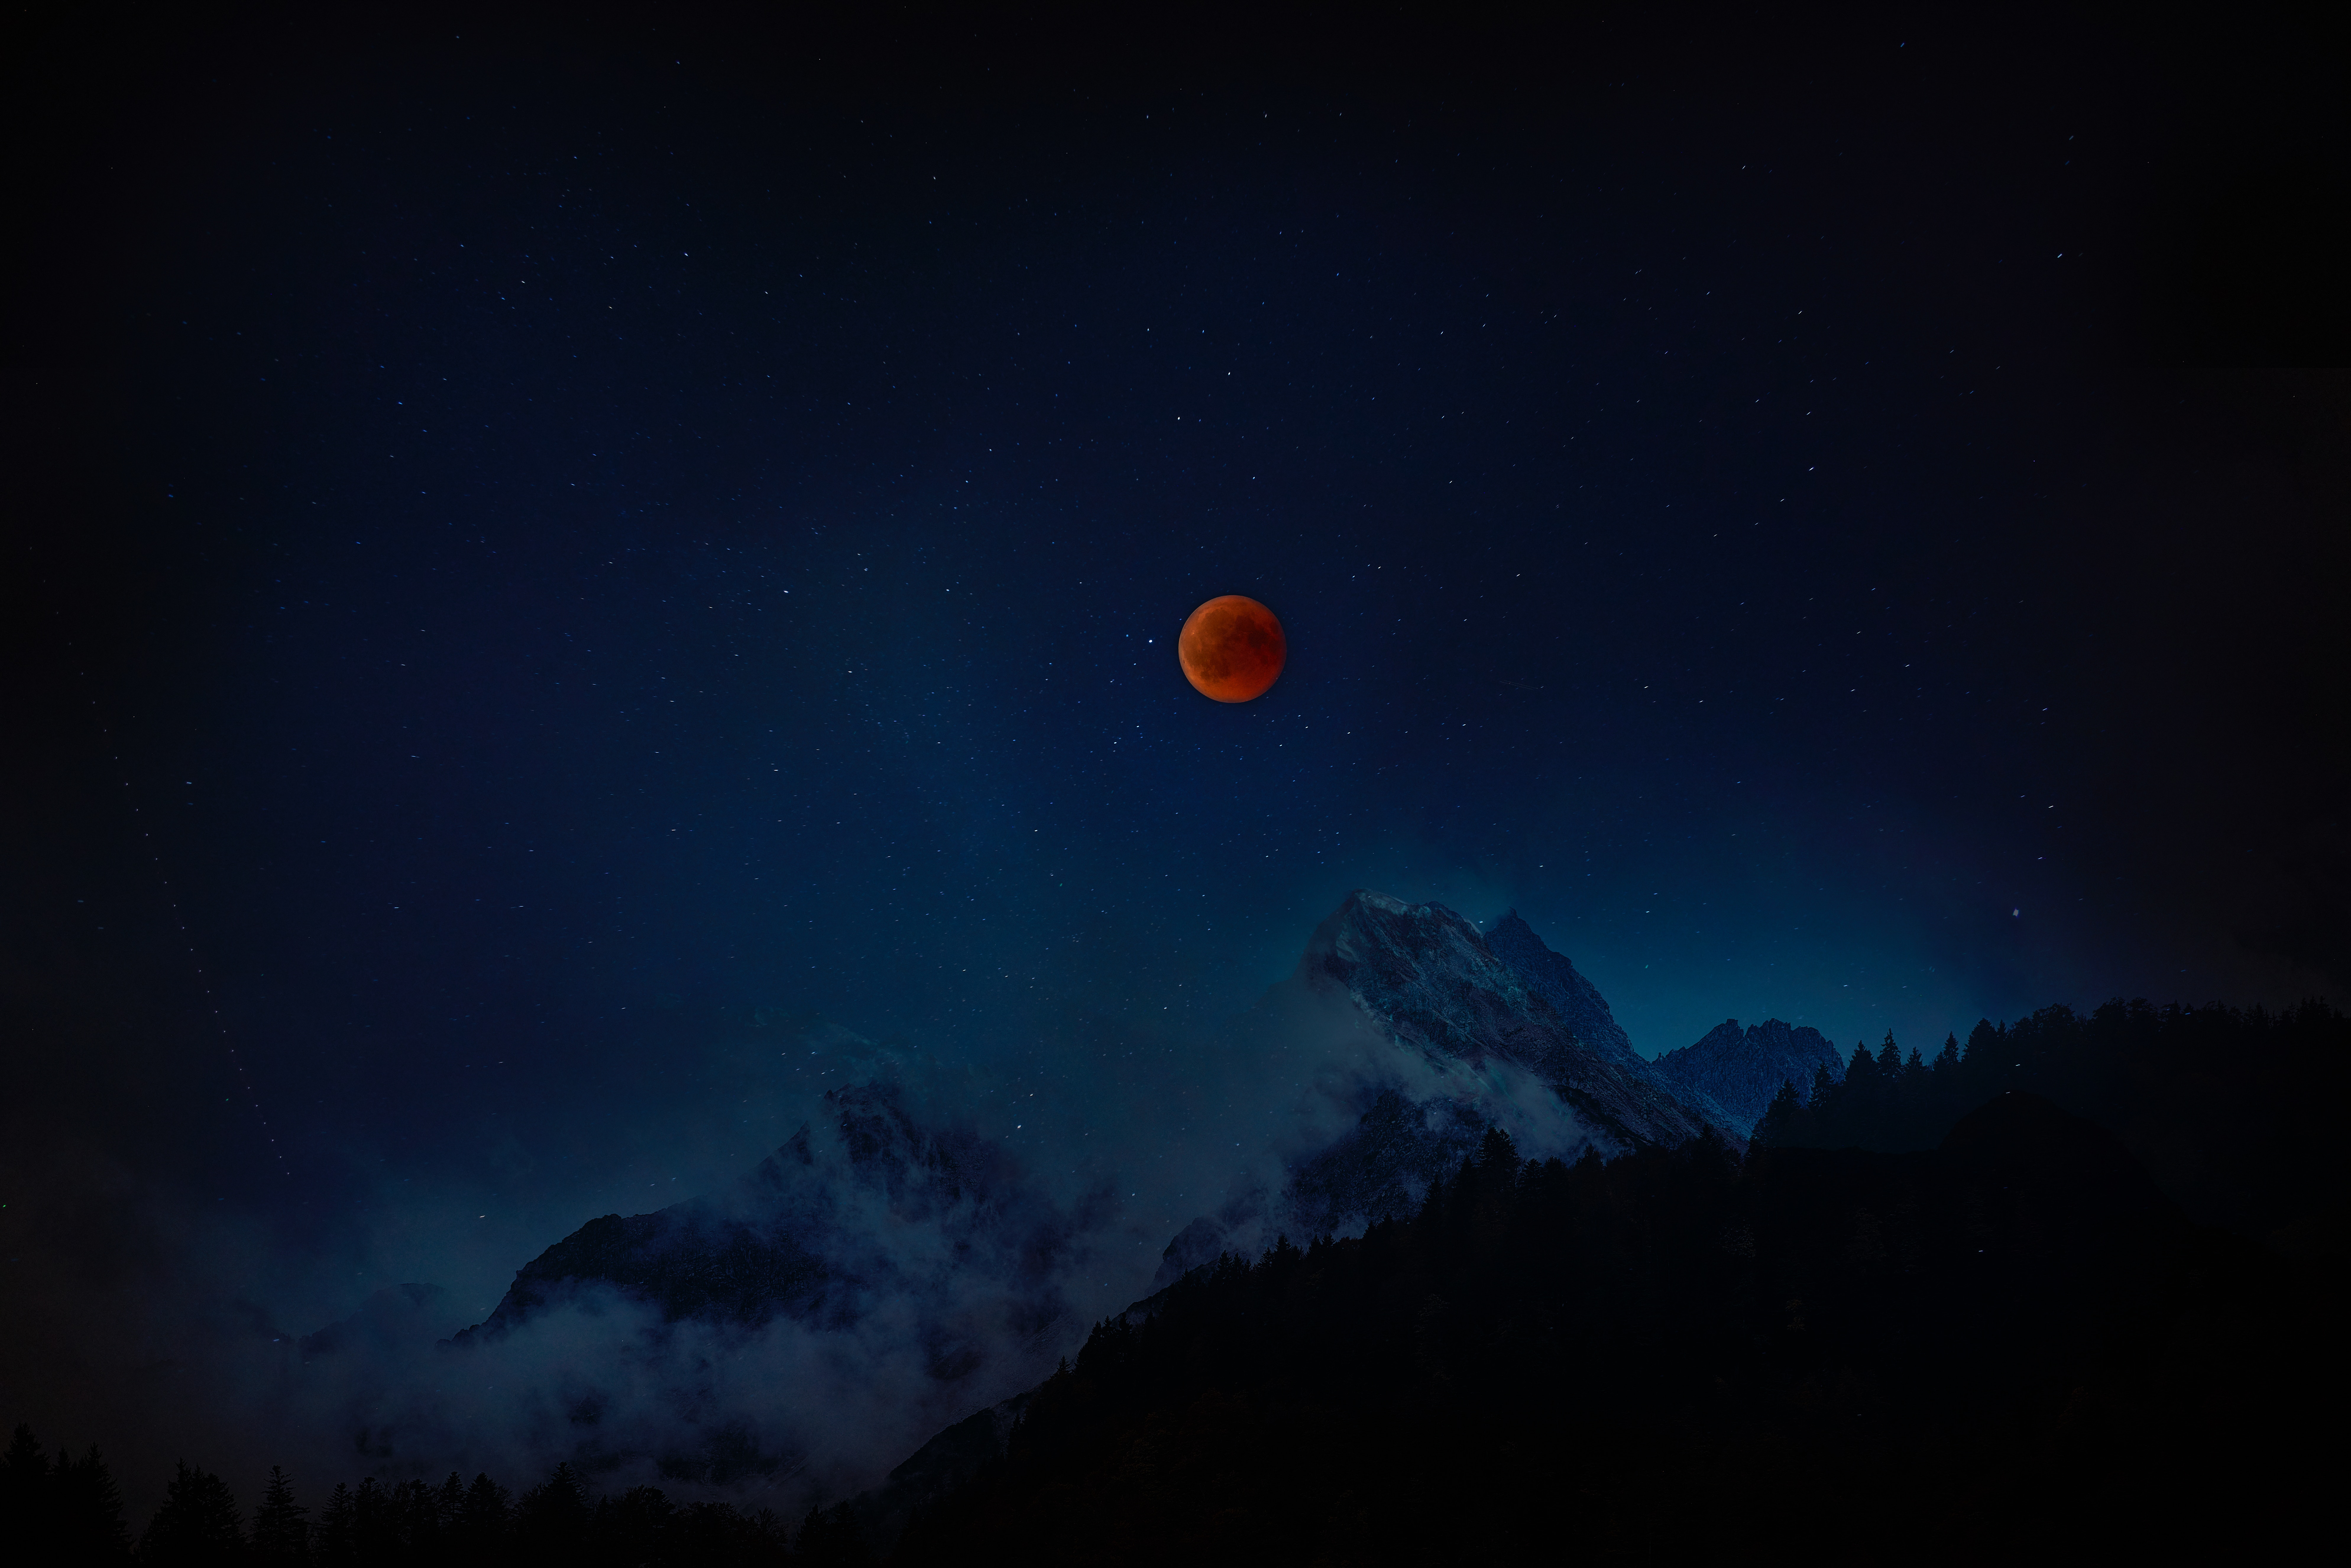
Photo by Fabian Oelkers | Unsplash License
Planning your trip
It requires a lot of careful planning to get the best results. Firstly, you will want to find out where the lunar eclipse can be seen to the best effect. Not everywhere in the world will easily see the full eclipse at the same time, so you need to find out which areas of your country can see it.
Within this range, you next need to find a landscape which is suitable. It will need to be somewhere dramatic, where the appearance of the red moon in the sky will make everything seem all the more impressive. It’s important to scout out this location ahead of time, figuring out which view of the skyline will make for the best composition.
You also need to keep an eye on weather forecasts. The ideal situation is a cloudless night, though a few wisps of clouds may also make for an interesting look. You don’t want the moon to be covered by thick clouds or fog! If the forecast indicates that you won’t be able to see the moon at your chosen spot, you may have to resort to a backup plan somewhere else. Know this before you set off.
Creating compositions
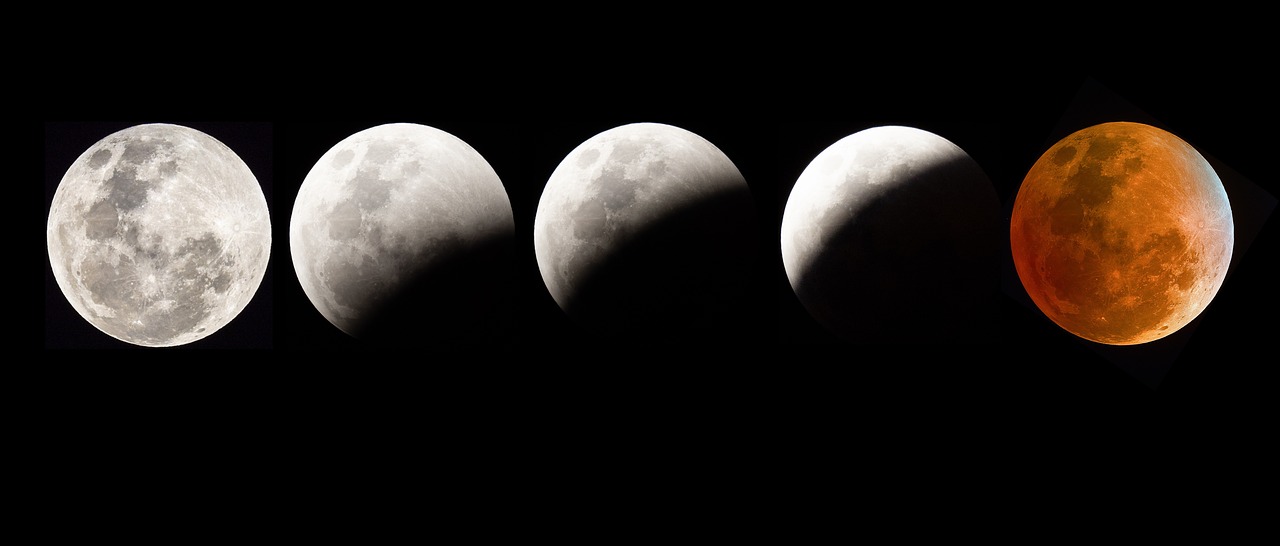
Photo by Jeanvdmeulen | Pixabay License
To start setting up your photograph, there are a few things you need to think about. One of these is whether you are going to capture a single shot of the moon up close, a wide shot which includes a landscape, or even a series of images destined to become a composite image as the moon goes through several changes.
All of these are valid options, and you may even want to cover more than one of them during the eclipse. If you do decide to go this route, it is recommended that you set up a different camera for each shot you aim to realise. This will mean that you can focus on settings and capture everything calmly, rather than having to panic about changing your lenses back and forth.
For a single shot, you will want to use a zoom lens which will bring the moon to fill your frame. If you use the kind of lens you would normally have on hand for a landscape, you will find that the moon appears quite small with a lot of space around it.
For a landscape shot, a wide-angle lens is preferable. This is the best way to capture both the moon and the scenery without either one of them dominating the shot too much.
Finally, for a composite, you will want perhaps the same lens – but a lot more patience. It can take around four hours to capture the moon’s whole progress across the sky from the first moment of the eclipse to the last. In this case, you may actually want to shoot the moon separately and then create a panoramic landscape shot, combining them later (not least because the size of the moon in relation to the landscape may appear too small to have a real impact if you do not create a composite).
→ Related reading: Guide To Shooting Panoramics
Getting the right settings
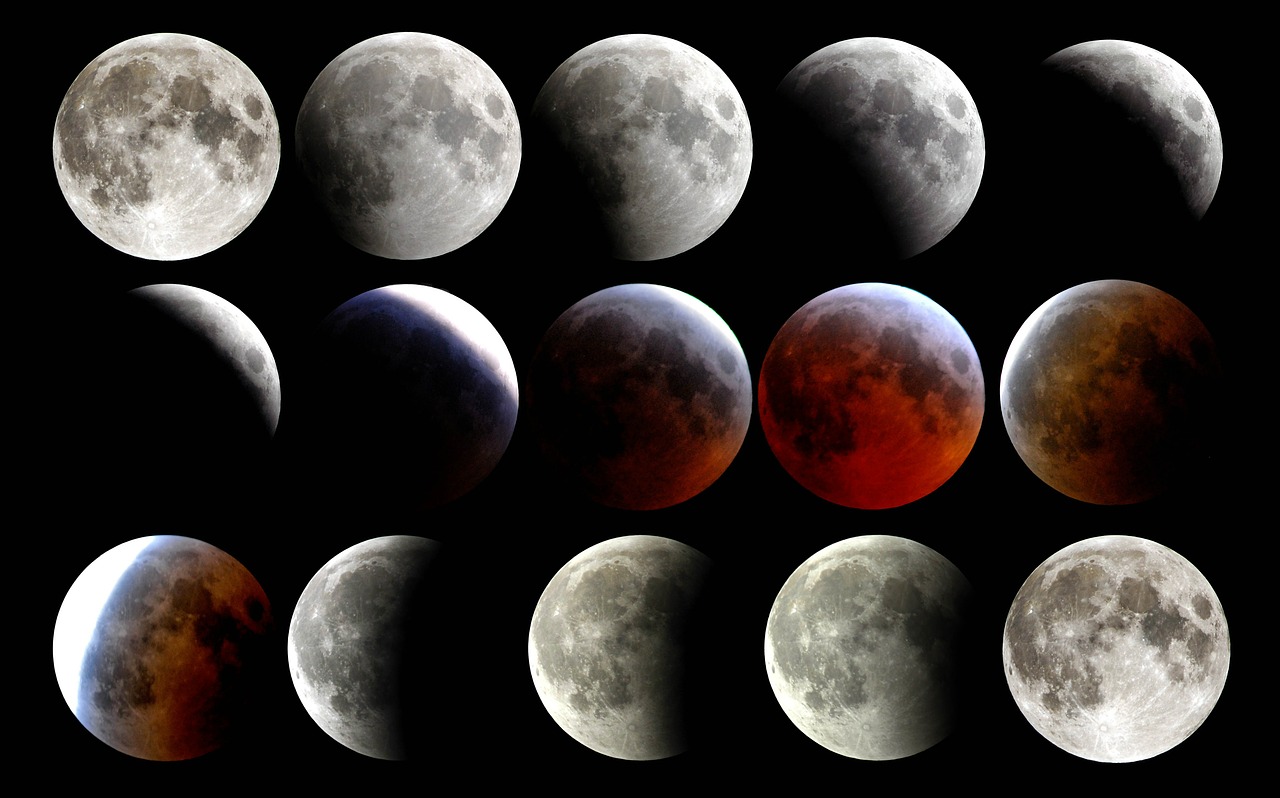
Photo by skeeze | Pixabay License
If you have photographed the moon before, you may be confident that you know how to set up your camera – but what you don’t realise is that you are dealing with a whole different situation. In the lunar eclipse, there is much less light! This means that everything you are used to will have to change.
You are going to need a higher ISO than normal during the eclipse, as well as a dramatically lower shutter speed. Putting these together means that you will also need a tripod and perhaps a shutter release cable to rule out camera shake. You will want to use a camera that is good at handling high levels of noise, so bear this in mind when choosing your equipment.
The situation changes again with a super telephoto lens, however, as the moon actually moves quite fast – faster than you would think. This means you may have to bump your shutter speed up a bit more to get a blur-free image, which is especially important when the moon fills your frame.
If you enjoy photographing the sky, especially at night, then you might want to invest in an equatorial tracker. This helps to adjust your camera’s viewpoint so that the moon will stay in shot without constant adjustment, and also means that you can manage lower ISO and lower shutter speeds to get the right amount of detail without blur.
When the moon is still bright, you can set your camera up at 1/125, f/8, and ISO 100. This is your starting point, so adjust as needed according to the specific situation of the night. This will give you a bright white area, while the rest is in darkness.
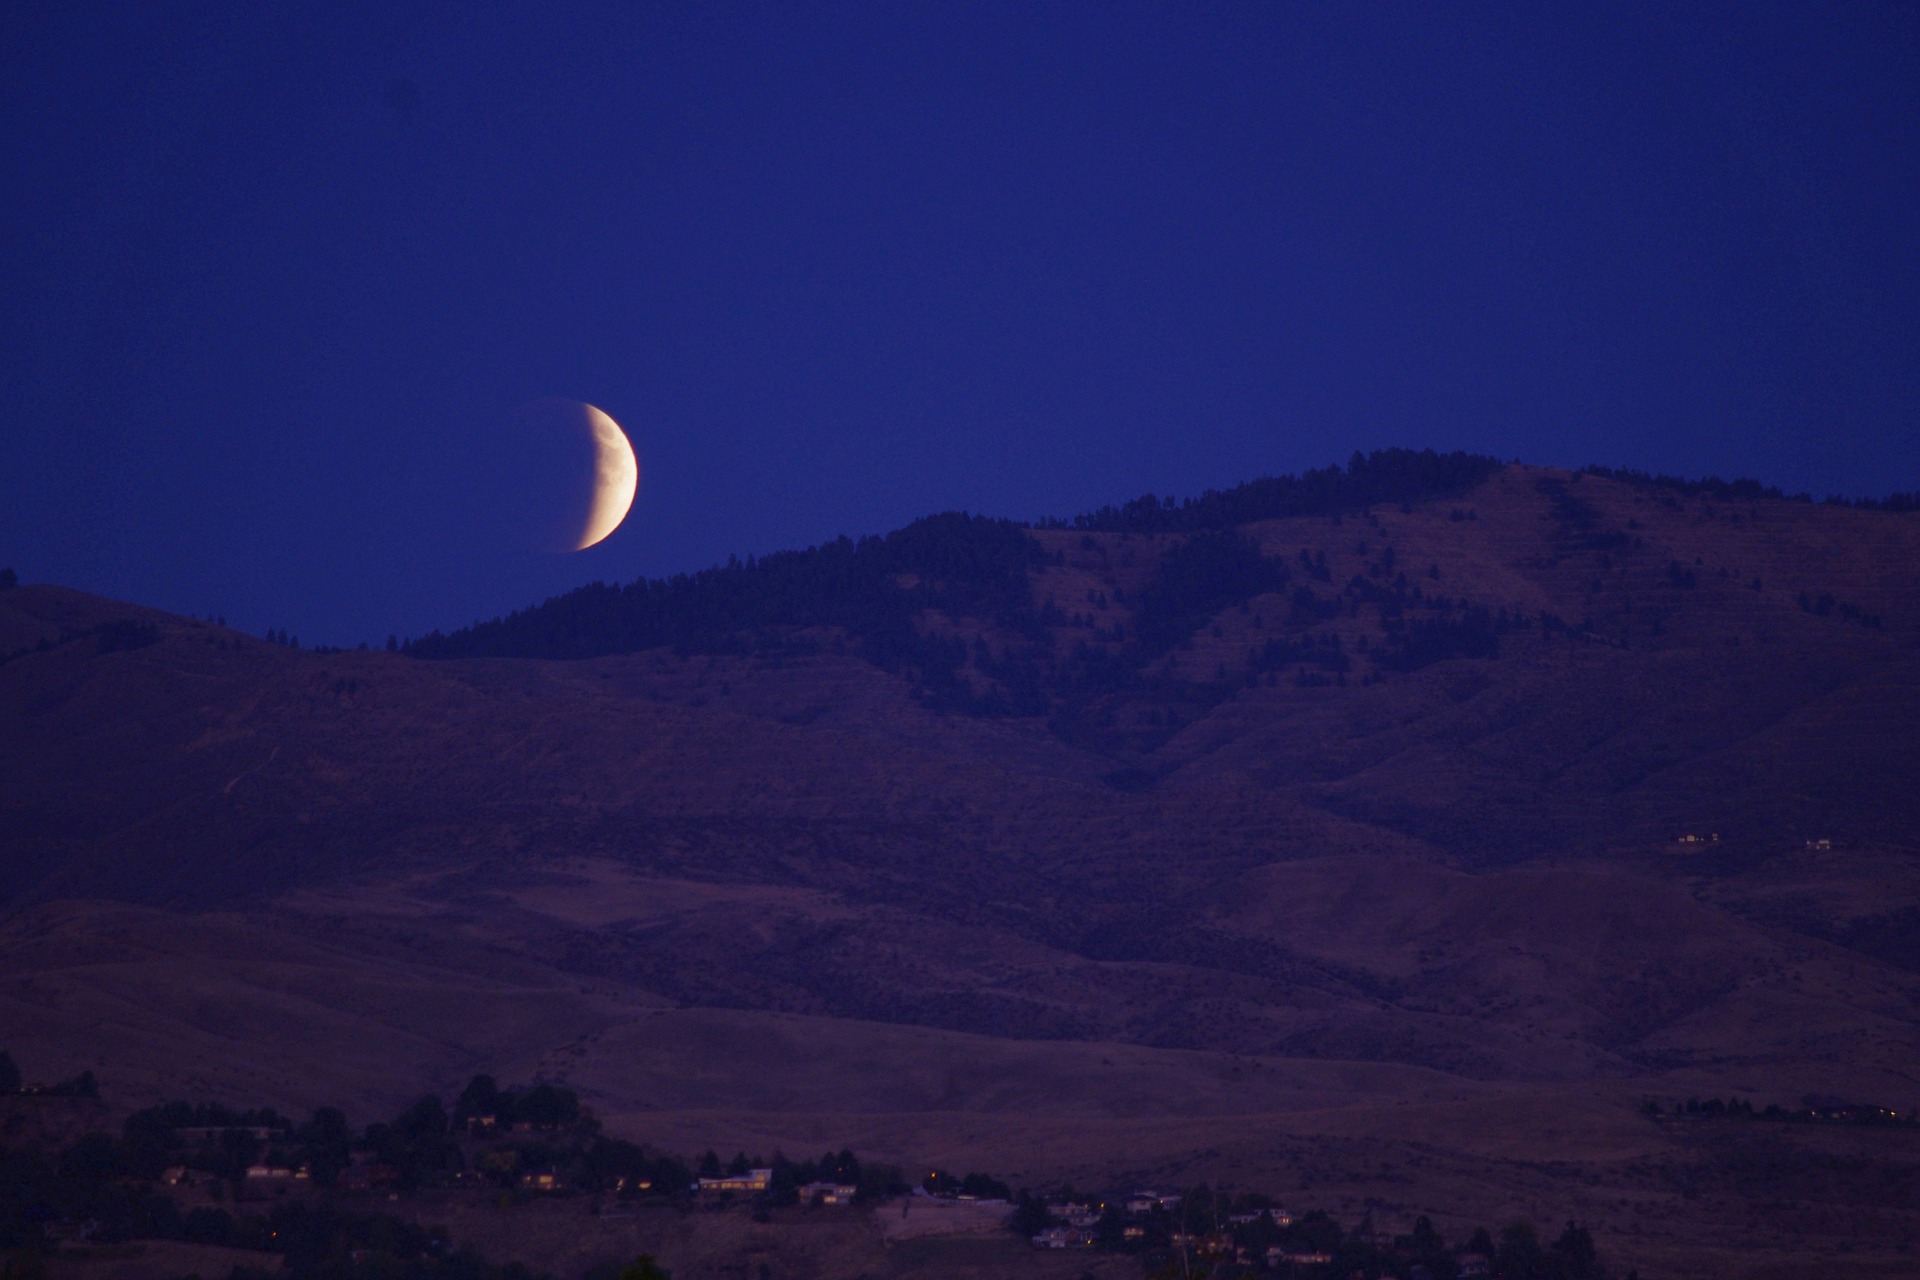
Photo by extremis | Pixabay License
Partway through the eclipse you will find a need to switch to exposing the dark side of the moon instead. This will overexpose any bright parts that are left, so it’s recommended to leave this until as late as possible.
As the eclipse continues, gradually increase your ISO and decrease your shutter speed. Around 1 to 2 seconds of exposure is when you will start to see motion blur without a tracker. Bear this in mind and you should be able to work within the right parameters – and try to check your images as you go by zooming in on the screen to check the sharpness.
→ Related reading: 3 Ways to Use Shutter Speed Creatively
You can reduce blur by using a tripod, a shutter release cable, mirror up or EFCS mode at least a second before taking the shot, and turning off autofocus.
Focus on the moon early on when it is clear to see, then turn off your autofocus, as it will remain the same distance from you during the totality.
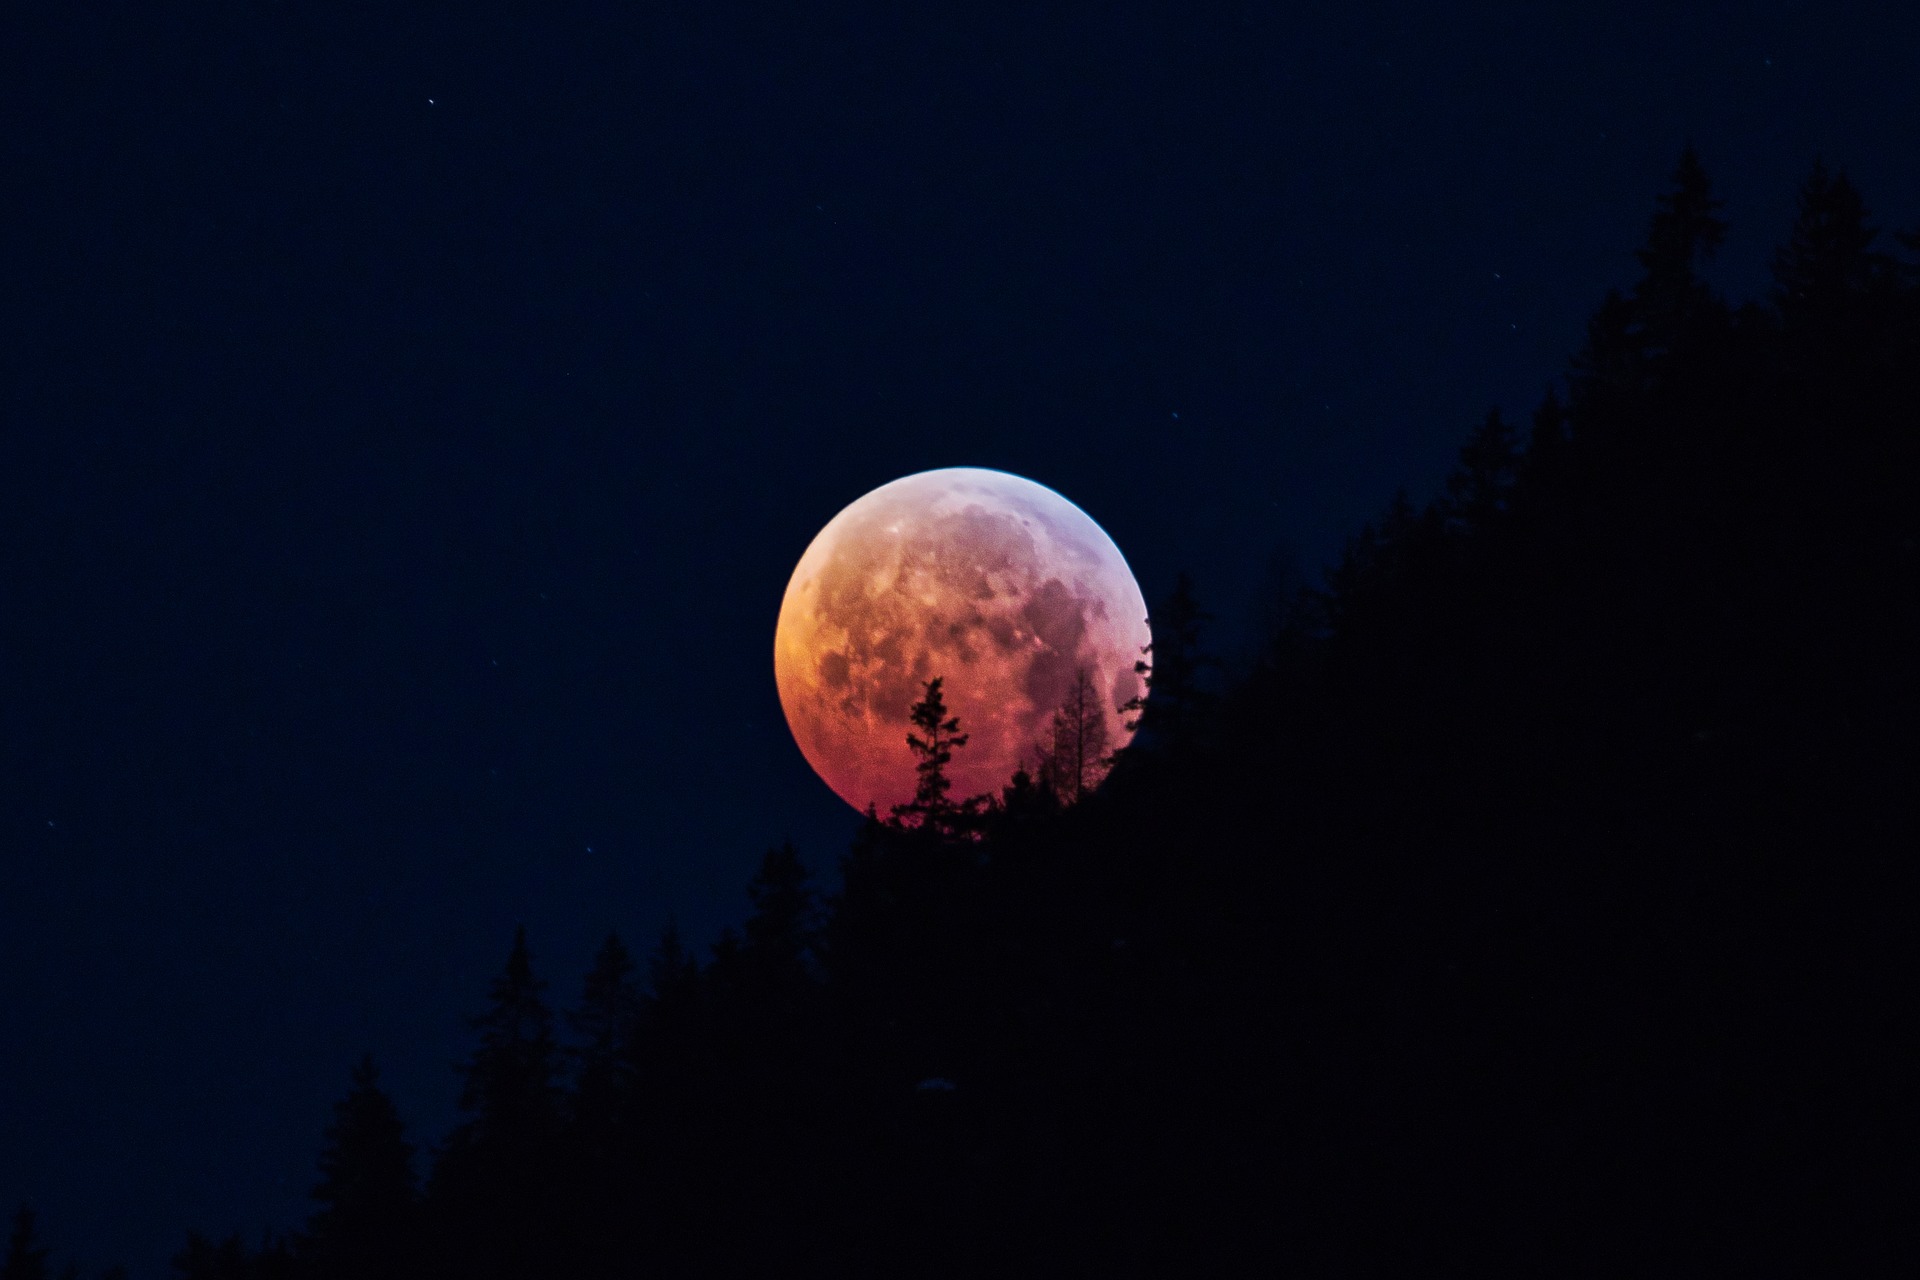
Photo by Mario Eppinger | Pixabay License
This advice should help you to accurately photograph the lunar eclipse, so you can spend more time considering your composition and the desired end result!
Photo license links: Unsplash, Pixabay