Photo by Leila Boujnane / Unsplash License
Wildlife photographers often travel great distances with hopes of seeing and photographing animals. But if you aren’t able to travel, or don’t like the idea of long, expensive trips that might not produce results, you can also try to photograph wildlife right at your own home.
You may not have considered the possibility of photographing wildlife from your own backyard, but it’s very possible that there is more of an opportunity than you might have realized. Of course, not all backyards are equal and some will provide far more opportunities than others, but if you haven’t tried it before, you may be missing out on some great opportunities that don’t require any travel.
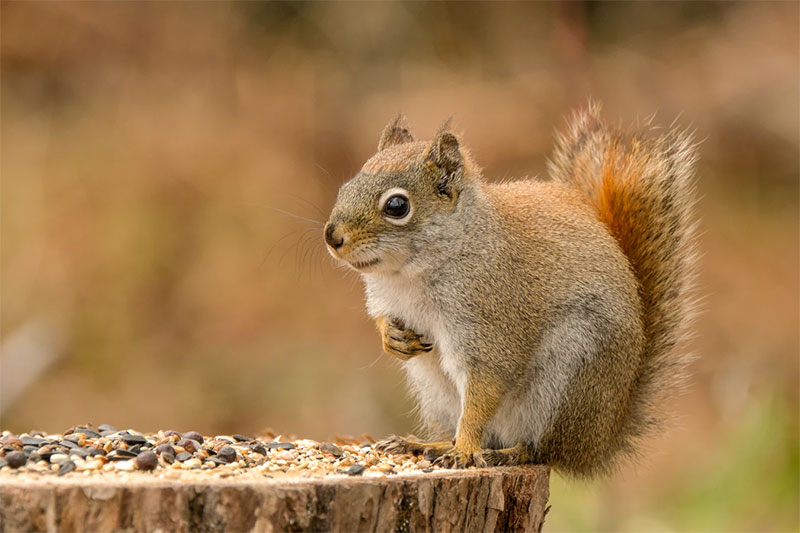
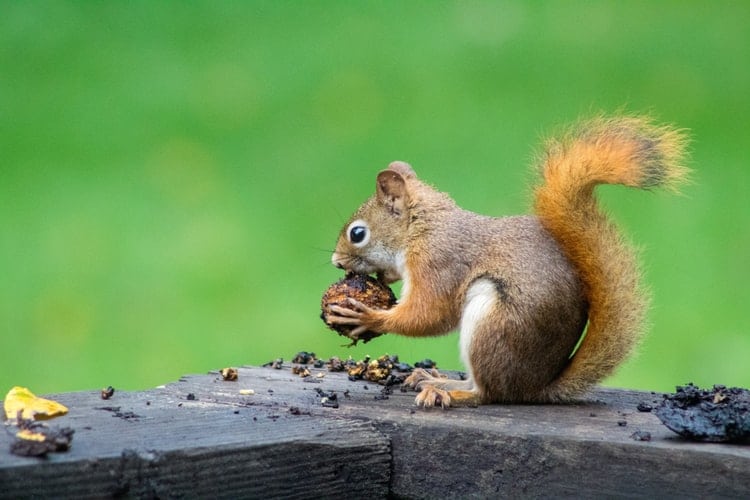
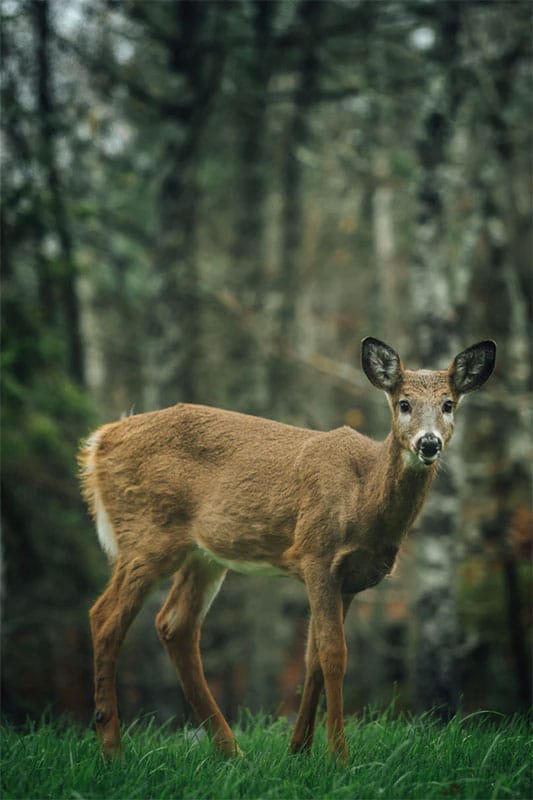
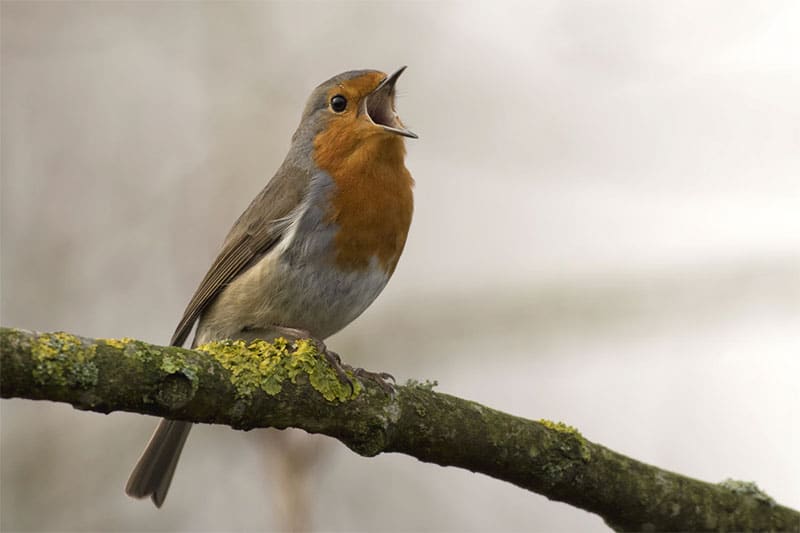
A few years ago, I had never considered trying to photograph wildlife on my own property. But the past 3 years I lived in place where I saw enough wildlife that I couldn’t help but notice the possibilities. I’ve seen deer, fox, raccoons, chipmunks, squirrels, rabbits, toads, snapping turtles, snakes, pheasants, and many other kinds of birds.
Here are ten tips that can help you to get better wildlife photos without going away from home.
1. Be Patient (and Quiet)
Photographing wildlife, regardless of where you are doing it, will require a lot of patience. Not only will you need to wait for the animals to arrive, but you’ll also need to wait for them to get in the right position for your shot. Photographing wildlife from your backyard can remove travel from the equation, but it doesn’t take away the need for patience.
In addition to being patient, you’ll also need to be quiet. Wildlife will be scared off by noises and they’ll act much more natural if they don’t know that you are there watching them.
2. Attract Them With Food
Probably the best way to attract wildlife to your yard is to lure them with food. The type of food that you use will depend on what you want to attract, but everything from meat, to nuts and seeds, to worms can work. And water can also help too, especially pools of water for birds.
When it comes to feeding wildlife, you’ll want to do it carefully and sparingly. You don’t want to do it excessively or all the time because otherwise, wildlife can become dependant on you for their food.

Photo by Caleb Martin / Unsplash License
3. Have the Right Gear
In order to get the best results, you’ll need to have the right gear. Here are a few items that can be a big help.
Blind
A blind will allow you to hide from the wildlife and photograph without being seen. Hunting and photography blinds can be purchased relatively inexpensively (you can get them from Amazon or any number of other places). With the help of the blind, you’ll be able to get closer to the wildlife without being noticed.
As an alternative to a blind, you could open a window and photograph from inside the house to prevent disturbing the animals.

Photo by Tim Foster / Unsplash license
Telephoto Lens
The specific lens that you’ll need will depend on a few factors, like the types of wildlife that you are photographing and your camera (full frame vs. crop sensor), but in any scenario, you will need a telephoto lens to be able to get quality photos from a distance.
In general, you’ll probably want a lens somewhere in the range of 200mm – 400mm. A 200mm lens on a crop sensor may give you enough reach to get the job done. For photographing some types of wildlife, like birds, having more reach will help.
See our lists of the best telephoto lenses for Canon and the best telephoto lenses for Nikon.
Tripod
A tripod will help for stabilization and will give you the sharpest photos possible. See our article on Tripods, Monopods, and Image Stabilization for recommendations.
Because wildlife photography requires patience, a tripod can also help to eliminate the need to hold you camera for long periods of time. Cameras can get heavy, especially with long telephoto lenses attached.
Remote Shutter Release
There may be situations where you want to mount your camera on a tripod and use a remote to trigger the camera. An infrared remote will allow you to trigger the camera from several feet away. This may be helpful if you want to set up the camera in a particular spot where you wouldn’t be able to hide or disguise yourself.
One of the challenges of this approach involves getting the right composition. You may want to stage a particular area to get wildlife in an exact spot so your shot will be well-composed. Use food to draw wildlife to the exact spot where you want them.
4. Use a Fast Shutter Speed
Photographing wildlife requires the use of a fast shutter speed in order to freeze the action and prevent blurry photos. You never know when an animal is going to move or take off, so keep the shutter speed fast in order to get sharp photos.
The exact shutter speed will depend on the situation, but generally somewhere between 1/100th of a second and 1/1000th of a second will be needed. If you’re not shooting in manual mode, one option is to use aperture priority mode and set the camera to the widest aperture (smallest f-stop number), which will give you a fast shutter speed.

Photo by Jan Meeus / Unsplash license
5. Think About the Lighting
Lighting is always important, regardless of what you are photographing. Backyard wildlife often looks best in warm light during the golden hours after sunrise and before sunset. Sunrise can be a great time because not only is the light ideal, but many animals are more active very early in the morning.
6. Pay Attention to the Background
One challenge you may face with photographing in your backyard is the background of your photos. You won’t want to get the neighbor’s house, a car, telephone lines, or other unsightly objects in the frame. Be sure to think about the background and put yourself in a position where you are photographing from a perspective that will have something natural in the background.
If you haven’t tried it before, photographing wildlife from your backyard can be a great exercise. Follow these tips (most importantly, have patience) and you should be able to come away with some photos that you’ll appreciate.
Photos in this article are used under the terms of the Unsplash license.