Image: Daniel Manners / CC BY 2.0
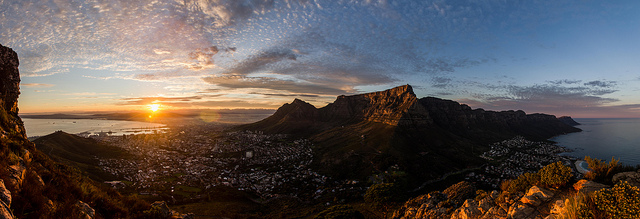
At some point you’ve almost certainly encountered lens flare, that bright glaring light that sweeps into photos, causing them to have a blurry, dappled appearance.
Lens flare can happen when any bright, non-image forming light from the sun, or another light source hits the front element of your lens. It often appears as a polygonal shape, and is usually accompanied by a haze that lowers the contrast of an image considerably.
While flare is sometimes used intentionally as an artistic enhancement, for most landscape photographers, it can be an unwelcome addition in photos –and something that you’ll often want to prevent or avoid.
With this in mind, let’s take a look at a few things that you can do to avoid flare in your landscape images.
1. Use a Lens Hood
For the most part, lens flare is caused when shooting into direct sunlight. One of the easiest ways to help eliminate lens flair is by investing in a lens hood to help block direct sun rays from reaching your front element. As a bonus, a lens hood will also protect your camera from minor knocks and dings. While most lenses come with a lens hood, if yours didn’t, they are inexpensive and easy to get ahold of. Just take care if you’re using a third-party lens hood, as incompatibility can result in vignetting, especially when using it at the shorter focal lengths. When purchasing a lens, you can choose from a round lens hood and a petal lens hood. Usually, round lens hoods are used on longer lenses, while petal-style hoods are best for wide-angle lenses.
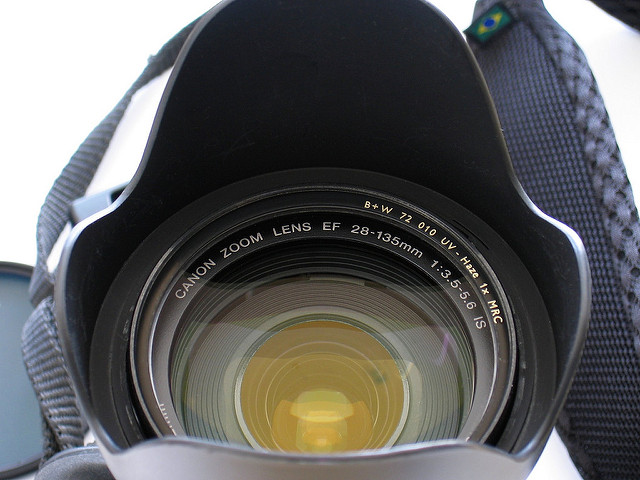
Image: Claudio Matsuoka / CC BY 2.0
2. Block It With Your Hand
In a pinch, if you’re caught without your lens hood, you can use your hand to help block the light. Just cup it around the top of the lens, making a “c” shape, and keep adjusting the shape and angle of your hand until the lens flare is gone. Just be careful that your hand or unwanted shadows don’t end up in the shot!
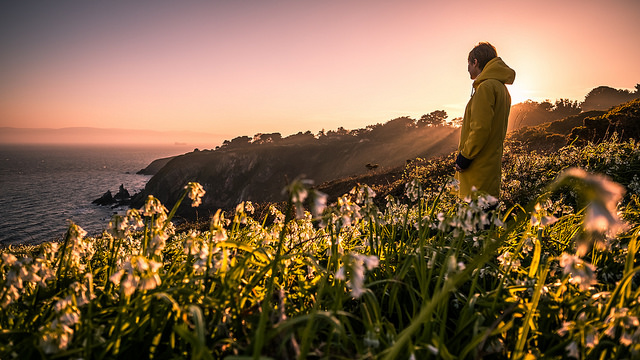
Image: Giuseppe Milo / CC BY 2.0
3. Watch Your Filters
While filters are great tools for landscape photography, the extra glass can increase your chances of developing lens flare. This is especially the case for low-quality filters, which tend to create more flare and ghosting issues in images. If you find yourself plagued by lens flare and you don’t require the filter for your shot, then consider taking it off. When it comes to preventing flare, the less glass the light has to pass through, the better.
Related reading: An Intro to Filters for the Landscape Photographer
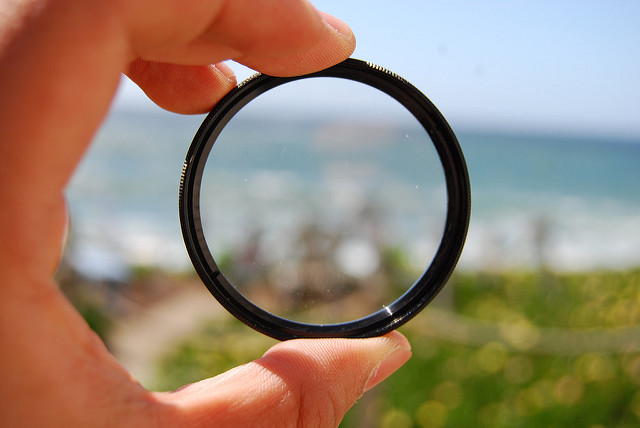
Image: crazyad0boy / CC BY 2.0
4. Block the Light
Sometimes you can avoid flare by reframing your image and using trees, boulders, a mountain range, or other elements to block the light source, giving you a perfectly composed shot, with less flare. Or, consider partially obscuring the light source, rather than blocking it out entirely –often rendering the light as a starburst.
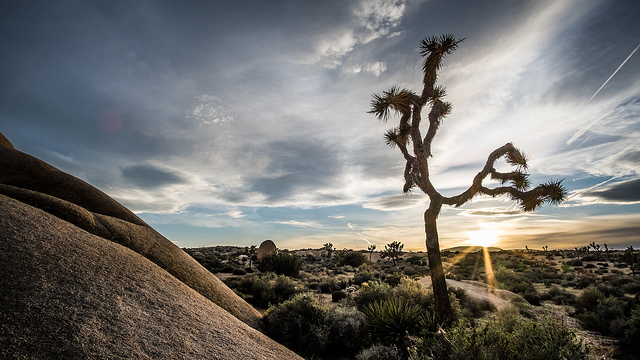
Image: Giuseppe Milo / CC BY 2.0
5. Adjust Your Angle
If you’re fighting flare, another option is to adjust your angle. Flare is caused by direct light hitting the sensor, so standing in the shade can help to prevent this from happening. Additionally, you could try angling your camera in a different direction, so you’re not shooting directly into the sun.
Related reading: How Perspective Impacts Landscape Photography

Image: James / CC BY 2.0
6. Zoom in or Out
Adjusting the focal length of your camera can also help to eliminate lens flare. While simply zooming to a different focal length might not eliminate flare completely, often, it can reduce unwanted sunspots.
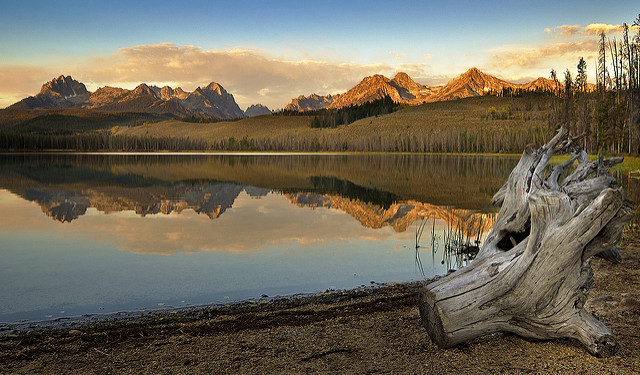
Image: Charles Knowles / CC BY 2.0
7. Clean Your Lens
A dirty or smudged lens is more prone to lens flare. It’s important to clean your lens if you notice smudges, or if you’ve been doing coastal photography, where a salty film can quickly build up. To clean your lens, use lens tissues or a microfiber cloth and start wiping from the center working to the outside of the lens. Just take care that there are no small bits of grit in the cloth or on the lens itself, remove these with a blower or brush first, to avoid polishing them into the lens and scratching it.
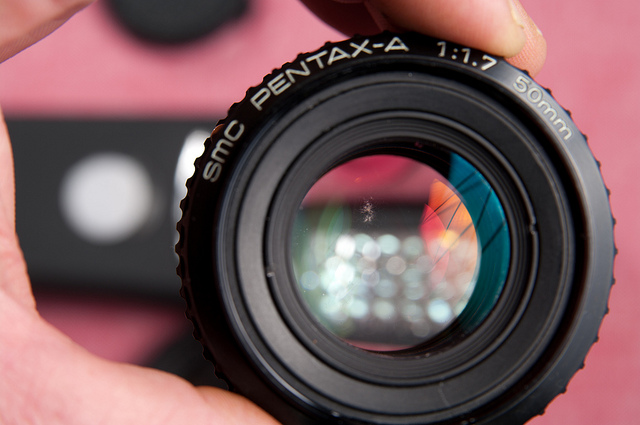
Image: OzAdr1an / CC BY 2.0
8. Consider Your Gear
Certain gear, such as prime lenses are less prone to lens flare that others. One reason for this is because they have fewer internal parts for the light to disperse through. Additionally, coated filters, while more expensive than regular filters, are also less prone to lens flare than regular filters since they don’t smudge as easily.
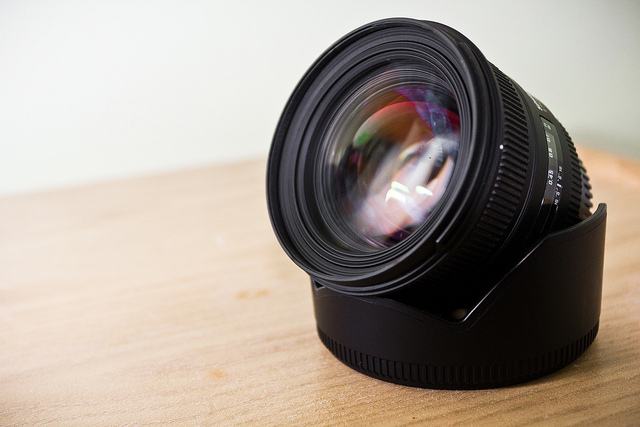
Image: Joey / CC BY 2.0
9. Edit It Out
Of course, you could also edit out the lens flare in post processing. While it would be difficult to edit out the haze that often accompanies lens flare, the shapes of light could be edited out easily enough. Consider using the brush tool or the spot healing tool to cover up or clone out the spots.
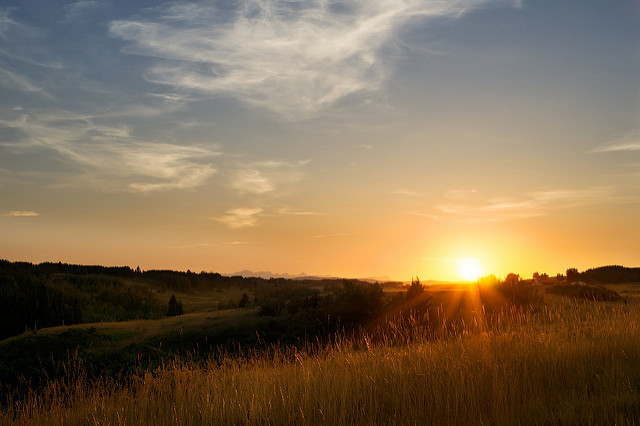
Image: MattysFlicks / CC BY 2.0
10. Work It In
Finally, while we all know that lens flare is often unwanted in many images, in some cases it can be used to enhance an image as well. In fact, there’s even a Photoshop filter that can help you to insert flare into your images. In most landscape images, you’ll want to keep the flare to in one section of the composition, rather than allowing it to take over the entire image. Just take care when shooting into direct sunlight. Always protect your eyes by using the LCD screen instead of looking through the viewfinder, and create your shots quickly to avoid damaging your camera’s sensor.
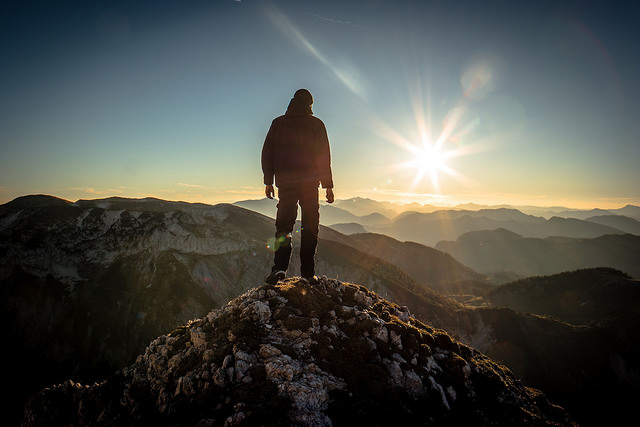
Image: Robin Jacob / CC BY 2.0
While unwanted flare has the potential to ruin any photograph, learning to avoid it isn’t difficult. In time, you may even want to experiment with incorporating it into your shots; using it to add an artistic and, in some cases, almost futuristic feel to your compositions.
Photographers –how do you avoid lens flare, or work it into your photos? Share your tips and advice with us!
Photo license link: CC BY 2.0