Toy photography is a really fun way to create really epic-looking images on a tiny scale. It really hones your skills as a photographer, as lighting and action are what makes this look so dynamic and amazing.
Quick safety point: Please be careful when playing with fire, ensure plenty of water is nearby and you’re away from anything flammable. Use appropriate safety gear. Also, don’t sue me. Cool, that’s over with.
Firstly you need to decide on the toys you want to use. We used Star Wars figures because for the most part, there are no faces, which are harder to make look realistic with cheap figurines. Then decide on a suitable setting for them, we decided on a couple of different scenes;
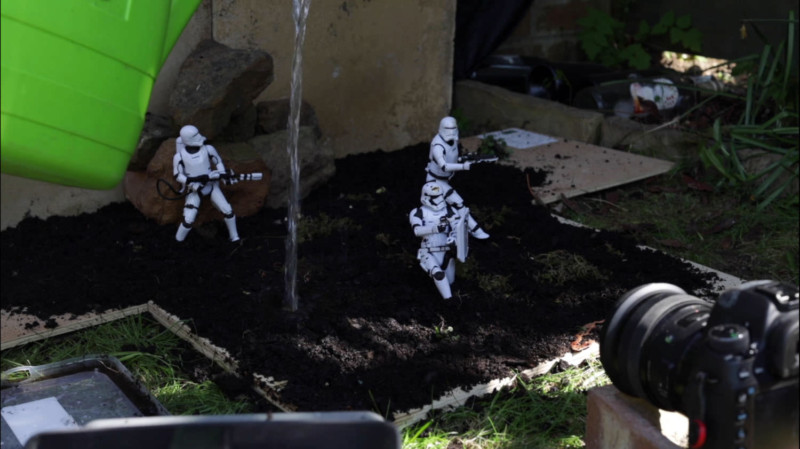
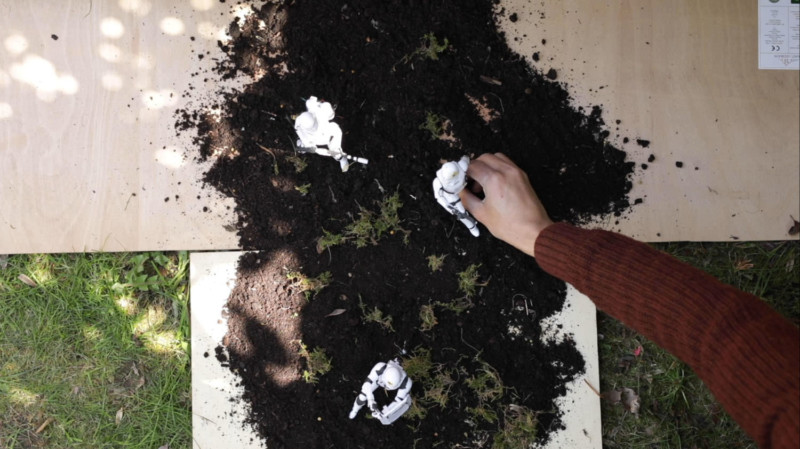
For the first scene, we used some old paving slabs as a backdrop, laid down some soil and then placed some rocks and moss in there to break it up a bit. We poured water on it to make it look boggy and help with the explosions.
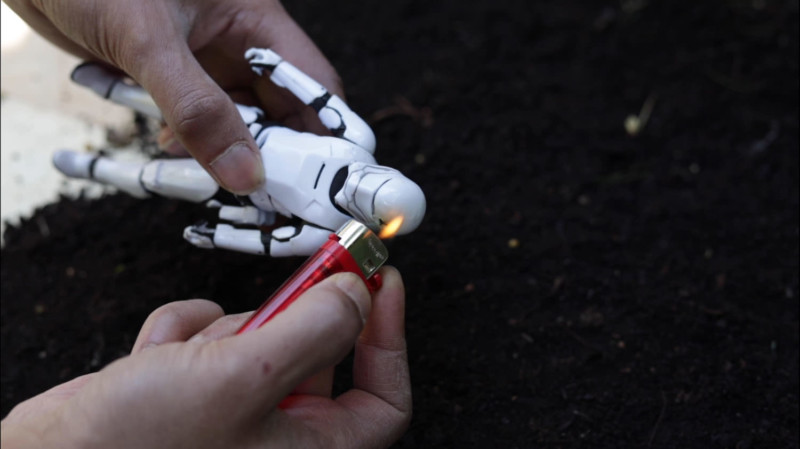
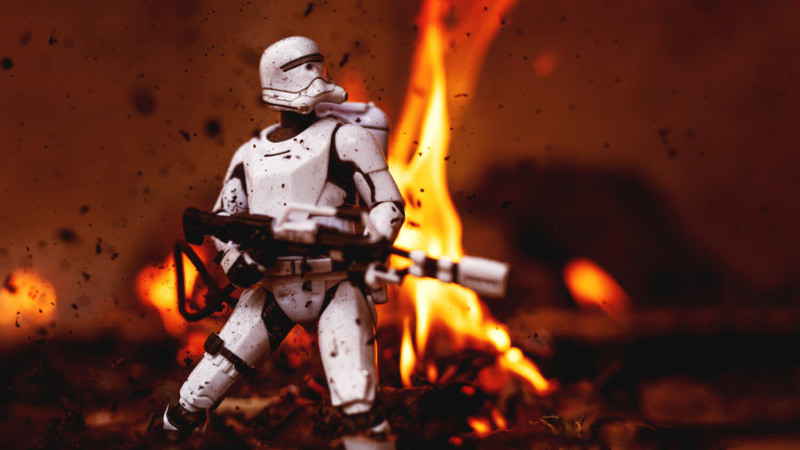
We used a lighter to burn parts of the figures to make it look like they had blaster shots bouncing off there helmets and shields.
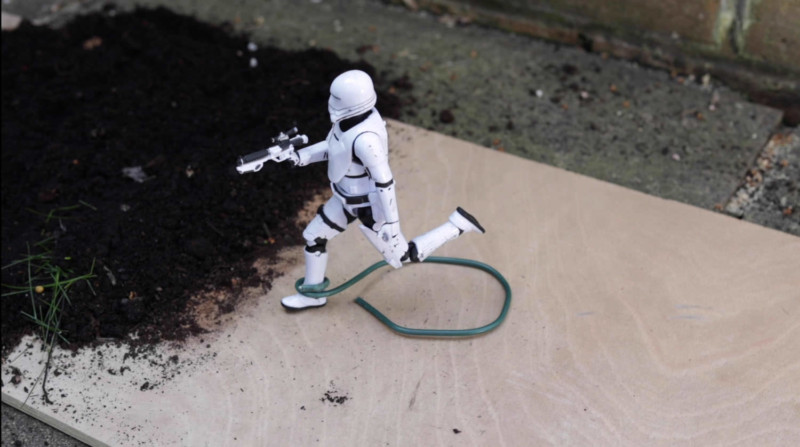
Use heavy-duty garden wire or similar to hook around a foot and then make a decent-sized loop, this will act as a stand base for your figure while it’s posing in whatever way you like. Choose a pose that looks like there is movement to help sell that dynamic look we’re going for. Then you just hide the coil of wire with the mud or whatever you’re using in the scene.
This will be fiddly!


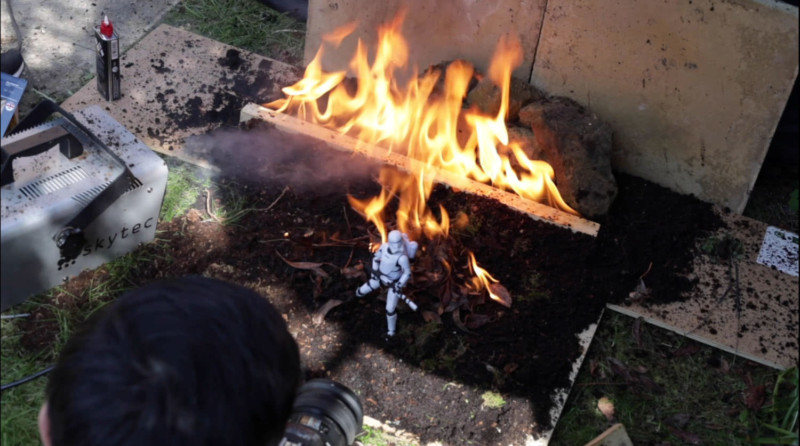
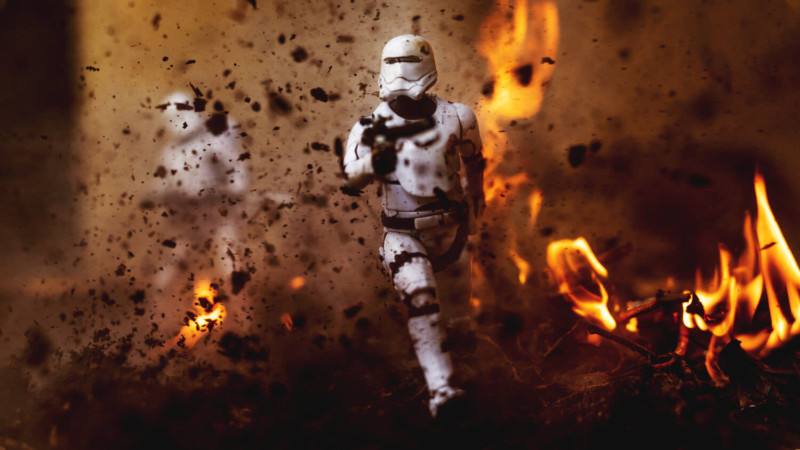
The fun part! Now set your camera up on a tripod and put it on burst shooting, you’ll need every frame as things happen fast! We used an air pressure gun, the type used to clear blocked toilets and drains, to fire into the mud to create explosions and debris. Sparklers and firework fountains were used to throw sparks into the image, as if from nearby explosions and of course fire. Lots of it.

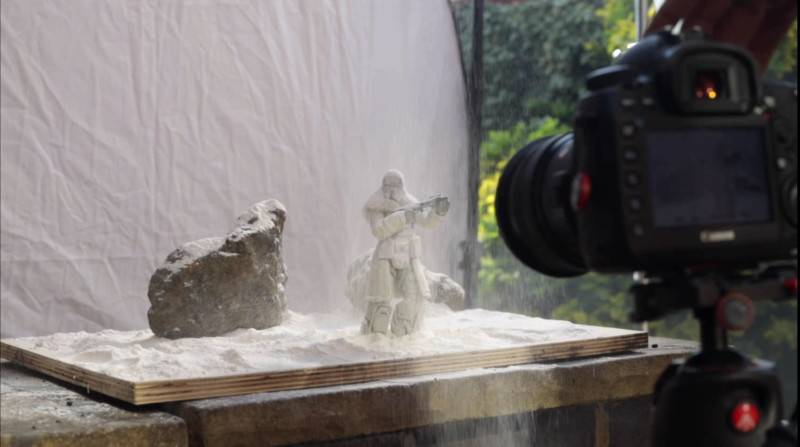
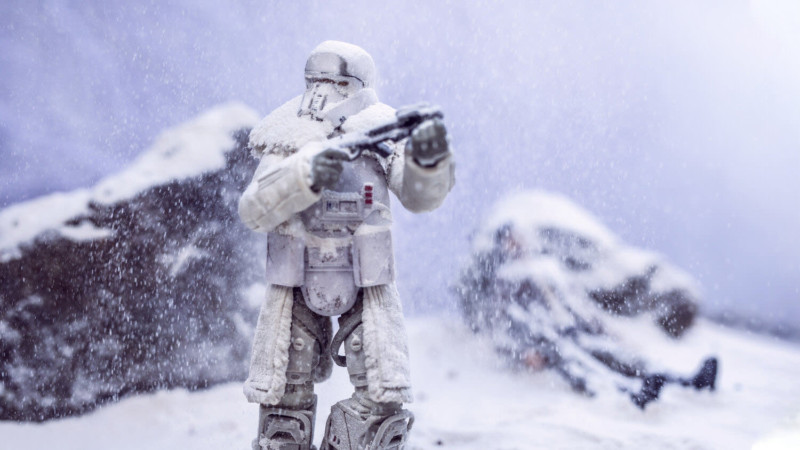
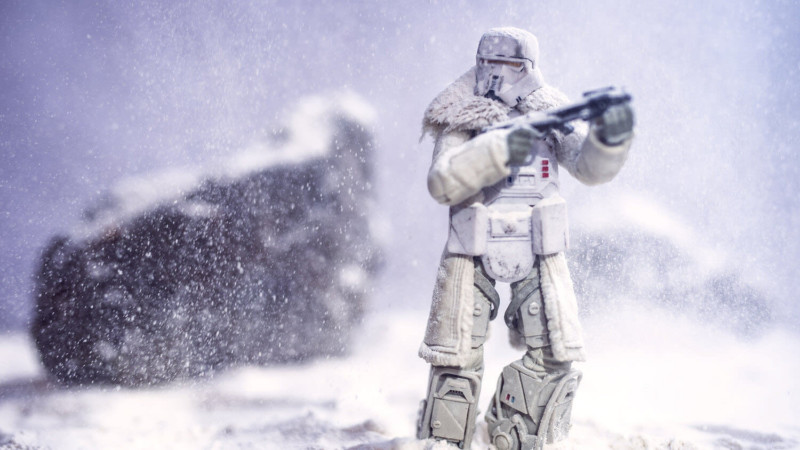
For the next scene, we wanted to go for a snowy blizzard environment, So we used a white reflector as a backdrop, and then spread some plain flour out on a wooden board. We then placed our characters in the scene and sifted flour down from above for the snow.
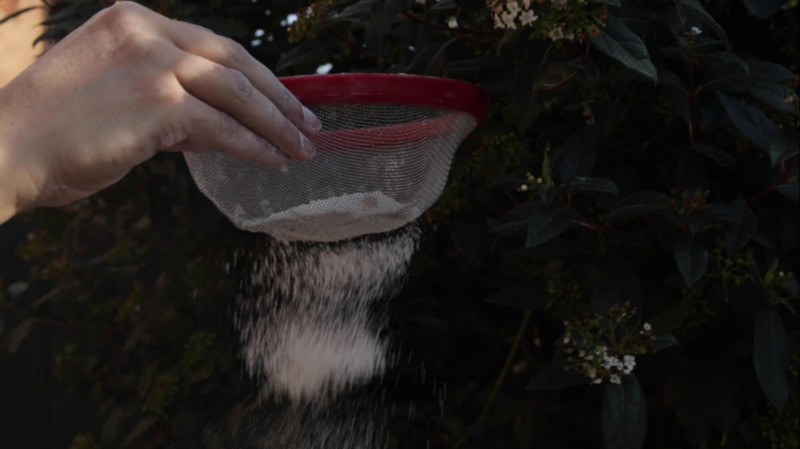
Important: Do not used flames or sparks around flour, this can create serious explosions and will be dangerous.
I hope you enjoyed this tutorial/ video — it was a laugh to make!
P.S. Thanks to Adam Tyrrell for the videography as always.
About the author: Raj Khepar is a photographer, retoucher, and furniture maker based in Brighton, East Sussex, UK. The opinions expressed in this article are solely those of the author. Khepar is also a Canon “Guru” (Pro Specialist). You can find more of his work on his website, YouTube, Facebook, Twitter, and Instagram. This article was also published here.