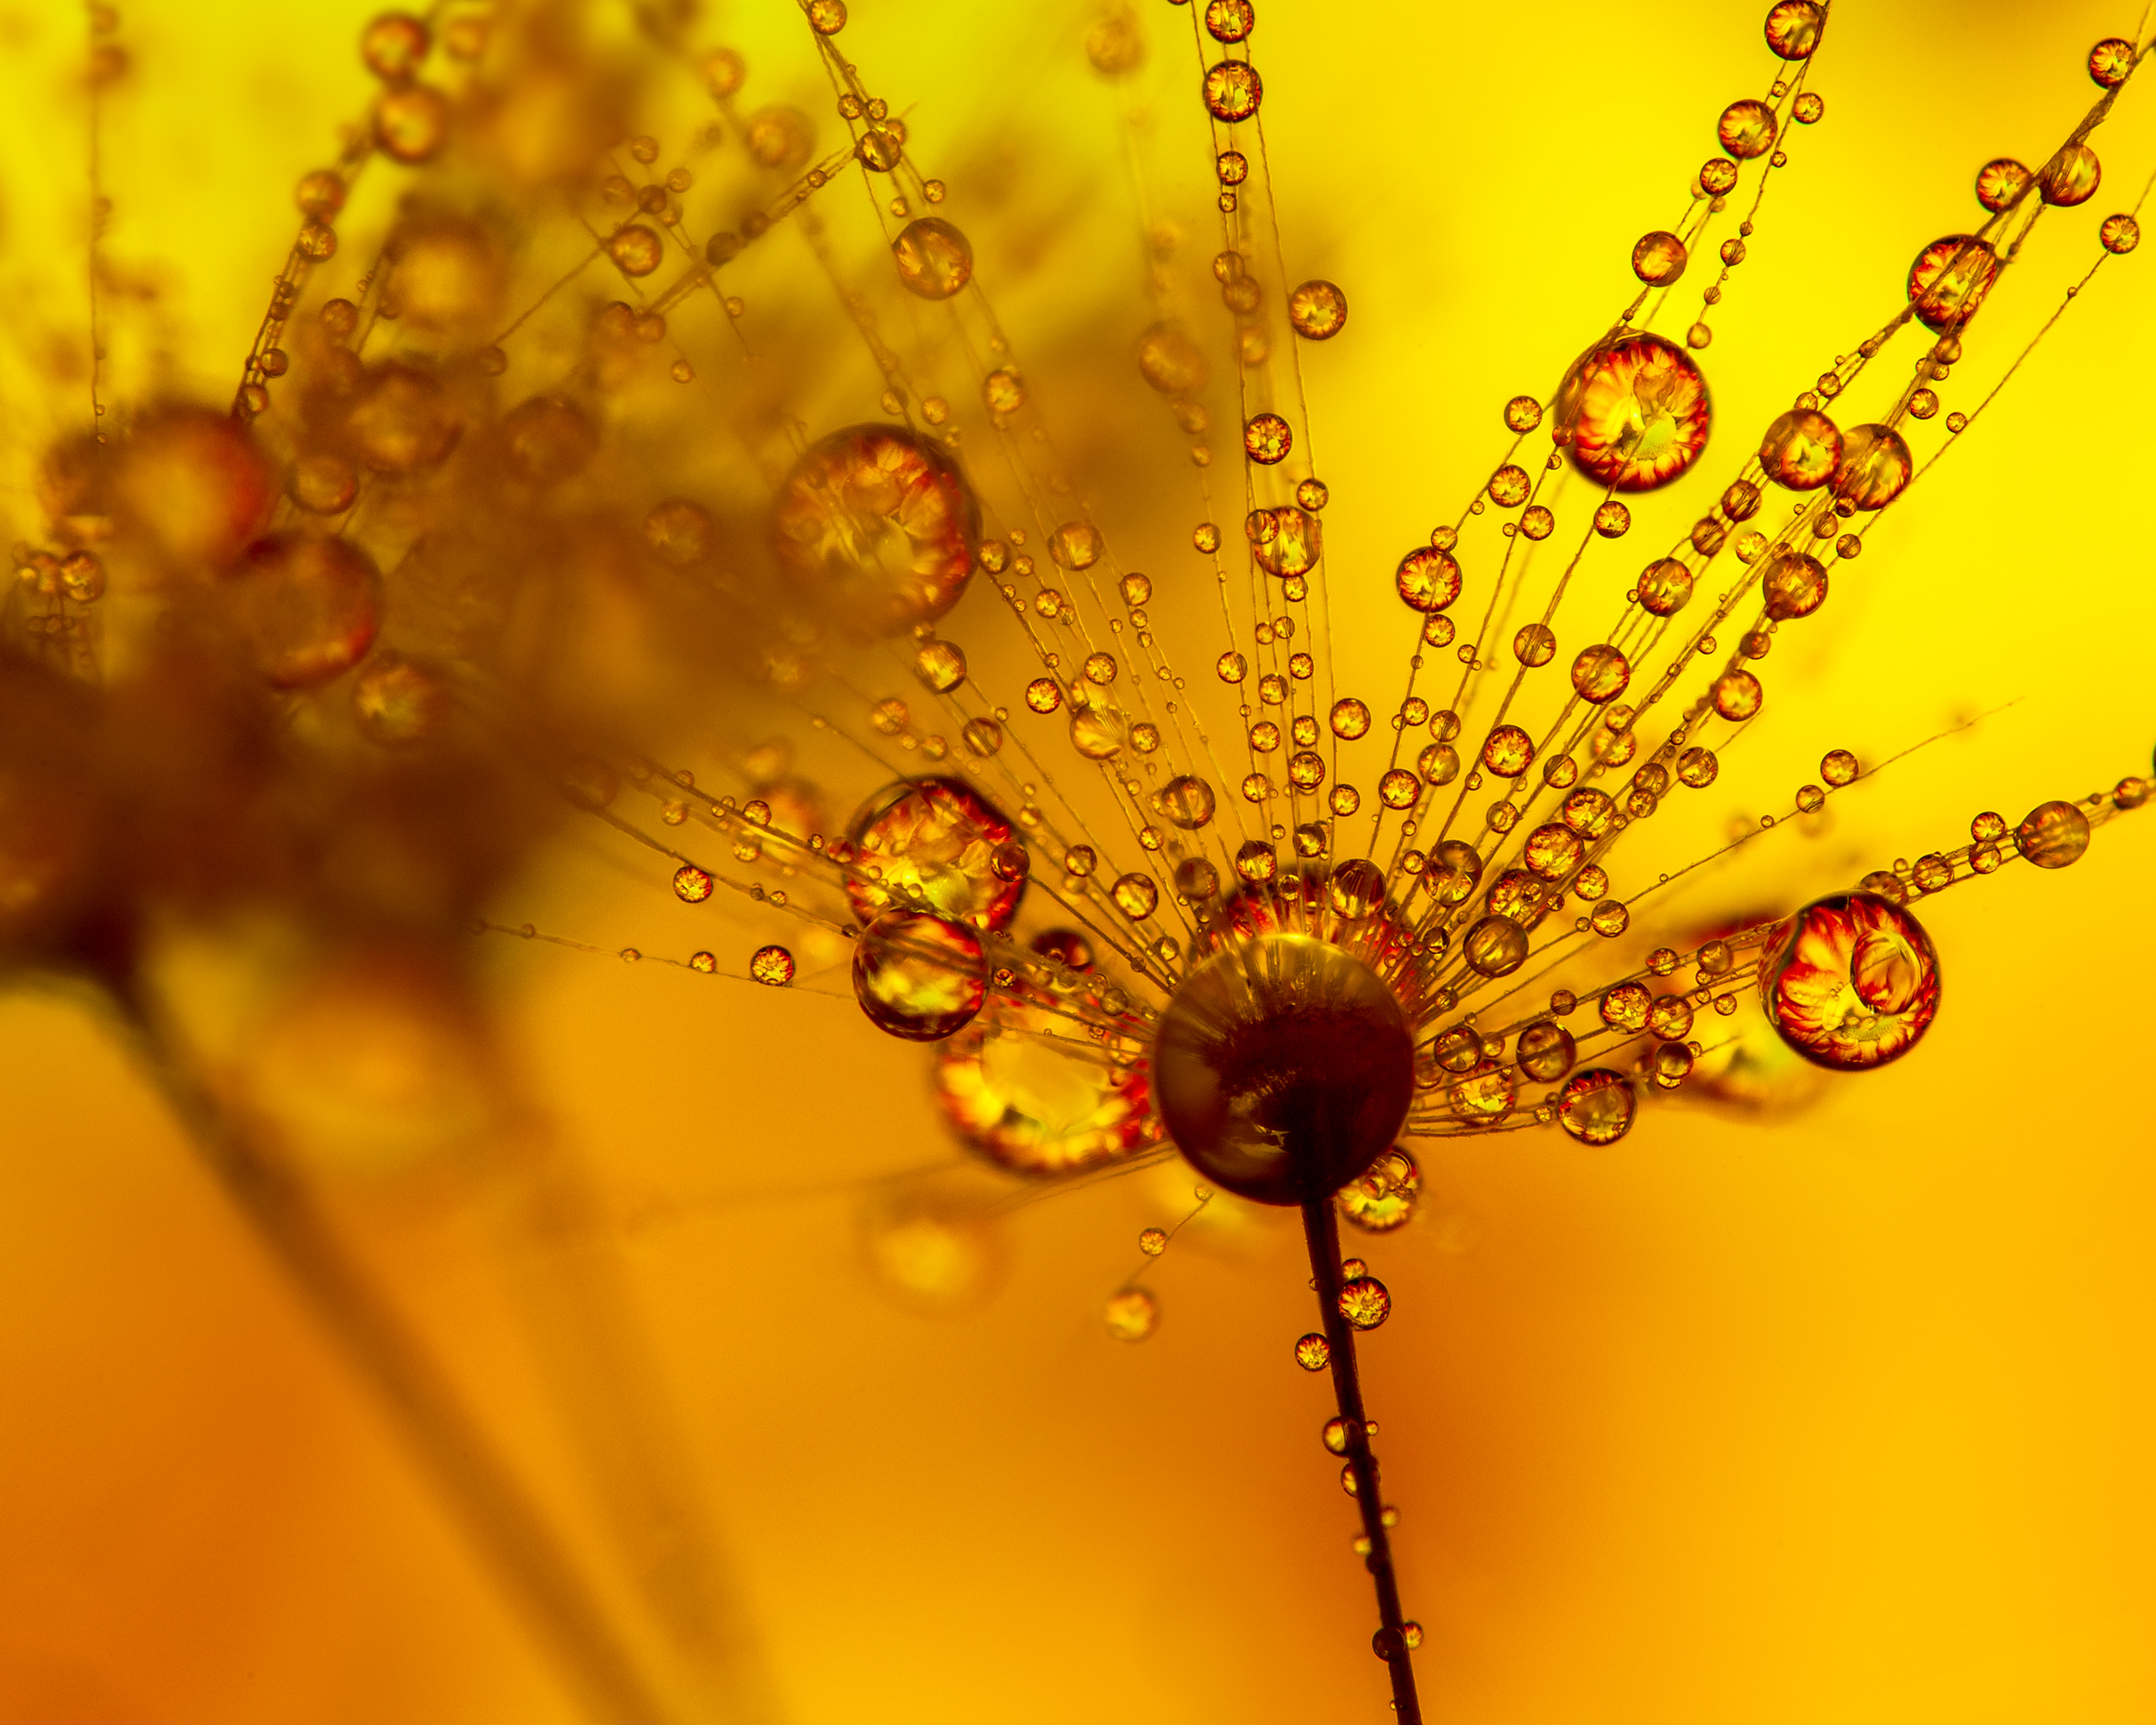
Refraction photography is an exciting subject that has been enjoying increasing popularity amongst photographers. You’ve probably seen refraction photos before: where an out-of-focus background appears sharply defined inside a crystal ball or a dew drop for example. In today’s post, we will examine this phenomenon and learn how to take beautiful photos by taking advantage of this effect.

What is Refraction?
Physically speaking, refraction is a very broad term: it describes the process of light passing from one medium into another and the effects this has on its speed and direction. A prism, for example, affects light of different wavelengths differently and splits white light up into the colors of a rainbow. Sunlight shining through a glass of water and casting interesting patterns on a table top would be another example.
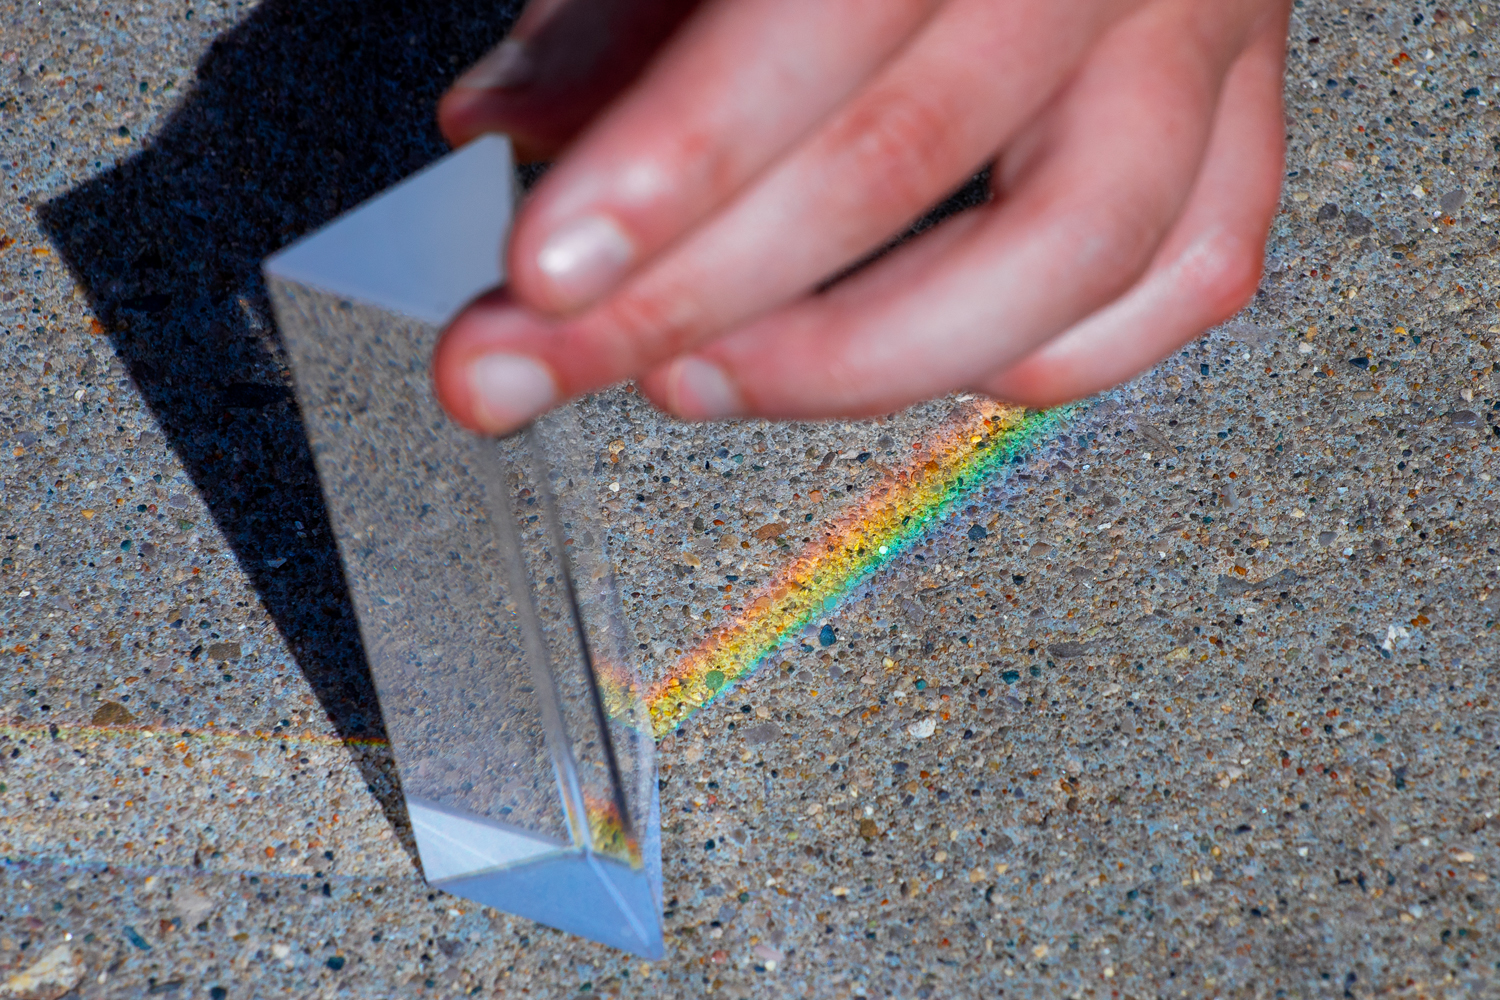
So basically, refraction happens around us all the time—wherever there is light, pretty much. Even your camera lenses and the optical coatings applied to them work by the laws of refraction. But the effects become especially interesting when it comes to round and transparent subjects, such as a lens balls or water droplets for example.

How does it work?
Because of their convex lens-like shape, certain subjects refocus the light that passes through them into a sharp projection of their background, just as like a lens would. This phenomenon makes for stunning photographs.
Pretty much anything transparent with solid spherical shape will function as a lens and show this effect.

Photographing Refraction
When it comes to capturing this phenomenon in images, there are a couple of things you should know:
- Lighting the background is more important than lighting the subject. If you use a speedlight, direct it on to the flower, photo, or whatever else you choose as a backdrop—the light will reflect off of it anyway, and this way the projection inside your sphere is going to pop a lot more. If you use ambient light, try combining it with a low power speedlight or even a flashlight that you shine on the background to make it come through better.
- You will most likely have to use Focus Stacking in order to get the outer shape of the orb that you’re using and the refracted image inside of it in focus at the same time.
- Especially if you want to create that effect where the background is blurry but the foreground is super sharp, you will need to open up your lens’ aperture a bit. Another way to increase the blur effect is to move the background even further away from the scene, but be careful to not reveal anything else except what you want to be seen inside the transparent sphere (such as the edges of a photo for example).
Potential Subjects
There are a variety of subjects that will work for this type of photography. Let’s have a look at some of the best:
- Lens balls and marbles: Glass or crystal balls are especially popular amongst landscape photographers. Fortunately, they can be found in diameters as small as 10mm on eBay. Other glass objects will work too, but add an element of distortion to the equation.
- Water droplets: The naturally strong surface tension of water causes small droplets to take on a spherical shape whenever they can. Generally speaking, waxy or hairy leaves are better at holding perfectly round beads of water.
A good trick to add even more surface tension to your water beads is to mix in some glycerin, which can be found online and in most pharmacies. Mixing it with water will result in a liquid that will yield even better result than pure water. - Icicles: In the winter time, you can use icicles instead of water drops. They will distort the projection to a certain degree, but they can still work really well for refraction shots (depending on the conditions they froze in). If there are a lot of cracks or air pockets inside of them, they might not work as well.
- Air pockets in ice or water: Air pockets on the wall of a fish tank or inside a sheet of ice make for great refraction images as well.
- Water in oil: Oil in water is a popular subject with macro photographers, but try it the other way round and you will be able to create refraction images in the floating water bubbles. Just be careful when you place the water drops (ideally with a syringe) as they will sink down otherwise. The cool part is that you can have multiple bubbles at different heights this way, which makes for a gradient in sharpness.
- Gel beads: Water absorbent gel beads that are used in flower vases or air fresheners are round and transparent and therefore work too. (see sample photos below)
- Many more that I haven’t thought of yet, so use your imagination!

Getting Creative
But enough of the theory! Now that we know what kinds of subjects work, let’s have a look at the practical side. In the following examples, I’ll show you some refraction photos I took and give you insight into their creation.
Samples
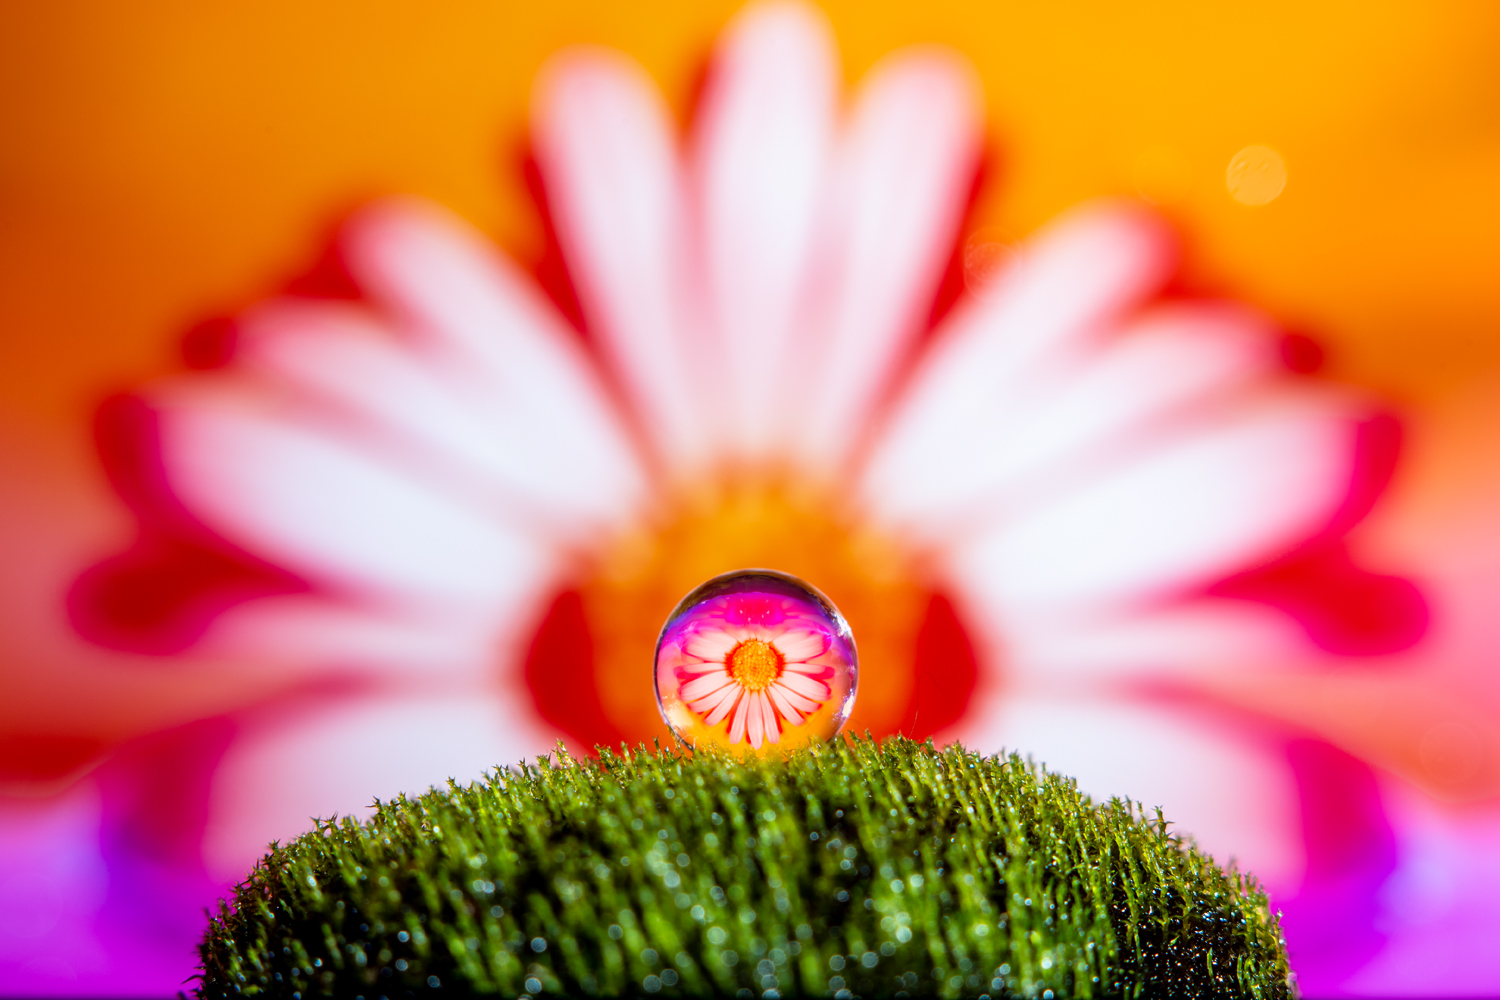
The image below was shot using a crystal bead from an air freshener. A patch of moss—which I usually keep in a humid plastic container—made for a wonderful stage, and a flower photograph in the background served as a warm and colorful background and as a point of interest inside the bead:

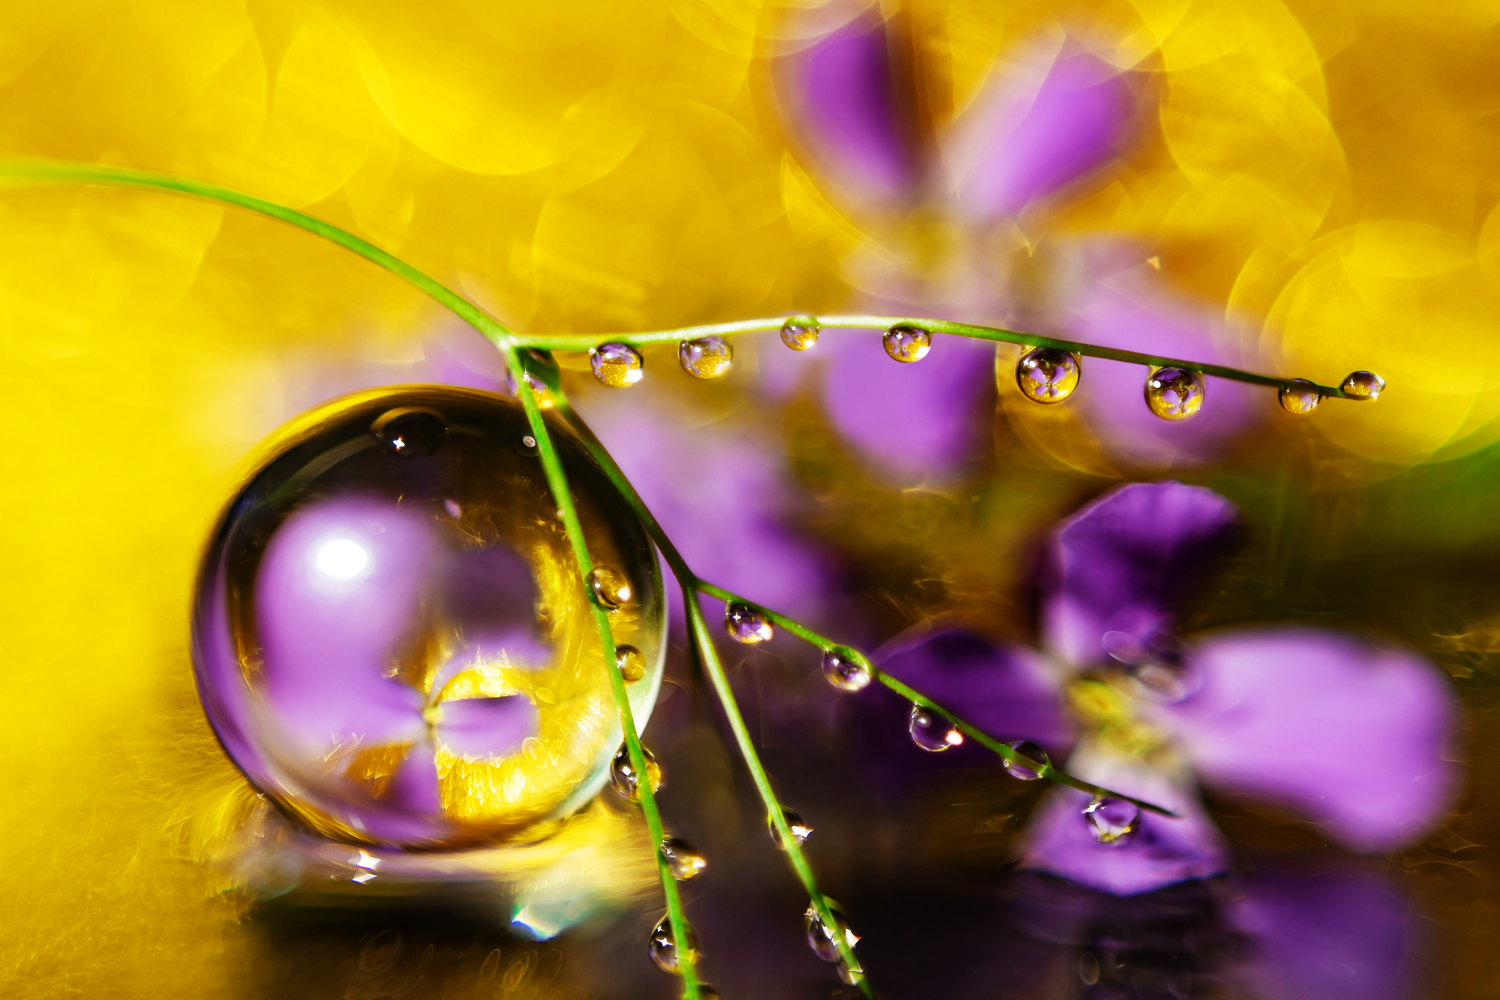
A lens ball serves the same purpose, but is quite a bit larger and easier to keep clean and use outdoors. For the photo below, I used golden glitter paper in the background and shot wide open at f/1.8 to get the bokeh I was after. Since refraction photos generally need to be stacked for best results anyway, I didn’t mind the shallow depth of field.
The next set of photos was created with a flower photograph in the background as well, but executing the shot was little bit more difficult. This is why I created a making of video, where you can watch how I set up the dripping mechanism and built the scene.
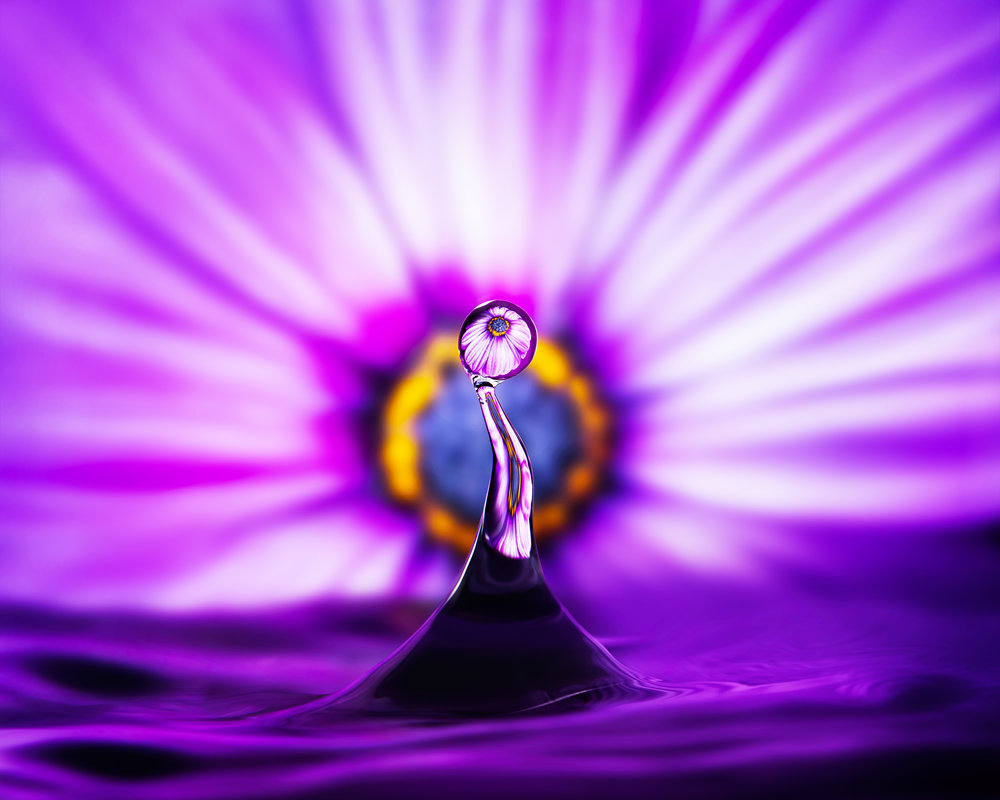

A glass with a water and an overhanging cloth inside it functions as a drip feeder. Place a small sauce trey (or something like it) underneath to catch the droplets and make them bounce out of the surface. You will also need a speedlight, ideally at a low power setting, to freeze motion and capture a crisp image.
Of course, this isn’t the only way to take refraction photos using water drops. You can also place beads on a leaf, a flower, or dandelion seeds to create images like these:


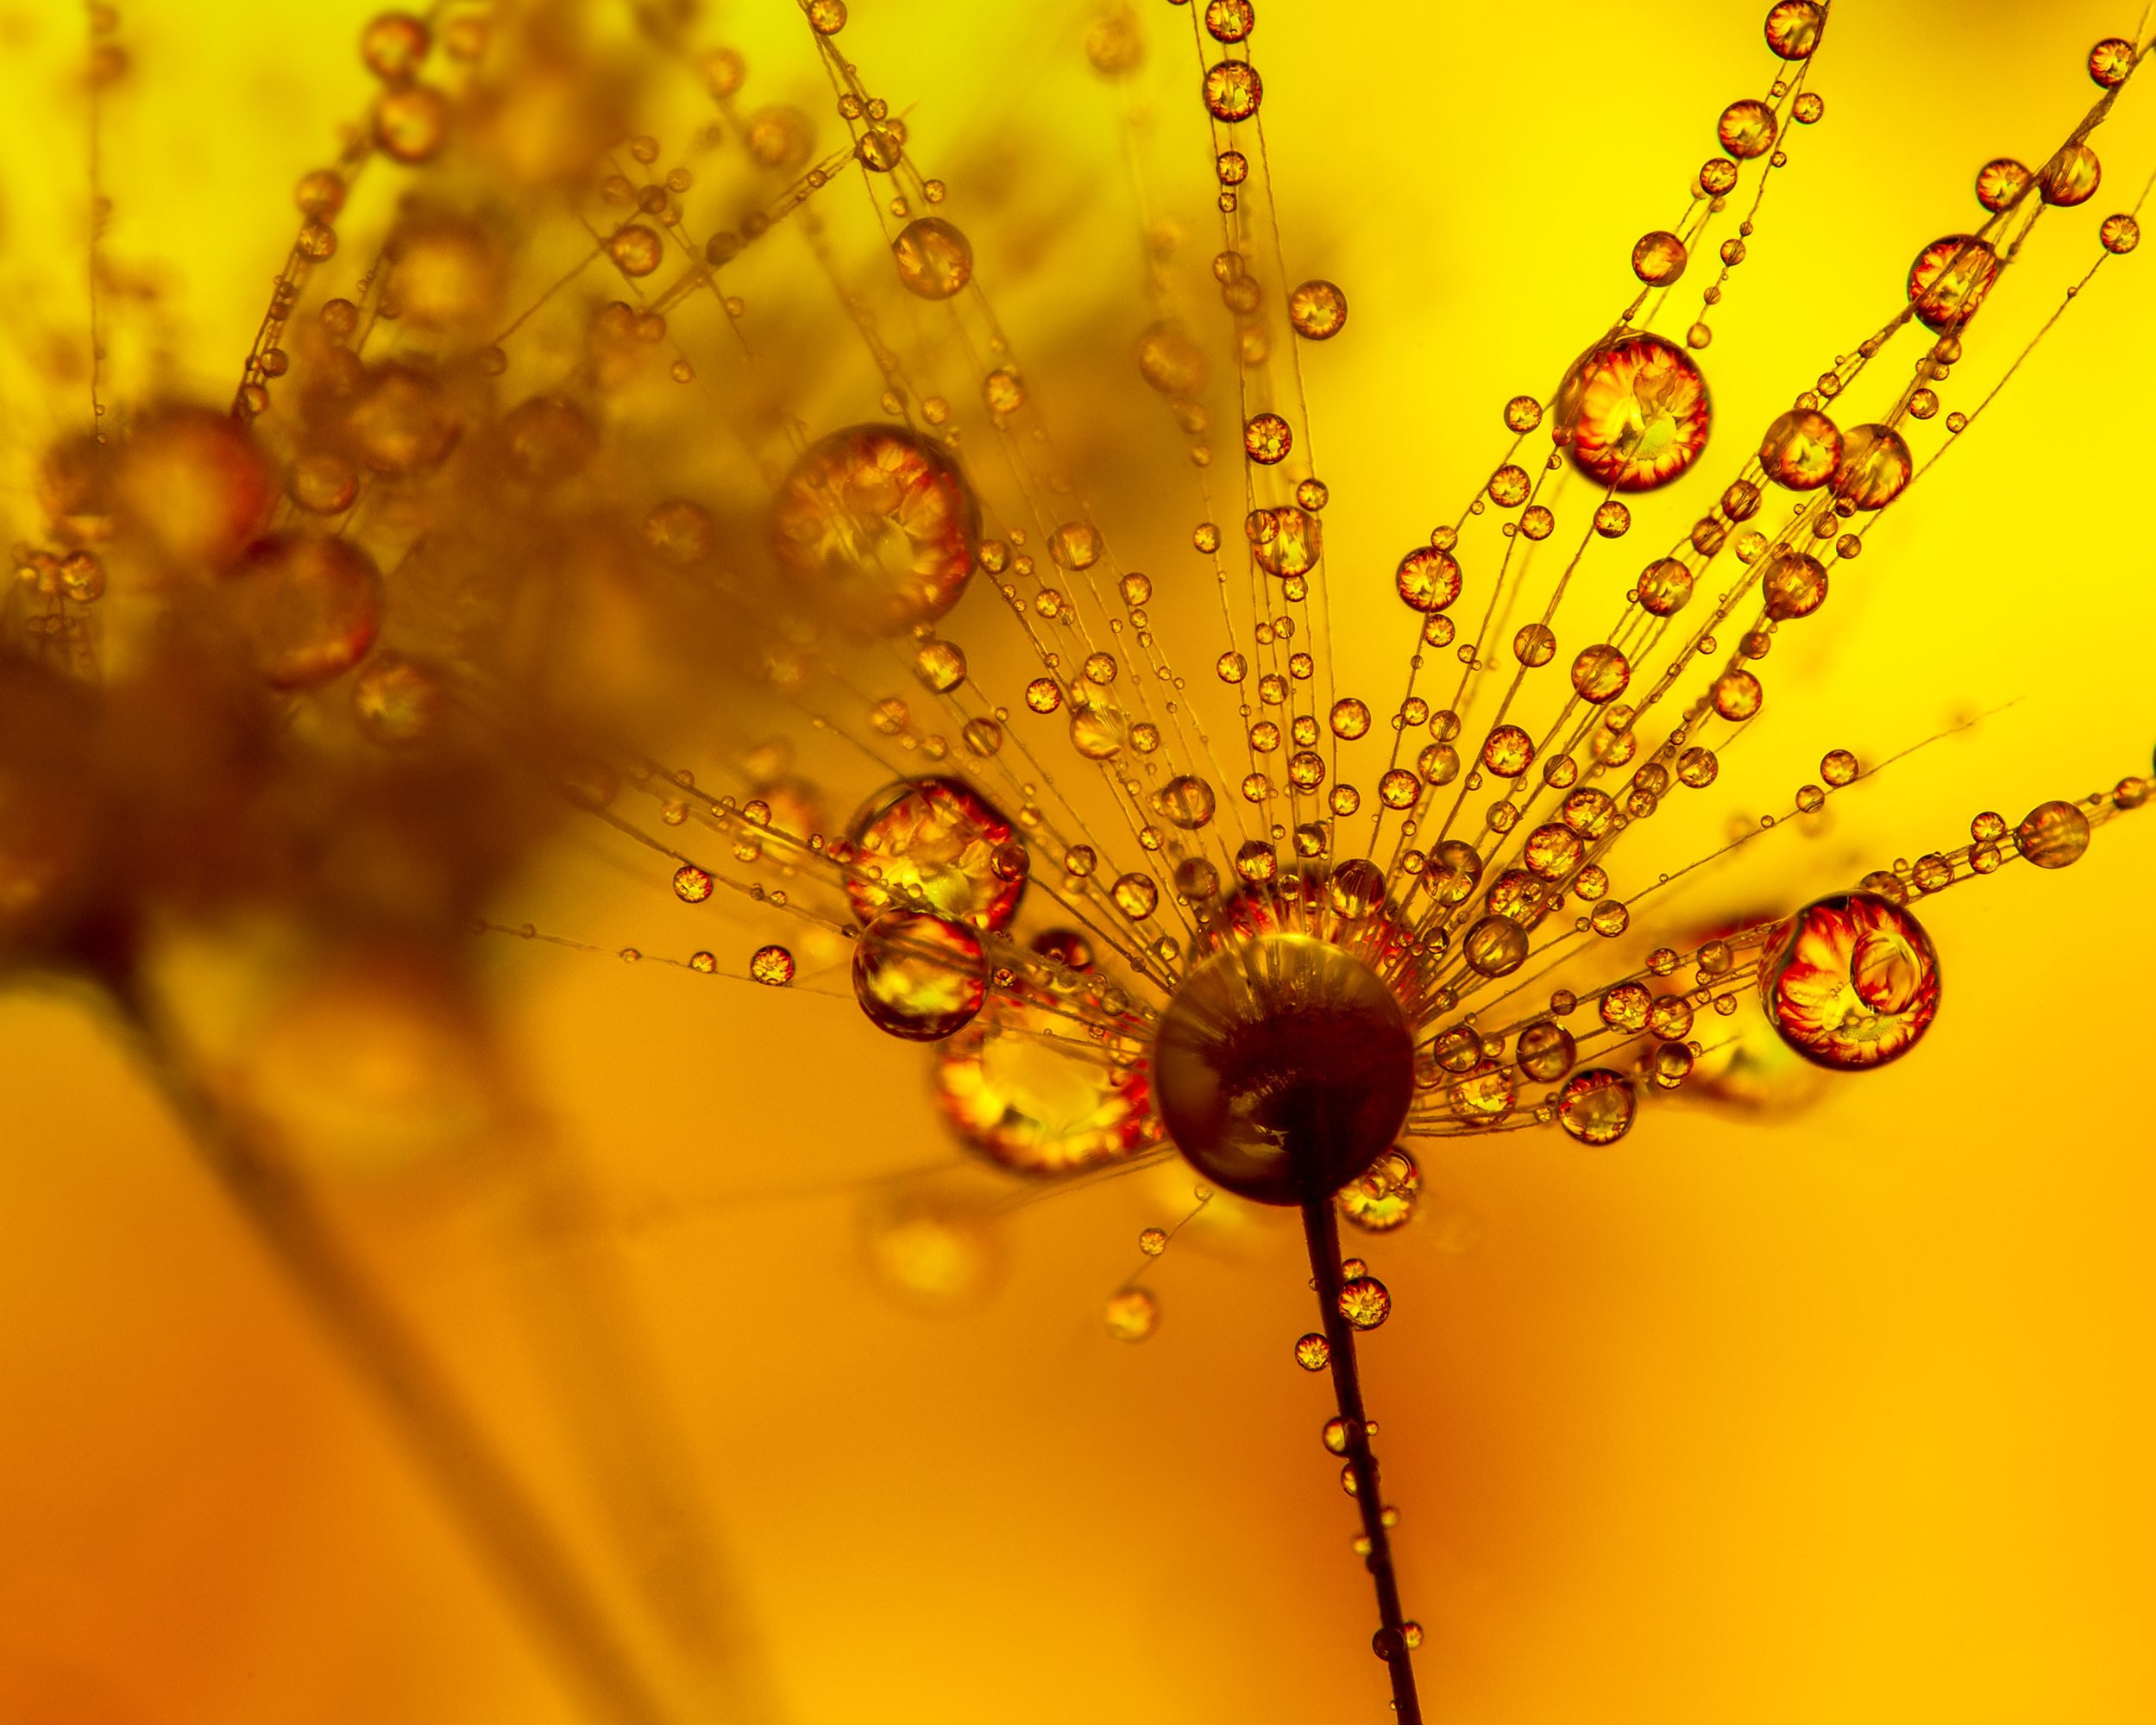
Or just use a piece of glass to place your droplets on, such as a UV-filter for example. Here’s a peek behind the scenes of another shot I captured:


It always pays off to think outside the box. In the image below, I used water as a medium again, but instead of a perfect bead I used it in an even more lens-like shape:
I used a feather that I dipped into water to create a thin layer of water in the center of a rolled up cucumber sprout. The forces of surface tension and gravity cause it to be thinner around the edges than in the centre, which made it ideal for another refraction photo.

Last but not least, the shot below shows air pockets inside a water container in which I also immersed a pink daisy.

Obviously flowers aren’t the only backdrop you can use. They are ideal because they are symmetrical and colorful, but anything will work really. Try using a landscape photo, or just a blue sky with a sunburst. Maybe even a planet or an image of our whole galaxy—that would look pretty cool inside a water drop, I bet!
Or something more abstract such as a CD:

Hopefully you’re ready to try this yourself, and have plenty of ideas for your next refraction project! If you’re looking for suitable backdrops to use while you’re experimenting, check out this free gallery of background photos I’ve put together.
About the author: Maximilian Simson is a London-based portrait and event photographer who also shoots fine art and macro photography. To see more of his work, visit his website. This article was also published here, and is being republished with permission.