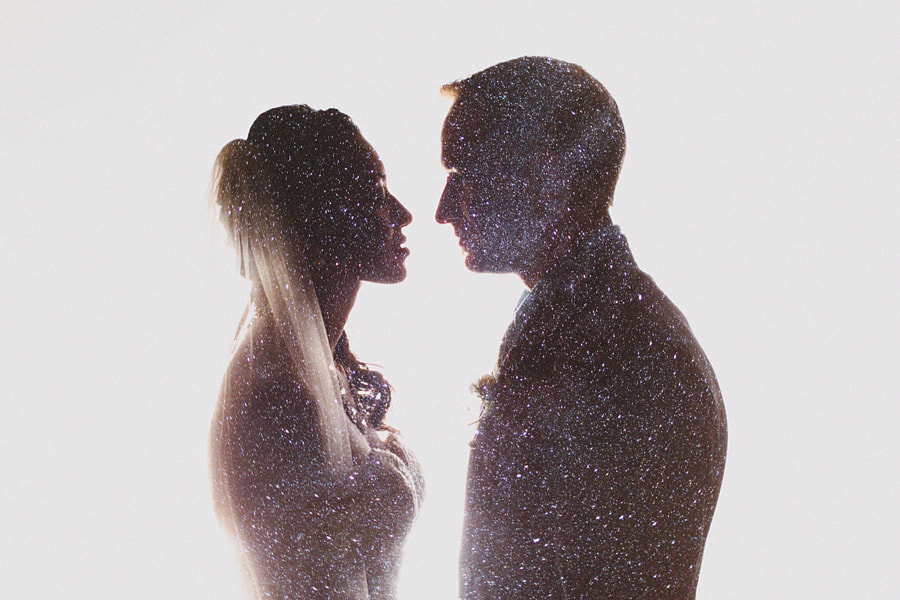
Dylan and Sara Byrne are a husband-wife wedding photographer team based in Portland, Oregon. They shoot weddings because they love being around people on their happiest day. When we stumbled upon their image “Starry Skies”, a double exposure milky way portrait of a couple, we were immediately smitten—and starstruck. So we asked Sara to share her dreamy double exposure technique, and how she got the shot. Read on and learn how to boost your portraits with double exposures—perfect for engagement and wedding photo sessions.
by Sara K Byrne
Planning the shot
We’ve been known for our double exposure portraits for a year or two. Every now and then, a bride will request one on her wedding day. We didn’t want to just call it in on this one, and we planned this shot in our heads in the weeks leading up to the wedding.
Use a reflective movie screen as a backdrop
The couple’s wedding ceremony was in a vintage movie theatre. We knew we’d like to use the reflective movie screen as a backdrop to shoot the first image of the double exposure. We very rarely use off camera flash during portraits, but it really fit the look of the day, so we bounced them off of the screen to blow out the background to white. It also gave a nice wrap around light on the couple.
Shooting the Milky Way
Typically, we shoot trees, bushes or flowers for our overlay image. We’d wanted to do something different with this and planned to shoot the Milky Way galaxy instead. It was overcast on the night of their wedding, and the next week or two after. Finally, the skies cleared a few weeks later. So we jumped in our car and drove an hour or so out of town on a cold winter night. We took a few photos to dial in our settings. You don’t have the ability to edit the overlay and portrait separate, so we had to nail the exposure on the stars.
Gear we used
We used the in-camera double exposure mode on the Canon 5d Mark III. For the couple’s portrait, we used the Canon 50mm 1.2 lens. The star photo was shot at 30 seconds with the Canon 24mm 1.4. At the time, we were using Canon 580 exii’s and Paul C. Buff cybersyncs. (We’ve since moved to Yonguo yn622 triggers—by the way, they rock.) We also used a Manfrotto 294 tripod.
Post-processing
In post, we edited in Lightroom with VSCO 02’s Portra 160NC. We also ran through Alien Skin Exposure to give it a bit of film grain and contrast adjustment.
What we learned
Our biggest takeaway from this shot was that pre-visualization is incredibly powerful. It is also fun to try something you’ve never done before. Stick to your plan and you can achieve anything you imagine.
Get more tips from my video tutorial below:

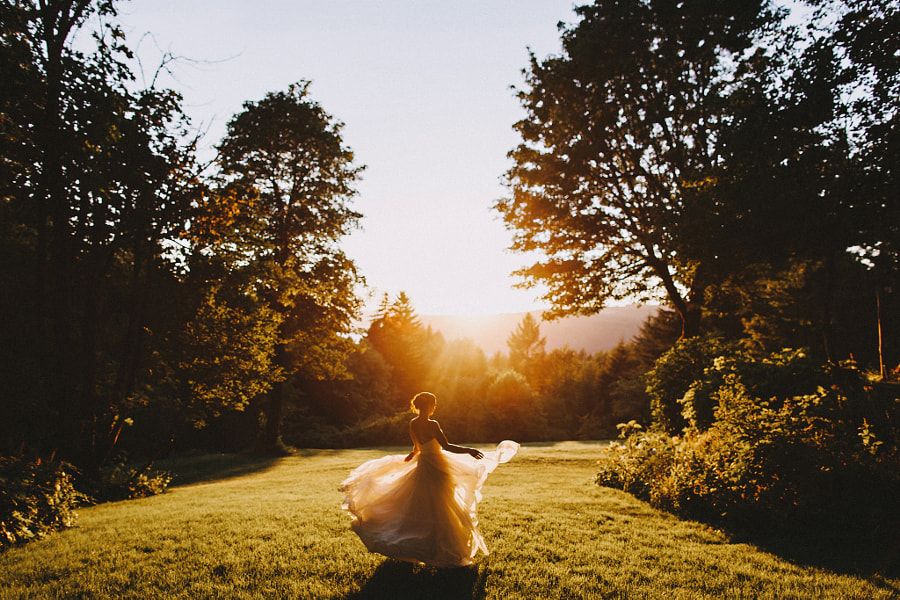
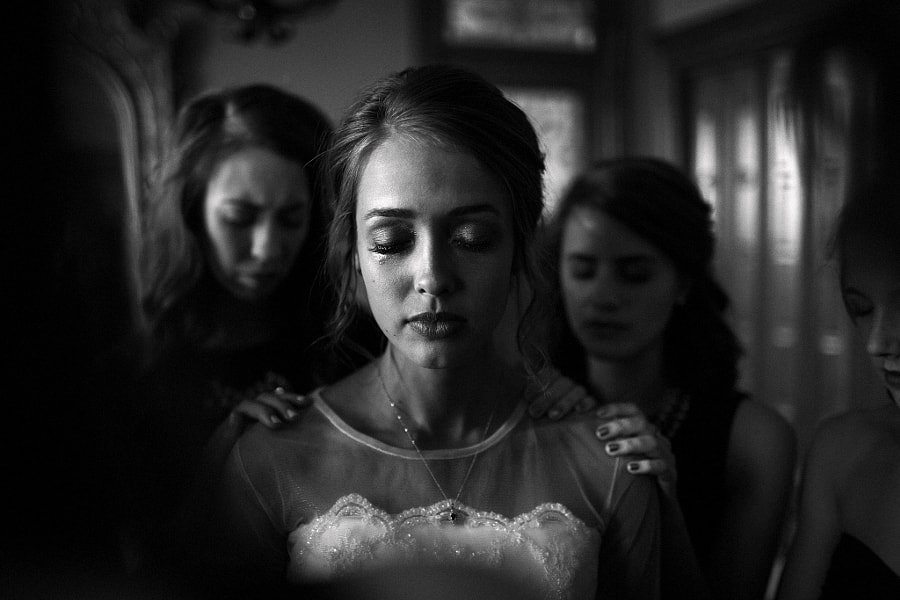
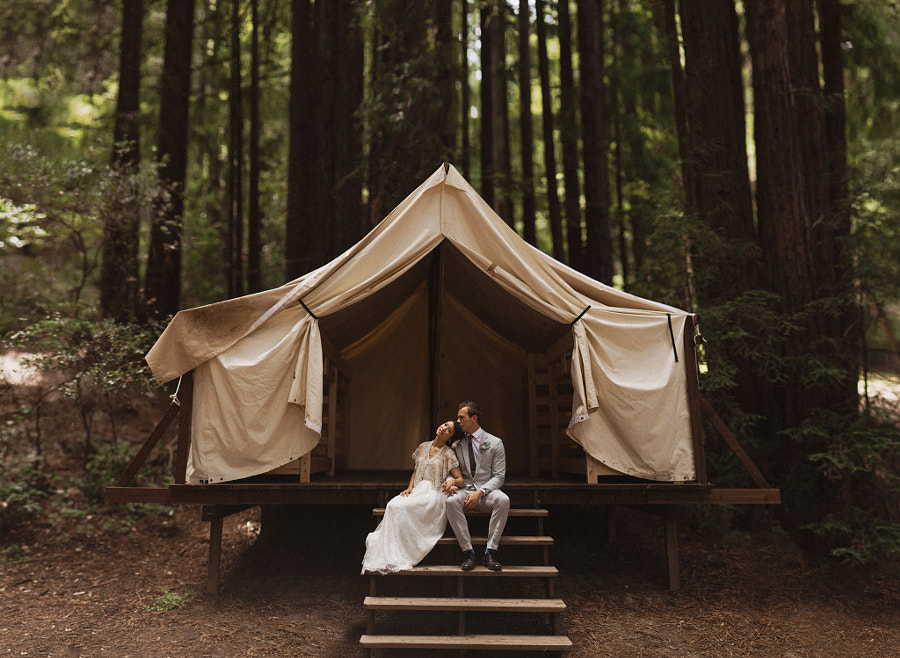
Want to see more of Sara and Dylan’s dreamy wedding and engagement photography? To inspire you, scroll down for a collection of their soft, color-soaked images!

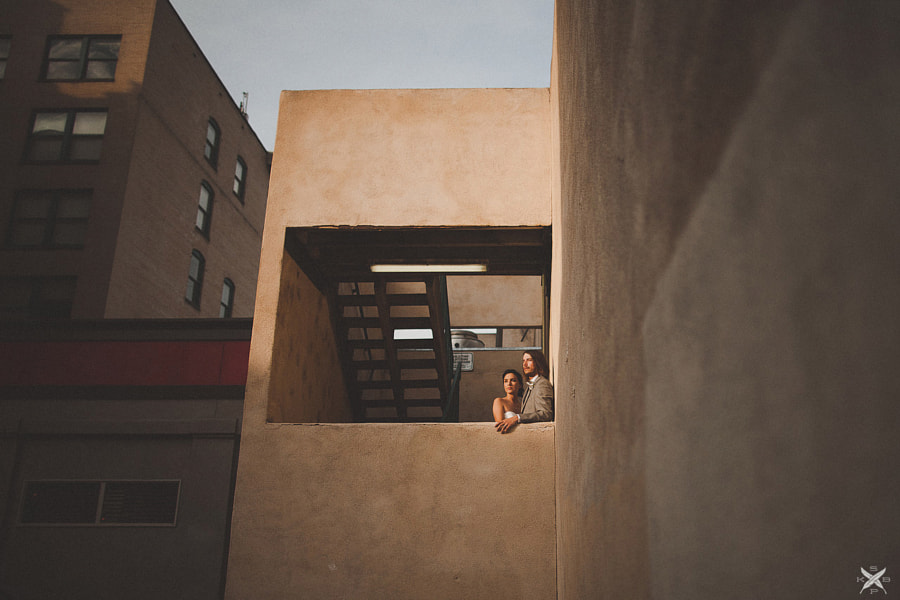
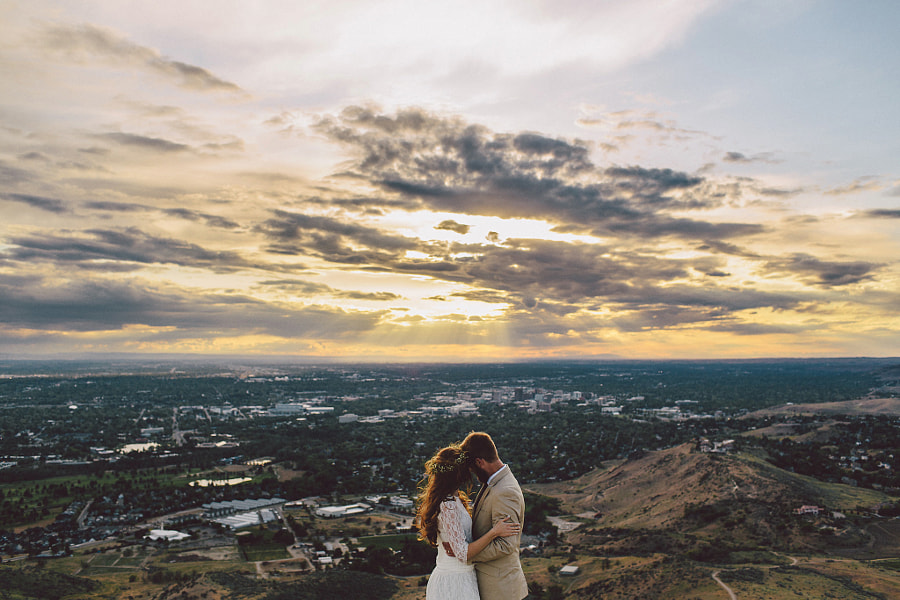
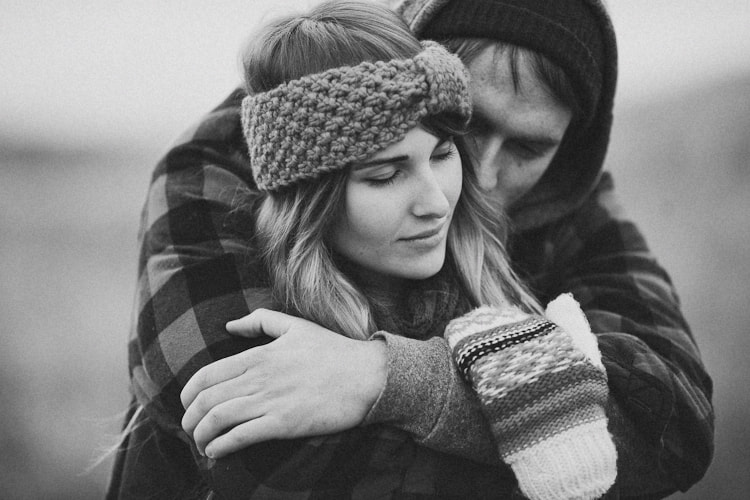
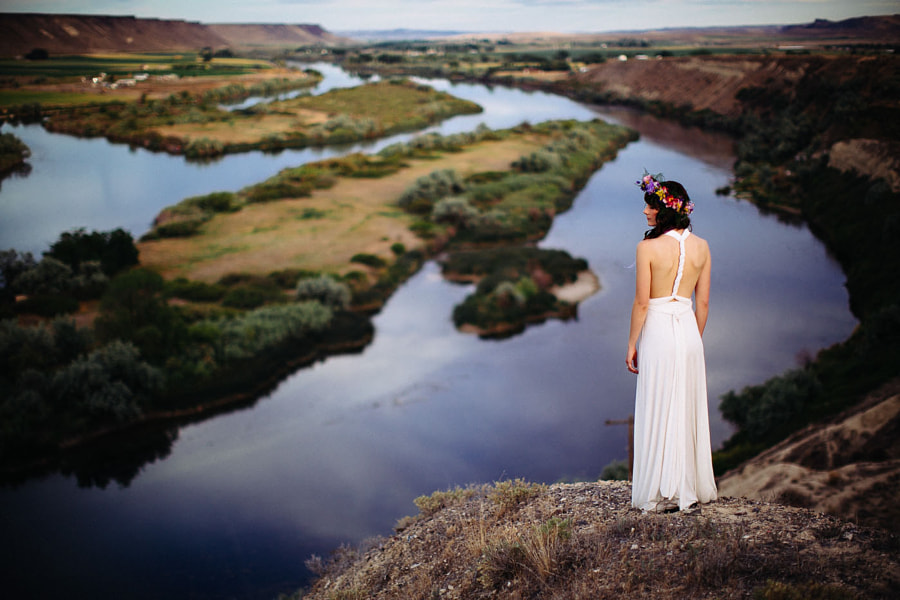
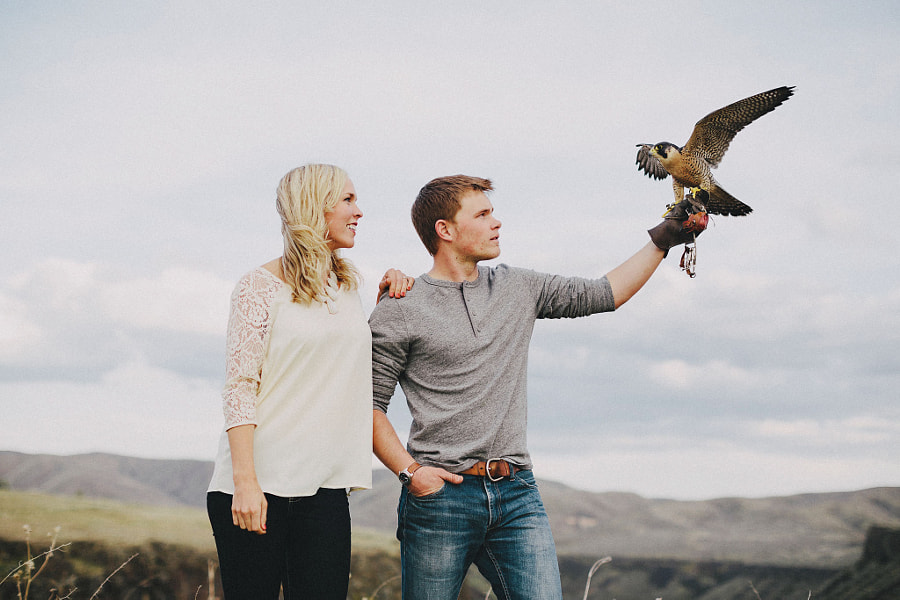
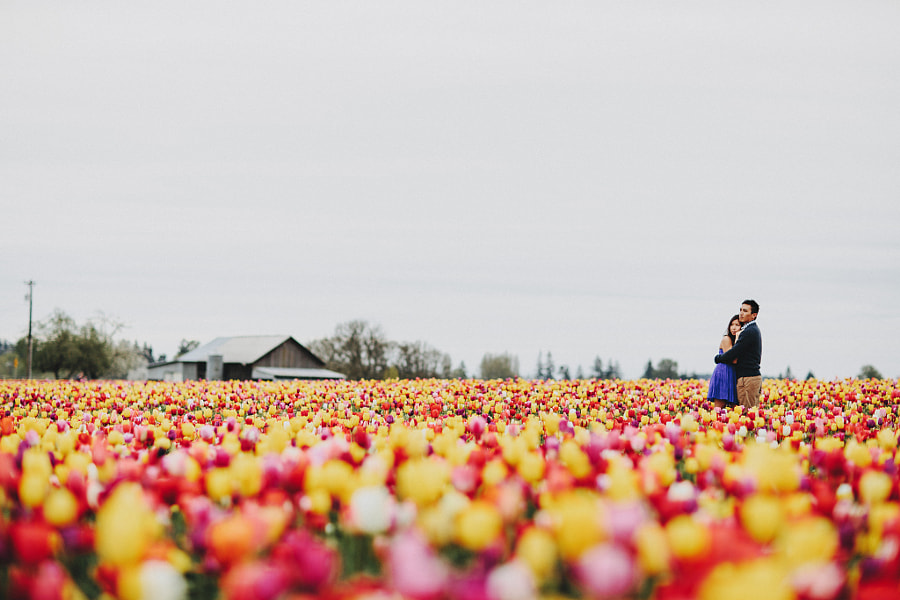
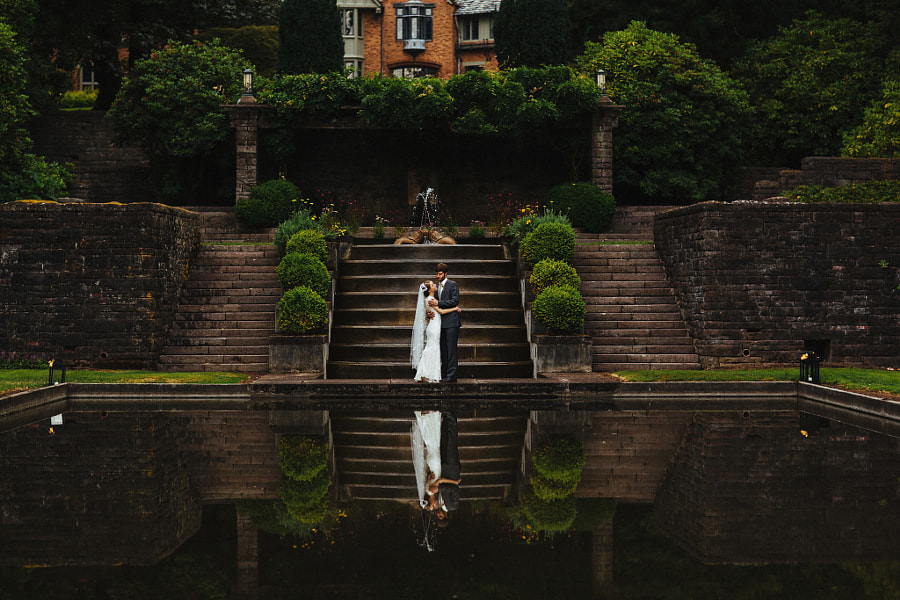
To see more of their work, follow Sara on 500px. You can also check out their official website at DylanandSara.com or connect with them on Facebook.
They’ll also be teaching a photography workshop on the Washington coast this November. Get more info and tickets here: http://dylandsara.com/trailer-park-workshop-photo-coterie
Got a question for Sara on her techniques and work? Leave a comment for her below!