Dina Belenko is a creative still-life photographer from Russia, and a successful 500px Marketplace photographer. Her artistic images capture magical stories behind everyday inanimate objects. In this tutorial, Dina shows you how to take your still life to the next level by creatively capturing dissolving flowers. Read on, and do try this at home!
Adding some action to your still life image is always a good idea. Spilled coffee, falling sprinkles, or rising steam are wonderful props and subjects that will bring your image to life. How about adding some dissolving flowers or fruits to your still life shots?
This trick is extremely simple and flexible. You can create a picture with vaporizing flowers, disintegrated vegetables, or a “cloud cocktail” in a Martini glass. All you need are your still life items (in my case, it’s glass bottles, scissors, and sprigs of lavender), a fish tank (avoid fish bowls; their walls can add distracting reflections), a syringe, and some paint. For paint, I prefer acrylic paint, because it is much denser than water, and it forms lovely opaque clouds. But ink, food dye, or even a mix of food dye and milk can produce wonderful results.
The gear you will need is simple too. You’ll need a camera, a tripod, and any light source that is suitable for shooting splashes. In my case it’s two speedlights, a large diffuser, and a reflector. Let’s get started!
1. Prepare the props.
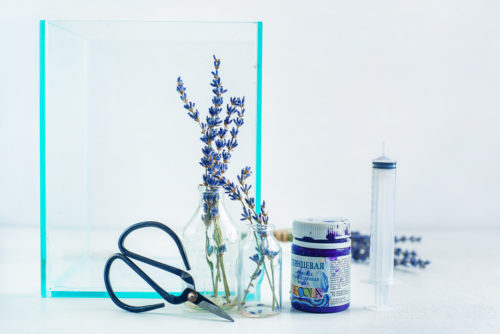
Collect all the props you need. Make sure you have the means to fix them in place, if they aren’t heavy enough to stay underwater. I had to glue flowers to the bottles to prevent them from floating.
2. Mix the color tone.
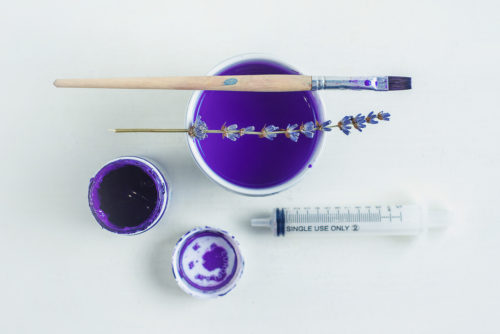
Use water to make acrylic paint a bit less dense, and mix the color to match the tone of your main object. It doesn’t have to be 100% correct, just close enough.
3. Composition.
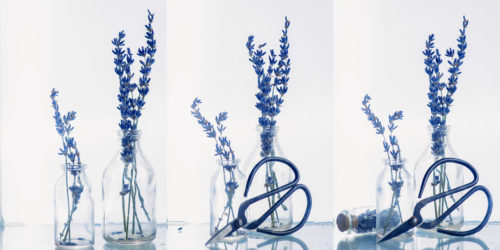
Arrange a simple composition for your shot. Leave some space for a cloud of color, and carefully fill in the fish tank with water.
4. Lighting.
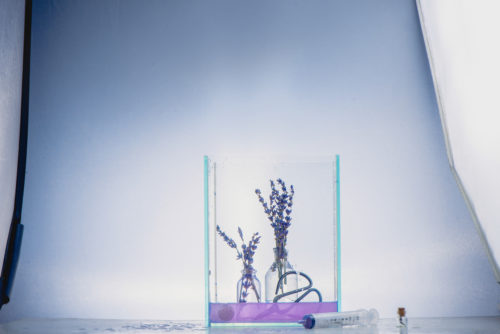
The scene is lit with two speedlights, set on the low power (from 1/8 up to 1/128 power provides a very short pulse that will freeze the motion of liquid). Place one of them on the right side of the fish tank—the other behind a large diffuser, which also serves as a background. There is a reflector on the left-front side to soften shadows.
5. Shooting.
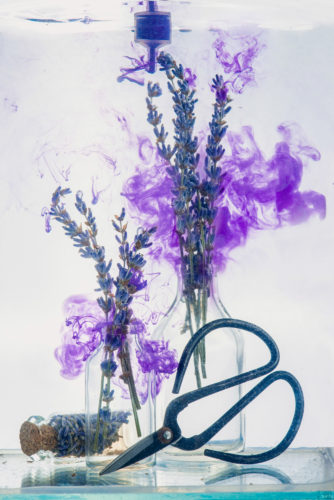
Set your camera on a continuous mode to make several shots in a row. Pour some paint from a syringe slightly behind your object. Try to make the paint touch it, but not get in front of it. Take a sequence of shots while paint is making beautiful clouds.
Post-processing.
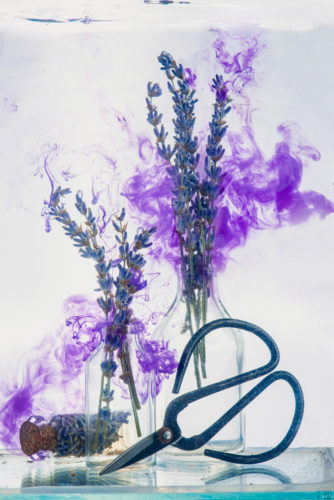
Choose the best shot, and give it a little polish. You can add more details from other shots, adjust colors, and contrast and delete all random dust particles and scratches.
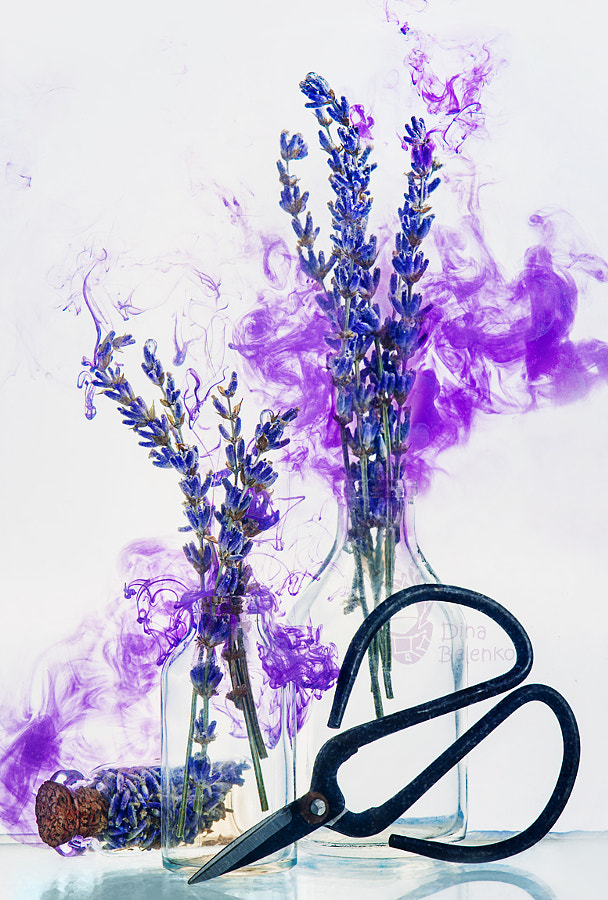
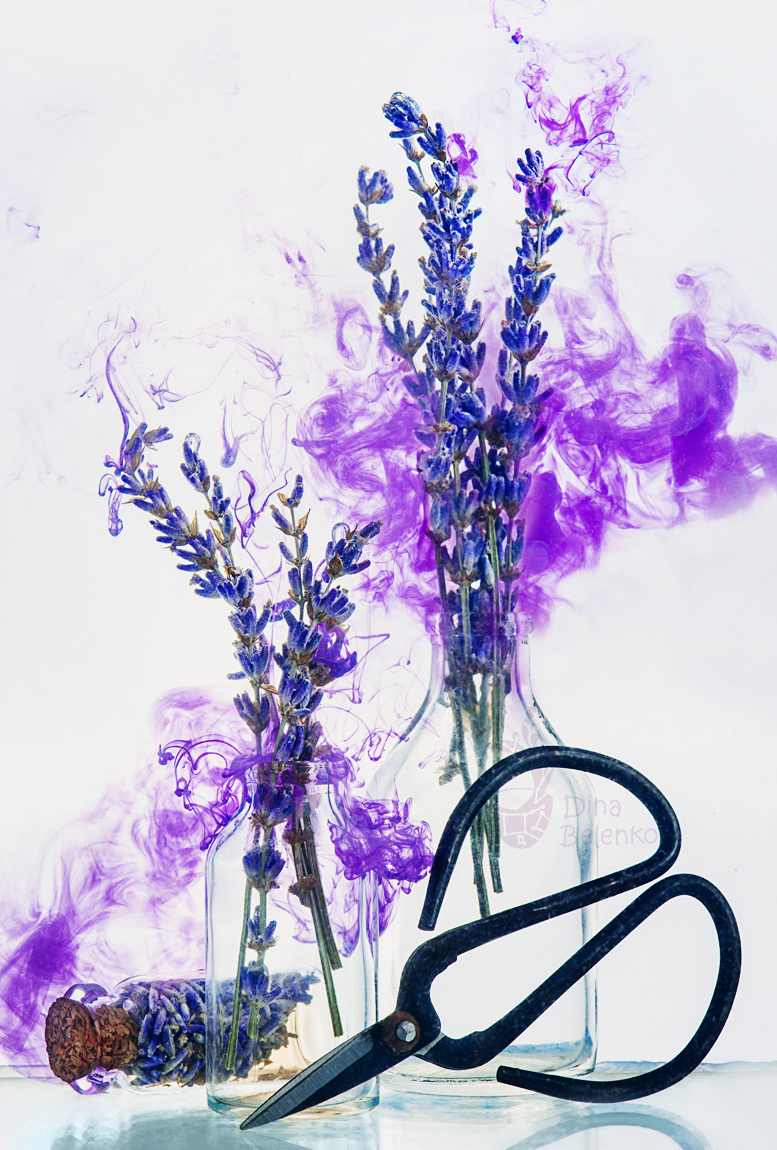
Voila! Here’s the final shot:

Scroll down to see similar shots I’ve taken that use the same technique.
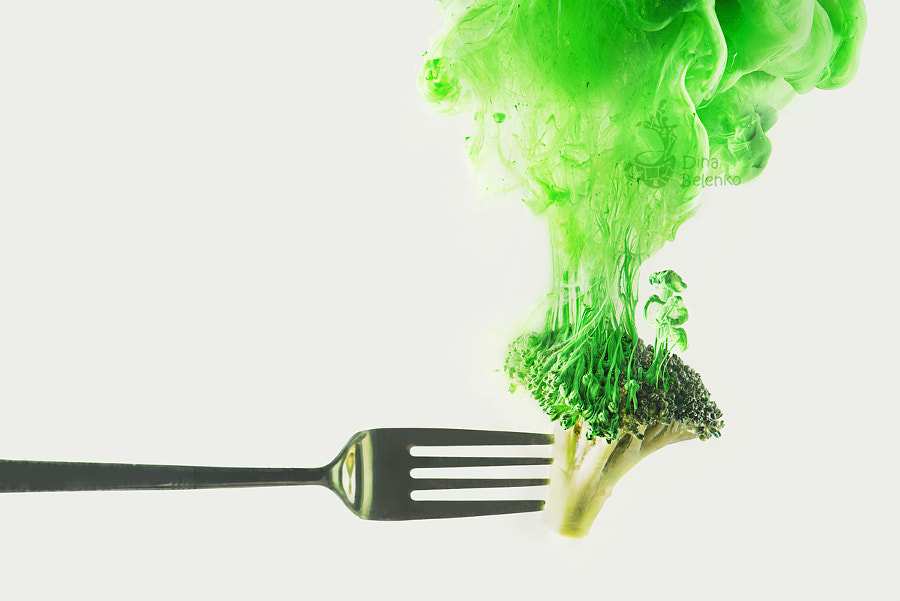
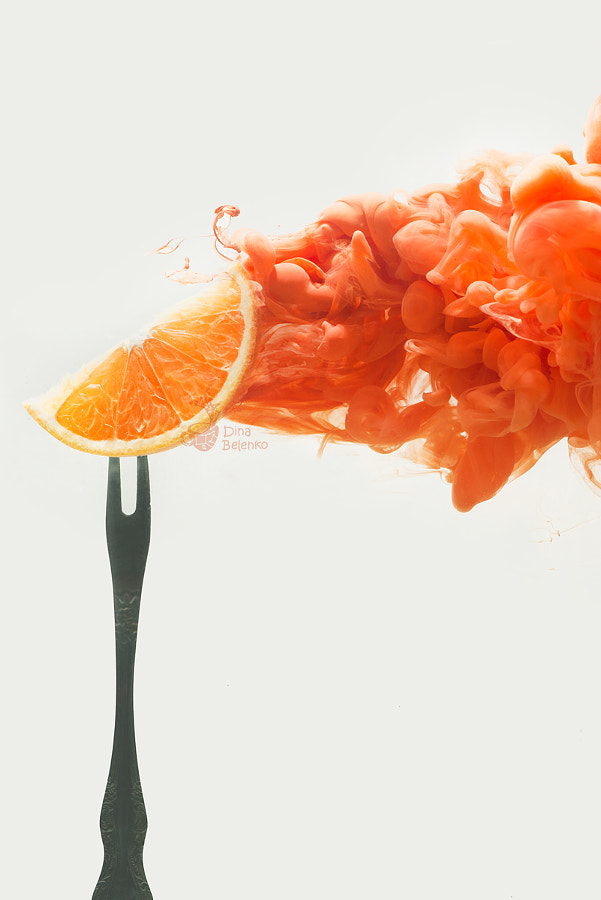
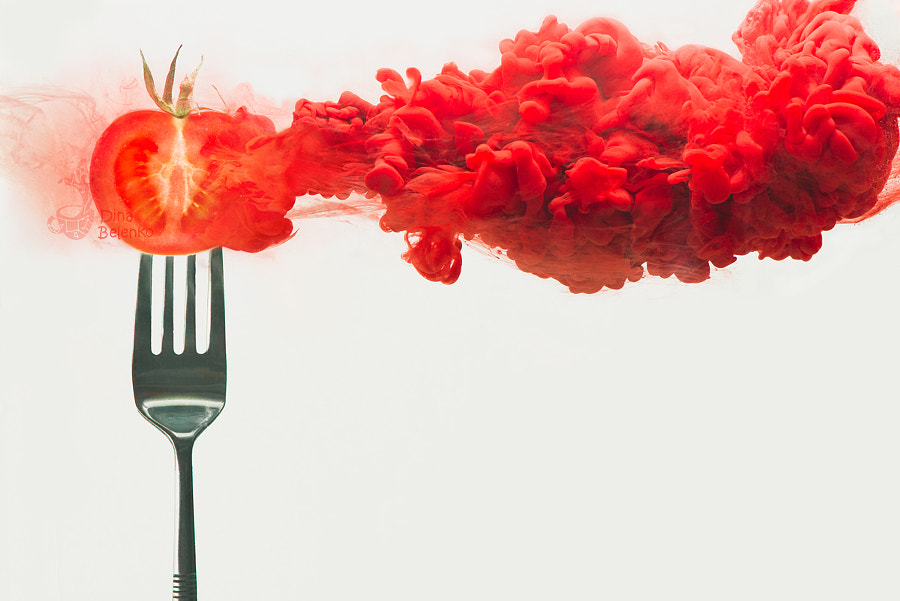
If you have any questions about my process and work, feel free to leave comments for me below!