After buying an expensive lens, it’s normal to wonder if you got a good or bad sample. However, if you don’t have multiple copies of the lens to test, answering that question may seem difficult. That’s what I hope to change with the process outlined in today’s article.
The biggest issue that differentiates a good vs bad copy of a lens is decentering. In other words, one or more elements in the lens are tilted or off-center, which can lead to blurriness in certain regions of the frame. The process in this article is designed to figure out whether your lens is decentered, without requiring a second copy of the lens to compare against.
Before I tell you the steps, keep in mind that no lens is perfect. When we test lenses at Photography Life, we often sort through multiple copies of the lens to test for sample variation, and there are always some differences from copy to copy. Usually, the differences are minor and may only be visible in lab tests. You don’t need to worry about minor decentering or minor differences between copies of a lens.
That said, occasionally the results on one copy are bad enough that they can harm real-world photos. Is that true for your lens? Here’s the process I recommend following to figure that out:
- Put your camera on a stable tripod in a non-windy area.
- Find a subject at infinity, such as a mountain on the horizon or anything in the distance viewed from an overlook. Look for something that has lots of small details. Put that subject at the center of your composition.
- Now it’s time to focus. Switch your lens to the widest aperture. Focus in live view; autofocus is fine, but you can also focus manually at a high magnification.
- Enable a two-second self timer as well as electronic shutter or electronic front-curtain shutter if available on your camera. Make sure you’re shooting raw, not JPEG.
- Without refocusing, recompose your shot so the same subject is in the corner of your photo. Take a picture. Then, recompose three more times and take three more photos, each time with the subject in a different corner.
- Bring the photos back to your computer for analysis. How sharp is the subject in all four photos? If it looks about the same in each corner, your lens is very likely a good copy. If one or more corners is clearly less sharp than the others, repeat this test. If your results continue to show a lack of sharpness in the same corner(s), your lens is very likely decentered.
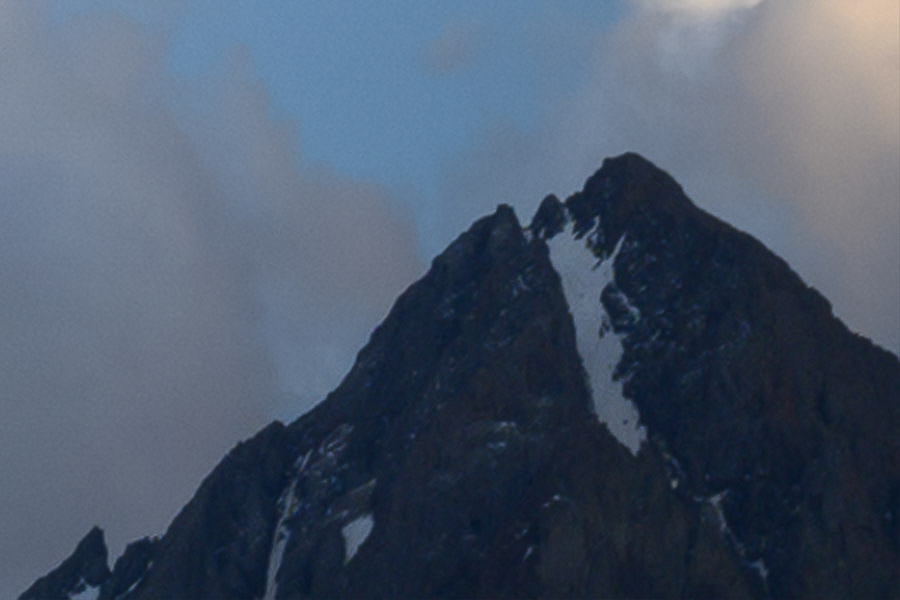
Here’s how this looks in practice. First, focus on a subject in the center of the image. Below, I chose the peak of the mountain because it was at infinity and had lots of little details. Remember to take these photos at your lens’s widest aperture:

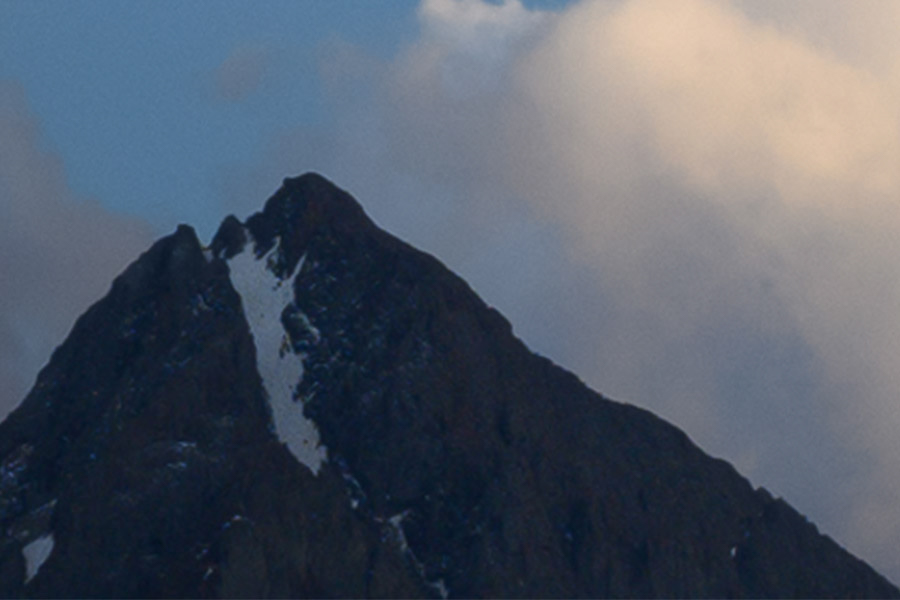
Then, without refocusing, recompose so that the subject (the mountain peak) is in all four separate corners:


In your post-processing software, crop all the images to magnify your subject and compare the sharpness of each photo. Here, there was noticeable decentering, with the top right corner being less sharp than the others. This is what a lens with moderate decentering looks like:


There could always be a fluke with an individual photo that makes it look unsharp. Repeat the test with different subjects. If you clearly and consistently see the same corner or corners looking worse than the others, your lens is most likely decentered.
Again, all lenses are decentered to some degree. Don’t worry about sending back your lens unless the blurriness is so bad that it will cause problems with your work. If your type of photography involves out-of-focus corners (such as portraiture) or shooting at narrow apertures like f/11 most of the time (such as landscape photography), you may be able to tolerate a bit of decentering without any worry. Other genres like astrophotography could require stricter standards.
What if all four corners look bad, but about equally so? Most likely, it doesn’t indicate that you have a bad copy of your lens. All four corners may be slightly blurry in the test above simply because most lenses aren’t particularly sharp in the corners wide open – not a problem worth worrying about. It could also be that field curvature is causing the corners to be slightly out of focus and therefore less sharp – again, not an indication that you have a bad copy of your lens. Some unsharpness is normal; what isn’t normal is if each corner has dramatically different levels of blur.
If you happen to have multiple copies of the lens at your disposal, I recommend running the test above with every copy. Then, you can make sure that all of them are relatively similar to one another in sharpness. Keep in mind that there is always some sample variation from lens to lens. It is not worth worrying about minor differences between copies. I’d only be concerned if one copy of the lens is clearly and consistently worse than the others.
At the end of the day, your odds of getting a bad copy of a lens are fairly low. Cheaper lenses usually have more sample variation than expensive lenses, but even then, it’s rare. We test dozens of lenses each year at Photography Life, usually with multiple copies of each lens, and only about one or two per year are so decentered that we’d return them.
If you’re at all concerned, follow the steps above and you’ll figure out whether you have a good copy or not! And if you’re not concerned, stay that way. Decentering certainly can happen, but bad copies of a lens are pretty rare and usually very obvious when they occur – even without performing the test above.