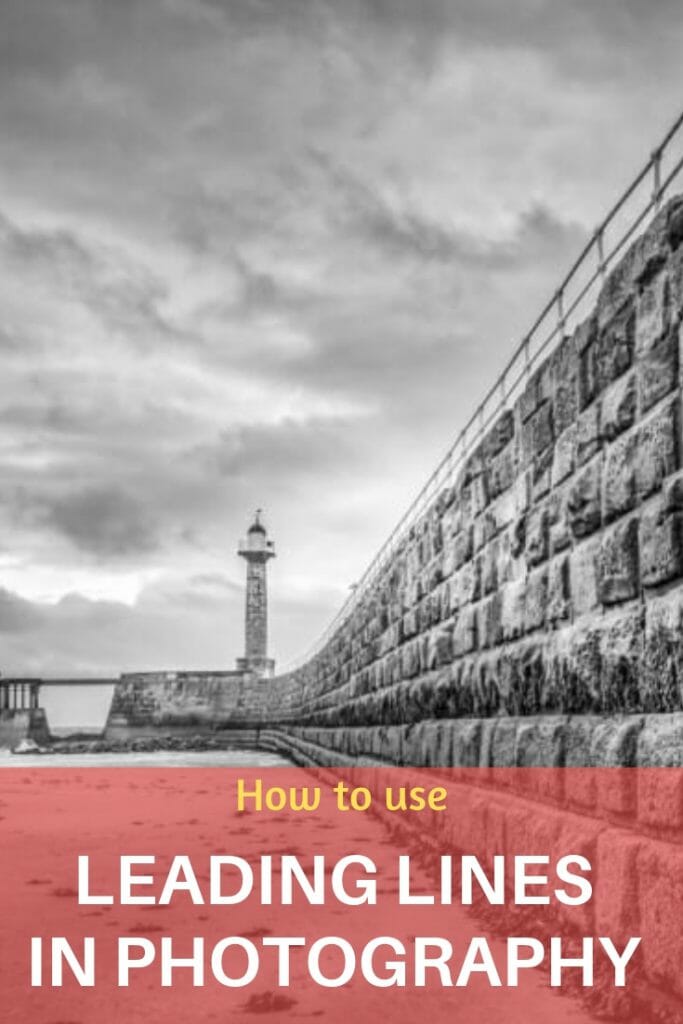
Do you struggle with composing shots? You’re not alone as it’s actually quite difficult to turn what you see into a good photo. There is however one simple trick that you can use to improve composition. That is to use leading lines.
In this article, you’ll learn what a leading line is and how to use leading lines to make stunning photographs.

What Are Leading Lines?
Quite simply, a leading line is something that directs the viewer to a specific part of an image.
A viewer can be directed to a key element of the scene. On the other hand, you can also lead the viewer from the front to the back of the image–adding depth to the scene.
So why do leading lines work so effectively?
We are naturally drawn to lines and to follow them when viewing an image. So use lines in photography to improve how the viewer interacts with the image.
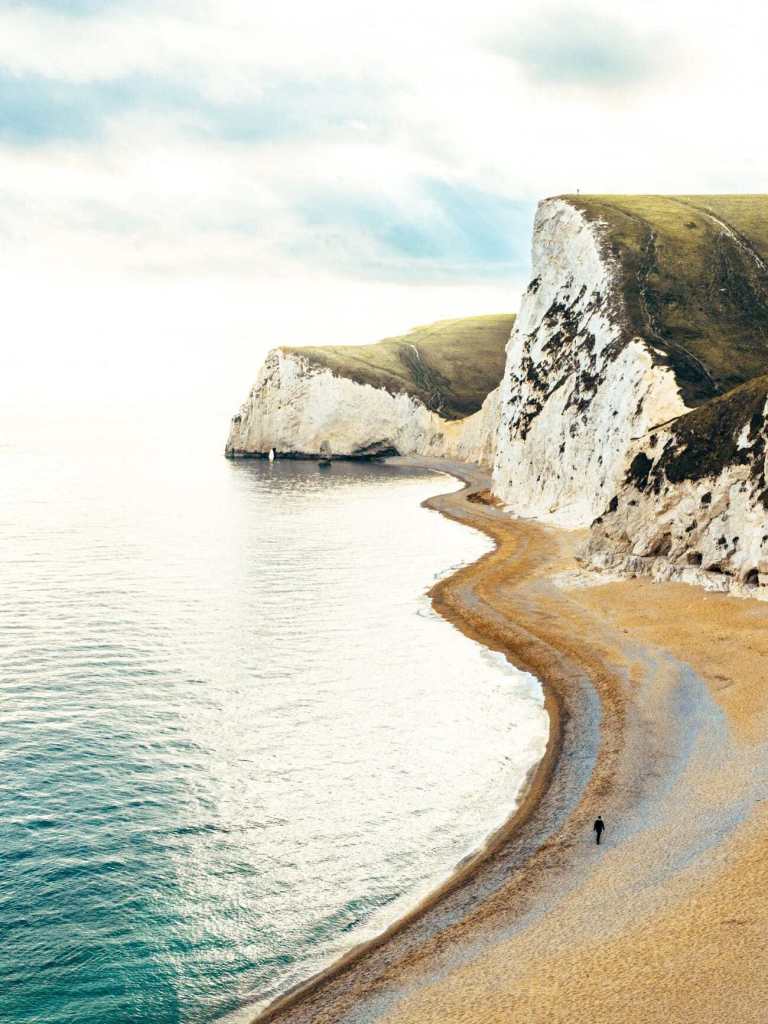
A leading line can be a physical line in a scene. This could be a path, a road, a fence, or part of a building.
In contrast, leading lines may not exist physically. For instance, shadows created by bright light create strong lines.
Furthermore, leading lines can be inferred. The direction of a gaze of someone in the shot will likewise lead the viewer.
We’ll look at these different kinds of leading lines in more detail a bit later.
Use Leading Lines For Direction
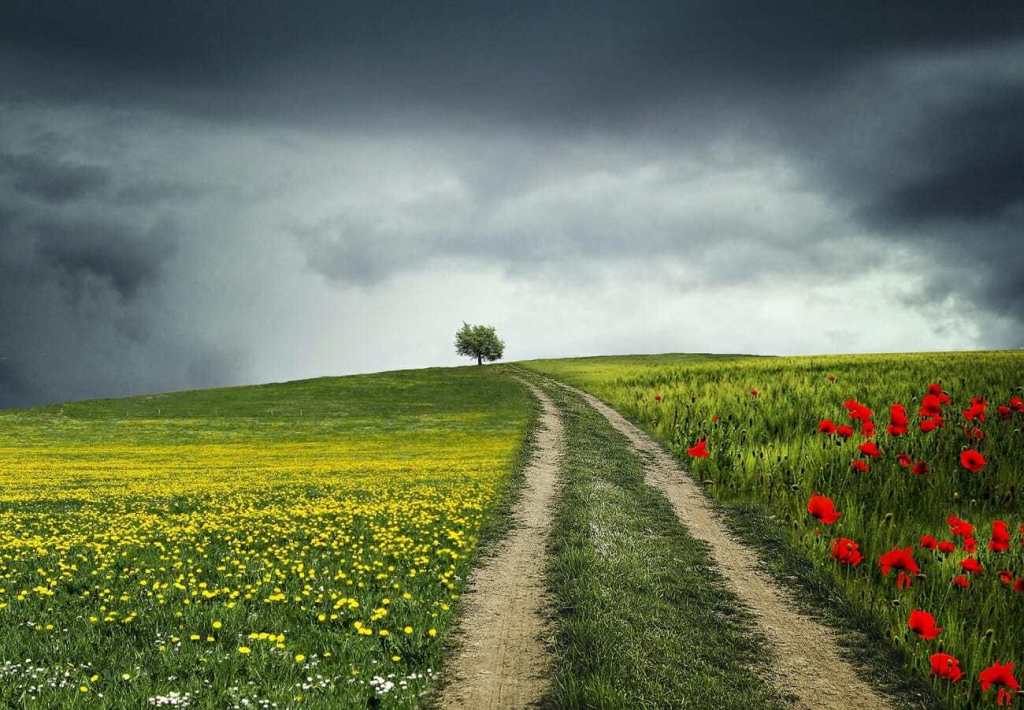
Lines are great for giving direction because they point the viewer to the key elements of the scene.
They are a simple and effective way of getting the viewer’s attention where you want it.
When assessing the scene, as well as your subject, do you see any lines that can be used in your composition?
When you’ve found a line you’ll then need to decide if it is enhancing the composition. If you feel the line is taking you away from your subject simply change your position to redirect the line.

Use Leading Lines For Depth
Do you sometimes feel that your photos are flat? That is that they don’t truly represent a three-dimensional scene.
Well, there’s one simple composition technique that will change this. Yes, you guessed it – leading lines.
Leading lines can be used to create a sense of distance and depth. Look for converging lines to include in your shot. They give your image a three-dimensional feel that results in a sense of perspective for the viewer.
Ultimately the lines will come together on the horizon. This point of convergence is known as the vanishing point.
Examples of converging lines are roads, paths or even railway tracks. As the viewer follows these the distance between either side decreases.
Compose your shot with the line stretching out in front of you. As a result you’ll connect the foreground to the background in the scene.

Use Leading Lines To Explore The Whole Scene
A leading line doesn’t have to take the viewer straight to the point of interest.
Use curved lines to add interest to an image. They’ll encourage the viewer to linger a little longer as they wind their way through the entire scene.
Curved lines take the viewer to parts of an image that may have otherwise been overlooked.
Use Leading Lines To Change The Mood
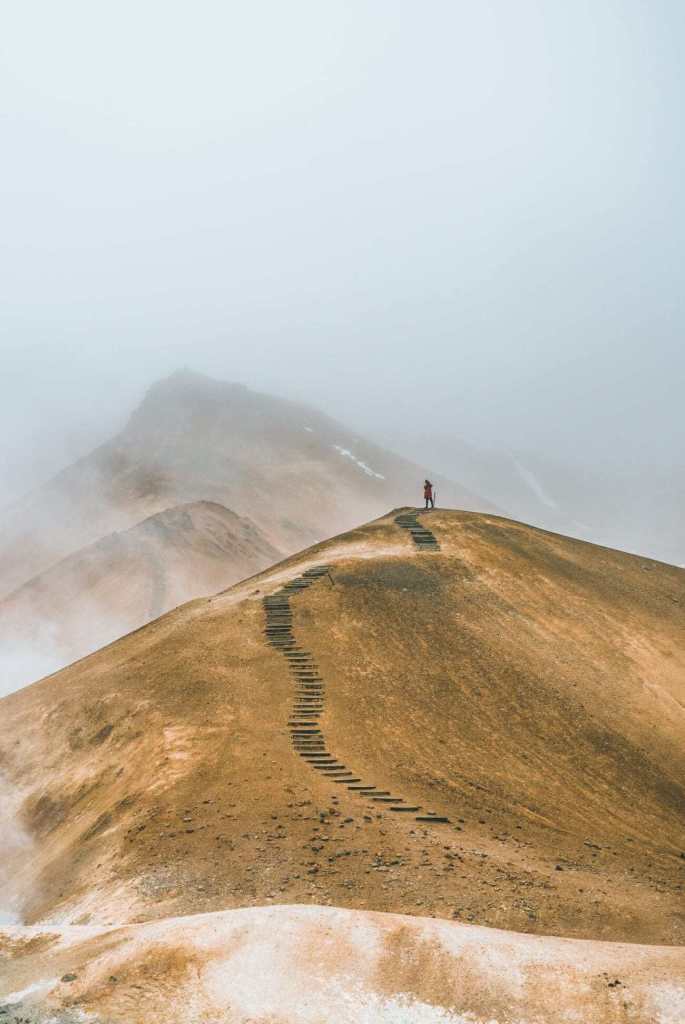
Leading lines can even change the way a viewer feels when they look at an image.
Above all, it’s the direction that’s responsible for evoking different moods in leading lines photography. For instance, direction and mood are linked as follows:
- Horizontal lines draw the viewer across the image. Horizons in a landscape provide an example. They typically evoke a sense of calm.
- Vertical lines, on the other hand, are imposing and strong. Tall buildings and trees bring a sense of scale and make great backdrops.
- Diagonal lines make an image feel less static because they add a sense of movement. For instance, align a footprint trail diagonally across an image.
- Converging lines provide a sense of drama and mystery. As two sides of a track converge to the vanishing point the viewer is left wondering what exists beyond.
- Curved lines are common in shots in natural settings. Winding rivers offer a soothing feel to an image.

When Not To Use Leading Lines
So we’ve looked at how leading lines can improve composition but used incorrectly they’ll leave the viewer feeling disappointed.
As we’ve discovered, leading lines should take the viewer to a specific point of interest in an image. When a line takes the viewer away from the main subject it ends up doing more harm than good.
So whilst you might come across the best line ever make sure it is going to where you want the viewer to look.
Lines that lead the viewer out of the frame or to nowhere in particular also fail. The viewer’s attention will miss the point of the shot because they are directed out of it.
Similarly, too many lines will disorientate the viewer. Unsure in which direction to look the image will be chaotic and far from pleasing for the viewer.

Use The Right Camera Setup
So you’ve found your leading line and decided on the composition of your shot. Now it’s time to turn your attention to your camera settings.
In particular, make sure you take the shot with a wide depth of field. That is making sure all parts of the scene are in focus. The line will lose impact and the viewers attention if it’s not in focus along its length.
In manual or aperture priority mode choose a large f-number for a small aperture. This will give you focus throughout with a large depth of field.
Similarly, increase the impact of leading lines by using a wide angle lens. The length of leading lines are then exaggerated in the final image.
Additionally, if your camera has the option to display gridlines on screen, turn these on. They will help with composition and getting those lines aligned.

Find Leading Lines To Use
Lines are everywhere. But how you use them in your composition is key to the success of the image.
When you have found your line spend some time thinking about how it can be used to best effect.

Move yourself relative to the line to make it work in your shot. Make sure the line is directing the viewer to rather than away from your subject.
A change in perspective can equally change the overall feel of a photo. Try crouching down low, looking up or choosing an aerial view. A simple adjustment in position dramatically changes the impact of a line.

Examples Of Leading Lines
Now let’s have a quick look at some examples of leading lines to look out for. Some are obvious and some less so.
1. Leading Lines In Nature
Lines are everywhere in nature. There’s an abundance of natural and man-made lines to incorporate in your shot. Consequently, in landscape photography, you are spoilt for choice.
Natural leading lines include rivers, tree lines, and coastlines. But be sure to think a little more abstractly to see others such as reflections and animals following after each other.
You’ll also find plenty of man-made lines in nature. In particular look out for fences, tracks, and felled trees.

2. Light and Shadow
Leading lines don’t have to be a physical object. Look at how light and shadow interact for some unusual lines that will create striking images.
Sidelight and backlight give long shadows. Create striking images with a single light source positioned at the same height as your subject.

3. Leading Lines In Portrait Photography
Use leading lines in portrait photography to create more powerful images.
Plan your shoot with a backdrop that includes lines. Then use these to direct the viewer to your subject.
Direct the viewer to a particular part of the body through form or pattern of clothing, or jewelry worn by your subject. In the same way, outstretched arms and legs create lines that give direction.

4. Patterns As Leading Lines
Patterns, in contrast, are an example of how a leading line doesn’t need to be a single defined line.
A repeating pattern photographed at the right angle is a great way to add drama to an image.

5. Implied Leading Lines
Sometimes all it takes is a look. Create an implied line through the direction that your subject is facing.
The viewer is naturally inclined to look in the same direction that the subject is looking. So a human or animal’s gaze offers a powerful option for a leading line in your composition.

Now Over To You
So now you know what a leading line is.
And you know where to look for them.
It’s over to you.
Be sure to get into the habit of always looking out for leading lines when planning a shot. Then make a deliberate choice to incorporate them in your composition.
Now that you’ve learned these tips for stunning photos, you’re a better photographer.
Guaranteed.
But the fact is, the journey doesn’t stop there. There are more tips, tricks, and secrets–all of which will help you take gorgeous photos.
And if you want to learn all of these secrets, I recommend you sign up for the PhotoBlog newsletter. We send our subscribers all sorts of great stuff–including the tips, tricks, and secrets, straight from the experts. All to help you capture world-class photographs.
Did I mention that it’s all totally FREE?
(Oh, and we’ll send you a natural lighting cheat sheet–designed to help you use light in ways you’ve never considered.)
So to start taking stunning photos, enter your email:
Download FREE Photography Lighting Cheat Sheet
Subscribe and get a free downloadable photography lighting cheat sheet

Please allow to Download FREE Photography Lighting Cheat Sheet as mentioned.
Thanks