In this second installment of how to use your flash, you’ll learn about all the buttons, settings, tools and options available on your speedlight.
See what they each do and when to use them, so you can make more informed decisions and take better photos.
Flash Settings
In a previous article, I covered the flash shooting modes (TTL, Manual, and Multi) as well as Flash Exposure Compensation (FEC). Now let’s take a look at some of the other settings and options your flash may have.
If you want to read more about those settings, to go: How to Use Your Flash – Tips for Total Beginners.
High-Speed Sync (HSS)
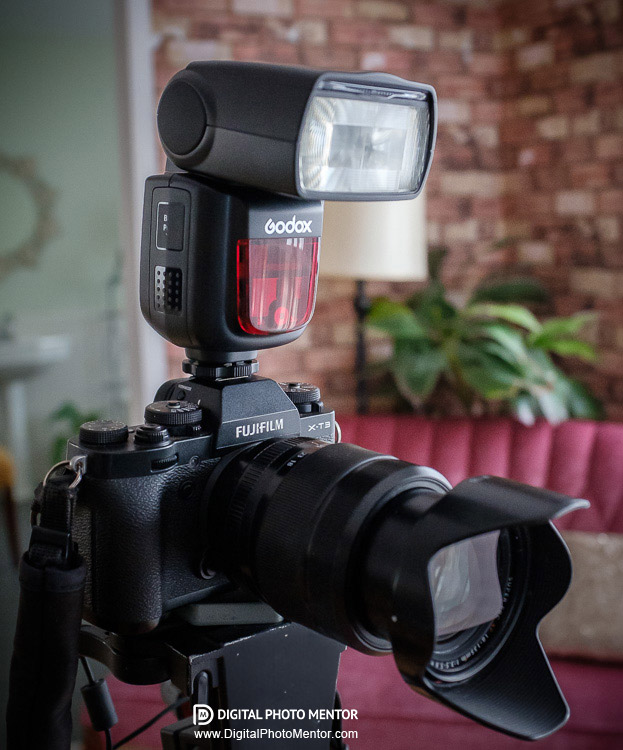
Most speedlights (another term for a flash that goes on top of your camera) have a setting that looks something like this. It might also say HSS, check the user manual for your flash if you aren’t sure.
What this setting does is allows you to shoot at a shutter speed that is faster than the native sync speed for your camera. For most DSLR and mirrorless cameras, that is usually 1/200th or 1/250th of a second.
If you attempt to shoot with a faster shutter speed, 1/500th for example, without this setting being activated you will end up with an image that has a black bar like the one below.
What happens is the shutter opens and closes too fast and is already partly closed by the time the flash fires. So by turning the High-Speed Sync setting on, the flash knows to fire differently to compensate for the fast shutter speed.
To do this the flash actually fires several little bursts in a row so that it can illuminate the entire frame.
Why not just leave this turned on all the time then? Well, the drawback is it will use up the batteries in your flash faster because it’s firing more bursts. So I recommend only activating it when you need it.
Every flash has very different buttons and controls. In order to figure out how to activate this setting, it’s best to read the user manual for your flash. Look for the section on using high-speed sync.
Zoom Setting
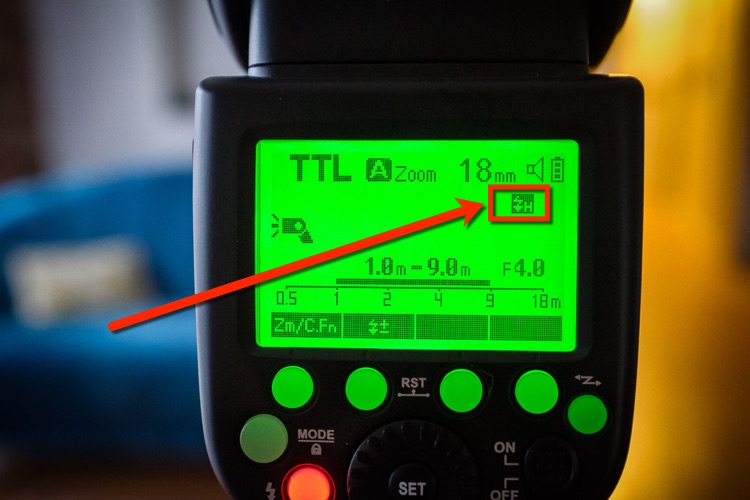
The next thing you can set on your flash is the zoom level.
Yes, your flash can actually zoom in and out. What that does in terms of lighting is it changes how wide the beam of light that the flash throws. This is essentially its covering power.
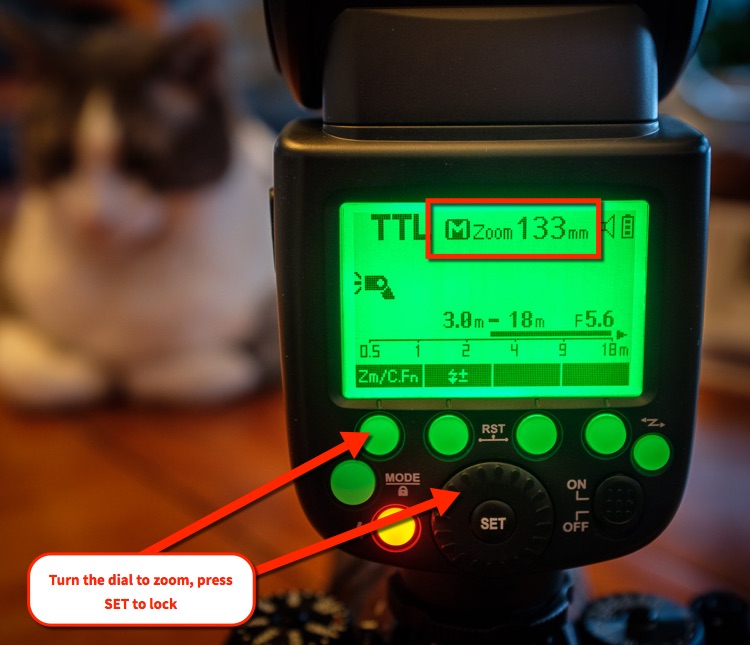
There are two options, Manual Zoom and Auto Zoom. With Manual Zoom, you choose the focal length that matches the lens you’re using.
In Auto Mode, the flash communicates with the camera and reads that information automatically.
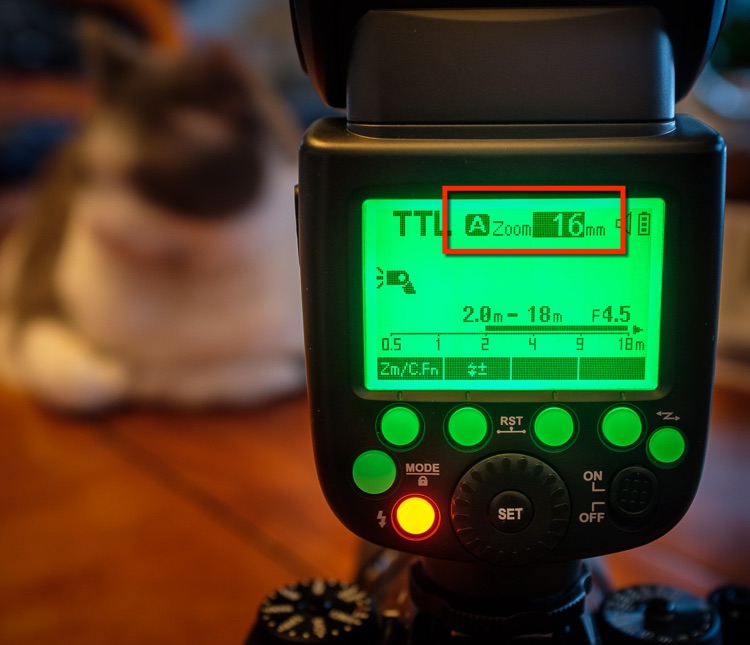
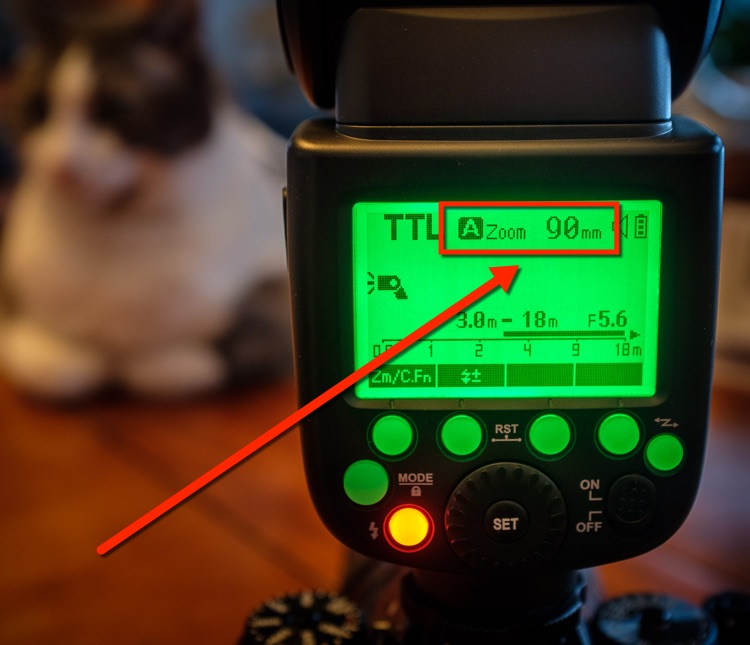
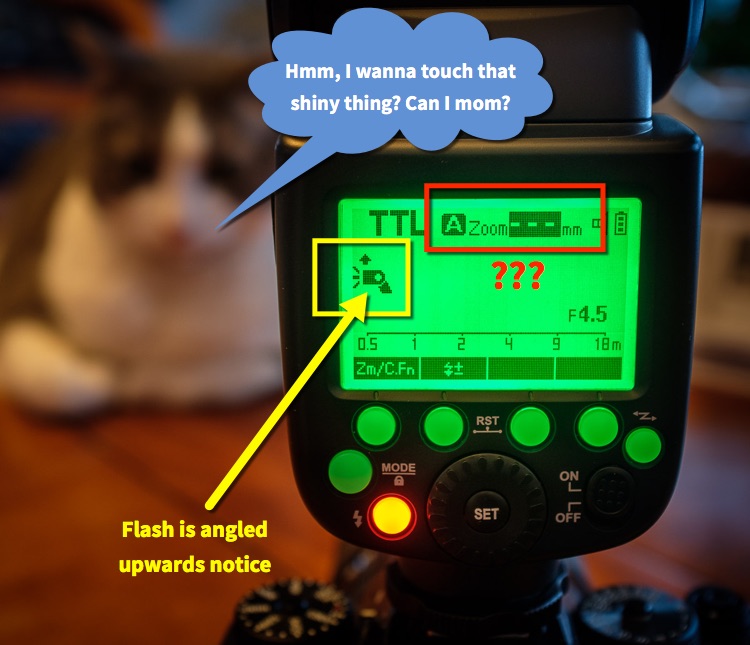
The reason you want to pay attention to this setting is it can go wrong and produce light that doesn’t fit your image. Let’s look at an example.
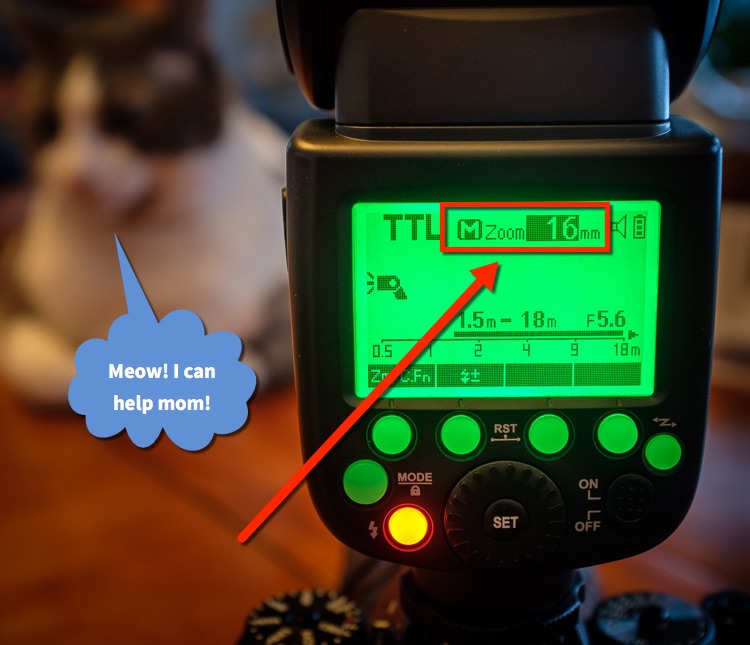
One other thing to notice is that if you tilt the flash upwards, the Auto Zoom may not function and you may see something like this.
Wide-Angle Panel
What if you are using a really wide lens like a super-wide or even a fish-eye? How wide can your flash go?
Well, the answer is pretty wide. But you have to use another tool that comes with your flash to make it ultra-wide. Check your user manual, but your speedlight likely comes with a little flip-out panel like this.

It’s a little sneaky because the wide-angle panel is usually hidden inside the edge of the flash. Look for the top of it and grab it with your fingernail and pull it all the way out.
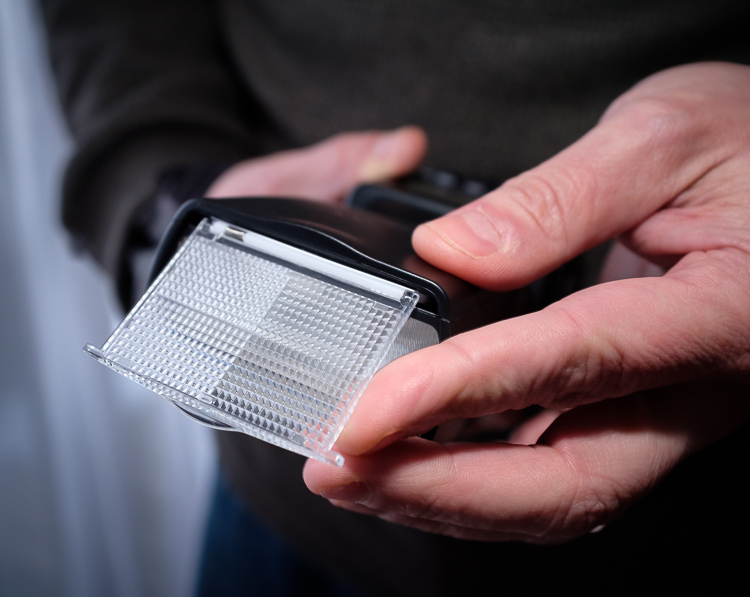
Then let it flop over in front of the flash as you see in the image above. All that does is diverts the light coming from the flash so it produces an even wider beam.
Let’s see how it works, look at the example images below.
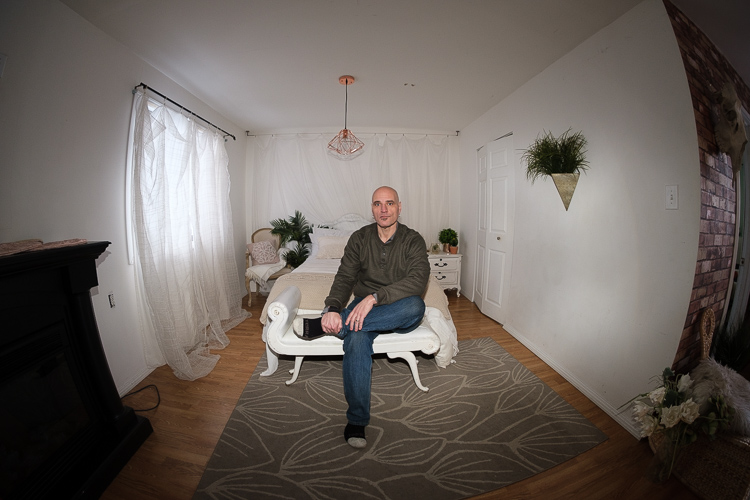
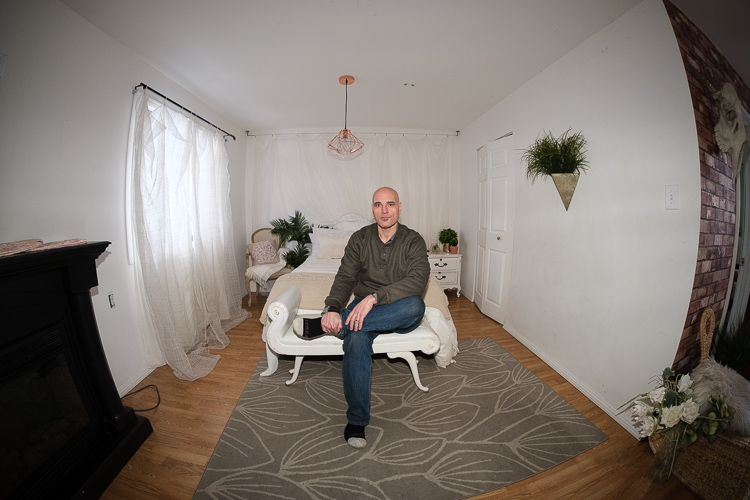
Compare the two images above and below. The first (above) was shot using the flash’s widest zoom setting but it wasn’t enough. The 8mm lens is just too wide. It can see more in the shot than the flash can cover.
In the image below, the wide-angle panel was deployed on the flash. You can see that it was then able to cover the scene with light to match the angle of view of the lens much better.
It’s not perfect, there is still a bit of darkness in the corners because the lens is so wide, but it’s pretty good.
Bounce Card for Catchlights
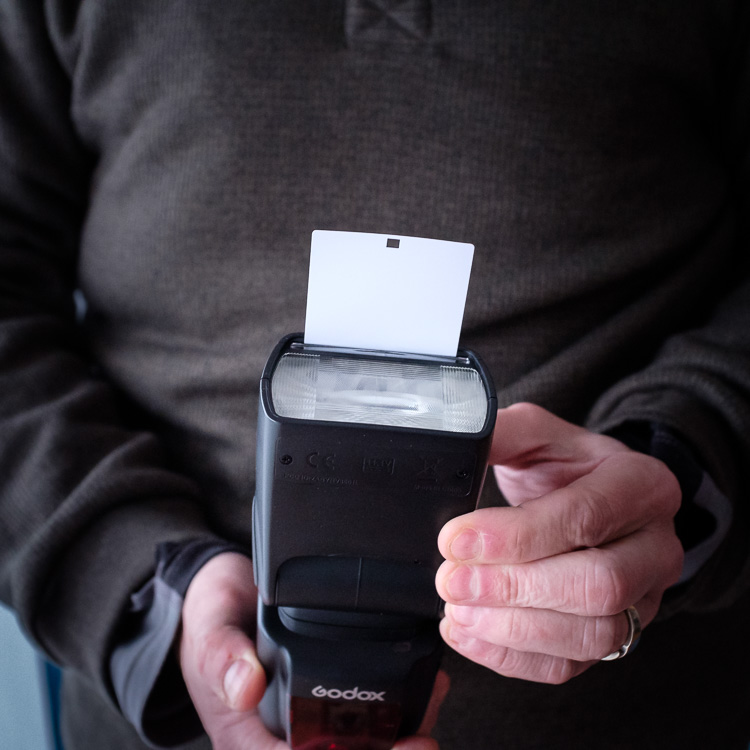
The last little tool I want to cover is hidden in the same spot where you found the wide-angle panel. It is a little white card.
What the white card does it helps you put a little bit of light in your subject’s eyes when you are aiming the flash straight up and bouncing it off the ceiling.
To use it, grab the end of the wide-angle panel and it and the white card should come out. Then just push the wide-angle panel back inside so only the white card is sticking out, like this.
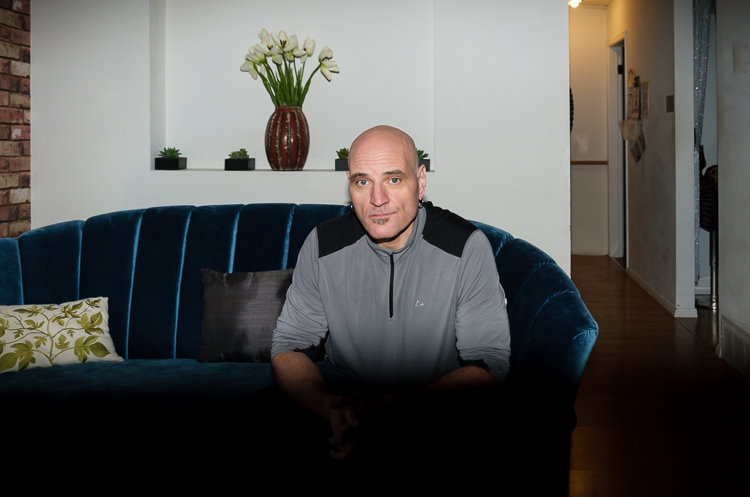
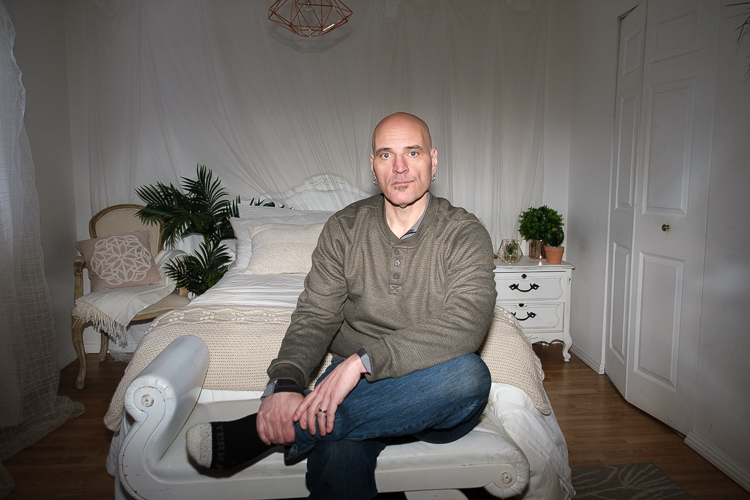
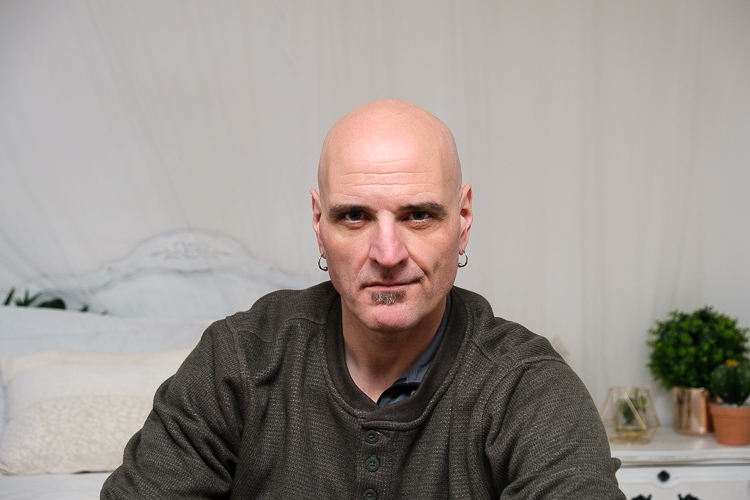
Before I show you how you use it, first, have a look at an image shot with direct flash.
In the image below, the flash was aimed right at him. Notice the harsh shadow under his chin and the flat lighting on his face.
That is what direct flash does!
I recommend not using it whenever possible. It is the least flattering and least interesting light possible.
Next, let’s use the bounce capabilities of the flash (*) and the little white card.
*If you followed my recommendations in this article, you’ll have purchased a flash that can tilt and rotate. So you’re good to go right?!
To see my list of recommended flashes and accessories that won’t break the bank, CLICK HERE.
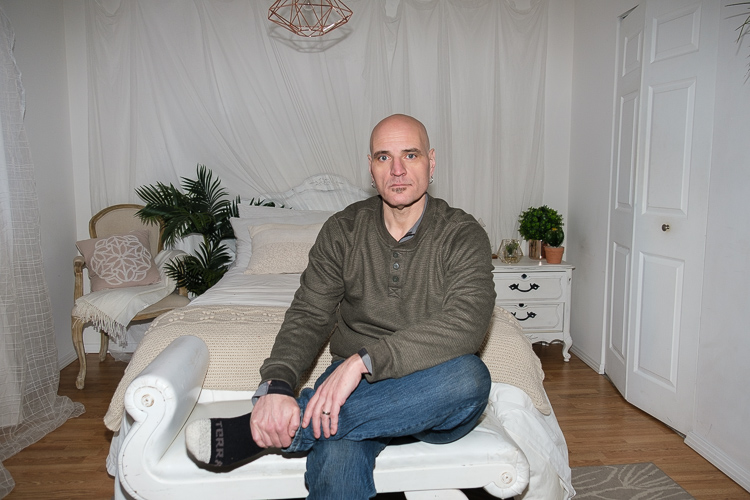
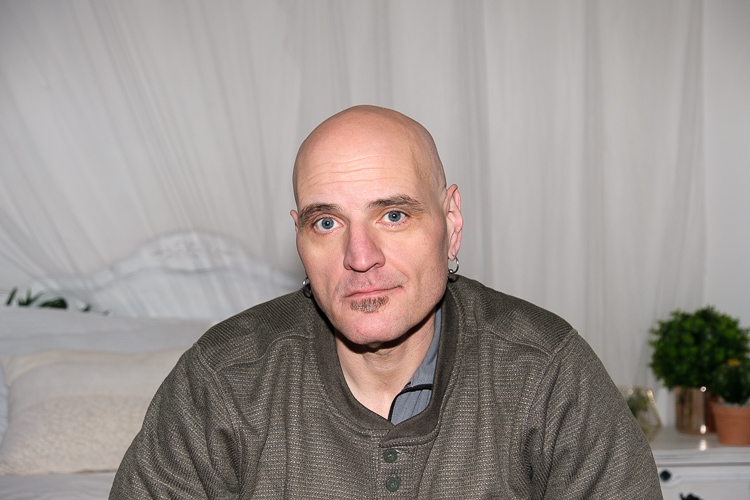
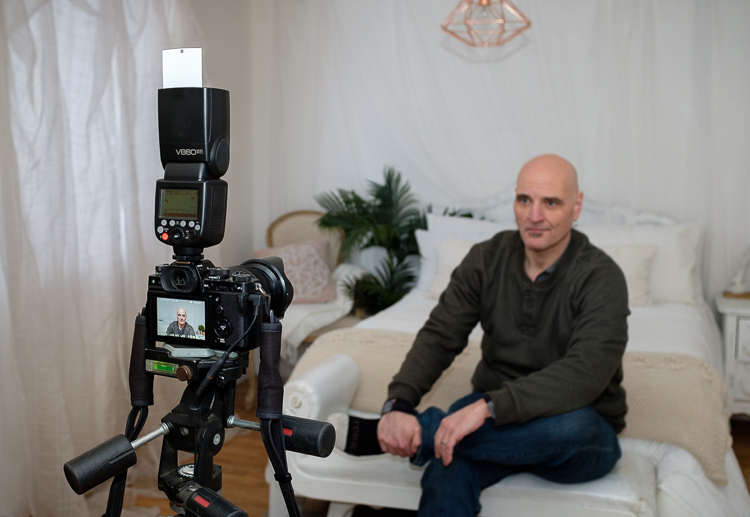
Okay, in the next shot my flash was angled straight up as you see in the image below.
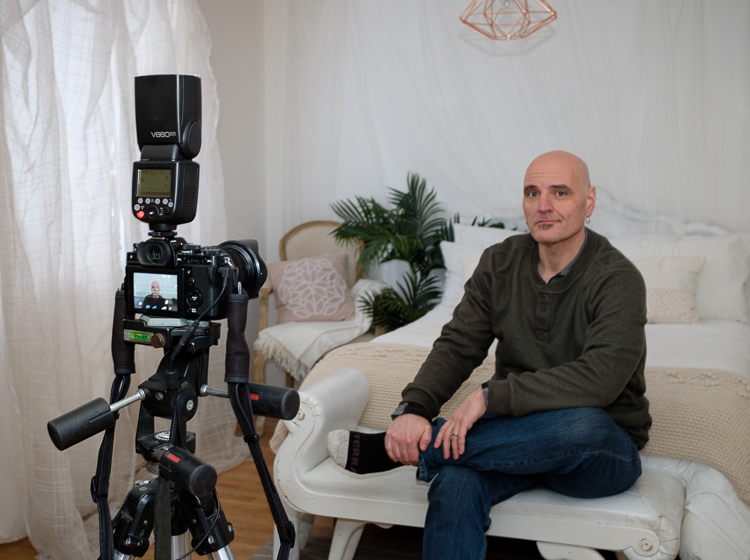
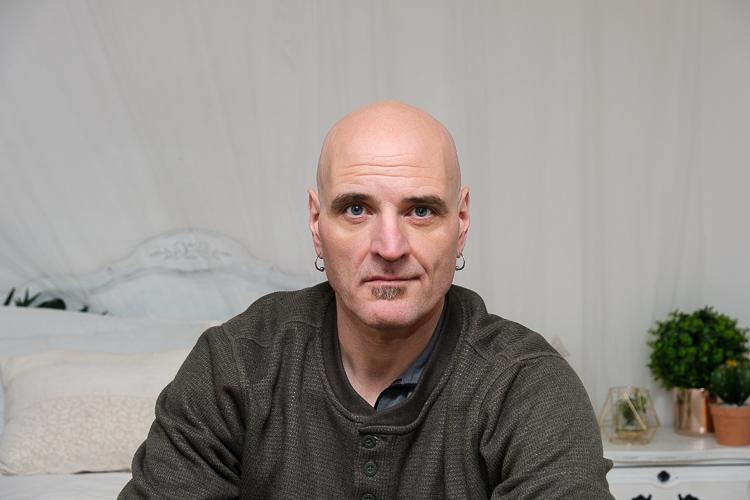
The flash is aimed directly up to bounce off the ceiling. Here is the resulting image (below) from that setup (above).
This is better than the direct flash, but now the issue is that his eyes are very dark. If your model has deep-set eyes this will happen. It is very common, but easily fixed!
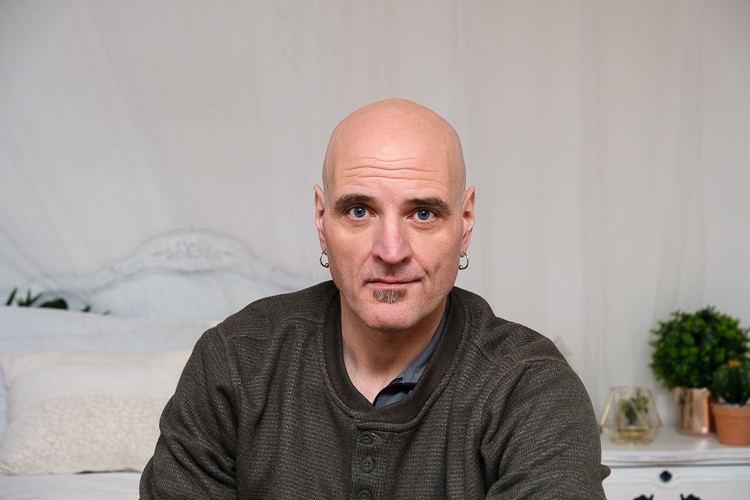
Voila, the white card!
See the little lights in his eyes now? Those are called “catchlights” and you want them! It means he has light hitting his eyes which will give them more sparkle and life.
So if you are going to bounce the flash up, I recommend always using the white card as well in those situations.
But…we can still do one better!
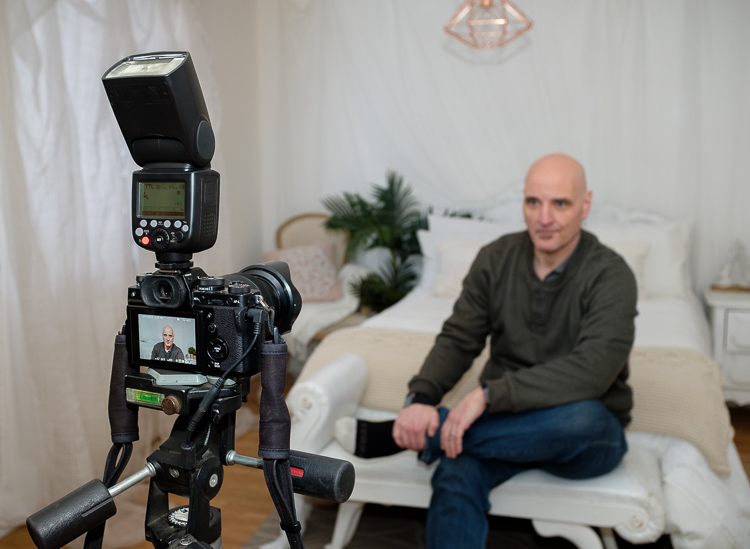
The setup above may look a little odd, and if you do this people may come up and tell you that your flash is pointing the wrong way.
Ignore them because this is what it will do!
It’s very similar to the image with the white card, but let’s compare them side-by-side.

The right image was done with the flash aimed slightly behind the camera.
Can you see the difference now? It’s subtle, look at his forehead.
In the image on the left, his head is lighter because more light was coming from directly above. With the flash aimed behind the camera in the one on the right, it means the light was coming from more in front of him than above.
Rob was the perfect model to illustrate this! If you have a subject with a receding hairline (or none like Rob), it will be more flattering for him if you use the method on the right.
Time to Practice
Now that you know the basics of how your flash works and some of the options and settings, it’s time to practice.
Only by doing will you actually internalize this stuff. Then when the time comes that you need it, the knowledge will already be burned into your brain!
What I suggest is that you find a willing model to pose for you. Try all of these things out. Change the settings, see what happens and learn. That’s the best way to do it so that you really get it.
If you wait until you’re shooting somewhere and you need to use flash, it’ll be too late. You’ll likely struggle and end up getting frustrated or have results you aren’t happy with.
Don’t try to learn this when you’re photographing something that matters or that can’t be repeated. Go practice it now! Learn this stuff now.
Cheers,