Long exposure photography (or long shutter speed), is a technique used for creating photos with really interesting effects. If you have ever wondered how images that contain car trails, waterfalls with silky-smooth effects, or motion are made, keep reading and I’ll tell you how to do these things.
Photography is one of the best ways to capture a moment in time; in fact, we could say that a photograph freezes time.
This is the way we are trained to see or perceive.
If we translate how our eyes and brain work into photographic terms, we can assume a shutter speed of about 1/150th of a second with a focal length of 50mm.
Life is more like a video, however, and with the use of longer shutter speed, we can certainly add a third dimension and even special effects to a photo.
These types of images are created with long exposure techniques using a long shutter speed.
What is Long Exposure Photography?
For this article, I’ll consider a good long exposure photo to be an image where the shutter was open for more than five seconds. There is no rule about this; it’s just my opinion.
Any of these long exposure techniques could be wowing when properly done.
Think about fast-moving clouds, car trails, smooth water, and a great trick to make people disappear.
Equipment Needed for Creating These Effects
For these long exposure techniques, you’ll need a few specific items in your kit:
- A camera with Manual or Bulb Mode: You’ll need a camera that will allow you to control the shutter speed via either the manual settings or bulb mode. Most modern DSLRs or mirrorless cameras are capable of this function. However, this could be a challenge with a point-and-shoot type of camera.
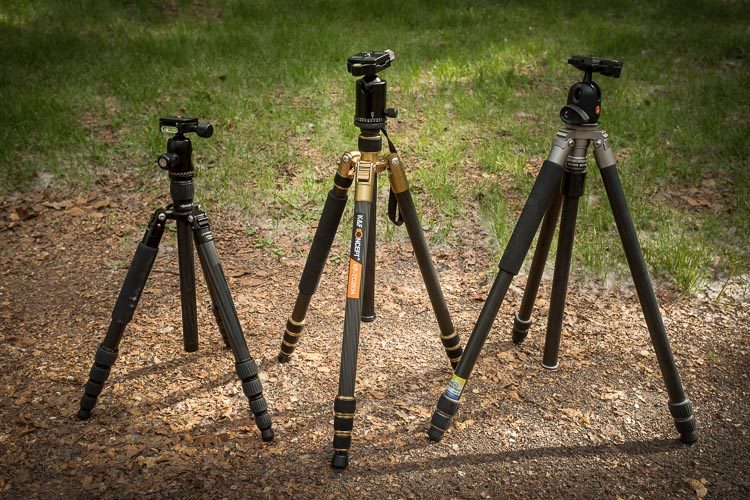
- Tripod: This is the second most crucial element for achieving this effect. (The first one is the camera, of course.) The sturdier your tripod, the better; as the exposure lasts several seconds or possibly minutes. So it is essential to have a good tripod to avoid camera shake. I prefer mine to be carbon fiber. This material is light for traveling, and also its nature helps to absorb vibrations better than aluminum.
- Remote trigger/shutter release cable: In long exposures, even a small vibration of the camera will contribute to delivering a not-very-sharp image. To help avoid that, a remote trigger or shutter cable release is the perfect tool, so you don’t have to press the shutter with your fingers. There are several options, from straightforward ones to more complex phone apps with multiple programs to accomplish this task. If you don’t own one, alternatively you could fire your camera using the two- or ten-second timer. I prefer this option as that way I don’t have to worry about carrying another “gadget” in my bag. Depending on your camera, there could be certain limitations regarding the use of the timer, as this option will not allow using Bulb Mode. In case you don’t know this term or method, Bulb will keep the shutter open for as long as you have the shutter pressed. So if you need exposures longer than 30 seconds you will likely need some type of remote trigger.
- Neutral Density Filters: A neutral density (ND) filter is a dark piece of glass that you place in front of your lens to cut the amount of light reaching the sensor. Long exposures can be done at different times of the day. However, during the daytime (or at night in areas of bright light), you’ll need the help of a neutral density filter. That way, in order to get a correct exposure (yes, you guessed it right) you’ll need a longer shutter speed. Exactly what you want!ND filters come in various formats, but the most common grades are three, six, and ten stops (measuring the number of stops of light the filter is cutting). These filters also come at several levels of quality; in this case, my recommendation is to invest in a good one made of glass. You can get ones that screw onto the lens or drop-in ones that require a filter holder.
- Extra batteries: Yes, extra camera batteries should always be in your bag. Pro photographers always carry spare batteries. This is especially true for shooting long exposures as the operation of the camera for longer than normal periods of time will drain them much faster.
Here is a list of some recommended items for long exposure photography.
How to Set Up Your Camera for a Long Exposure
The method is fairly straightforward.
All you need to do is find a good composition and then work your exposure triangle in a way that your shutter speed is long enough for your desired effect.
That means that typically you will be using the lowest possible native ISO your camera can be set to (don’t use L1), and your aperture will be stopped down to f/11 or above (a smaller opening).
Depending on the lens I’m using, I sometimes even get up to f/32.
For creative reasons or if those aperture numbers are not enough to get the right exposure length, you can then add the before-mentioned neutral density filter.
Some Examples of Long Exposure Techniques
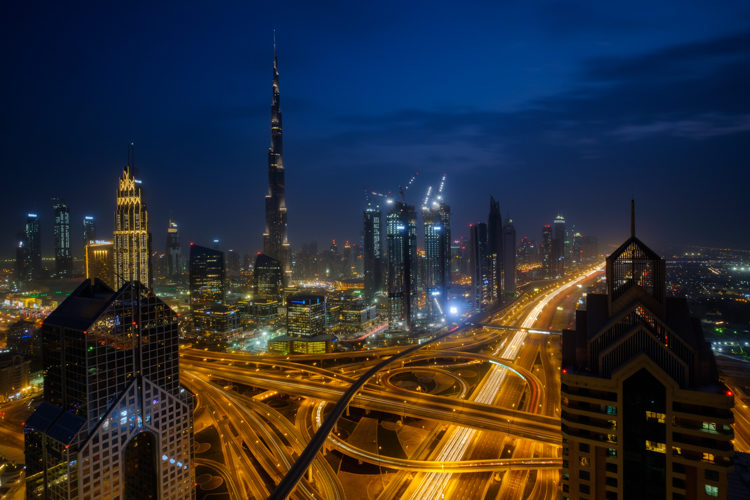
1) Car Trails
Car trails are one of the most typical applications for long shutter speeds.
If you’re going to attempt this one, make sure your composition includes a long street from where you can spot a good portion of the image where the cars are going to be passing by.
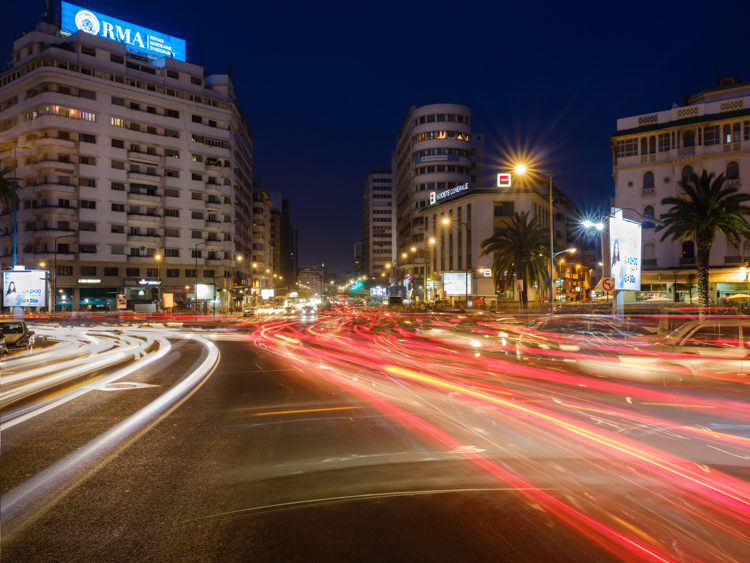
How fast the cars are moving will dictate how long of a shutter speed you’ll need so the trail can be shown across the whole frame of your composition. You can also take multiple shots and stack them together later using Photoshop (or any program that utilizes layers).
Read more on shooting car trail lights here: Guide to Photographing Light Trails at Night.
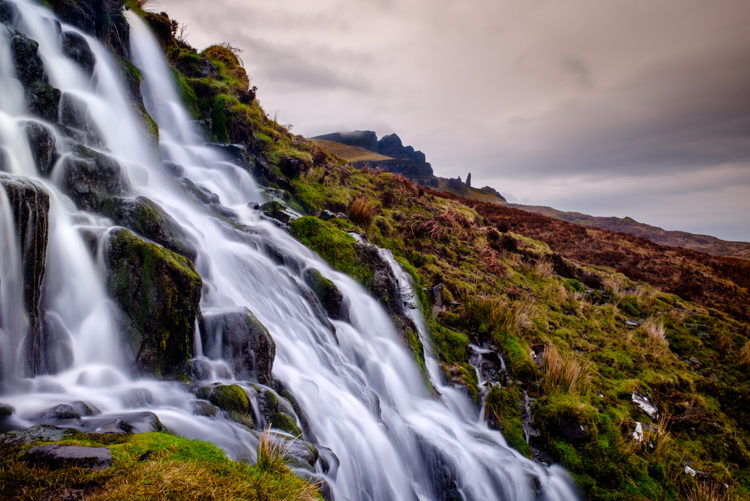
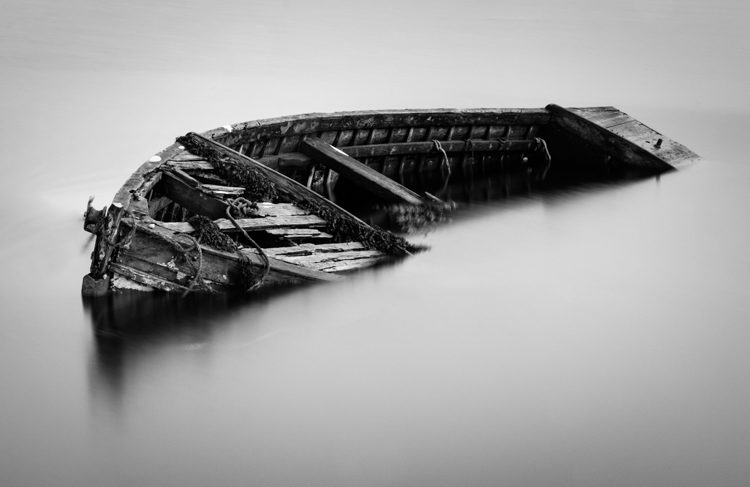
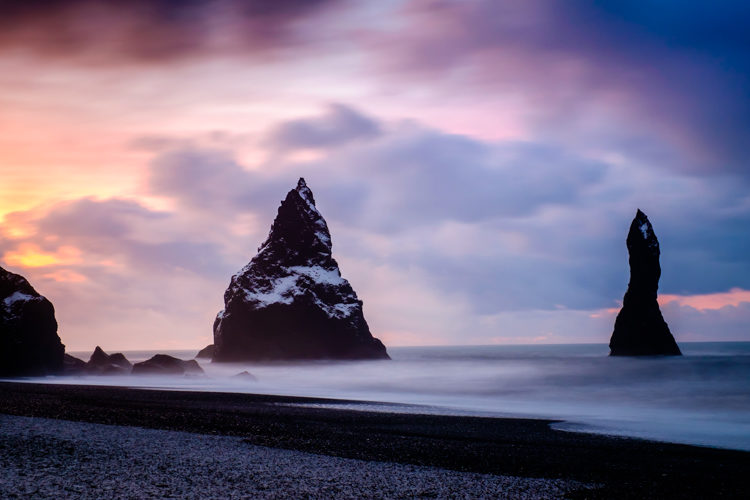
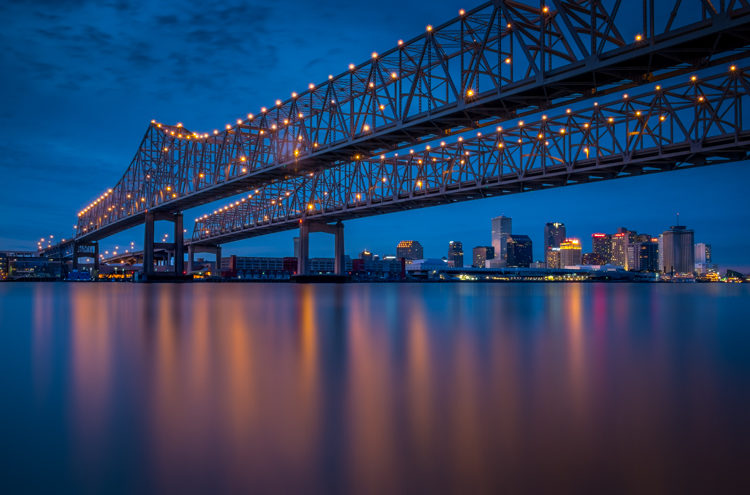
2) Waterfalls and Smooth Water
This effect is also really cool when applied to cascades or bodies of water.
The shutter speed will create a silky-smooth look on seascapes and lakes, and will also convey a sense of motion over waterfalls. In the case of coastlines or within cities, it will also help to accentuate the effect of the reflection of the buildings over the water.
Darlene wrote an entire article on getting your best waterfall photos if you’re interested in more information on that subject.
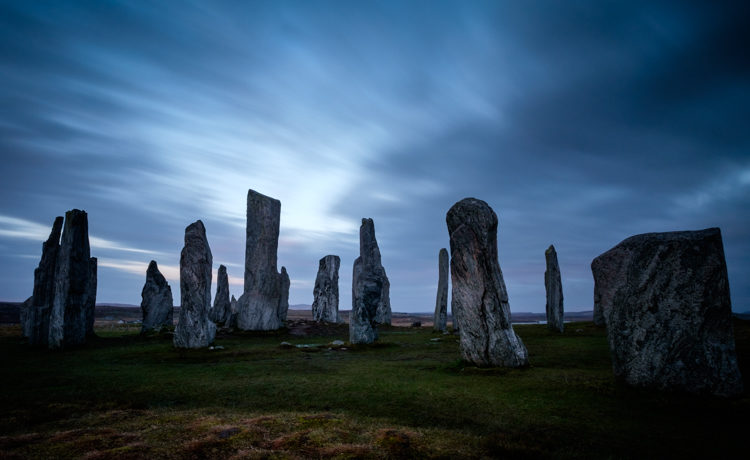
3) Fast-Moving Clouds
I am a fan of this technique.
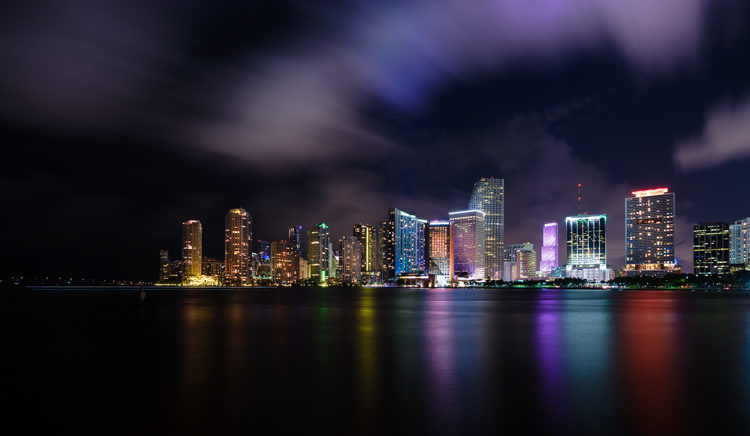
Every time I see clouds moving fast I break out the tripod, grab a good ND filter, and shoot away. For this to work, it is better to use a wide-angle lens to include more sky and aim for an exposure time past the one- or two-minute mark.
A great foreground is always a plus, but your best friend, in this case, is the sky.
4) Making People Disappear
If you’re standing on a busy corner or anywhere that people come and go (like the metro station below), and you’d prefer to make a photo without people, a long shutter speed could rescue you.
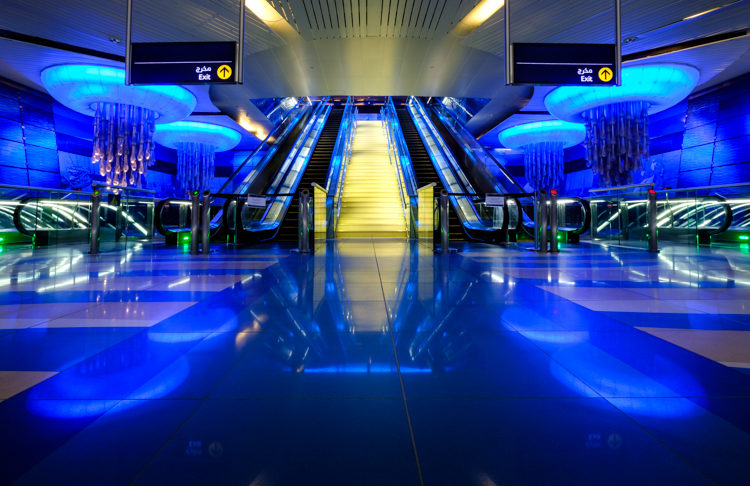
Since the image takes longer to register on the sensor and the light gathered goes very slowly, people moving around will generally not be recorded.

Again, here you’ll need extremely long exposures, and depending on how fast or slow people are moving it could make them look like ghosts. The color of the clothing and relation to the kind of light they are under will also produce different results.
I use this long exposure technique often to make my subjects disappear. Where a long exposure isn’t possible, you can use Photoshop to make people disappear.


5) Star Trails
This is a fun one too. However, it requires some extra work.
If you aim your camera to the sky at night and shoot for at least 25 seconds, the stars will look like they’re moving. That’s nice, but just one photo is not enough to produce star trails.
The trick to this long exposure technique is to combine as many images as possible—the more, the merrier.
I usually do 80 to 100 images for star trails. Merging them is not that difficult and can be done with a software called StarStaX.
Conclusion:
Any of these long exposure techniques create fun and interesting effects.
Attaining a great long-exposure picture entails a lot of trial and error, so once you find your composition, stand by and play with different shutter speeds until you see the correct combination for the type of effect you’re looking for.
As you can see, long exposure photography is fun and easy to achieve with the right tools.
The secret is to find an excellent composition and subject and have patience. The results are often very rewarding.
What about you? Have you ever tried this before? If you have, I’d love to see the outcome.
Please share some of your images with us in the comments below.