Low light photography is not necessarily just night photography, as many people assume. There could be different amounts of light coming from various sources and whatever is less than daytime light outside, I consider low-light. Indoors photography without much ambient light (as in many of our homes) as well as the light that is barely visible to our eyes at night, is also considered to be low-light. In this article, I will provide tips on how to take pictures in various low-light environments, whether indoors or outdoors.
Three Levels of Low Light
Before we go any further, let’s first identify the varying levels of low-light and categorize them, so that we could refer to them in examples. Although it is very hard to categorize the amount of light, due to the fact that it is a large range of light between bright and pitch black, just for the sake of making it easier to explain and refer to, I still decided to divide it into three categories:
- Visible: in daylight, when you happen to be in shadow areas behind buildings, under large trees or bridges.
- Low Light: after sunset, when you can still clearly see everything around you, but you can tell that it is getting dark or when you are indoors.
- Dark: at night, when you can only see the brightest objects.
I’m sure you have come across all of the above situations at some point of time with your camera and perhaps even found it challenging and frustrating to take pictures in those conditions. Let’s go through the above one at a time and see what you can do to take good pictures in all low light conditions.
1) Low Light Photography: Visible Conditions
Have you had a situation where you were in a shadow during the day and tried to take a picture? This was one of my frustrations when I bought my first DSLR, because I couldn’t understand why my pictures were coming out blurry. At times, the images on the rear LCD of the camera would look OK, but when I eventually viewed them on the computer screen, they would all be a little blurry. I had no idea why it was happening and really needed to find out why.
Even though you might think that there is plenty of light when you are in a shadow area, in fact, there might be inadequate light for the camera to effectively capture the image. Depending on your camera settings, there might be two consequences: a) you will have a blurry image and b) you might have a lot of noise in your image.
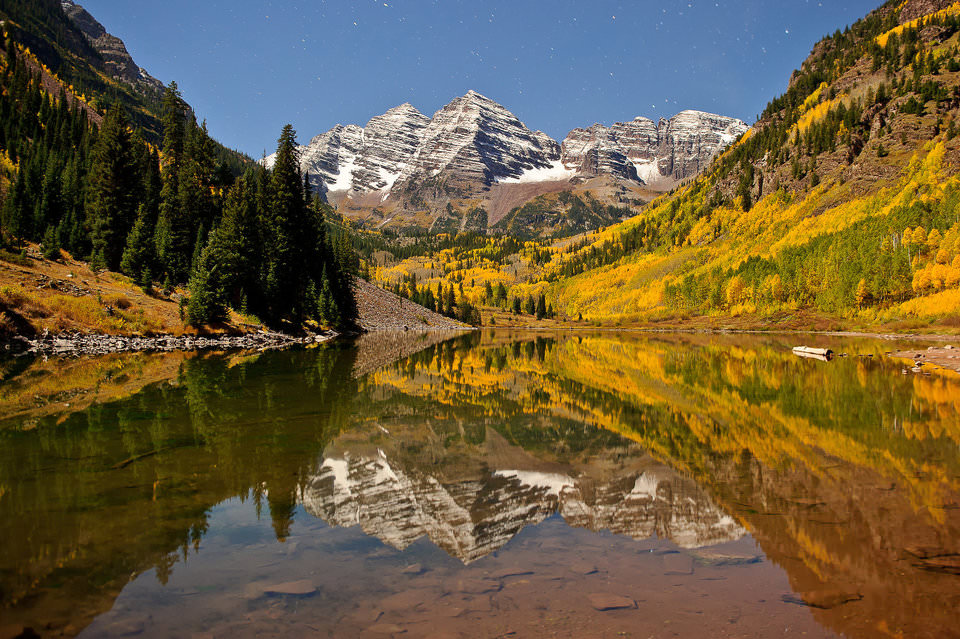
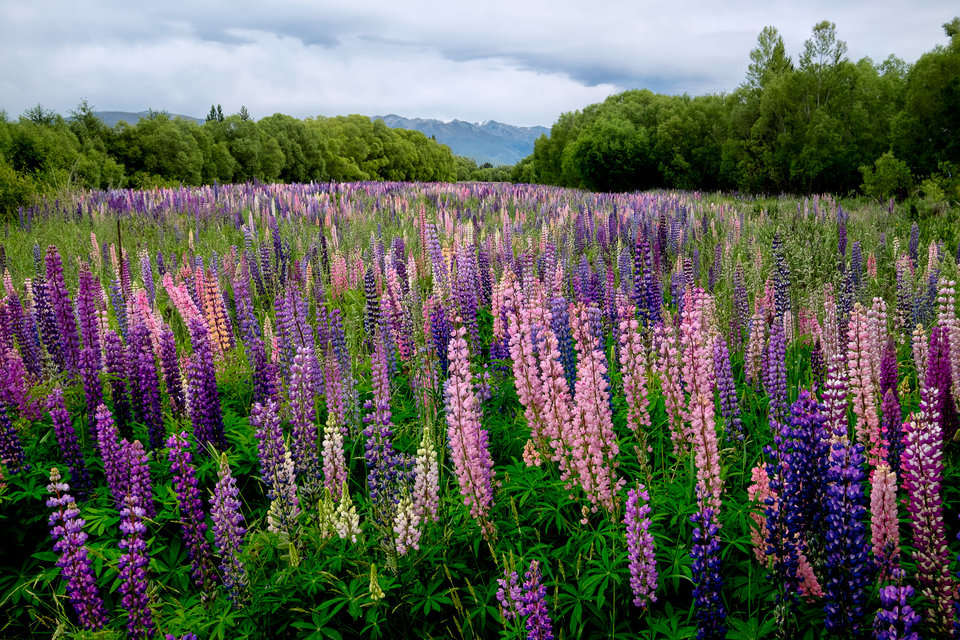
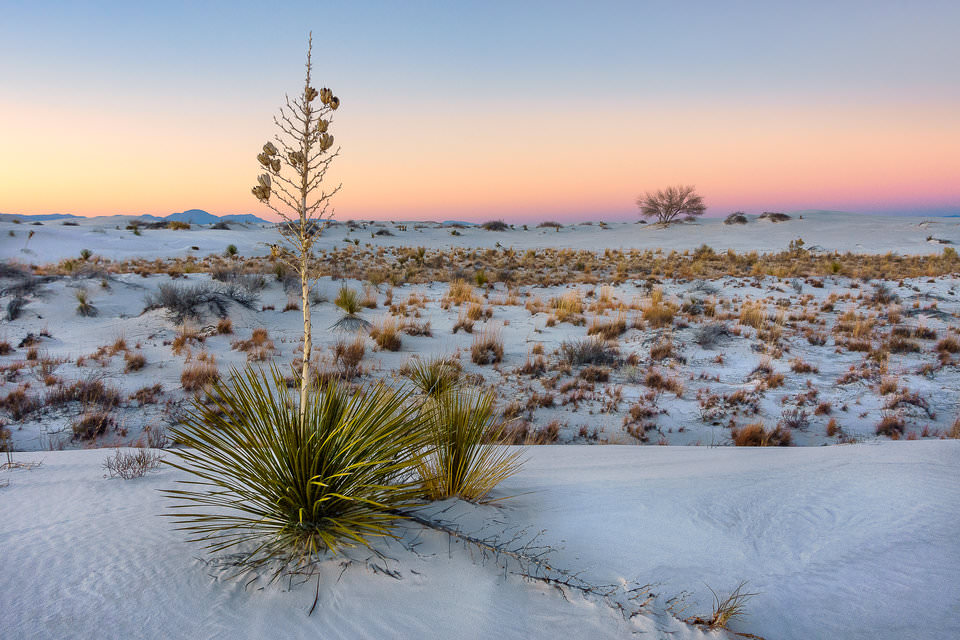
ILCE-7RM2 + FE 24-70mm F2.8 GM @ 63mm, ISO 100, 0.8 sec, f/11.0
1.1) Shoot at Higher Shutter Speeds to Avoid Blurry Images
So, why do blurry images happen? The answer is in the camera shutter speed. If the shutter speed is too low, you will get camera shake and / or motion blur from moving subjects. To avoid camera shake, you should always try to shoot at faster shutter speeds. You might ask “what is a fast shutter speed?”. It depends on the focal length of your lens and the size of your camera sensor. For example, if you are photographing a subject with a wide-angle lens on a typical point and shoot or a small sensor camera, you might get away with shutter speeds under 1/50th of a second, depending on your camera hand-holding technique. Whereas if you are using a telephoto lens longer than 100mm, I recommend applying the reciprocal rule to calculate your optimal shutter speed. Keep in mind that image stabilization also plays an important role in calculating the right shutter speed (more on image stabilization below). If you have image stabilization turned on, you might be able to shoot at much longer shutter speeds without introducing camera shake. For most day-to-day photography though, a shutter speed of 1/200th-1/250th of a second should be fast enough to yield sharp results and avoid motion blur on most cameras.
NIKON D850 + 58mm f/1.4 @ 58mm, ISO 110, 1/125 sec, f/1.8
1.2) Set Aperture to the Lowest Number (f/stop)
Unfortunately, to shoot at fast shutter speeds such as 1/200th of a second, you will need to have plenty of light. In our situation, we don’t have enough light, so what do we do? The first thing you will need to try to do is set your lens aperture to the lowest f-number on the camera, which is called the “maximum aperture”. Opening up your lens aperture will allow more light to pass through the lens into the camera body, which will result in faster shutter speeds. In order to do that, you will have to either switch to “Aperture Priority” mode or manually override your aperture in whatever mode you are using. Then, start opening up your aperture until you get to the lowest f-number your camera will allow, its maximum aperture. For example, if you have a 35mm f/1.8 prime lens, your maximum aperture will be f/1.8, while the maximum aperture on a lens like 18-55mm f/3.5-5.6 will change from f/3.5 to f/5.6 depending on the focal length.
1.3) Use a Faster Lens
The maximum aperture is a physical property of a lens, which means that the choice of the lens itself is important. Most consumer zoom lenses are limited to f/3.5-f/5.6 for maximum aperture, while professional zoom lenses often have a constant aperture of f/2.8. Many prime (fixed) lenses can open up to f/1.4, while some specialty and exotic prime lenses can go all the way to f/0.95! The larger the maximum aperture (the lower the f-number), the faster the lens is considered to be.

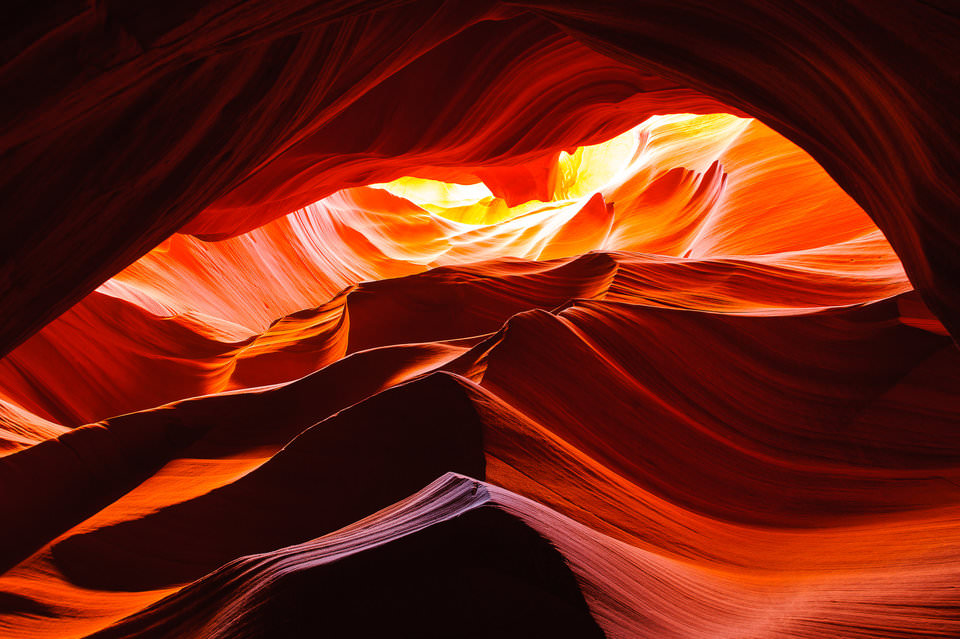
NIKON D700 + 24mm f/1.4 @ 24mm, ISO 3200, 1/8 sec, f/2.0
So, how does opening up the lens aperture affect your shutter speed? Let’s say you are shooting at f/8.0 aperture and 1/125th shutter speed. Opening up the aperture to f/5.6 will double your shutter speed to 1/250th of a second, while lowering it to f/4.0 will quadruple the shutter speed to 1/500th of a second, which is plenty to freeze motion (see Exposure and Exposure Stops for more details). If you have a fast lens with a maximum aperture of f/1.8, just keep in mind that opening up the aperture to the lowest f-number will also decrease depth of field, which might put your subject out of focus if you are not careful.
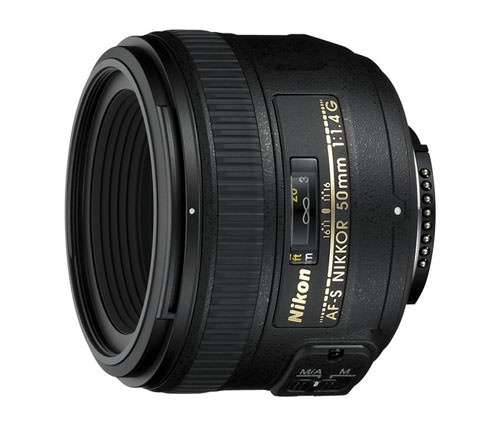
If you shoot Nikon, I recommend getting something like the Nikon 35mm f/1.8G DX or the Nikon 50mm f/1.8G. Canon shooters have similar options in the form of the Canon EF 35mm f/2 IS USM and Canon EF 50mm f/1.8 STM. Most other camera systems have similar lens options.

1.4) Use Image Stabilization
Does your lens and / or camera have image stabilization (also known as “Vibration Reduction”, “Vibration Compensation” and “Optical Image Stabilization”)? If no, that’s too bad, because it truly does work! The latest image stabilization technologies from Nikon, Canon, Sony, Fuji and even third party manufacturers allow up to 4.5 stops of compensation, which can come really handy when shooting hand-held.
Let’s say that with a regular lens you need 1/250th of a second to get a sharp picture. With an image-stabilized system, you could lower the shutter speed to 1/15th of a second or even slower, and still get the same sharp image! Many consumer zoom lenses such as the Nikon AF-P DX 18-55mm f/3.5-5.6G VR and Nikon AF-S DX 18-200mm f/3.5-5.6G VR II come with image stabilization / vibration technology. While it is certainly nice to have stabilization in such versatile lenses, unfortunately, these lenses are also slower and not as sharp as the above-mentioned prime lenses. Because of this, the ideal choice would be a fast lens that also has built-in image stabilization, or a fast lens that can be stabilized by in-body image stabilization (that’s when a camera has an image-stabilized sensor). The good news is, manufacturers are now catching up in this regard and have been adding more stabilization options both in lenses and in cameras.
X-T2 + XF10-24mmF4 R OIS @ 18.2mm, ISO 200, 1/50 sec, f/11.0
1.5) Increase Your Camera ISO
What if you have already opened up your lens aperture to its maximum aperture and you are still getting slow shutter speeds? The answer then is to increase the camera ISO in order to make the image brighter. For example, if you are shooting at ISO 100 and your camera’s shutter speed is 1/25th of a second, resulting in blurry images, you will need to increase your ISO to 400 to get the shutter speed of 1/100th of a second. How did I calculate that? Basically, doubling your ISO doubles your shutter speed. So, increasing the camera ISO from 100 to 200, increases your shutter speed from 1/25th of a second to 1/50th of a second. Then, increasing it further more from ISO 200 to 400 increases the shutter speed from 1/50th of a second to 1/100th of a second.

NIKON D700 @ 24mm, ISO 1600, 1/25 sec, f/8.0
Be careful with increasing your ISO to a large value, as higher ISO translates to more grain / noise in your images. Most modern cameras can handle noise levels up to ISO 1600 pretty well, while top-of-the-line full frame professional cameras can produce very little noise even at ISO 6400 and higher.
2) Low Light Photography: Low Light Conditions
Let’s now move on to a more complex situation, where the amount of light is quickly diminishing after sunset or you are shooting indoors in a poorly lit environment. Obviously, the first thing to try is to open up your aperture and increase your ISO, as it says above. But then you get to the point where you are maxed out on the aperture and have already reached the highest ISO you are comfortable with and you are still not able to get sharp photos. What do you do then?
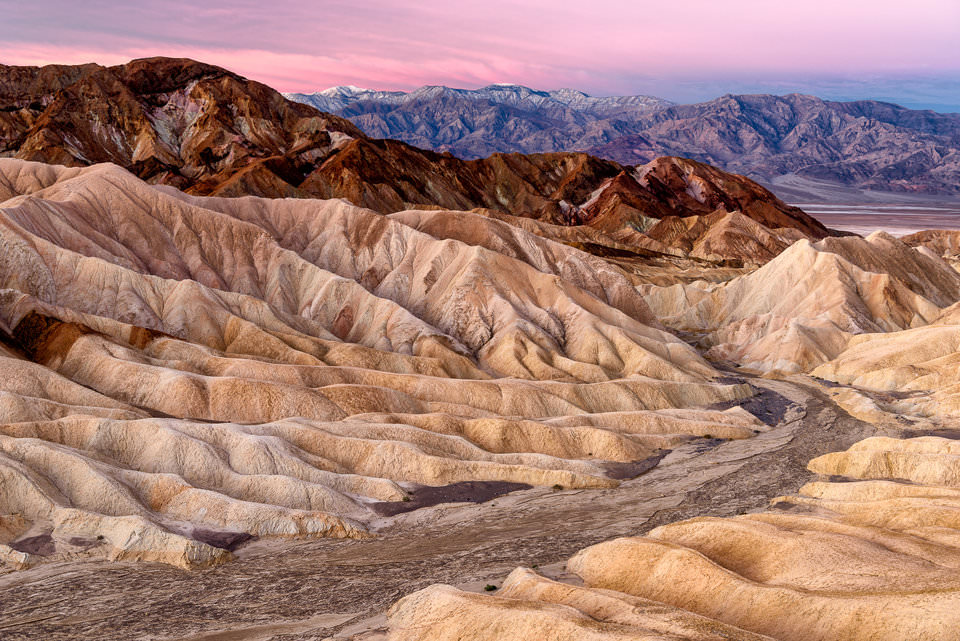
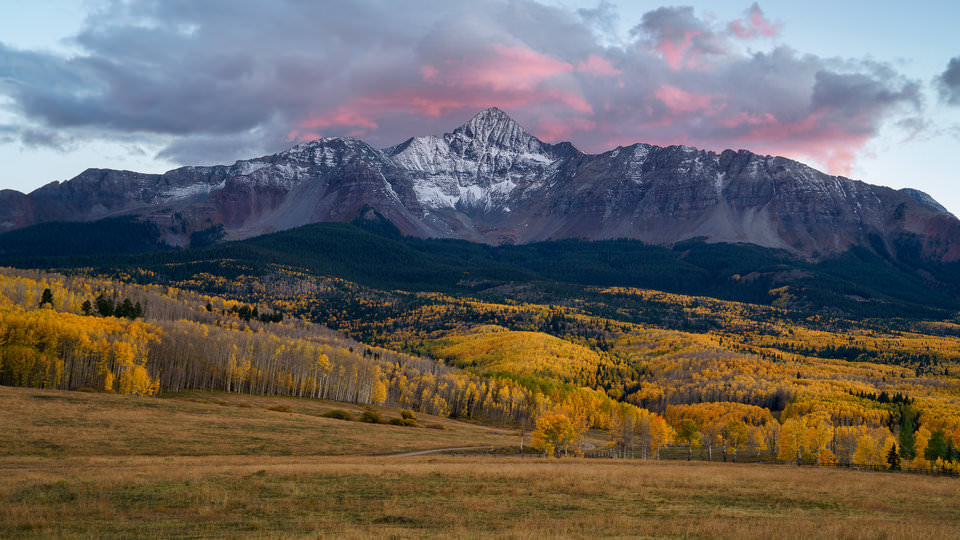
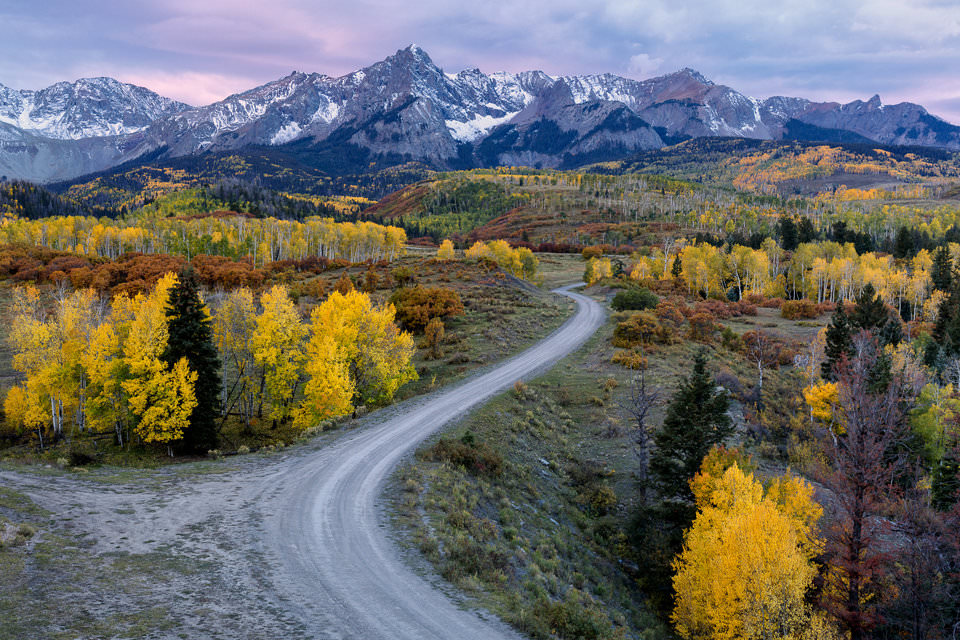
NIKON D810 + 24-70mm f/2.8 @ 38mm, ISO 64, 2 sec, f/8.0
2.1) Position Subject Closer to the Light Source
The closer your subject is to the light source, the more light there will be for your camera to use. Large windows are great sources of light, so open up those curtains and blinds and let the light get into the room. I forgot to bring the flashes when we were photographing the below group, so we quickly found a solution by opening up a large gate and letting lots of exterior light in:

2.2) Stabilize Yourself
That’s right – learn to stabilize yourself and hold your camera better. Use your left hand to support the camera by putting your palm in between the camera lens and the camera body (or wherever the center of the weight is). Pull your elbows towards your body. If you can, sit down and use your knee as support by resting your left arm on it. Gently squeeze the shutter button and see if you can get a sharp image. Practice this and other techniques and you will be able to shoot at very low shutter speeds without introducing camera shake.
2.3) Push Your ISO to a Higher Number
What is better, a blurry image or a sharp image with more noise? I prefer the latter. Push your ISO to a larger number and take a shot. See if the level of noise is acceptable to you. There are plenty of noise-removal programs out there that can help you clean up an image. Try them out and see if the final result after post-processing is good enough for your needs. Although I personally try to stay below ISO 1600, sometimes I push mine to ISO 3200 when needed. On my full-frame camera, I can push up ISO to 12800 every once in a while, with acceptable levels of noise.
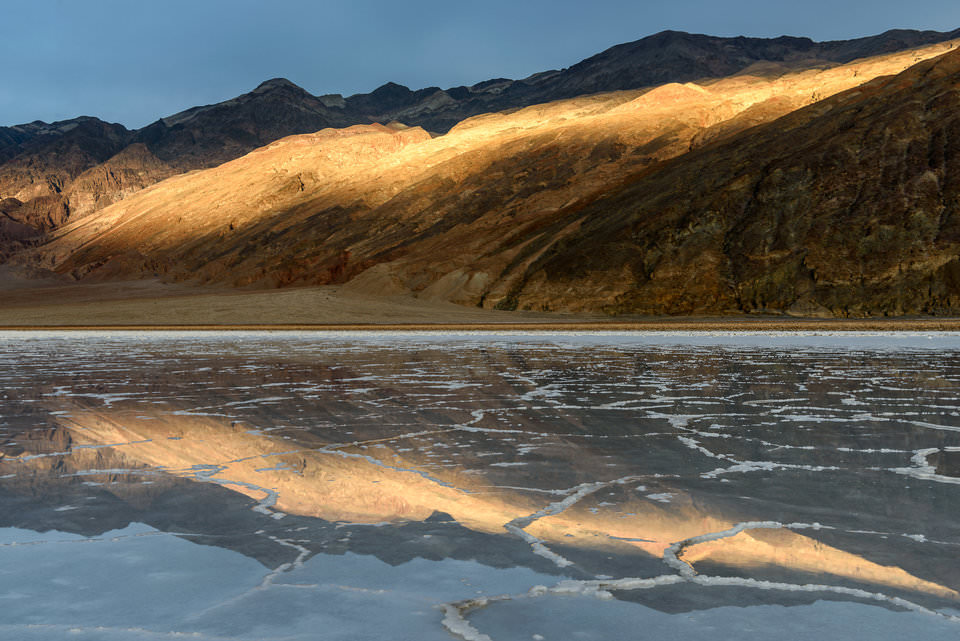
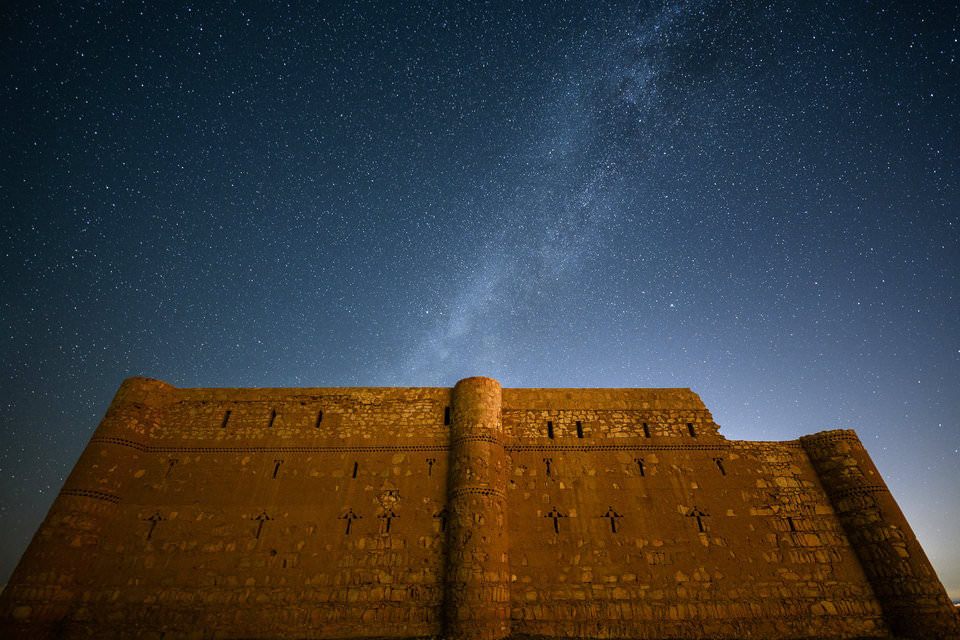
NIKON D850 + 14mm f/1.8 @ 14mm, ISO 800, 1/1, f/8.0
2.4) Shoot in RAW
I always shoot in RAW, because I can recover plenty of detail from my pictures. With an 8-bit JPEG image, you have very limited options to recover information. In some cases when dealing with low-light conditions, you might end up slightly overexposing or underexposing your images. When shooting in RAW, you have much more flexibility to bring down highlights and bring up shadows in post-processing software, without adding too much noise to your images. See our RAW vs JPEG article to understand the differences between the two image formats.
2.5) Be Careful About Autofocus
In low-light environments, the camera might start to lose its autofocus capabilities. That’s what happens when there is not enough light – the camera cannot differentiate between objects anymore, just like if you were to point it at a plain white wall. Many modern digital cameras are equipped with an “AF assist” light in front of the camera that lights up just like a flashlight when there is not enough light to illuminate the subject. If you have such functionality, definitely turn it on in dim environments. On Nikon DSLRs, switch your camera from continuous mode (“C”) to single (“S”) mode to turn on this feature. When you focus on a subject, make sure that it looks sharp in the viewfinder. If it is blurry, try to re-acquire focus by half-pressing the shutter/autofocus button. In many cases you won’t be able to tell if the camera was able to focus correctly on the subject until you take the picture. In that case, make sure to zoom in and check for sharpness of the image on the rear LCD of the camera.
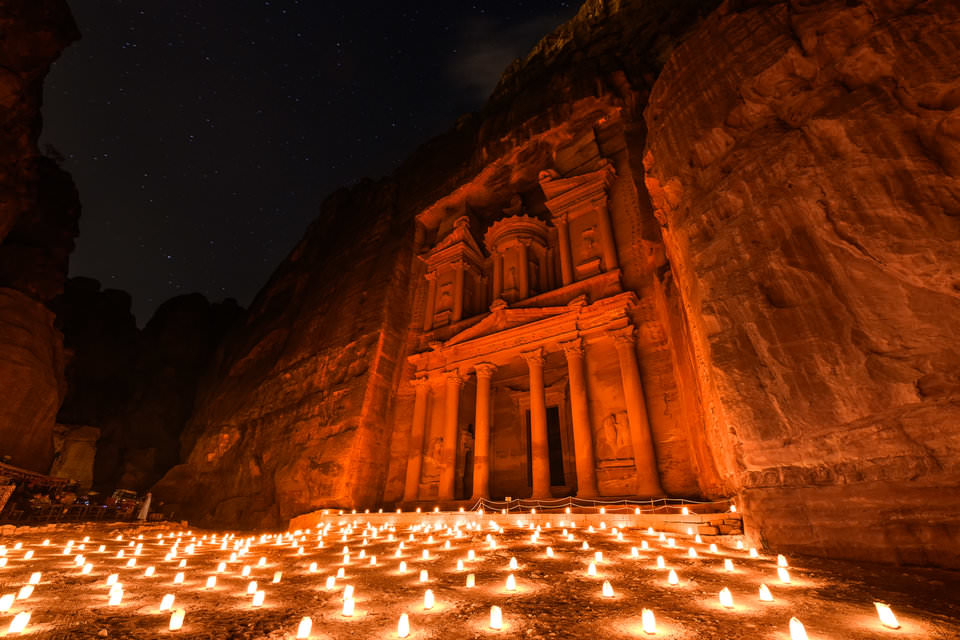
NIKON D850 + 14mm f/1.8 @ 14mm, ISO 800, 20/1, f/1.8
2.6) Use a Larger Sensor Camera
A large sensor camera is expensive, but very helpful in low-light situations. For example, if you shoot with a basic point and shoot camera, you will find that shooting with a Micro Four Thirds or an APS-C camera will make your images have substantially less noise in them, allowing you to use much higher ISOs, so moving up in sensor size truly does make a huge difference. Don’t worry about camera resolution – sensor size is what matters the most for low light photography.
DSC-RX100M4 + 24-70mm F1.8-2.8 @ 10.15mm, ISO 200, 1/13, f/11.0
2.7) Use a Monopod or a Tripod
And last, but not least, try using a monopod or a tripod that will really help with keeping your gear still. A monopod is helpful in some situations, but I personally prefer using a tripod for most of my low-light photography. With a tripod, you could set your ISO to the lowest number to decrease noise, increase dynamic range and shoot at very slow shutter speeds. Obviously, slow shutter speeds could translate to motion blur of your subjects in your images, but in some cases it is not a problem and sometimes it even looks cool! Make sure to use a sturdy tripod, not one of those cheap plastic ones. See our guide on how to choose a tripod for more information.
3) Low-Light Photography: Dark Conditions
In poorly lit environments and at night, many of the above tips are useless, because you have no light to work with.
3.1) Use a Tripod
Hand-held photography is simply impossible at night (unless you want to purposefully create a lot of blur). A good, sturdy tripod is a must for night photography, because you deal with very slow shutter speeds and every bit of vibration matters. It is best to use a remote control or a cable release system with your camera in those situations, but if you do not have one, try using your camera’s timer, or the exposure delay mode. If your camera is equipped with the electronic front curtain shutter feature, it can also help in eliminating other vibrations originating from your camera, such as shutter shock.
3.2) Use a Flashlight for Light Painting
If your subject is too dark, use a flash light to add some light to it. Light painting is pretty cool and you can get some really nice shots by painting with the light, especially if you use different colors.

3.3) Use Manual Focus
When it is too dark, autofocus will not function. If your subject is close, try to use your “AF Assist” light in the camera to get good focus. If your subject is further away, try using a flashlight to illuminate your subject and allow your camera to focus. If your subject is far away or you do not have a flashlight, you will need to manually focus on your subject. Setting your lens to “infinity” focus could work in some cases, but you might have better luck with manual focus adjustment by zooming in with live view. Once you acquire focus, make sure to turn off autofocus so that the camera does not attempt to focus again. Obviously, do not touch your zoom ring after focus is acquired, since focus has to be adjusted for each focal length.
3.4) Practice, Practice and Practice!
I don’t have to say much here – just practice as much as you can and you will get better in no time!
Low-light photography is a lot of fun and you should definitely play and experiment with your camera in different lighting conditions. If you learn how to take pictures in low light, you will have an opportunity to take some amazing pictures that have a different feel to them compared to everyday pictures in daylight.
Good luck and let me know if you have any questions!