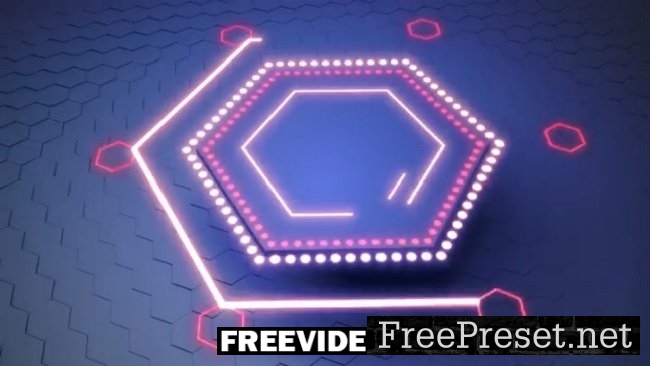
In this course, Nick Harauz will take you through using the Cloner Object inside of Cinema 4D to create a seamless Hexagon Floor and animated Hero Objects. After rendering our Cinema 4D project, we will bring this into After Effects and use 2D shapes, Replicators and Glow to add stylistic accents to the design. We will also explore using an After Effects Glow versus the Glow from Maxon One’s VFX Suite.

LESSON 01: CREATING THE MAIN OBJECT
In the first lesson, we’ll use a preset Cinema 4D spline to create the main Hexagon
LESSON 02: CREATING THE HONEYCOMB FLOOR
We’ll create another hexagon that we’ll clone and position just under our main object
LESSON 03: USING THE EXTRUDE GENERATOR
This lesson will be about the Extrude Generator
LESSON 04: ANIMATING THE FLOOR
The Plain Effector and Fields will be used to create a pulsating type animation
LESSON 05: LIGHTING THE SCENE
We’ll use Cinema 4Ds lights to illuminate our graphics
LESSON 06: ADDING A CAMERA, POSITIONING THE SCENE AND RENDER
A camera will be added to frame our scene and then render for use in After Effects
LESSON 07: ADDING 2D HEX SHAPES AND OUTLINES PART 1
In this lesson, we’ll bring all our shape comps into the Cinema 4D comp. We’ll make all the layers 3D and attach them to the null from Cinema 4D
LESSON 08: ADDING 2D HEX SHAPES AND OUTLINES PART 2
We’ll create another comp and a different style animation that we’ll offset
LESSON 09: ADDING 2D HEX SHAPES AND OUTLINES PART 3
We’ll create some line and Hex Bursts
LESSON 10: ADDING 2D HEX SHAPES AND OUTLINES PART 4
We’ll look at some final 2D shape animations by duplicating circles of a hex shape pattern
LESSON 11: BRING THE SHAPES INTO THE MAIN C4D COMP
Now it’s time to bring all the shapes we’ve created over the last 4 lessons into the main comp, attaching it to the null from Cinema 4D and then offsetting each shape animation in time
LESSON 12: STYLIZING THE SCENE
You’ve made it all the way to the end of the course and now it’s time to add, some color correction grain and glow to our scene. Let’s get to it