In this video, you’ll get a look at the newest version of the powerful photo editing software, Luminar 4 by Skylum. I am usually against any sort of AI or automated editing, but the Luminar 4 AI Sky Replacement by Skylum has done it right with I have to say, I’m super impressed. Watch the video below to see why!
Exciting announcement
The Luminar 4 release date is set for November 18, 2019, and there’s a limited-time pre-order price. I’ll tell you about that in a moment, but before we get into it, I want to give you some exciting news.
Recently I was named as a new Skylum Ambassador. That’s how I’m able to get my hands on Luminar 4 before the full release on November 18th.
I’m super excited to be working with the Skylum team.

I’ll be hosting some in-person events and workshops in my home city of Edmonton Alberta (if you live in this area come join the DPM Meetup group so you get notices of local events). Likewise, I’ll be doing some online events so you can catch those live even if can’t join me here.
TIP: Make sure you’re signed up to get emails from me so you don’t miss anything!
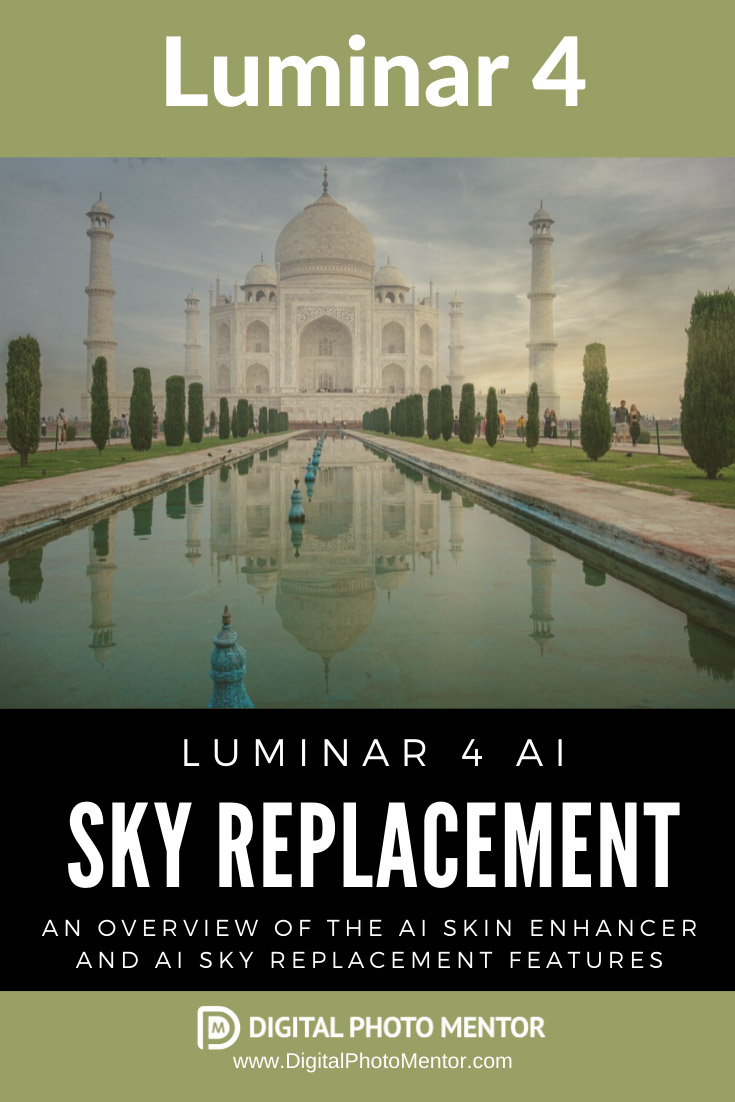
Portrait & Skin AI – AI Sky Replacement – What’s AI?
What’s the deal with AI anyway?
Well, AI or Artificial Intelligence, is like the Auto modes on your camera but for photo editing in this case. The program uses complex algorithms to analyze your photo and adjust it automatically in certain areas.
AI Skin Enhancer & Portrait Enhancer
I have tried portrait and skin AI filters with other software in the past and was sadly disappointed. But as I said above, Skylum hit the mark with their portrait enhancer and AI skin enhancer tools and filters inside Luminar 4.
They do a fabulous job of softening skin and blemish removal just by pulling a few sliders.
It does all that without going overboard and making plastic people which is a HUGE pet peeve of mine.
Here’s a quick before and after that I did with just Luminar 4 – NO Lightroom, NO Photoshop! No cloning or healing manually, no brushing or layers or masking, JUST sliders. I kid you not!


AI Sky Replacement
Sky Replacement AI was another tool I thought I’d never use, but I have already found applications for it and it did a really nice job. I admit that I’m a convert and I may actually use it now.
The purists won’t like this one as you’re changing the sky in your original image, but if you’re okay with it give it a go.
It’s super easy!
Look at this before and after example that I did in less than five minutes.


A first look and sneak peek inside Skylum Luminar 4
So let’s get to it and see what’s inside Luminar 4. Scroll down below the video to see all my notes and the before and after images.
So what do you think?
If you’re considering getting Luminar, you can’t go wrong. If you want to get super creative but at the same time don’t want to use Photoshop or watch a dozen tutorials to learn how to do it – this may be just the thing you need.
Luminar 4 Pricing
Luminar 4 release date was November 18th, 2019. So you can order Luminar 4 now.
OH, did I mention that when you buy Luminar 4 you own it, forever! One time payment only, and it’s yours. If you never choose to upgrade you always own this version.
No monthly payments or subscriptions!
Luminar 4 Discount Code
Use the discount code DIGITALPHOTOMENTOR to save $10 when you purchase.
NOTE: This discount code is only applicable to the regular price. During a sale, the price is already reduced and a further discount is not possible.
If you have an older version of Luminar you’ll be able to upgrade it. Just check out the options on the product page.


3 Ways to use Luminar 4
There are three ways you can use Luminar 4, so you can choose the one that best suits your needs and your own workflow.
- Use it as a stand-alone photo editor and work on one image at a time.
- Work with the DAM (digital asset management) and Library module to sort and tag your images.
- Use Luminar 4 as a plug-in for another popular photo editor (see list below).


Luminar as a Plugin
In terms of plug-in compatibility, Luminar 4 is expected to work (yet to be confirmed) with all of the following programs. So if you use one of these now, but you want to harness the power of Luminar, you can use Luminar inside your usual workflow.
- Lightroom 4,5, 6, 7, Lightroom Classic CC
- Photoshop CS4, CS5, CS6, CC
- Photoshop Elements 10, 11, 12, 13, 14, 15, 2018, 2019
- Photos for Mac OS
- Apple Aperture
Luminar 4 is for you if…
If you’ve been following me for a while and read my articles, you’ll know that I never recommend things that I either don’t use myself or haven’t fully tested.
So when I suggest that you might want to check out Luminar, that’s because I think it’s valuable and you’ll enjoy using it as much as I do.
How cool is this guy?
I wanted to give this image a more antique sort of rugged look and I’m very happy with this final outcome from Luminar.
If you can relate to one or more of the following, then I recommend you give Luminar 4 a try:
- You’re brand new to photo editing and aren’t even sure where to start.
- You’re using Photoshop Elements or even Mac Photos and want to do more with your image but Photoshop is too hard to learn.
- You’re using Photoshop and/or Lightroom now and you want to do more complex things and put more style into your images but just don’t know how or don’t have time for the steep learning curve that comes with Photoshop.
- You want to make your images pop and impress your family and friends.
- You want to play around with photo editing software in a non-destructive manner
- You want to be able to get results and create styles for your images that are repeatable.
- You don’t want to spend hours on one image.
- You do all different kinds of photography from landscape, travel, street, people, and macro – really Luminar works on all kinds of images.
- You want it to be FUN!


Other things mentioned in the video
If you watched the whole video you may have heard me mention a few other things, so here are links for those.
Also, I encourage you to join the DPM Facebook group. It’s a safe place to share your images, ask questions, and hang out with other people who enjoy photography too.
A few more example images if you aren’t convinced yet
I’ll leave you with a couple more before and after image sets to demonstrate the power of Luminar. Whether you’re a seasoned image editor or are just getting started, I recommend you give it a try.


If your images aren’t meeting your expectations, it’s possible they just need a little TLC in the photo editing stage. So give yourself a break, make it easier to make the images you want to create. Then spend more time out shooting!
Go order Luminar 4 now!
Cheers,