Photo by c.pxhere / CCo
We all know that the secret to amazing photos is exceptional light. But the truth is that when capturing landscapes or outdoor images, you don’t always have the luxury of being on-location at the right moment, just when the light is breaking through the storm clouds in all of its beauty.
But just because the lighting isn’t at its best, doesn’t mean that you need to pack up your camera and call it a day. There are plenty of amazing photo opportunities to be had –no matter what lighting conditions are outside. Your best bet is being able to make the most of available light –whatever that might be!
Being able to work in different lighting condition, to capture the scene at hand as effectively as possible, is a tremendously useful skill to have and ultimately, can help you to capture some truly spectacular images.
With this in mind, let’s take a look at some tips for capturing outdoor images in different lighting conditions, and see how you can make the most of available light.
Photo by Christina Harman / CCo
Full Sun
Many photographers avoid shooting in the bright midday sun, and for good reason. Bright sun means harsh shadows, and the risk of overexposed images. But shooting in the sun can also result in some unique and exciting opportunities that you wouldn’t otherwise have. For instance, bright, midday light is ideal for capturing reflections on the surface of a lake. Wait for an opportunity where there’s minimal wind, and then use a tripod and a fast shutter speed to capture a mirror image on the surface of the water.

Photo by Achilles Demircan / CCo
A clear day is also a great time to capture images of the shallows. Use a polarizing filter to cut through the glare on the surface of the water, allowing you to see into the shallow depths.
Finally, full sun is also ideal for capturing scenes that are located in a sheltered or partially shaded area, such as the woods.
When adjusting your settings for full sun, Sunny 16 is a good rule to remember. This rule says to set your camera’s aperture to f/16 and the shutter speed to about 1/100 during full sun. The ISO should stay at around 100. If your camera only goes to ISO 200, put the shutter speed at about 1/200 as well. Of course, this rule is just a starting point. If there’s any shade or clouds, you will have to adjust the settings accordingly. Remember, it’s always better to underexpose rather than overexpose. It’s easy enough to recover details that are hiding in the shadows during post-processing, but recovering details lost in blown out highlights is far more difficult.
Photo by Jakob Molino / CCo
Overcast Weather
Unless it’s an especially dark day, overcast conditions act like a giant softbox, diffusing the light and minimizing shadows –helping colors to appear more saturated.
Just keep in mind that sometimes images shot during this time tend to have a bluish tint to them because the camera will choose a daylight white balance instead of shade. To correct this try shooting in RAW and adjusting the white balance later.
You’ll also want to keep in mind that while the colors are beautifully saturated during this type of light, landscapes taken during overcast weather often tend to look a bit flat and one-dimensional. This is because they lack the shadows and highlights that help to highlight the surface of the land. To combat this, look for opportunities to include splashes of color and contrast in your overcast compositions. A red barn in a distant meadow, for example, or a green tree in a dusty field or some wildflowers in the foreground are all great ways to add color and contrast to your images.
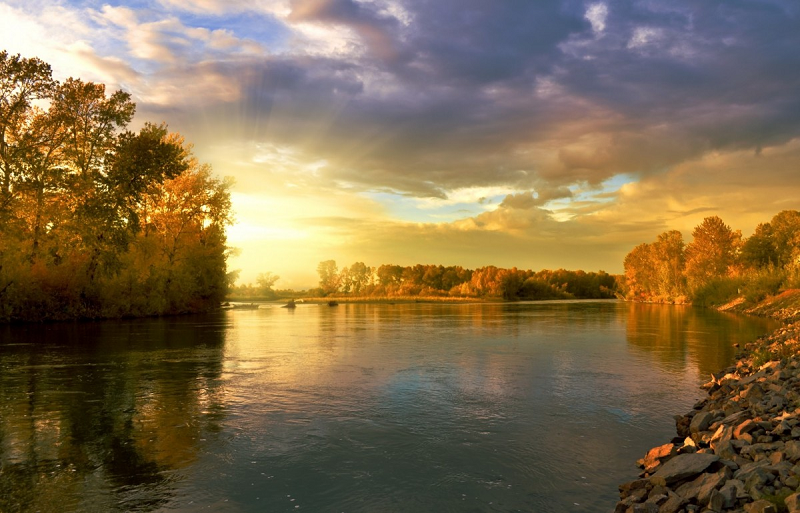
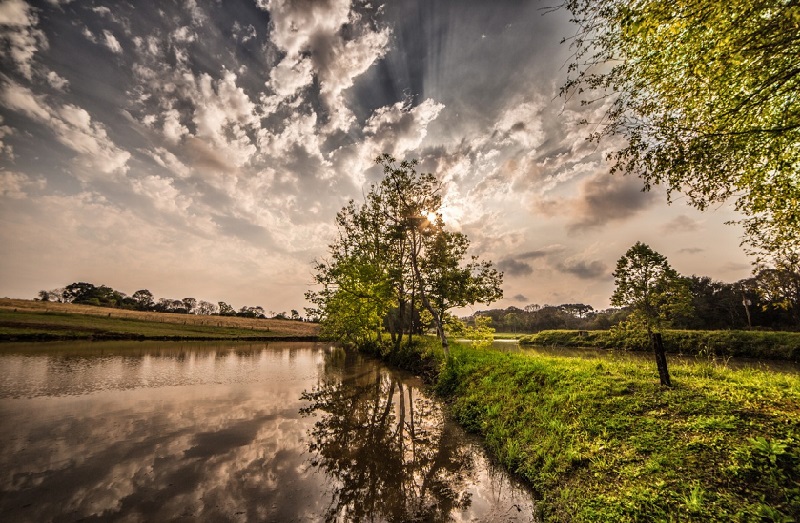
Photo by c.pxhere / CCo
Golden Hour
The most sought-after time of day for landscape photographers is golden hour. This time of day, found just after sunrise and before sunset, is considered the best time of day for landscape images. During golden hour, everything is awash in a warm, golden glow, and the landscape is completely transformed.
Golden hour is also an ideal time for capturing bokeh –those beautiful, out-of-focus areas of light. To capture bokeh, try using a wide aperture and drawing your subject into focus, while gently blurring out the background. You’ll also want to make sure you angle your camera so the light source is in the distance, behind your subject or focal point.
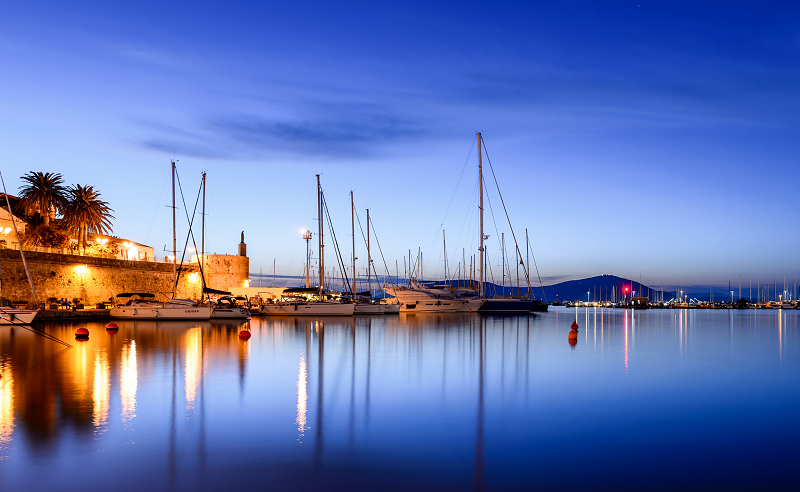
Photo by Alessandro Caproni / CCo
Blue Hour
Blue hour is that period of twilight just after sunset. During blue hour, the sky will have a smooth, almost creamy texture, and will take on a blue hue. This can be a great time of day for capturing images with a mysterious or otherworldly feel. Ideally, you’ll want to look for a light source in the distance to help light up your image –whether that’s the moon, a well-lit bridge, or the lights of the city reflected on the water.
For low-light photography, consider using a fast lens, with a bigger f-stop, like f/1.4 or f/2.8. If you have one, a wide-angle zoom is ideal, but a prime lens is another good option. Thanks to their wide aperture, prime lenses are ideal for capturing low-light photography, and since they’re small and easy to handle, they’re ideal for situations where you’re working quickly. They also generally have less flare. When shooting in low lighting conditions, just make sure you switch your camera to manual focus, since it will have a hard time finding a place to focus on its own.
Direction of Light
In addition to the different lighting conditions, light also has a directional quality as well. Being aware of the direction of light can help you to position yourself to capture the best images possible.
Here’s a quick look at the different angles, and the impact they can have on your compositions.
- Backlighting
Shooting directly into the sun is generally something that most landscape photographers try to avoid unless the sun is partially obscured by the clouds or lower in the sky –as during sunrise or sunset. When the sun is low enough in the sky, backlighting can also be used to create a silhouette –or partial silhouette effect. Angle your camera so your focal point is partially obscuring the light source and then use spot metering to meter on a bright part of the scene to create a silhouette effect.
- Front Lighting
Shooting with the sun is behind your shoulder can make for some beautiful and evenly lit landscape images. Just remember that while this direction of light helps to eliminate shadows, it can also cause the landscape to appear flat as well. For these cases, you’ll want to look to include color, contrast, and details –like leading lines to add depth and dimension to your images.
- Side Lighting
Finally, side lighting is excellent for landscape images. While front lighting tends to result in flat images, side lighting produces both highlights and lowlights, resulting in more depth and dimension.
It may sound overly simplistic, but the key to great landscape photos is being able to work with available light. Or, better yet, to make the light work for you! Different lighting conditions tend to convey different moods; something that you’ll want to keep in mind when creating your compositions. For example, a dark, overcast day may be ideal for capturing a jagged, brooding mountain; while a warm, sunny day is perfect for lighthearted beach or lakeside shots that convey a sense of warmth and enjoyment.
Don’t be afraid to head out with your camera –at any time of day. By challenging yourself, you’ll soon become adept at working in different lighting conditions –allowing you to ensure that you don’t miss out on any amazing photo opportunities again!
What type of light do you enjoy working with?