Natural light portraiture is the perfect complement to anyone when you do it right. The look and feel of the natural environment contributes to a warm, glowing natural light portrait. The golden light of the sun complements skin tones and can be used in different ways to create different looks. Of course, a lot can go wrong when shooting with natural light, too. Exposure is tricky, and so is location selection.

Shooting during the golden hour is ideal, but it’s not the only way. Here are five tips that you can use to take your natural light portraits to the next level. Plus, they will help you be a versatile photographer who’s ready to tackle any lighting situation.
1. Using Window Light for a Natural Light Portraiture
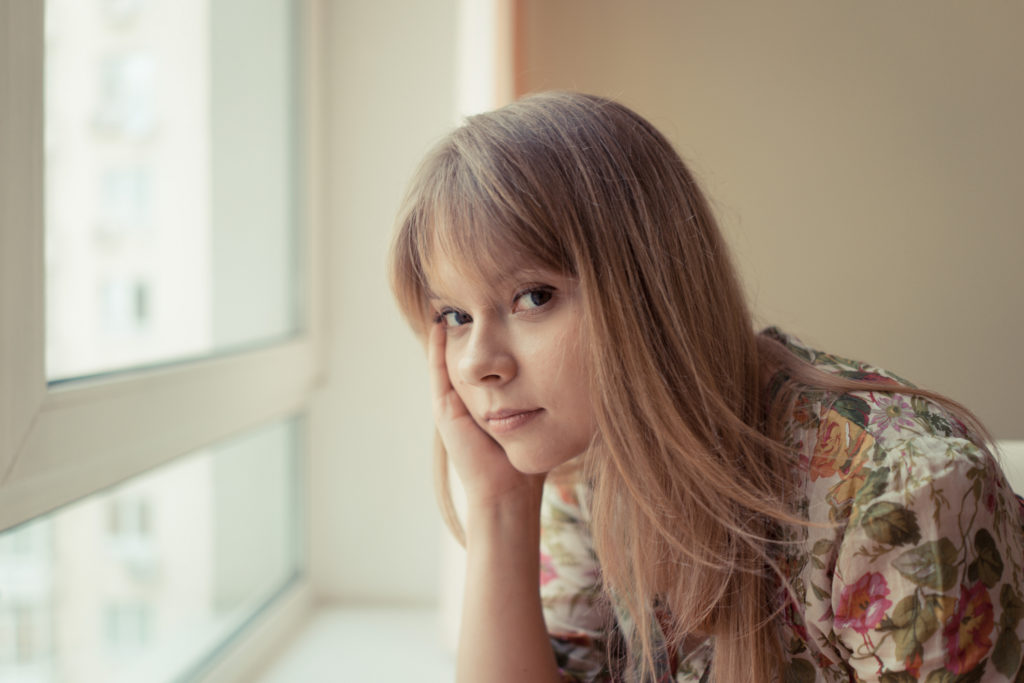
One of the best ways to light your subject with natural light when indoors is to place the person in front of a window. There are a number of ways you can pose your subject in front of the window depending on the quality of light coming through it and what kind of look you are you going for.

For example, in the photo above, the window is producing a soft and balanced light that brightens up the entire face and keeps shadows at bay. However, if you have a smaller window, or the light coming through it is more directional and hard, you can use it to make a more dramatic portrait.
2. Open Shade for Natural Light Portraiture
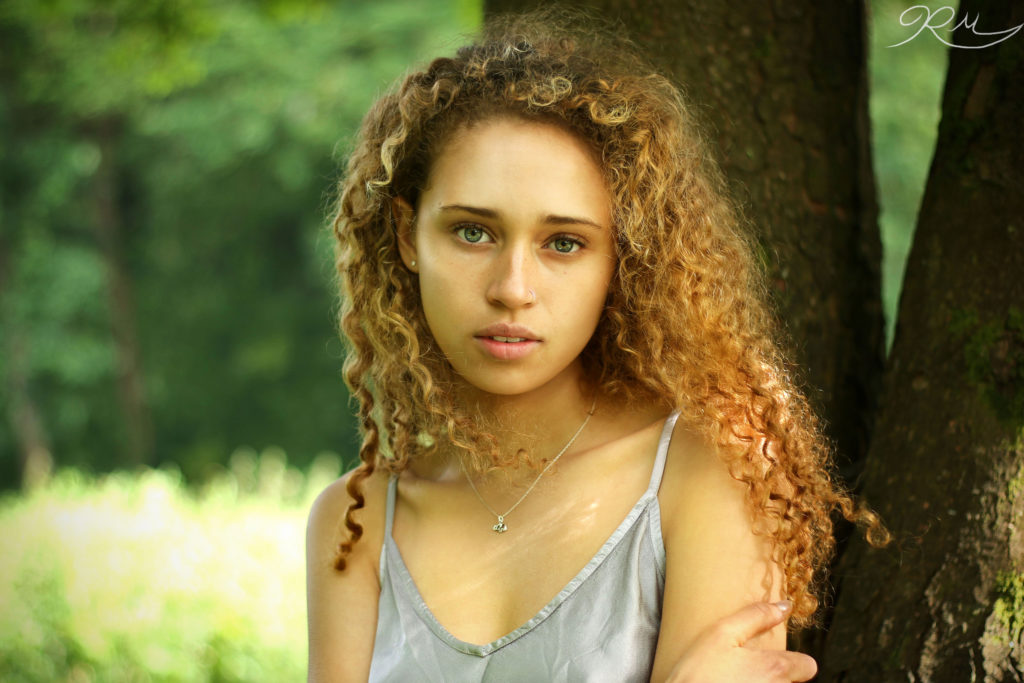
If you’re shooting in the midday sun–when it’s directly overhead–you’ll likely to start noticing less than flattering shadows on your subject’s face. Bright sun can also cause your subject to squint their eyes, which may not look so great in a portrait.

To avoid both of these common setbacks, the easiest thing to do is find some open shade. Open shade can be found in lots of places. Some common examples include under a tree, large shadows from the side of a building or wall, under a pavilion, or even under an umbrella.
3. Location Of The Sun for Natural Light Portraiture
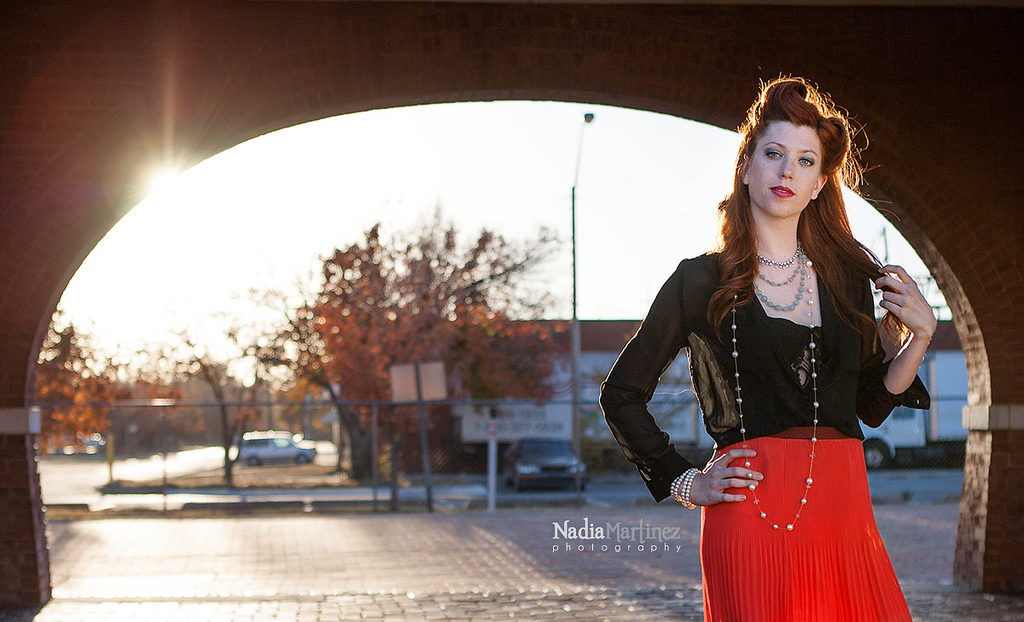
Pay attention to the sun’s location. Even when it’s overhead, there are creative ways you can use it as an accent in your portraits. Nadia Martinez demonstrates one example of doing so in the photography, just above, by catching the sun as is hits the edge of the archway–giving a sunburst-like effect.

Shooting into the sun is a fun way to add lens flares to your photos, and also provide a bright, backlight for your subject. Just remember to use this technique in moderation — not all of your photos will need this trick.
4. Use A Reflector for Natural Light Portraiture
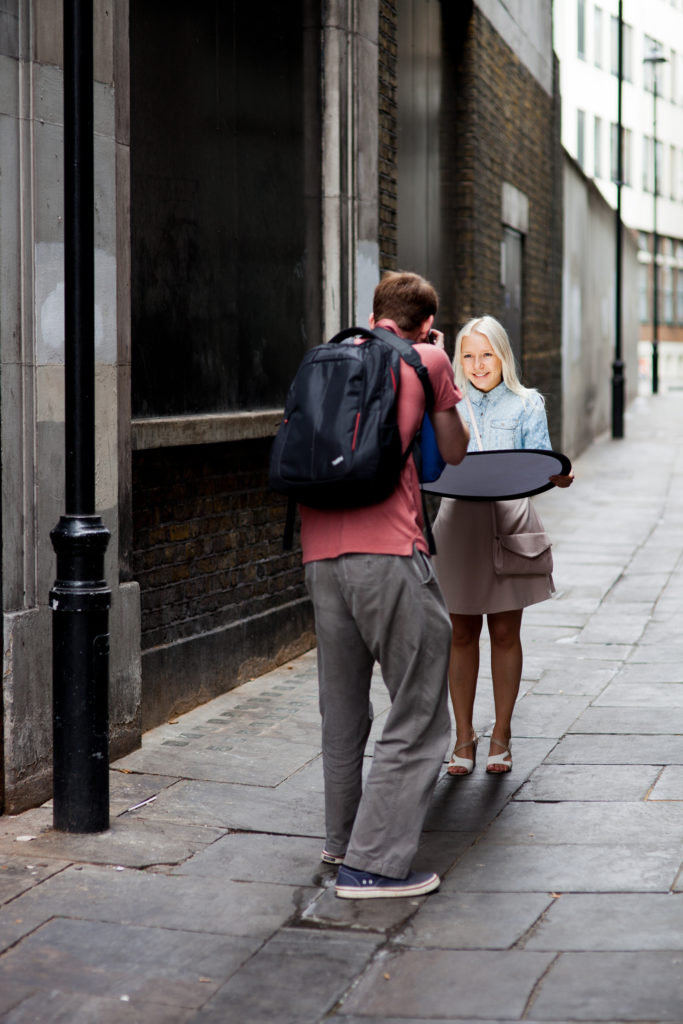
Sometimes you’ll need a little help fine tuning the light. That’s where a reflector comes in handy. Take a look at the photo above, see how much light one of these reflective powerhouses is capable of throwing off? No electricity required! Just have your model hold it in front of them, or have an assistant hold it up for you if you’re planning on taking full body shots.
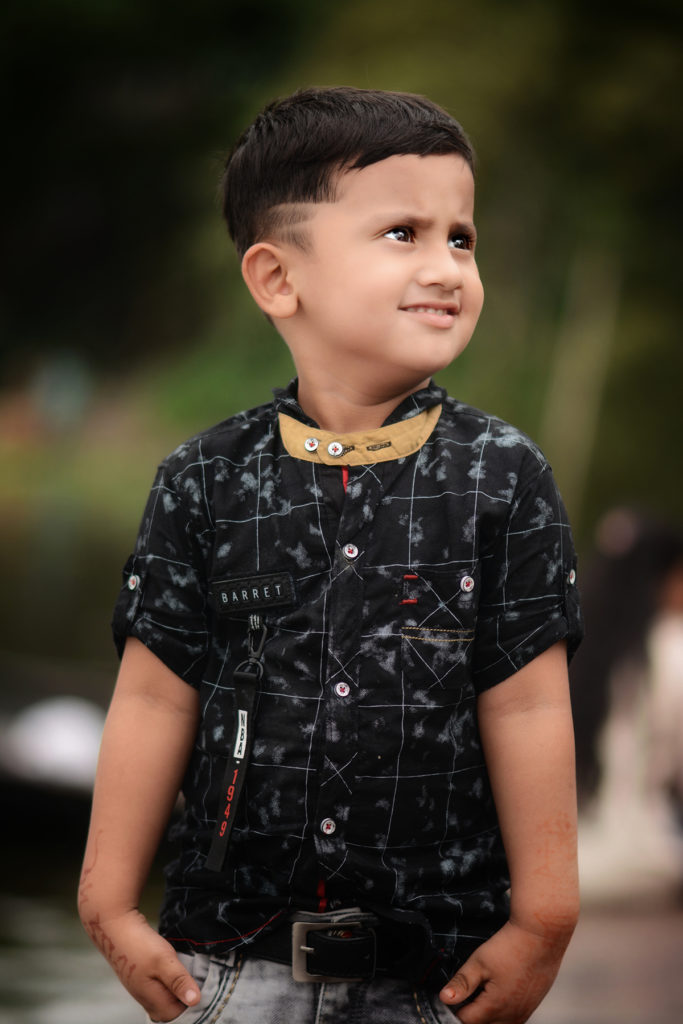
The 5-in-1 collapsible types work great, as they are capable of reflecting light in different color temperatures and are super lightweight and portable. You can also duplicate the effect of a reflector by using anything a white T-shirt, aluminum foil, or any reflective surface.
5. Working With Dappled Light in Natural Light Portraiture
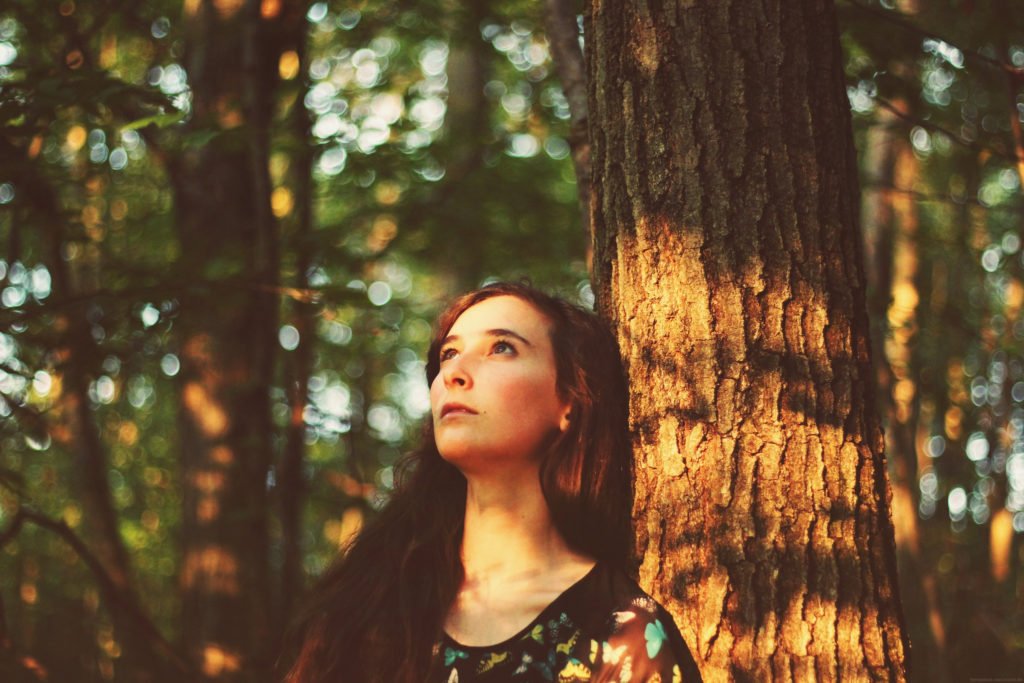
The uneven light that’s commonly cast by leaves and branches can create some truly interesting patterns, but they can also be very distracting and take away from the subject.
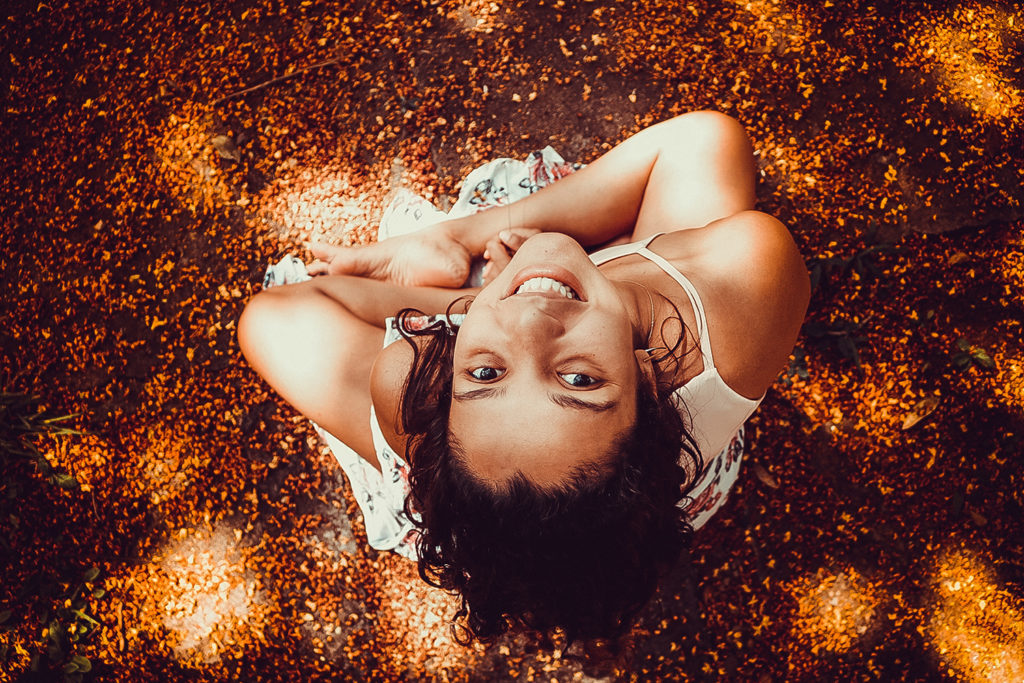
When using dappled or patterned light, use caution when it’s falling across the subject’s face. Sometimes it works better than at other times. You need to decide whether it’s a compliment or a distraction. That being said, when it’s done tastefully, the results can be fascinating!
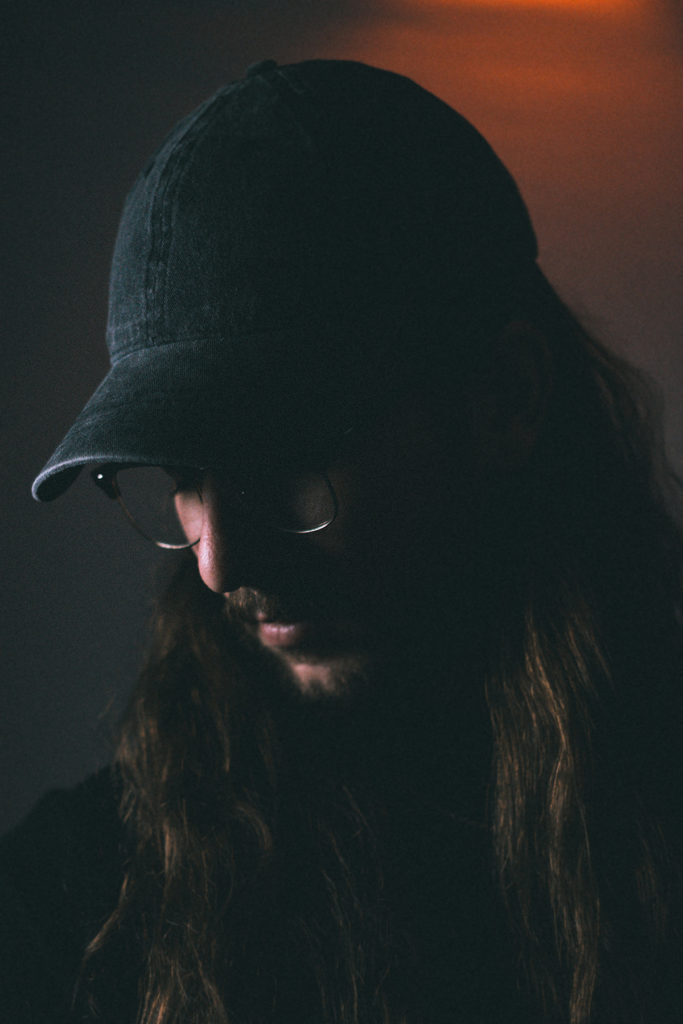
Other sources of interesting light patterns could wind window blinds, lace, fabrics, poles, fences, power lines, all sorts of things. Once you start looking for the opportunities, they’ll start popping up all over.