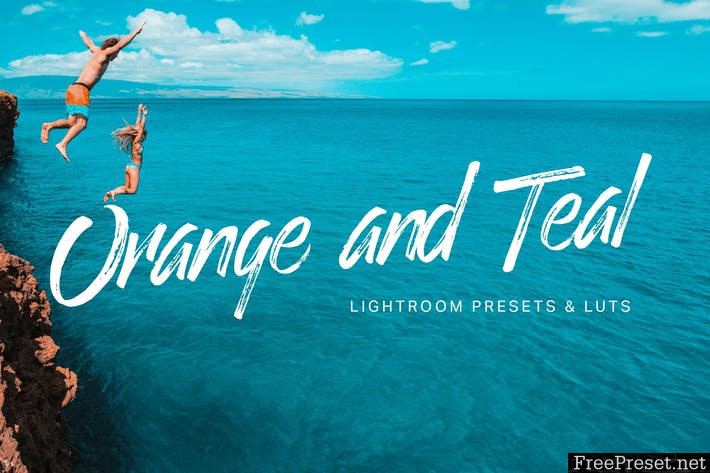
Download these 26 Orange and Teal Lightroom presets and LUTs. This enormous bundle of presets give you the popular blockbuster color grading in just one click. Some popular use of this look is in the movie “Train to Busan” and social media profiles like Sam Kolder.


What You’ll Get
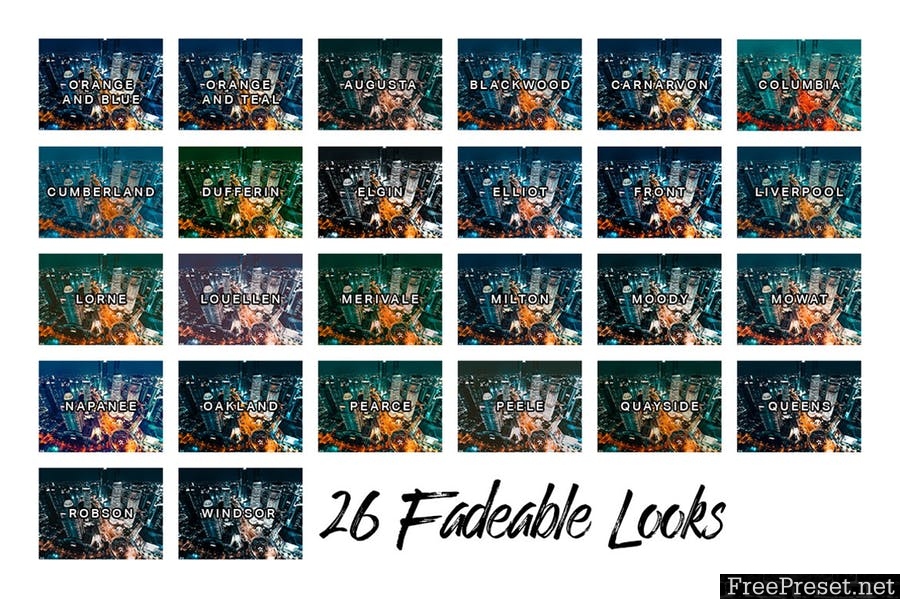
- 26 Fadeable Lighroom Presets (26 looks x 5 strengths = total of 130 presets)
- 26 Fast-Render LUTs
- 26 High Quality LUTs
—
Orange and Teal Lightroom Presets & LUTs
- Orange and Blue
- Orange and Teal
- Augusta
- Blackwood
- Carnarvon
- Columbia
- Cumberland
- Dufferin
- Elgin
- Elliot
- Front
- Liverpool
- Lorne
- Louellen
- Merivale
- Milton
- Moody
- Mowat
- Napanee
- Oakland
- Pearce
- Peele
- Quayside
- Queens
- Robson
- Windsor
—
✔ The REAL Orange and Teal Look
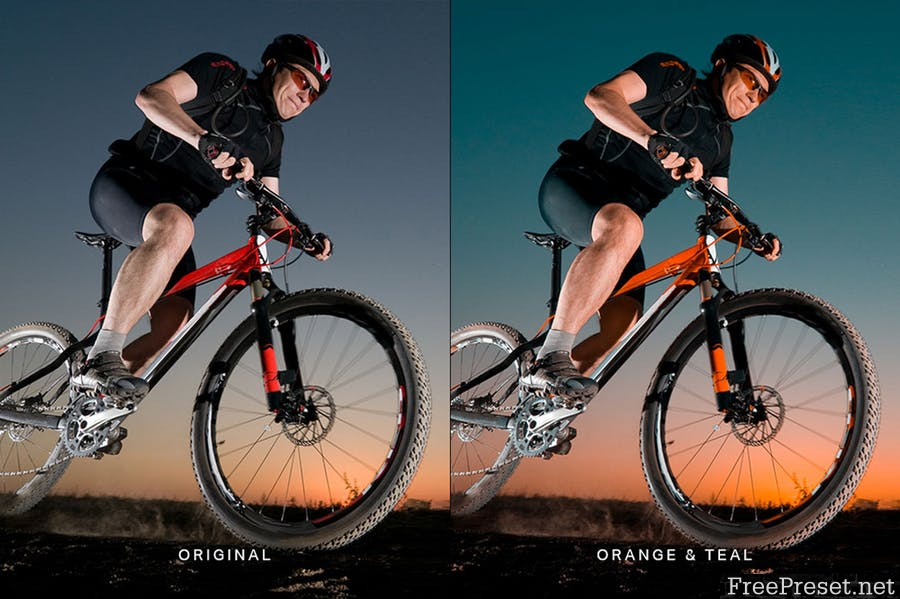
Get the proper orange and teal look! Many Lightroom presets simply use the Split Toning adjustment to tint your photo orange & teal. But those never look good. Instead of tinting your photo, these presets actually shift the colors towards orange and teal – the same way it’s done in movies.
✔ Fadeable Lightroom Presets
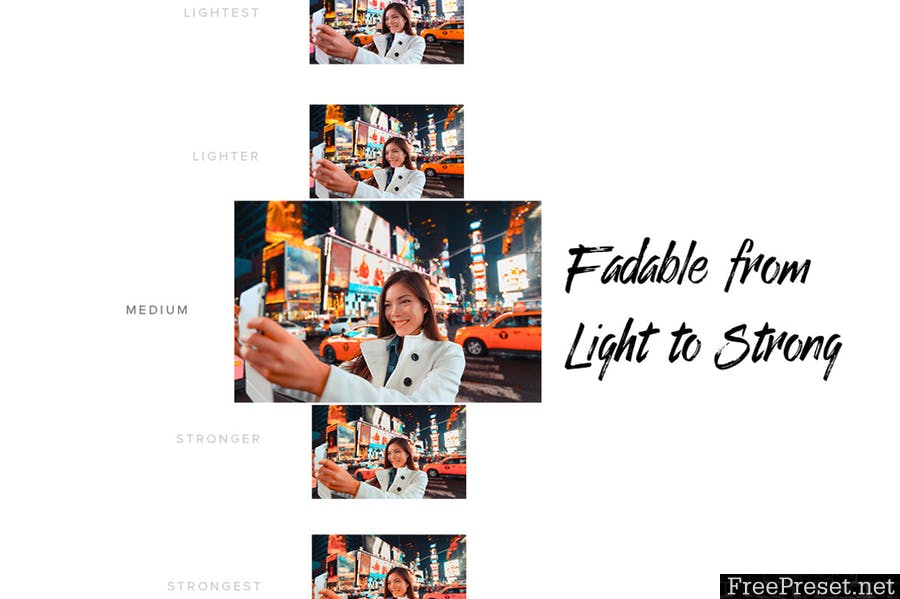
Rarely do presets give you the exact look you want. That’s why these presets come in 5 strengths from light to strong! Now you can get the perfect look without modifying the settings.
✔ Easily Adjust the Orange/Teal Balance
First apply any orange/teal preset. Then adjust the White Balance slider to change the balance between orange and teal colors. It’s that simple!
✔ Lightweight and Fast
These presets have been optimized for performance. By minimizing the amount of settings, they much faster and it’s easier to edit. Best of all, any white balance and exposure fixes you made are preserved – the presets don’t touch those crucial settings.
—
How to Install Lightroom Presets
- In Lightroom, go to Edit Preferences (Lightroom Preferences on Macs).
- Go to the Presets tab then click the “Show Lightroom Presets Folder” button.
- Copy the “SparkleStock Orange and Teal” folder into your Lightroom\Develop Presets folder.
- Restart Lightroom. The presets will appear in the Presets panel located in the Develop module.
—
How to Use LUTs in Photoshop CC
- Go to Layer New Adjustment Layer Color Lookup.
- Click on the 3DLUT file dropdown menu then select “Load 3D LUT…”.
- Browse for the *.CUBE file then click Load.
—
Notes:
- You can change the balance of the teal and orange colors by first applying any orange & teal preset then adjusting the white balance slider.
- To use the LUTs in Photoshop CC, go to Layer New Adjustment Layer Color Lookup. In the “3DLUT file” dropdown, select “Load 3DLUT”. Browse for the *.CUBE file then click Load.
- LUTs can only emulate the color grading. They cannot reproduce the Shadow & Highlights settings used in the Lightroom presets.
- The Fast-Render LUTs are recommended for video projects. They process faster with minimal difference compared to the HQ LUTs.
Password Unzip : Freepreset.net
The file is compressed using Zip or Rar format...please use Winrar to extract this file
If you found the link was error , please comment !!!