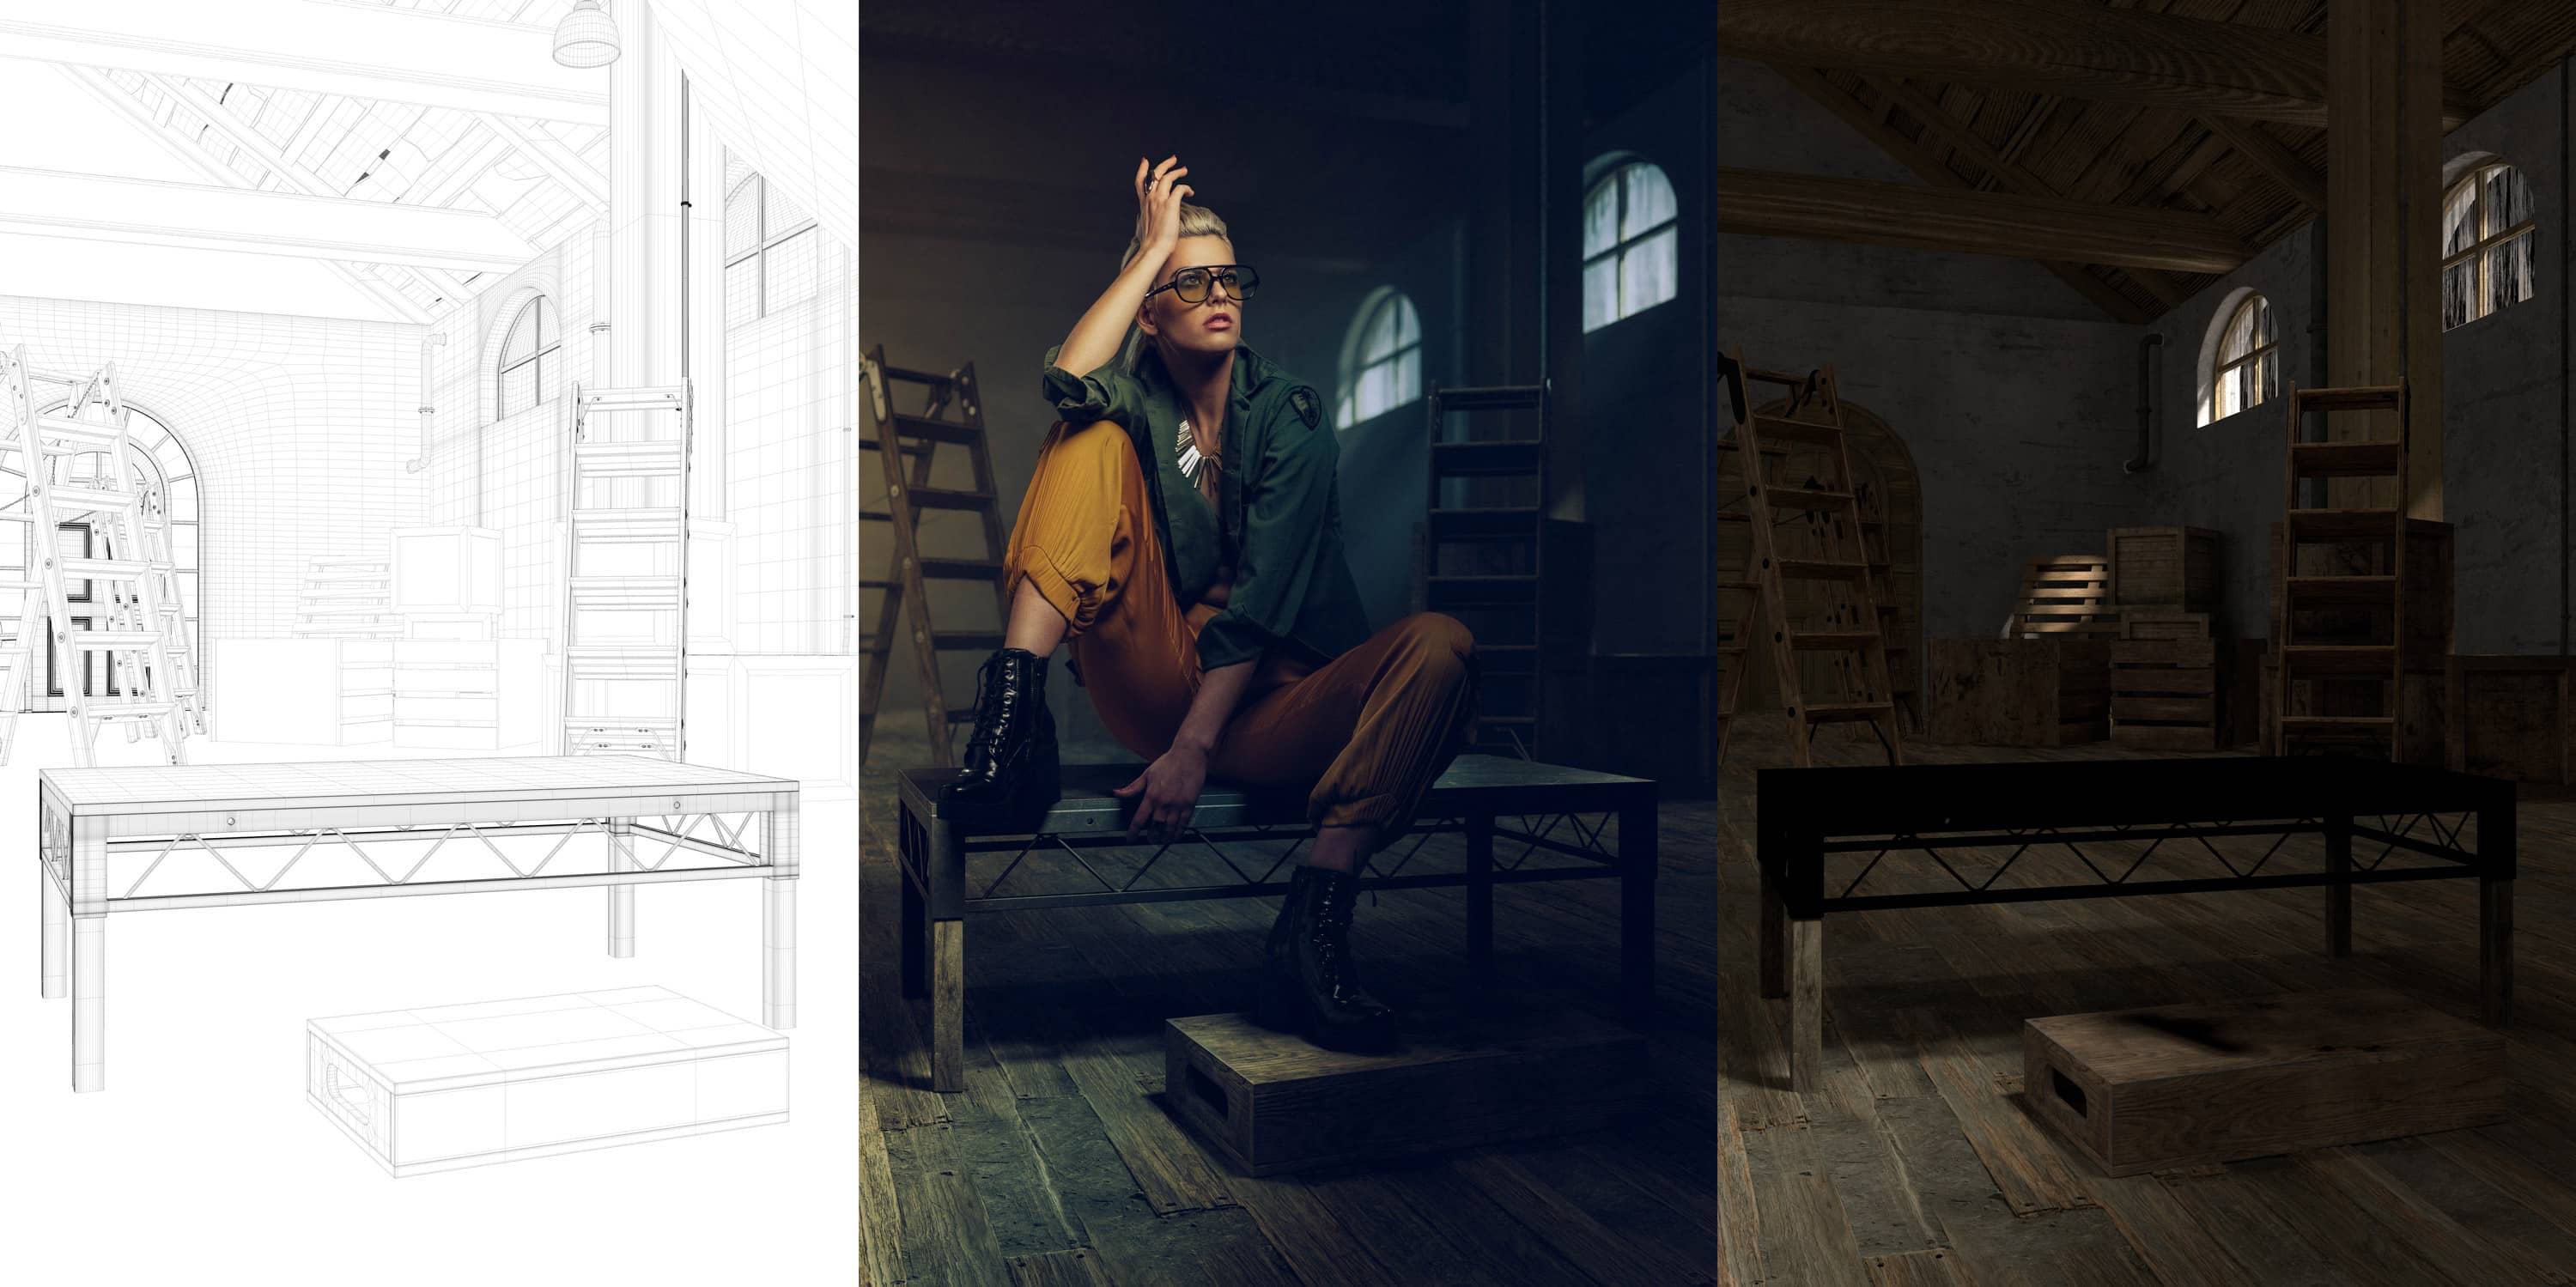
In this tutorial you will see Jonny shoot images side by side Dustin and help create a virtual studio that we then build after the photoshoot.
“My unique aesthetic is derived from a variety of eclectic sources including fashion, cinema, nature, literature, and the great masters of painting. I credit the latter’s influence with my notable and lauded use of light and shadow. Forever-fascinated by all things analog, I am impelled by the challenge and reward of integrating the emotion and mood of film with modern, digital tools.”
As an educator and mentor, I strive to embolden individuals in artistic and creative realms, with the knowledge, skills, and self-assuredness to realize their own respective creative projects and artistic vision(s).
In all that I do and create, I aspire to empower expression and impel individuality.” – Jonny Edward
AN IMPROVED WORKFLOW FOR COMPOSITE ARTISTS
What Is Reverse Compositing?
In many of our tutorials, our instructors like Erik Almas and Renee Robyn typically shoot backplates first and then subjects second due to the “fixed” lighting in the backplate. With Reverse Compositing, you are no longer constrained to what’s in the Backplate becuase we teach you to style, prop, and light your background in post-production
Who Is This For?
This tutorial is great for retouchers and photographers who would like to get a better understand of how to work with and retouch CGI renders. We’ve also included the Cinema 4D workflow to create and build out a virtual environment using your own materials and textures that can be manipulated in post production.
What Programs Do I Need?
This tutorial uses Capture One Pro, Adobe Lightroom Classic, Adobe Photoshop, and Cinema 4D as the main programs used to capture images, process RAW files, manipulate CGI models, and composite the two together to create a reverse composite. An introductory overview of modeling software Modo was covered but is not necessary.