It’s common to think that most professional photographers, or all professional photographers, shoot in manual mode, for the simple reason that it offers the greatest possible control over a photo. Why would you leave your camera to make important decisions without your input? However, as valuable as manual mode is, you may not need to use it 100% of the time — even as an advanced photographer. In this article, I’ll explain semi-automatic modes and cover some cases where they can be the quickest option available, without sacrificing any control over your settings.
1) What Are Semi-Automatic Camera Modes?
Three of the most important settings for photography are shutter speed, aperture, and ISO. It’s these three settings that lie at the heart of your camera modes. In full auto, you can’t adjust any of them. In full manual, you have to adjust all three. Everything in between is a semi-automatic mode.
Semi-automatic camera modes are the ones that give you control over some of these settings, while the camera adjusts the others automatically. On most cameras, the three semi-automatic modes are shutter priority, aperture priority, and program mode. (It can be argued that another semi-automatic mode simply includes using Auto ISO in manual mode.)
That doesn’t include full auto mode, where your camera chooses the aperture, shutter speed, and ISO without your input. It also doesn’t include “scene modes” that many cameras have on their PASM dial, since those, again, don’t offer you any control over these settings.

2) Aperture Priority vs Shutter Priority vs Program Mode
The single most popular of the three semi-automatic modes — and the only one I frequently use — is aperture priority mode. Here, you end up adjusting your aperture to taste, and the camera automatically selects a shutter speed that gives you the proper exposure, according to its meter reading. On most cameras, you also have the ability to limit the range of shutter speeds that the camera can choose from, if you so desire (which can be helpful if you need to maintain a fast shutter speed to freeze motion). You’ll have to enable Auto ISO to do so, though.
Shutter priority mode does the exact same thing, but with shutter speed and aperture flipped. You select the shutter speed you want, and the camera changes your aperture accordingly. Once again, it does so by matching the meter reading. Shutter priority mode isn’t as popular as aperture priority mode, since, in most cases, you’ll care quite a bit about the specific aperture you use, and it could be a significant problem if your camera switches from — for example — f/8 to f/4 if the light changes suddenly, no matter what you’re photographing.
Last is program mode, which is even less commonly used among professional photographers. On paper, this mode seems useful: It automatically selects both aperture and shutter speed, but it gives you the ability to cycle between different combinations if you don’t like the initial suggestion (which is why program mode differs from full auto). This is fine, except that both shutter speed and aperture will shift as the light changes. So, if you need a particular aperture or a particular shutter speed, you’ll need to watch both of them constantly. For that reason, I don’t recommend program mode to advanced photographers, unless you have a very specific use for it.
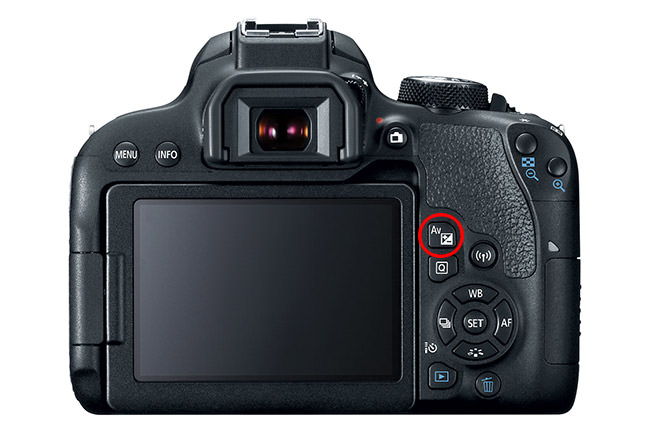
Also, it’s worth mentioning that all three of these modes (as well as manual mode) let you pick between using Auto ISO or using Manual ISO. Plus, you have the ability to apply exposure compensation if you disagree with the camera’s meter, and you want a brighter or darker exposure than it automatically suggests.
3) When Would You Use a Semi-Automatic Mode?
The main situation when you should use a semi-automatic mode — specifically, aperture priority or Auto ISO in manual mode — is when you think that your meter is helping more than it’s hurting.
Semi-automatic modes are very useful if you’re constantly referring to your meter from shot to shot, and it generally seems accurate (or, it generally seems to have the same, consistent amount of over- or under-exposure).
If you’re shooting in manual mode, and you’re always looking at your meter to ensure that your settings end up balancing in the middle, chances are good that you could do the exact same thing in a semi-automatic mode, but quicker.
This is frequently why I use aperture priority mode for landscape photography in the field. As the sun sets, and the light changes quickly, my meter adapts in real time to the changing conditions. I’ll keep my aperture steady, and — although I could change shutter speed manually every few seconds — I would rather have my camera do the exact same thing automatically, so that I can concentrate on other matters. It’s true that I might adjust the exposure compensation after a while if my camera doesn’t read the changing light very well, but the occasional exposure compensation adjustment still tends to be quicker than constantly watching my shutter speed.
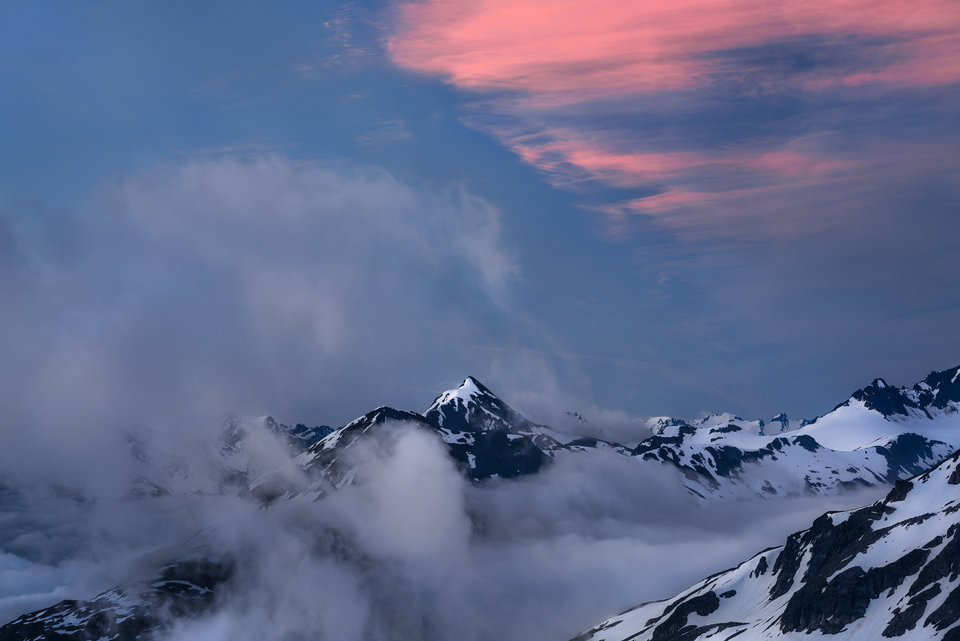
Shot in aperture priority mode.
Or, for wildlife photography, I know many photographers who use manual mode with Auto ISO enabled. So long as it’s dark enough that you’re not in danger of reaching your camera’s lowest ISO (and thus potentially overexposing the photo on accident), this is an equally viable option for situations when you generally trust your meter and you might not have time to adjust ISO yourself, as you follow an animal across a scene.
4) When Would You Use Manual Mode?
Manual mode is a crucial part of every advanced camera, and it’s something that you absolutely should learn how to use properly if you want to get the most out of your equipment. In many cases, manual mode works better than a semi-automatic mode. So, when should it be your choice?
For some photographers, the answer to this question is always. Many professionals want full control of their camera at all times, and the uncertainty of any automatic mode — for example, what if the camera’s meter is completely fooled by a quick change of light? — isn’t something that they’re willing to accept. And that’s a perfectly fine approach.
On the other hand, even if you don’t have an issue with semi-automatic modes, there are still plenty of cases when manual mode works better. The biggest of all is when you need consistency.
If you’re photographing a bride under constant light, and you want her face to remain the same brightness regardless of the tones in the background, manual mode works very well. Once you hone in on the correct exposure, you won’t need to worry about your camera shifting your settings as she moves around and the background changes.
Or, for landscape photography, you might want to take a panorama where every photograph has the same exposure, making them easier to merge in post-production. Manual mode is also ideal in this situation, whereas a semi-automatic mode might require irritating adjustments to your exposure compensation to make each shot consistent along the way.
It also helps to default to manual mode for flash photography, since each variable — shutter speed, aperture, and ISO — often needs to be a very specific value, in order to balance ambient light properly with your flash and get the look you want. This is very useful for portrait photographers, as well as other genres that require flash. Personally, for macro photography, I always default to manual mode when I’m using a flash.
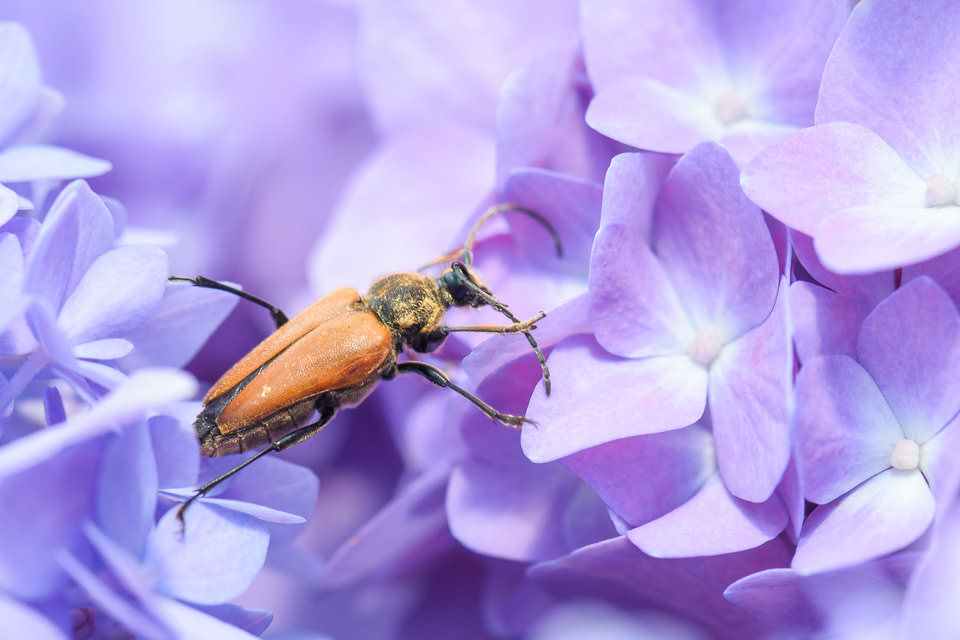
Shot in manual mode with a flash.
Lastly, it’s worth mentioning that, in semi-automatic modes, you might have the ability to lock your exposure using the AE-L button. I do this on occasion for panoramas in landscape photography. Rather than switching to manual mode, the AE-L option simply locks the exposure that you already have, and it keeps it there as you take photos. The downside is that AE-L is easy to disable by accident. If you turn your camera off and back on, for example, it stops applying. For that reason, manual mode is generally preferred if you need guaranteed consistency, especially over a long period of time.
5) Which Mode Should You Use?
The best camera mode depends upon your specific uses. I know some photographers who shoot all-manual everything, always. Others swear by aperture priority, and they typically use AE-L rather than switching to manual mode. As with all things in photography, you need to decide this for yourself.
If, though, you’ve avoided semi-automatic modes until this point, give them a try. Most of them let you set any exact exposure that you want, just like in full manual mode. For example, if I need my camera to use 1/4 second at f/8 at ISO 100, I can do that in aperture priority mode quite quickly (unless it requires more than five stops of exposure compensation to achieve, in which case those settings probably aren’t a good idea, regardless of the mode).
Everyone has their preferences. But at the point where you fully understand aperture, shutter speed, and ISO, it’s all about setting them quickly, easily, and accurately. Which one of the PASM modes lets you pick exactly the settings you want for every photo, with the fewest hoops to jump through? That’s the bottom line. For me, focusing on landscape photography, it works out to be about 75% aperture priority and 25% manual, while you may be completely different. At the end of the day, though, semi-automatic modes are perfectly viable for advanced photography, and they’re worth paying careful attention to as you try to optimize your technique.
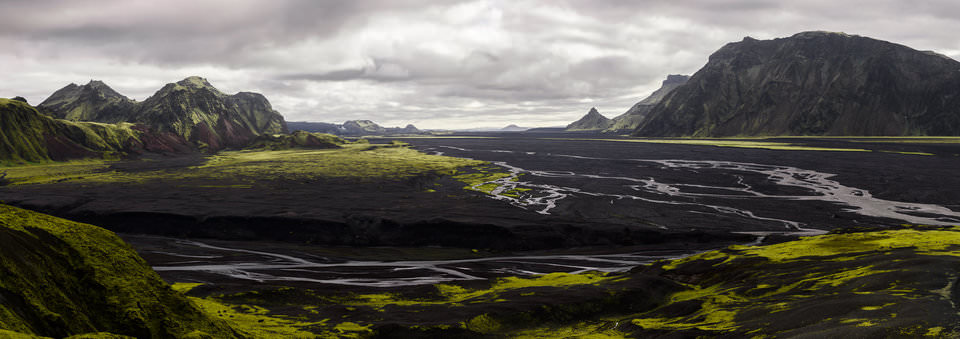
Multi-row panorama shot in manual mode for frame-by-frame consistency.