A question I get asked a lot is, “How do I make sure I’m getting the best quality images from my camera?”. There are a few settings in the camera you want to check, and a few things you want to do yourself, let’s take a look at them.
- Use the lowest ISO possible
- ISO is part of the exposure triangle and adjusts the EV (exposure value or amount of exposure getting to the sensor), but it also controls the quality of your images. Generally speaking, the higher you go with ISO the lower the quality.
You probably know that high ISOs introduce noise into your images, but did you know that it also decreases saturation, sharpness, and contrast?
Overall your images will have more punch and be cleaner the lower ISO you use.
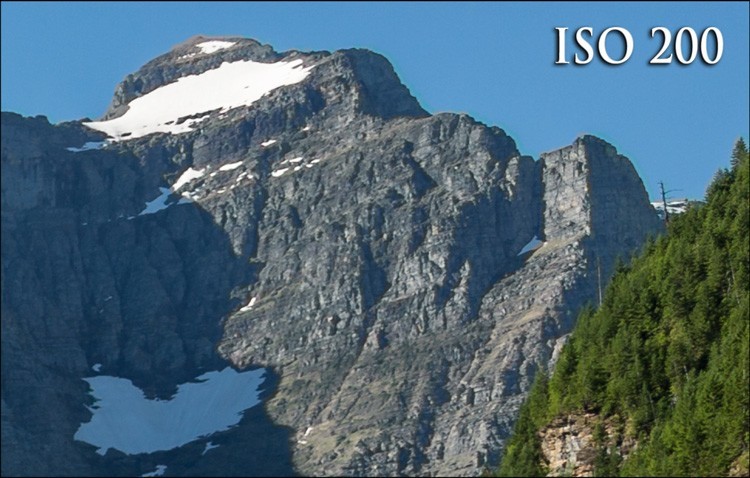
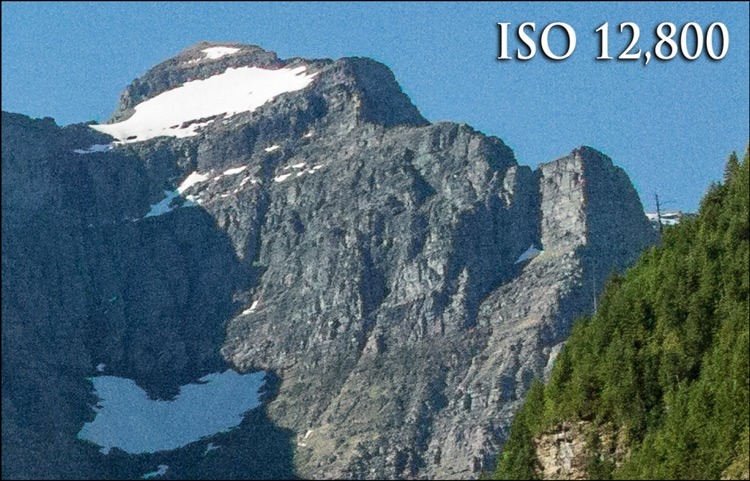
So unless you’re shooting in low light conditions, try and keep it low. I’m usually around 200 or 400 when I’m shooting outdoors. If I’m indoors and not using a tripod I might have to use 800 or 1600.
There’s one caveat on this point as well. I personally would rather have a slightly noise image from using a high ISO than a blurry one because the shutter speed was too slow. So watch that, as it’s sort of a funny dance between the two and getting just the right setting for your scene. Which leads me right into the next point.
- Getting maximum sharpness
- This tip involves three settings you want to look for and watch.
First is the focus mode
Focus mode usually gives you three options:
- single shot (locks on a stationary object),
- servo or continuous (tracks on a moving subject),
- or AI or Auto (which toggles between the two options.
I heard someone describe the last option in the best way ever so I’m going to borrow it.
The AI (Canon) or AF-A (Nikon) in theory is supposed to be the best of both worlds – but in reality it’s the worst of both. Meaning, it’s doesn’t really do a great job and often chooses the wrong mode. So best pick one of the other two, and choose the one that’s appropriate for your subject. Moving subject choose Servo or AF-C, non-moving choose single shot or AF-S.
Next is the focus area
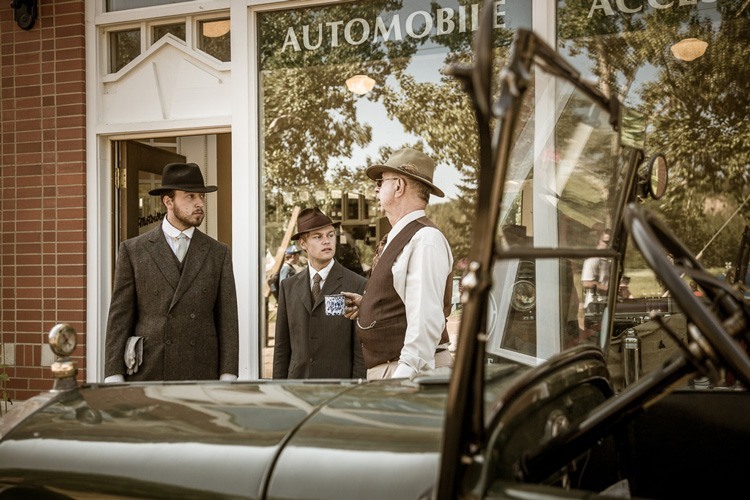
The focus area is which focus points or point your camera uses to try and focus.
If you use a zone focus, or have it set to allow the camera to use all the points then the camera will choose where in that area to focus. Like many other auto settings sometimes it gets it right, and other times it’s really wrong and you get an out of focus subject.
Try using this zone method and focusing on an object that is situated behind something else (like the image above for example). Many times the camera will focus on the object closest to it, assuming that is the subject.
So instead, most of the time I use single point focus.
Put it into the mode where only one focus point is active at a time (you can usually toggle or move it around, check your camera’s manual for how to do that) and carefully put that point on your subject.
This will give you a lot more precision when focusing.
If you are shooting a rapidly moving subject though (like the image below), that is a case where zone mode might work better. Know when to use each setting is key.
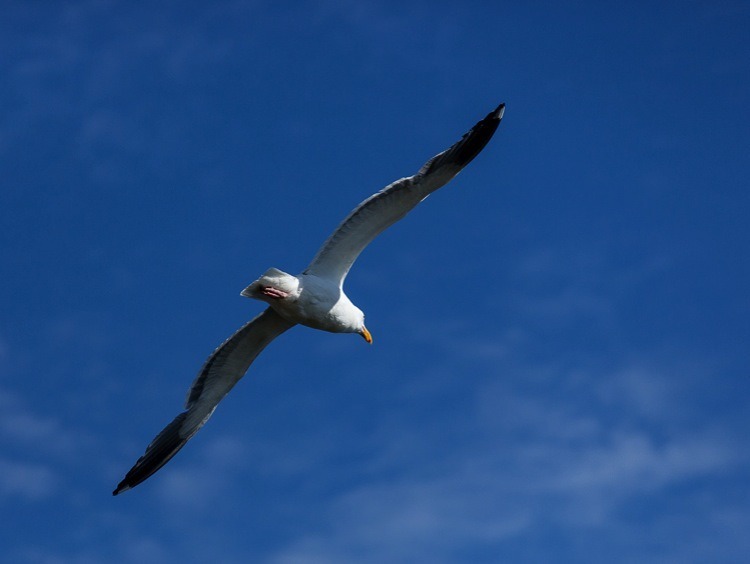
For this shot of the bird I used both the tracking focus mode (Servo/AF-C) and the zone focus points.
Lastly – shutter speed
Watch your shutter speed! I can’t stress this enough.
THE biggest issue I see my students having is blurry images due to a shutter speed that was too slow. Either too slow to stop camera shake from appearing, or too slow when photographing someone or something that is moving.
If you want to get blur that’s another thing, such as panning, but if you want a nice crisp, sharp image keep your shutter speed to a minimum of one divided by the focal length of your lens. So if you have a 100mm lens, make sure you shoot at least 1/100 or faster. If you’re using Aperture priority (like I do 90% of the time) just keep an eye on it and if the shutter speed drops too slow either open up to a larger aperture, or a higher ISO or a combination of both.
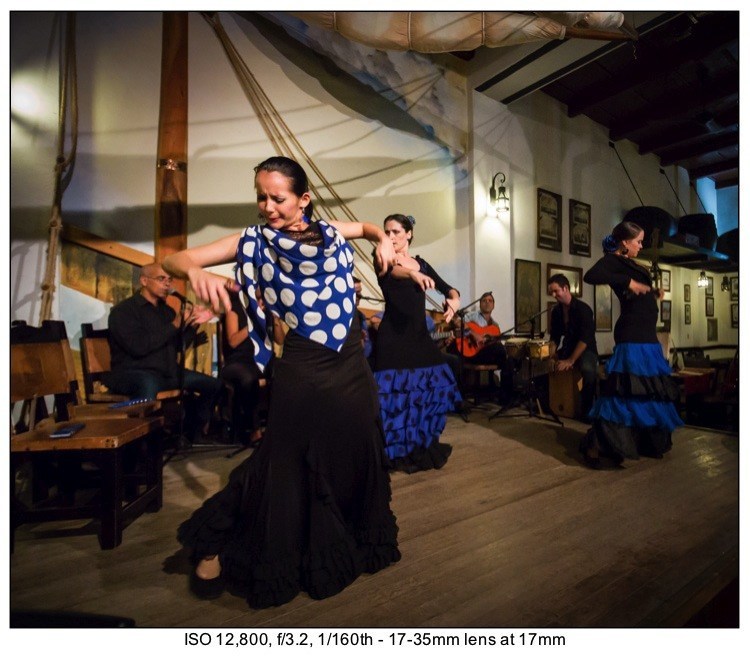
Notice here I sacrificed a bit of noise by using a really high ISO in order to get a faster shutter speed. Any slower than this and the dancers would have been a blurry mess.
- Shoot raw format
- I’ve talked about this before Why Shoot in RAW Format so I won’t get into all the details here. Suffice to say that a RAW file carries a lot more data and actually allows you more room to “screw up” and be able to fix it.
This is particularly true in the areas of White Balance (if you’ve ever shot the wrong WB and tried to correct it on a JPG you know what I mean), and exposure (RAW files have an amazing amount of exposure information and you can “save” a shot you have under or overexposed.
- Use the largest file size your camera has
- If your camera offers different file sizes as well as RAW versus JPG, always use the largest size.
I’ve heard too many stories of “I’m just shooting small size because it’s just for Facebook” and then low and behold they decide they love one of their images and want to make a large print for the wall and it’s a 400×600 JPG and you can’t make a print larger than a postage stamp from that file size. The price of memory cards have come down, as have hard drives so there is no excuse or reason you need to be shooting smaller files. Here’s the thing, you can always make it smaller later for other applications, but you can never, ever make it bigger. If you’ve got clothes in the closet like me that “I’ll fit into them again one day soon” you know that I’m talking about!
- Crop in camera not later
- See point #4 above. Yes you can crop in post-processing to some degree. I do it, everyone does it. But, endeavour to get it as close as possible in camera when you are shooting.
That bear that’s down the road that looks like a small dot in your image – probably isn’t going to have much detail when you crop out 80% of the image.
Take a look at some of your recent photos and ask yourself – is that true for you? Do you have a bunch of small subjects and a lot of space around them?
If so, start getting closer.
Maybe not in the case of the bear, in that instance I’d recommend a longer lens! But in most other situations get a lot closer to your subject and crop out all the “stuff” that isn’t needed in the image. If you don’t have a zoom lens or long telephoto you have something else that’s just as good – feet, try them out!
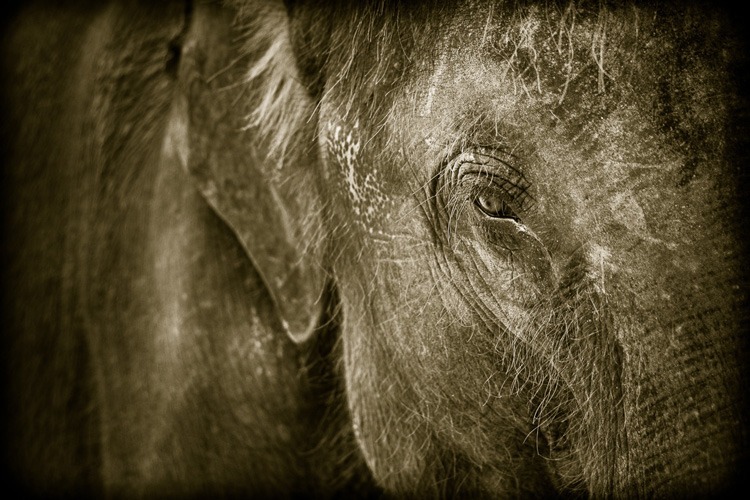
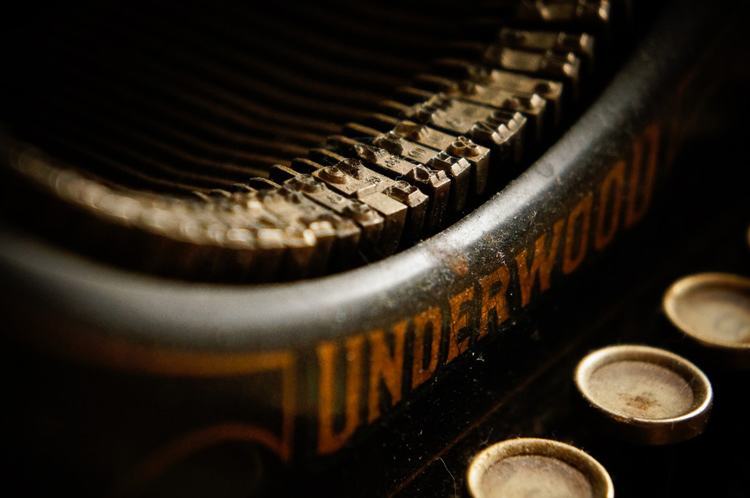
Do you need to see more of either of the images above to know what they are?
These are right out of camera, no cropping.
Think about it. Get closer, and simplify – always and in all ways.
- Shoot in the best light
- So what is the best light anyway? I’d say it is the right light for the shot and the look you want to create. Light is generally referred to as being either hard or soft and each has different properties and creates different a look in your images.
Knowing, for example, that soft light has less contrast, shows less texture, and creates a gentler mood to an image you may correctly assume that it is good for doing portraits.
Hard light has strong shadows, lots of contrast and bring outs texture.
It also helps add more dimension and depth to your image.
So use hard light for more dramatic images.
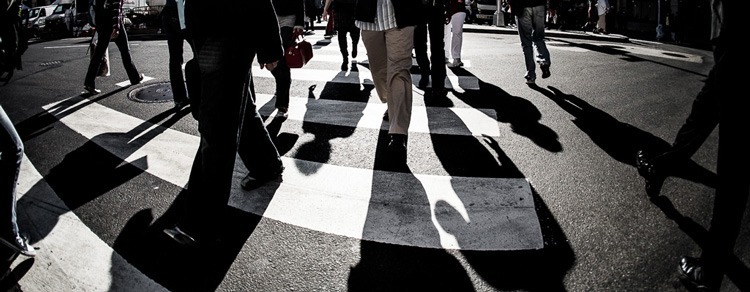
This image wouldn’t even be at all interesting without the shadows created by the hard lighting.
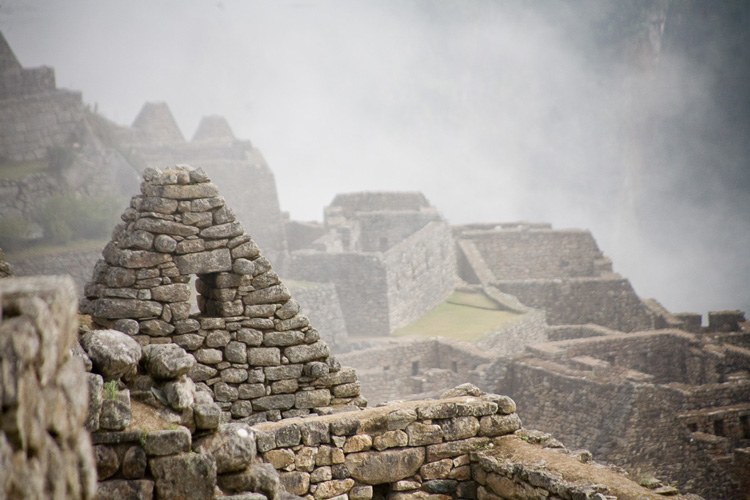
Would this scene have the intrigue and mystery without the soft light of the fog? Bonus points if you can name the location.
There is no right or wrong light it’s all about how you use it. Read the article Quality of light what is it and how to use it for more on this topic.
Putting it together
There are a lot of things to think about and consider when you’re doing photography. These things mentioned here are mostly technical, then there’s also the creative and artistic bits to work on too.
It can seem like a lot to handle but what I suggest is pick one thing each week and learn it, practice it, master it. Take baby steps and just go one by one.
Look back a year from now on the work you’re doing now and if feel you’ve improved you’re on the right track. That’s all you can ask for.
If you want even more tips you could watch this webinar I did a while ago, Getting more WOW in your Photos.
Cheers,