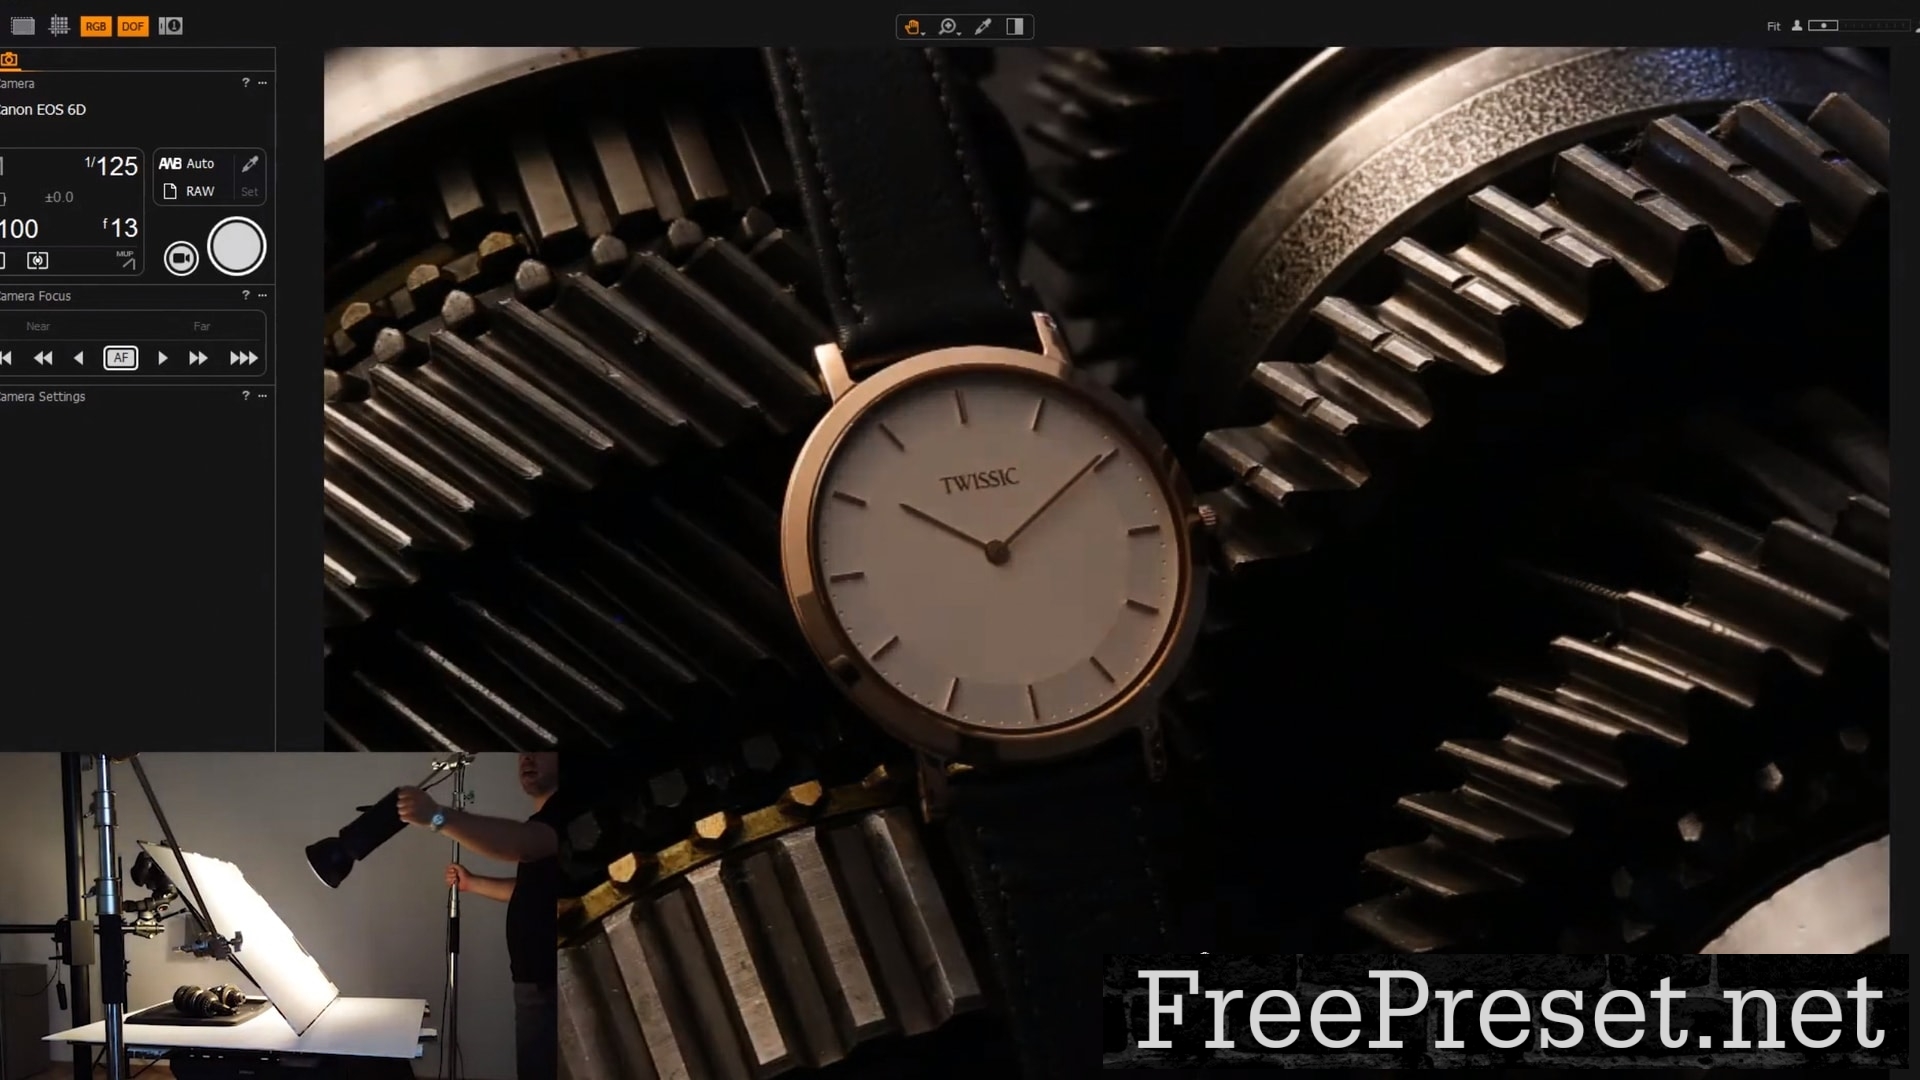
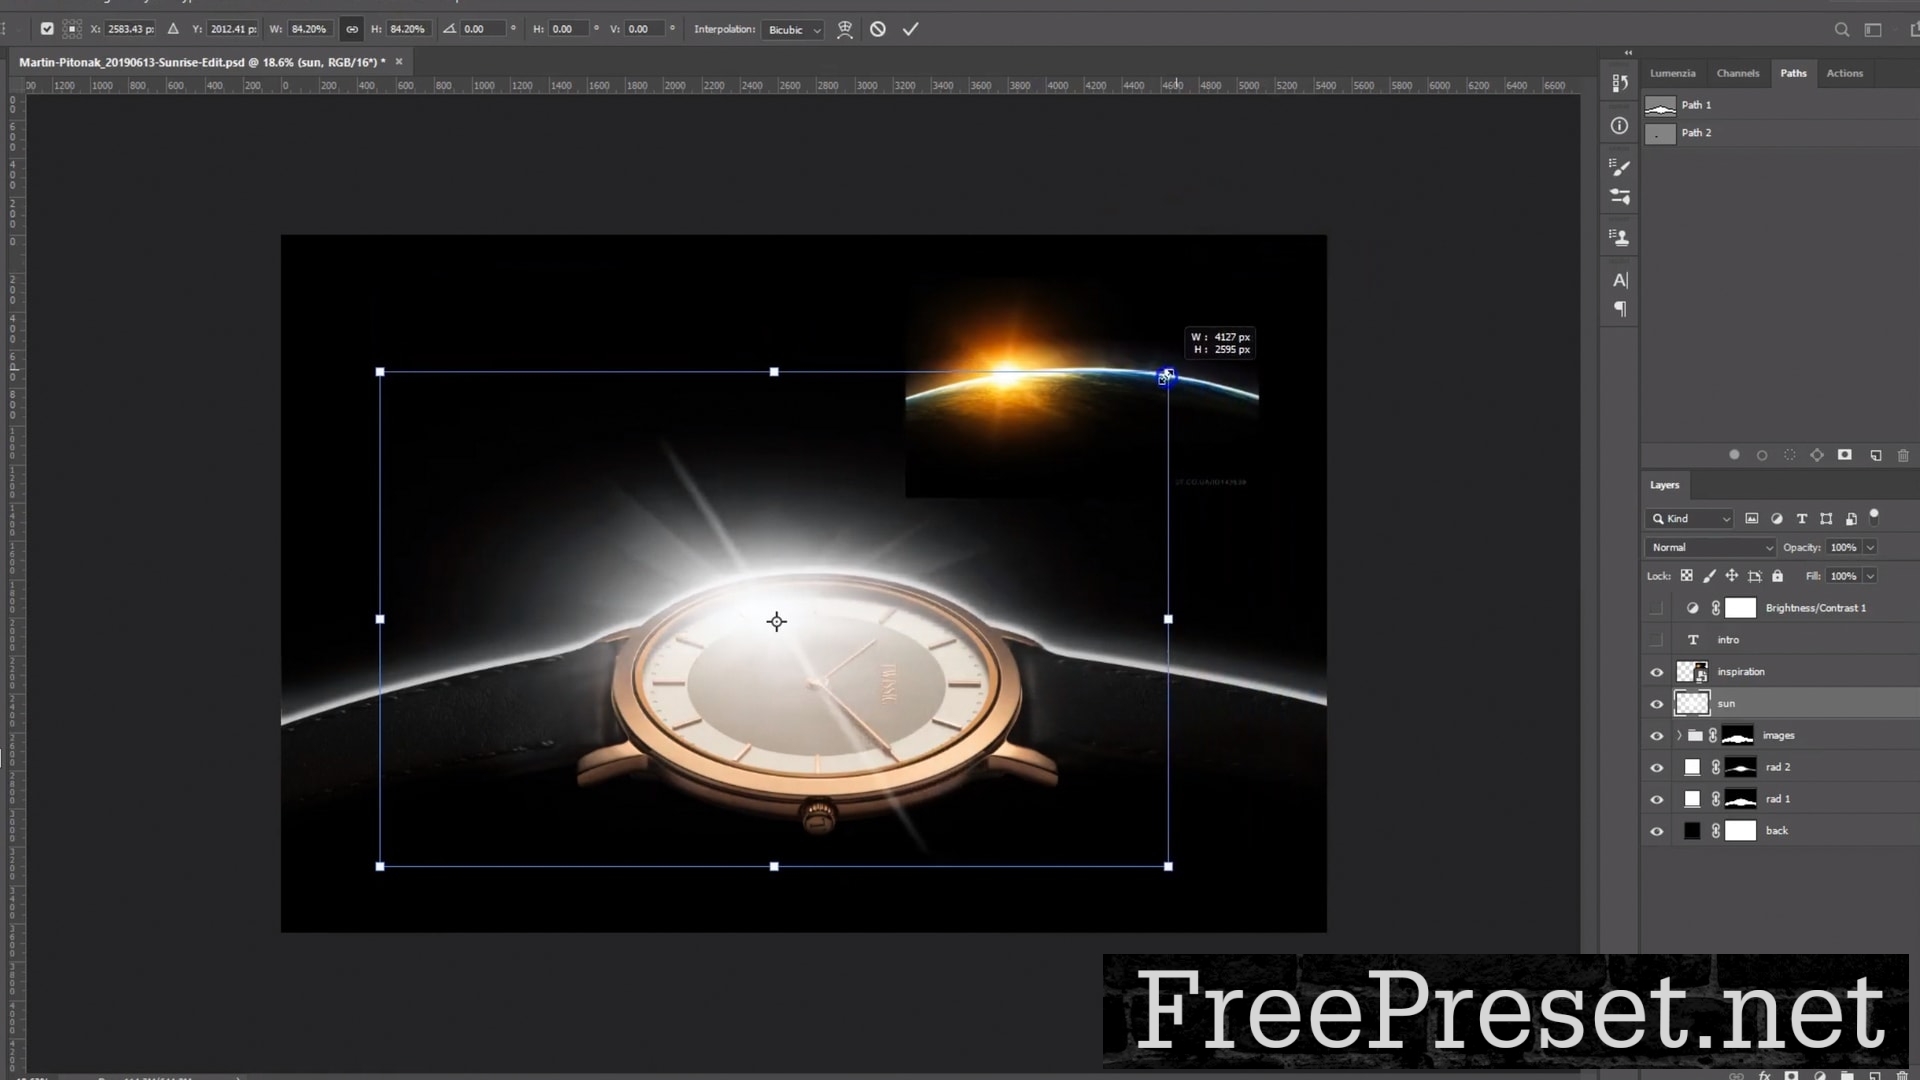
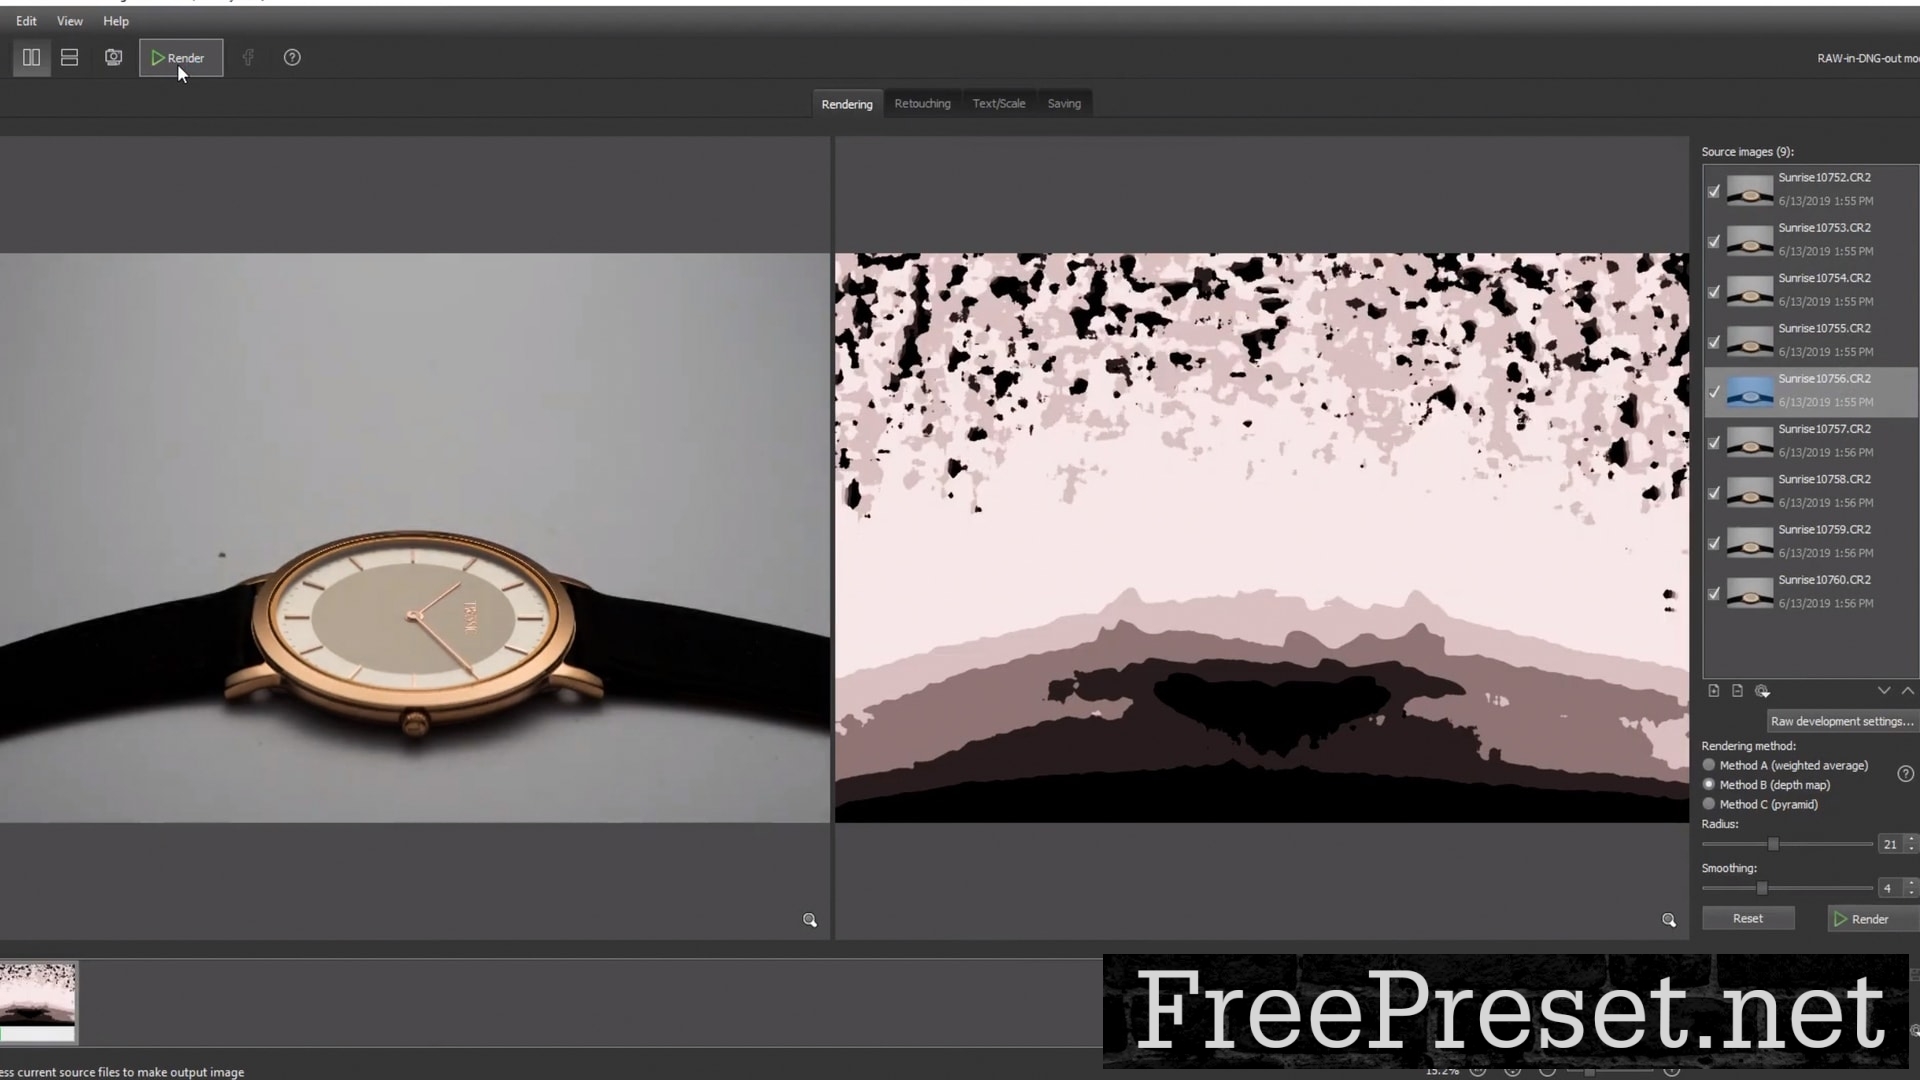
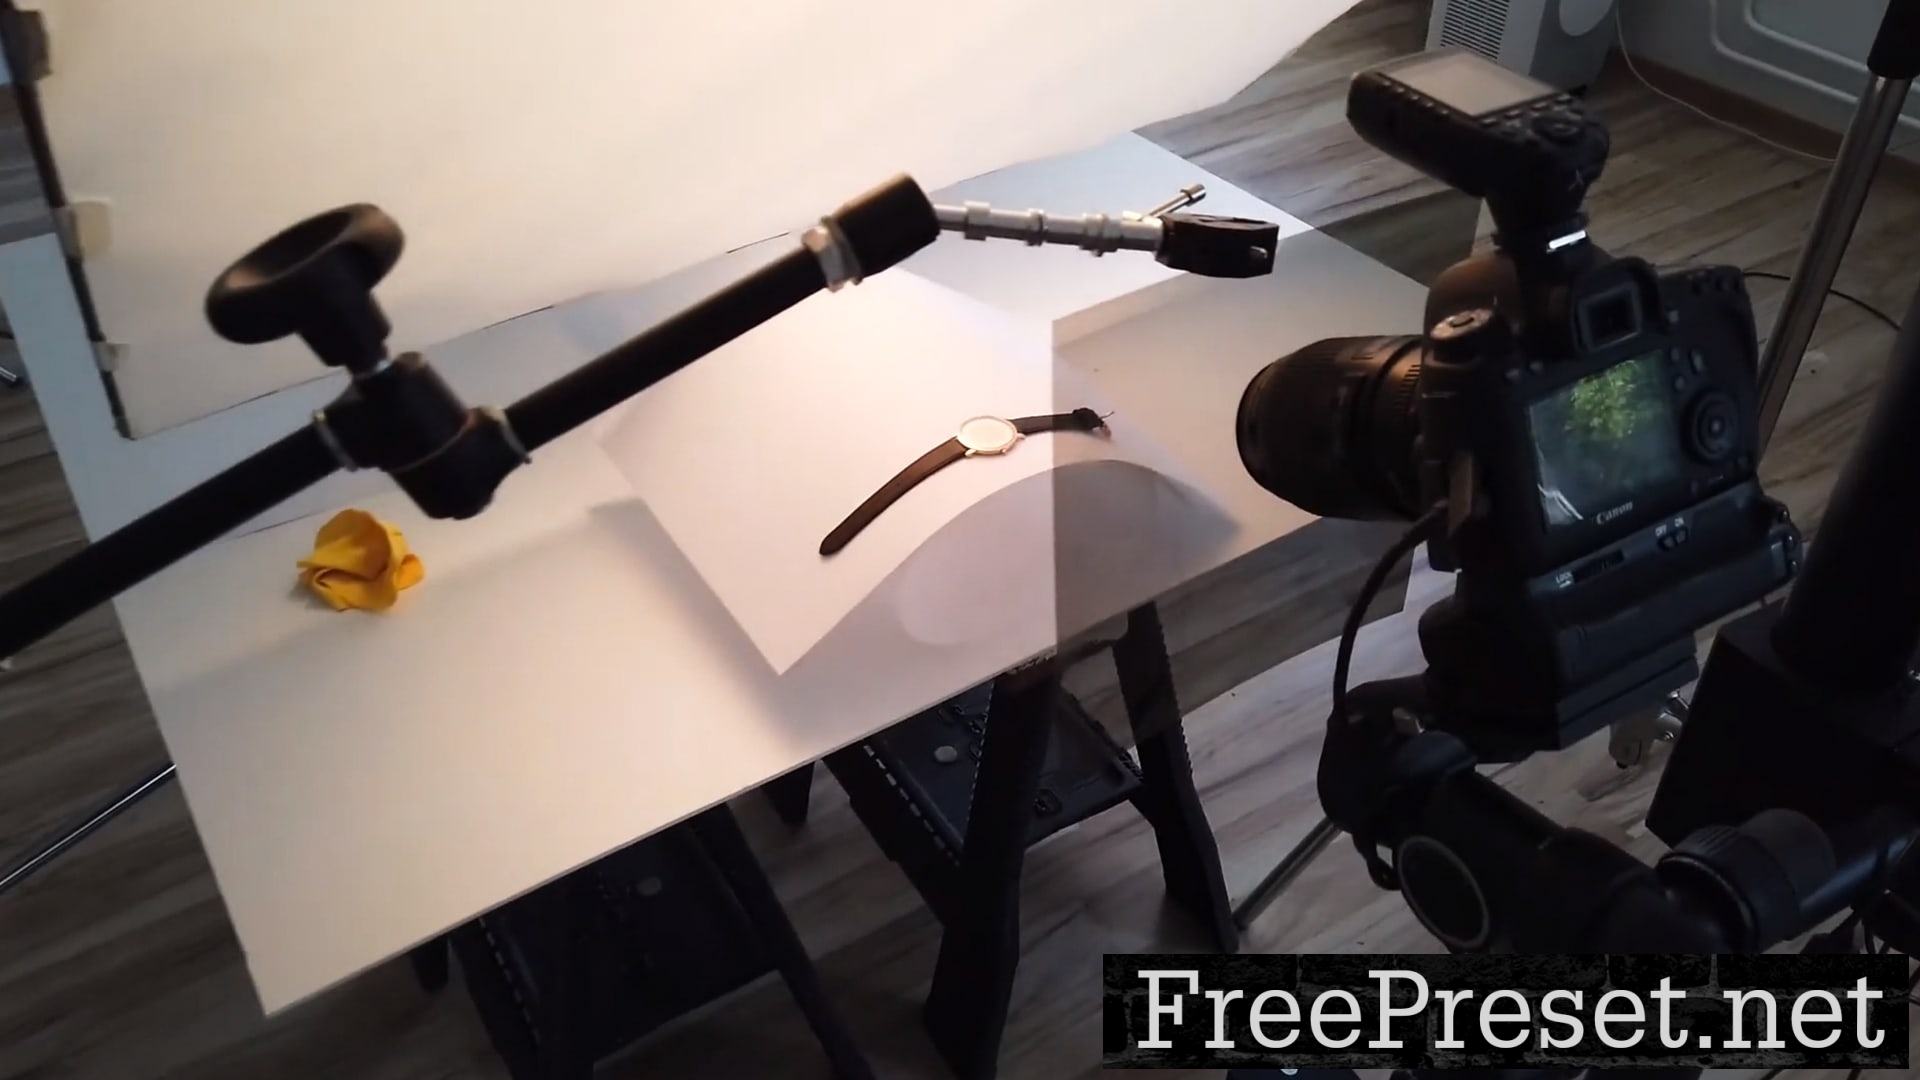
On the table you’ll notice two blocks of various sizes, these are self-made. If you’ve watched my previous tutorials you would have seen these before. Good news, you needn’t spend lots of money on purchasing a platform on which to place your products. You can quickly build a professional-looking block using foam or wood squares. Smooth each side down and paint it white. Another D.I.Y option is to to take an old box and paint it white. Any defects or imperfections can easily be touched up using Photoshop. We’ll look more into this in the course.
The primary beam of light is held up on a C-Stand and placed directly overhead of the bracelet stack. This was the most practical setup for my studio. You can choose to hang it from the ceiling or on a cross beam. Light, both soft and hard, are positioned around the subject. You can see the dark shadow in front of the image on one side of the block. There is also a clear gradient in the image, with the left side engulfed in shadows. This was almost wholly achieved through strategic lighting setup. We will dive deeper into the entire lighting process in the tutorial.


