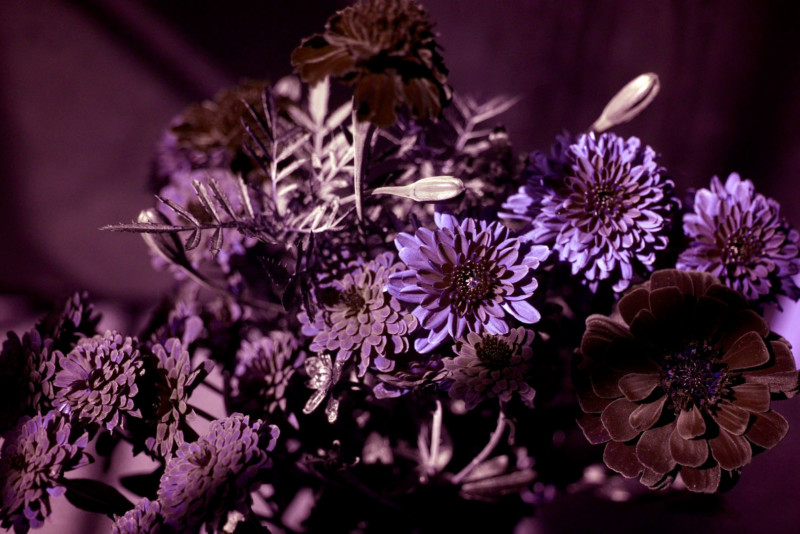
UV photography has many obstacles. Ultraviolet light, or light from 200nm – 400nm in wavelength, is notoriously difficult to image with normal camera equipment. A normal digital camera will record images in the visible light spectrum, or 400nm – 700nm in wavelength. To unlock sensitivity to those shorter wavelengths, a camera has to be physically modified to allow passage of light below 400nm.
We over at Kolari Vision achieve this by performing a full-spectrum conversion service to your camera’s sensor. This modification gives most cameras the needed sensitivity to see UV light, but this is only half the battle. We then have to filter out visible and infrared light or else any UV light coming through the lens will be drowned out by the much more plentiful visible and IR light, and the ultraviolet signal we are looking for will be lost.
This is where a UV bandpass filter comes in. A proper UV pass filter will allow ultraviolet light to pass through to the sensor while blocking all visible and infrared light that may contaminate an otherwise purely UV image. The trouble is, UV light is so easily blocked by most camera optics that even small visible or IR light leaks will overpower the UV light and create a mostly visible or IR image instead.
This is also why it’s important to make sure that you are using a lens with high UV transmission, as most lenses block too much UV and end up allowing IR and Visible light to trickle in and take over the exposure.
The Fuji X-T1 Forensics Bundle
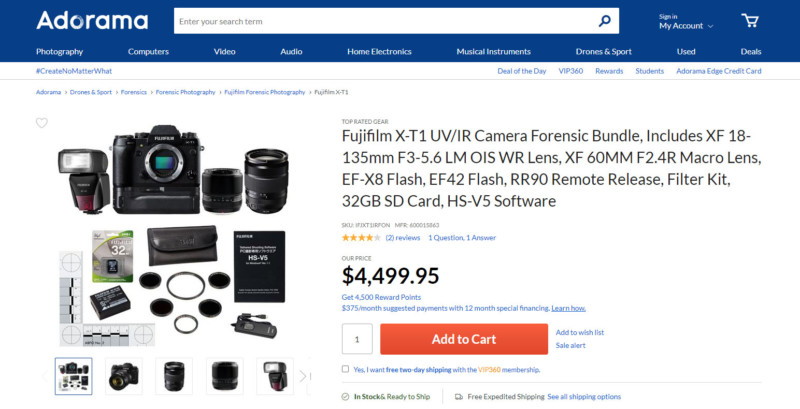
We noticed that the Fuji X-T1 forensics bundle included an old B+W 403 UV bandpass filter in their kit built for UV and IR forensic photography. Knowing the limitations of these style UV filters, we set out to test it and see if it actually works for UV photography.
How can you tell if your UV filter is working properly?
A spectrometer will tell you the exact transmission profile of your filter by plotting a graph visualizing just how much light is managing to pass through and at which wavelengths. Another much easier way to verify if your UV filter is doing the job or not is to know what you’re looking for and check the images. We’re going to demonstrate the latter DIY method here with a set of filters to compare.
For this test, we’ll be comparing our Kolari Vision UV Bandpass Filter to another popular UV passing filter, the B+W 403 Ultraviolet. Alongside these two, we’ll also be testing our 720nm Infrared filter as a control to demonstrate what an intentionally infrared image is supposed to look like.
Test number one will be shot with a Canon 50mm f/1.8 II lens on a Full-Spectrum Sony a6400. Test number two was shot with the Fujifilm 60mm f/2.4 Macro lens (also part of the Fuji Forensics bundle) on a Full-Spectrum Fuji X-T2.
Test #1: Snapshots of our parking lot in strong sunlight
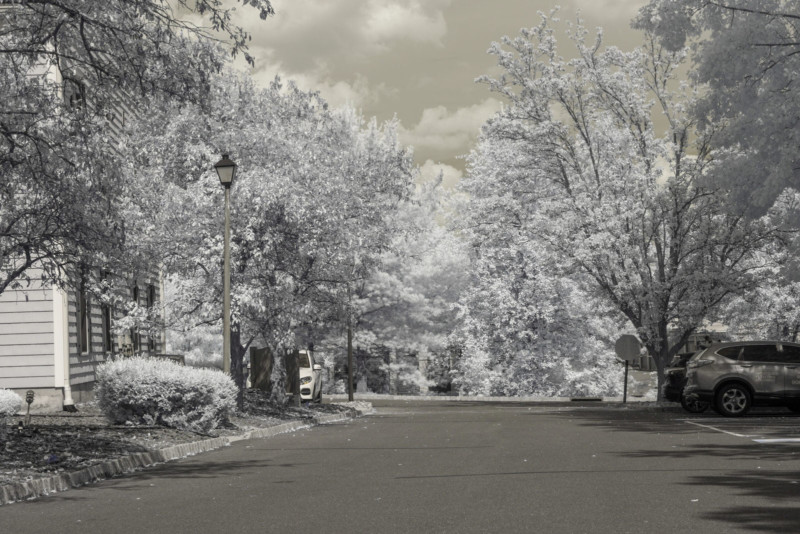
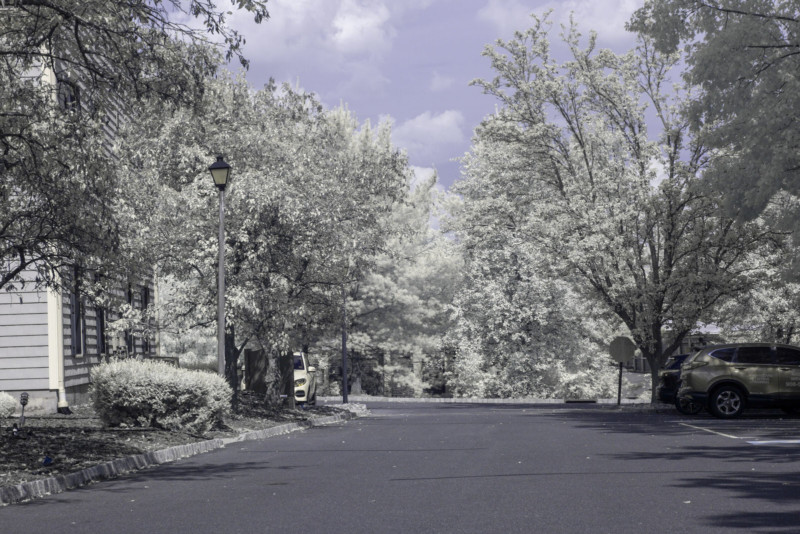
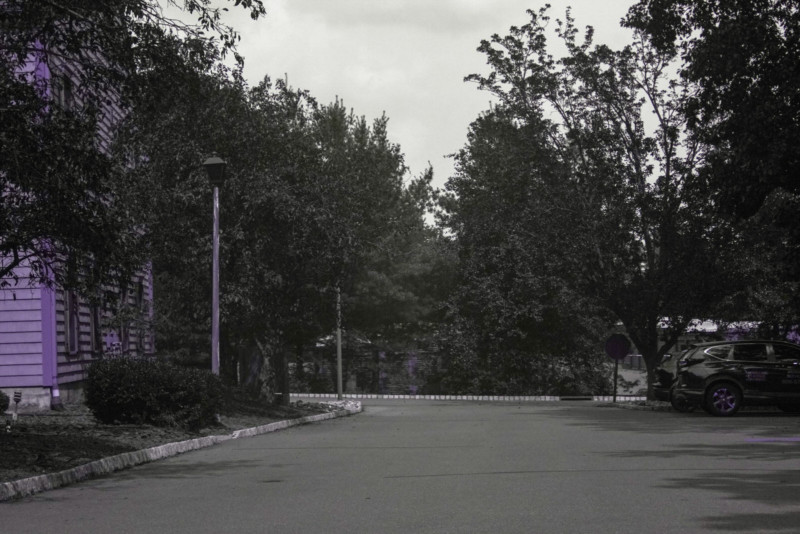
We can immediately see a clear difference between all 3 filters, and that the B+W 403 is performing much more like a near-infrared filter than a UV Pass filter. Leaves and foliage are usually highly IR reflective leading to bright if not completely white vegetation in infrared images. While producing some different coloration, the 720nm and B+W 403 both prominently display this property.
Our UV pass filter, on the other hand, creates very dark if not black foliage. We can also see that the most UV reflective object in the frame is the siding of our building. This is likely due to a UV reflective treatment to the siding to protect from long term sun damage. To Fuji’s credit, the 60mm F/2.4 Macro is actually a good lens for UV photography.
Test #2: Sunscreen Lotion
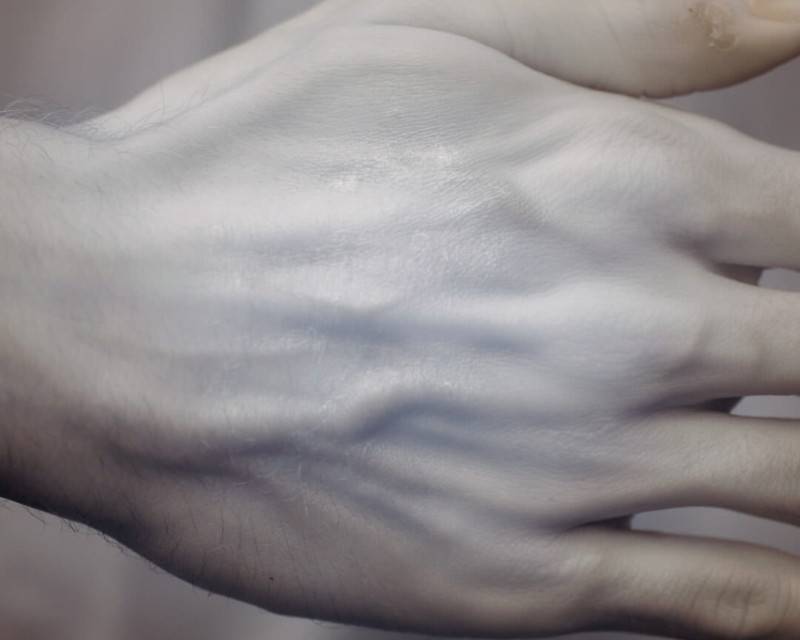
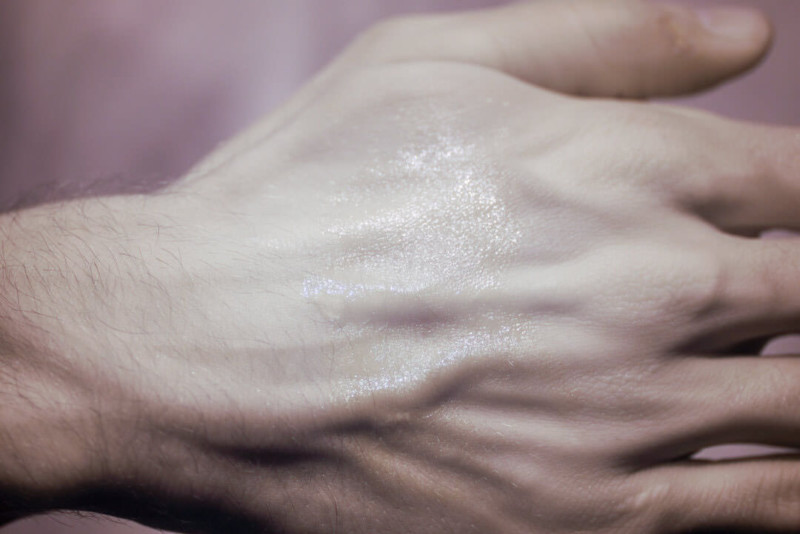
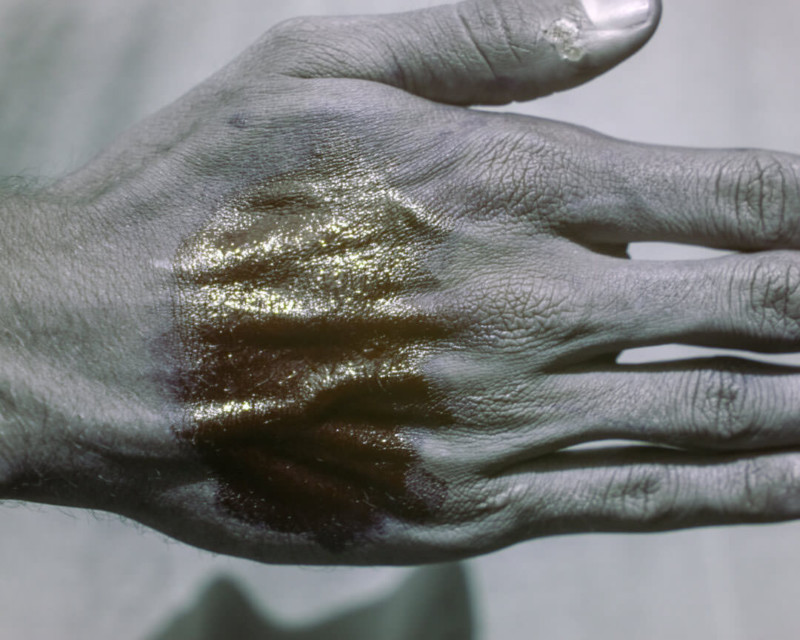
As of late, filming in UV has been a favorite method for companies to advertise the effectiveness of their sunscreen lotion, so we’re using that method in reverse here. If the sunscreen is absorbing UV light, it should appear very dark or black. Though the lotion does glisten brightly from certain angles, our filter is the only one showing UV absorption while the B+W 403 is once again performing more like an infrared filter.
Interestingly, the lotion seems almost transparent when viewed through the B+W 403 Ultraviolet. On another side note, the healing wound on my thumb contrasts much more strongly with the surrounding skin with the Kolari UV Bandpass than it does with the B+W UV or the 720nm IR filters. These characteristics are all very strong indicators of whether or not an image is composed of purely UV light or if it is contaminated with other, undesired wavelengths.
Filter Transmission
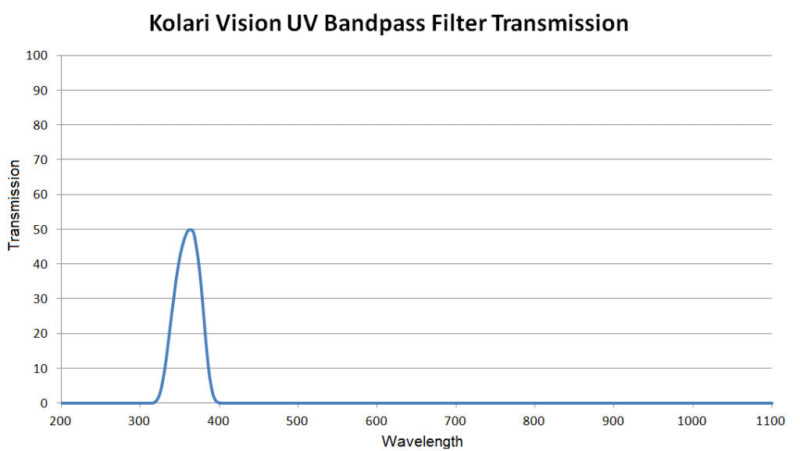
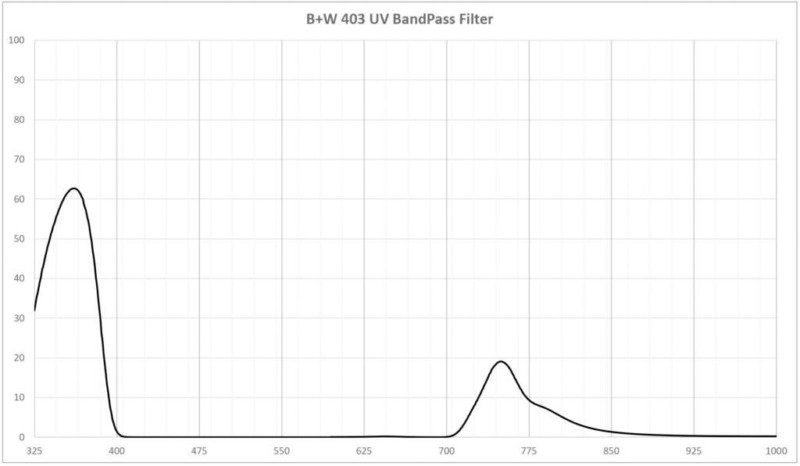
A look at each filter’s spectral response curve as measured by our spectrometer shows the underlying reasons why both of the UV pass filters are producing such different results. Our UV Bandpass filter on the left is blocking enough infrared light to prevent contamination of the image. Due to the much higher sensitivity most sensors have to visible and IR light compared to UV, the out of band signal needs to be blocked VERY strongly. We found during development that even 0.1% transmission peaks could wash out the UV signal.
As you can see from the graph, the B+W 403 Ultraviolet is letting in so much infrared light alongside the UV that it is almost completely overpowering the exposure, leading to what is essentially a near-infrared image. The only way the B+W 403 could be used on its own to create a purely ultraviolet image is in a controlled environment with no infrared light present, or to use it with UV film with no IR sensitivity, AKA how it was initially designed to be used.
Combining this filter with another hot mirror style filter to block the IR signal and allow UV can also work, and we hope this is the recommendation Fuji provided their clients, however nothing provided in the Forensics bundle can be used in combination to make this UV filter work properly. Both the B+W UV/IR Cut MRC 486M filter, and the new Tiffen T1 filter provided in some bundles, block UV light.
See below for some comments on the B+W UV/IR Cut MRC 486M filter provided with the Fuji Forensics kit. Using this type of dual-pass UV filter on a digital full spectrum camera will simply not work for UV photography alone. We shutter to think about how much evidence may have been shot with the B+W 403 and interpreted as a UV signal, when really what was being captured was infrared.
Our 39mm UV Bandpass filter will however work with this forensics kit perfectly and can rescue the Fuji kit. Alternatively, you can order our forensics package designed from the ground up by experts in multi spectral imaging.
B+W UV/IR Cut MRC 486M
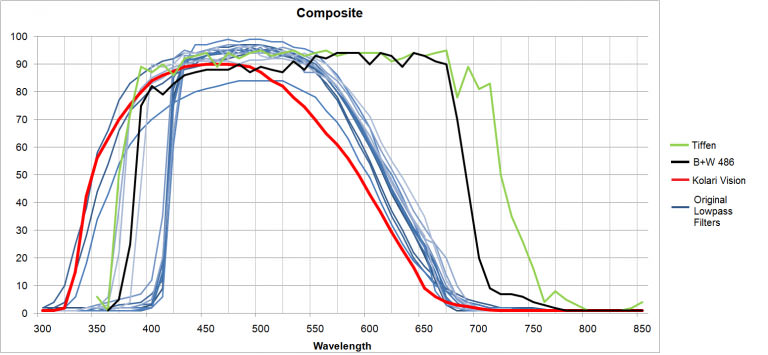
One minor point on the B+W UV/IR cut filter included with the Fuji Forensics kit. While some hot mirrors can be used in combination with an old-style UV filter to isolate the UV signal, this one cannot. It is an aggressive UV cut filter that blocks the UV signal, while at the same time not blocking enough IR. We’ve tested this filter against our own hot mirror filter, and show that it lets in much more IR light, and produces worse color accuracy when used on a full spectrum camera. Fuji provides two of these filters for their Forensics kit to use with the included lenses to restore normal color for regular photography, where it simply isn’t the best filter for this application. It is also an interference-based filter, which can change transmission at different light angles, causing a color shift towards the edge of the frame with wide-angle lenses.
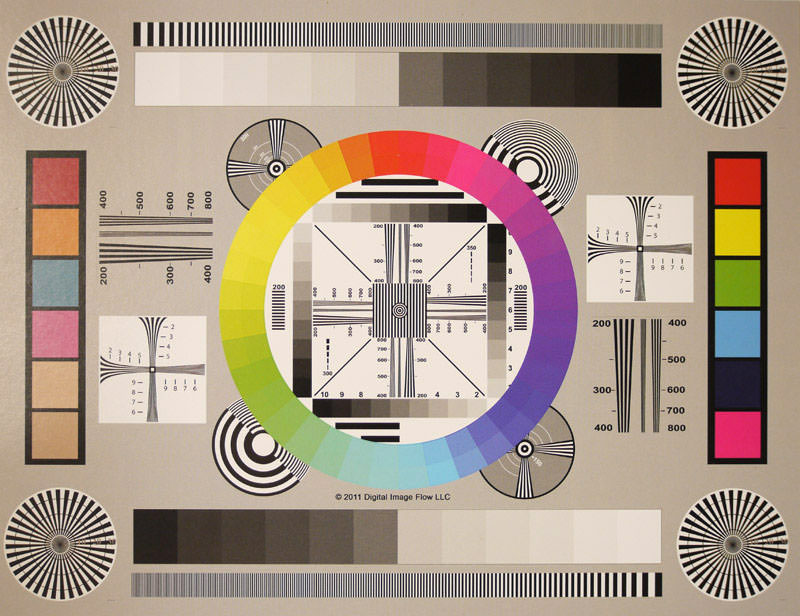
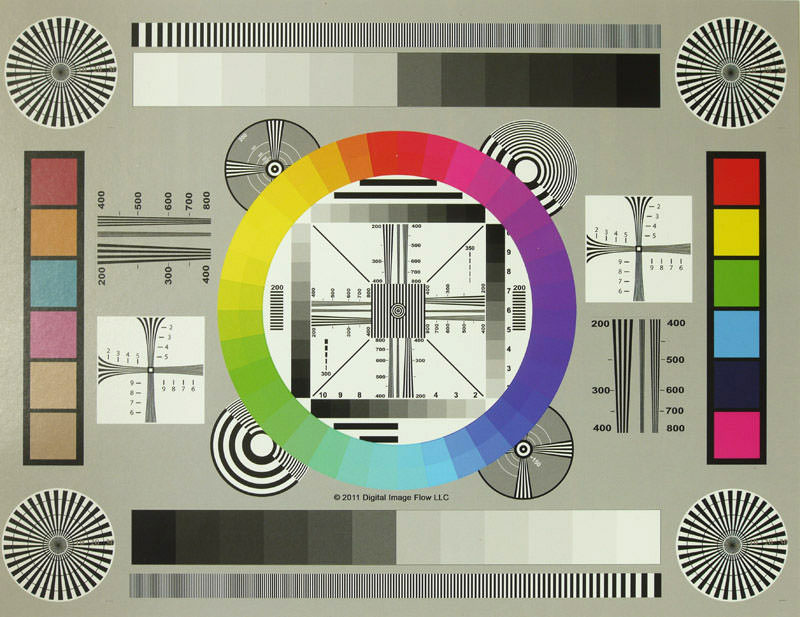
If you look at the transmission curve, the B+W 486 filter lets in much more IR light than any normal camera sensor filter. Fuji has started offering the Tiffen T1 IR filter in some bundles which cuts out more IR light, this combined with the B+W 486 should improve color accuracy but we have not tested it ourselves.
About the author: Pat Nadolski is a photographer and technician at Kolari Vision, an infrared camera conversion business based in New Jersey. The opinions expressed in this article are solely those of the author. Kolari Vision recently announced the Kolari IR ND filter, which it believes to be the best on the market. You can learn more about the company’s service’s on its website. This article was also published here.