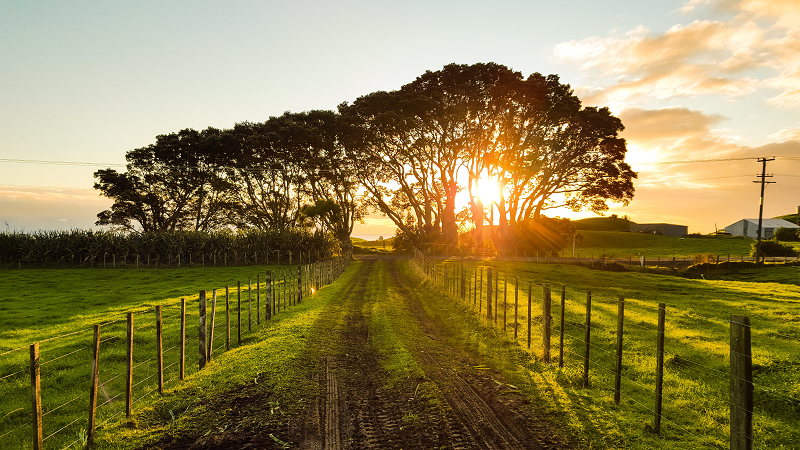
photo by: Werner Sevenster / CCo
Let’s face it; exposure is an important part of photography. Over or underexposing your image can have disastrous results. But when you’re first getting started with photography, exposure isn’t one of those things that you think about all that often, since your camera most likely takes care of the settings on its own.
Over time, though, as you start working with manual or semi-automatic modes on your camera, you’ll start developing an interest in exposure. What it is, exactly, and how those different settings –aperture, shutter speed, and ISO –impact it.
Having a good understanding of exposure can help you to understand your camera a lot better; helping you to improve your results. It’ll also enable you to work in difficult lighting conditions, helping you to see, at a glance, exactly what you need to do to improve your images. Your new-found skills will also open up opportunities for you to get creative with your photography; helping you to capture long-exposures, photograph reflections, capture bokeh, and so much more.
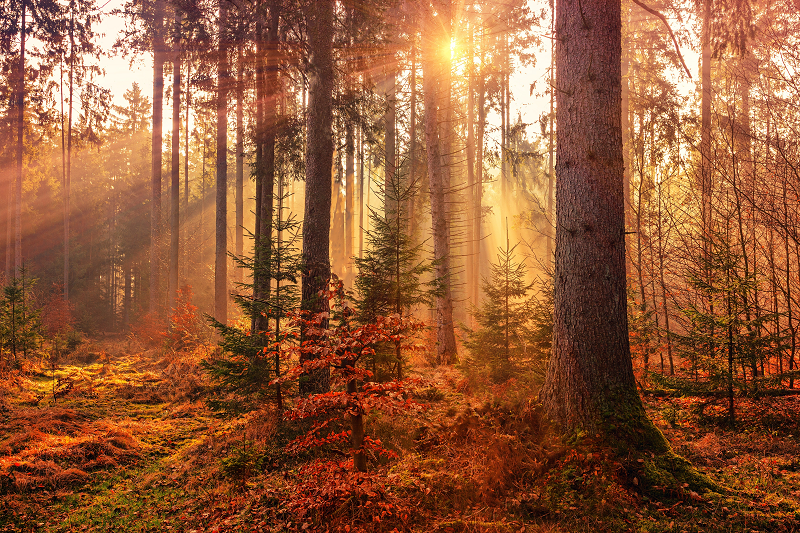
photo by: Johannes Plenio / CCo
Exposure: How’s It Work?
The simple truth is that there is only one mathematically correct exposure that is correct for each photograph. However, the technique that you use to obtain that exposure can vary. Meaning there are many paths that lead to the correct exposure. Your camera’s aperture, shutter speed, and ISO are the three settings that you can use to adjust the exposure, and together, form what’s known as the “exposure triangle.”
It’s at this intersection, where these three elements cross paths, that the perfect exposure is found.
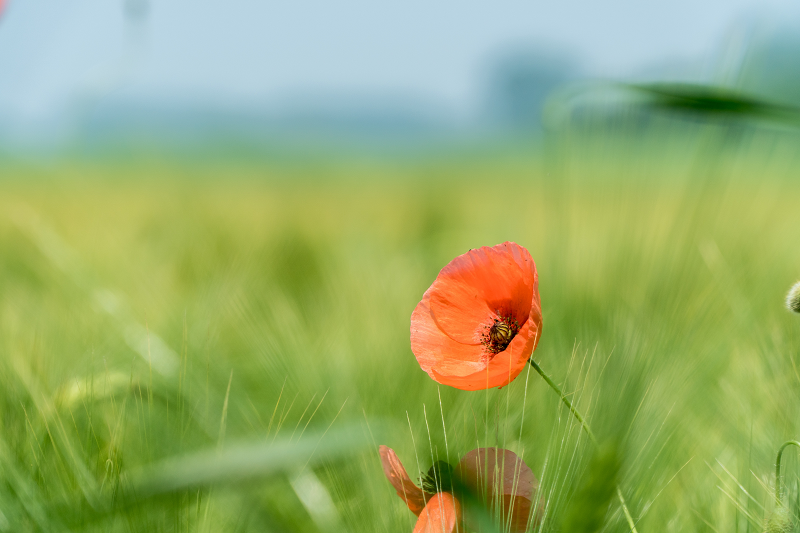
photo by: Sven Gauditz / CCo
Your aperture controls the size of the opening in your lens that allows light to reach your camera’s sensor. Think of this as opening the blinds in a house. The wider the opening, the more light comes in.
Your aperture settings are determined using a series of f-stop values on your camera. The smaller the f-stop, the wider the opening will be –and the more light will be allowed in. So f/2.8 is a wider aperture than f/16.
Your aperture doesn’t just control light, though; it also adjusts the depth of field in your composition. So for a narrower depth of field, where everything in your image is clear and in-focus, you’ll want to use a smaller aperture (a bigger number) –like f/11. On the other hand, using a wider aperture (smaller number) –like f/2.8, will let more light in; resulting in a more narrow field of focus. While a small aperture is useful for most landscape photography, where you want the entire image to be clear and in-focus, a wide aperture is ideal for those times when you’d like to isolate a section of your composition near the foreground, while blurring out the background. A wide aperture is also ideal for capturing beautiful bokeh.
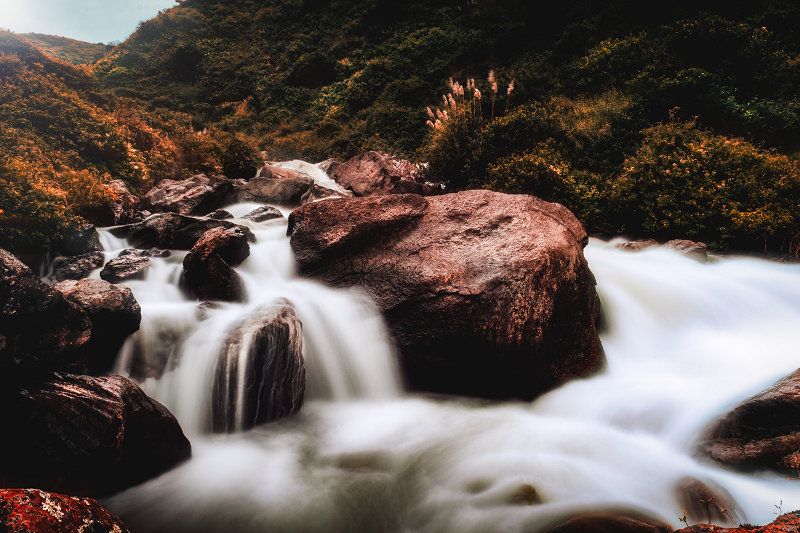
photo by: Giancarlo Revolledo / CCo
Your shutter speed determines how long your shutter stays open, and how long the light is allowed to hit your sensor for. The faster the shutter speed, the less light will get in, while a slower shutter speed allows more light in, resulting in a higher exposure.
While a fast shutter speed is ideal for “freezing” motion and movement, a longer shutter speed is often used for artistic long-exposure images. The slow shutter speed renders movement as a blur, and can be used to capture softly blurred clouds or a waterfall. It’s also ideal for nighttime or low-light photography. Just be sure to use a tripod to steady your camera when capturing longer exposures.
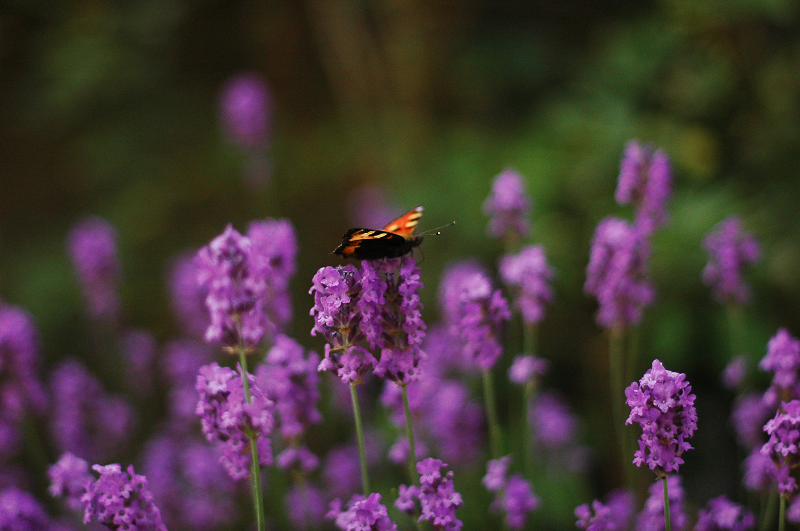
photo by: Jim Richter / CCo
The ISO on your camera also helps to control how much light you’re working with. Increasing your ISO makes your sensor more sensitive to light; allowing you to work with less light. While this may sound like a cure-all to all of your low lighting woes, the issue is that a higher ISO can result in more ‘noise’ or grain in your images.
However, adjusting the ISO can be very helpful when shooting in certain situations; like if you’re doing night photography without a tripod. In these cases, a higher ISO can allow you to capture an image that would be otherwise difficult to get without significant blur. In general, an image with a bit of grain is preferable to one with significant blur.
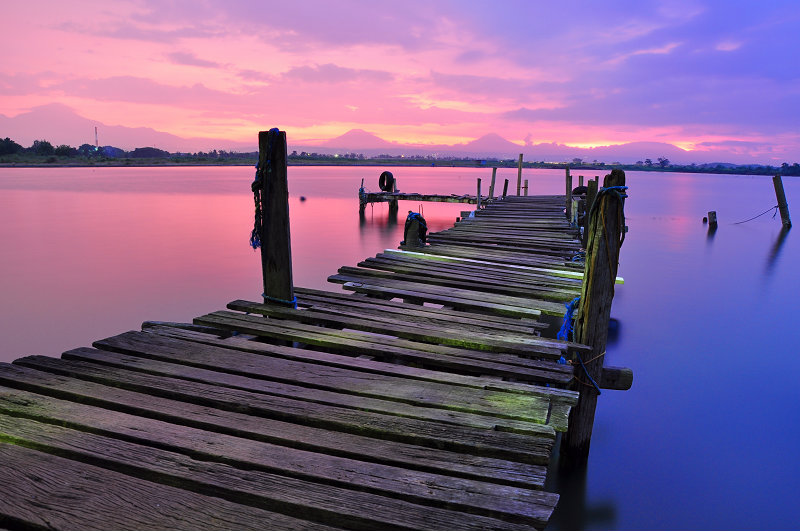
photo by: Stefanus Martanto Setyo Husodo’s / CCo
Putting It All Together
Now that you have all three sides of the triangle, let’s see how they all work together.
The exposure triangle is called a triangle for a reason. All three settings work together to help you get the right exposure. All three form what’s known as the exposure value (EV). This means that if you increase one of the settings, you should decrease one –or both of the others to maintain proper exposure.
So for example, if you adjust your shutter speed, reducing it by four stops (1/25 – 1/50 – 1/100 – 1/200 – 1/400), the aperture also has to increase in size by approximately four stops as well (f/11 – f/8 – f/5.6 – f/2.8) for an equivalent exposure.
Keep in mind, though, that while the composition will stay the same, other aspects of your image –depth of field, focus, grain, will change. That’s the beauty of being able to use manual mode. You can adjust your camera so that it creates the results that you’re looking for, while compensating for the exposure yourself.
Mastering the art of exposure is a process that takes practice. Many photographers have described the process as a juggling act, learning to balance the settings that are constantly in flux.
Tools and Techniques to Get the Right Exposure
There are a number of different tools out there that you can use to get the right exposure. One such tool is filters –an ND filter and a GND filter are often used to help balance out different lighting conditions in the foreground and background of an image, allowing you to use one exposure for the image. You’ll also want to take advantage of exposure bracketing, setting your camera to take multiple shots of the same scene, using different exposures.
Don’t forget about post processing. If you capture your image, taking care to get the exposure right for the key areas, then you can always recover the other sections during post –as long as they’re not overexposed, that is. Consider using spot metering to focus on the exact area of your image that you would like properly exposed.
At the end of the day, adjusting your camera’s settings to find the right exposure is something that takes practice, and the best way to cement these concepts in your mind is by trying them out yourself. Switch to manual –or a semi-automatic mode, play around with your camera’s settings, and try adjusting them yourself. Then, move on to using filters and spot metering to further improve your compositions’ exposure.
Getting it right takes practice but after you’ve done it a few times, it will start to become second nature. Soon, you’ll become adept at finding the exposure that’s ideal for your scene at hand.
Do you enjoy using manual mode? What tips do you have for adjusting the settings?