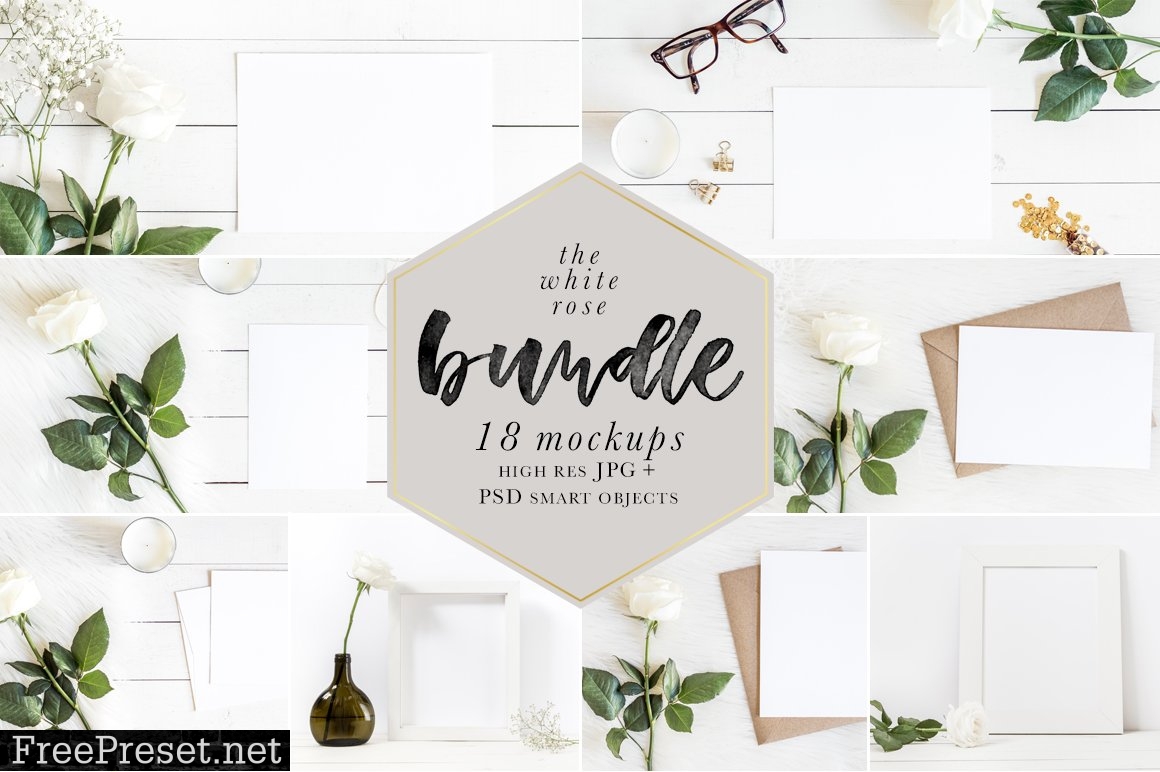
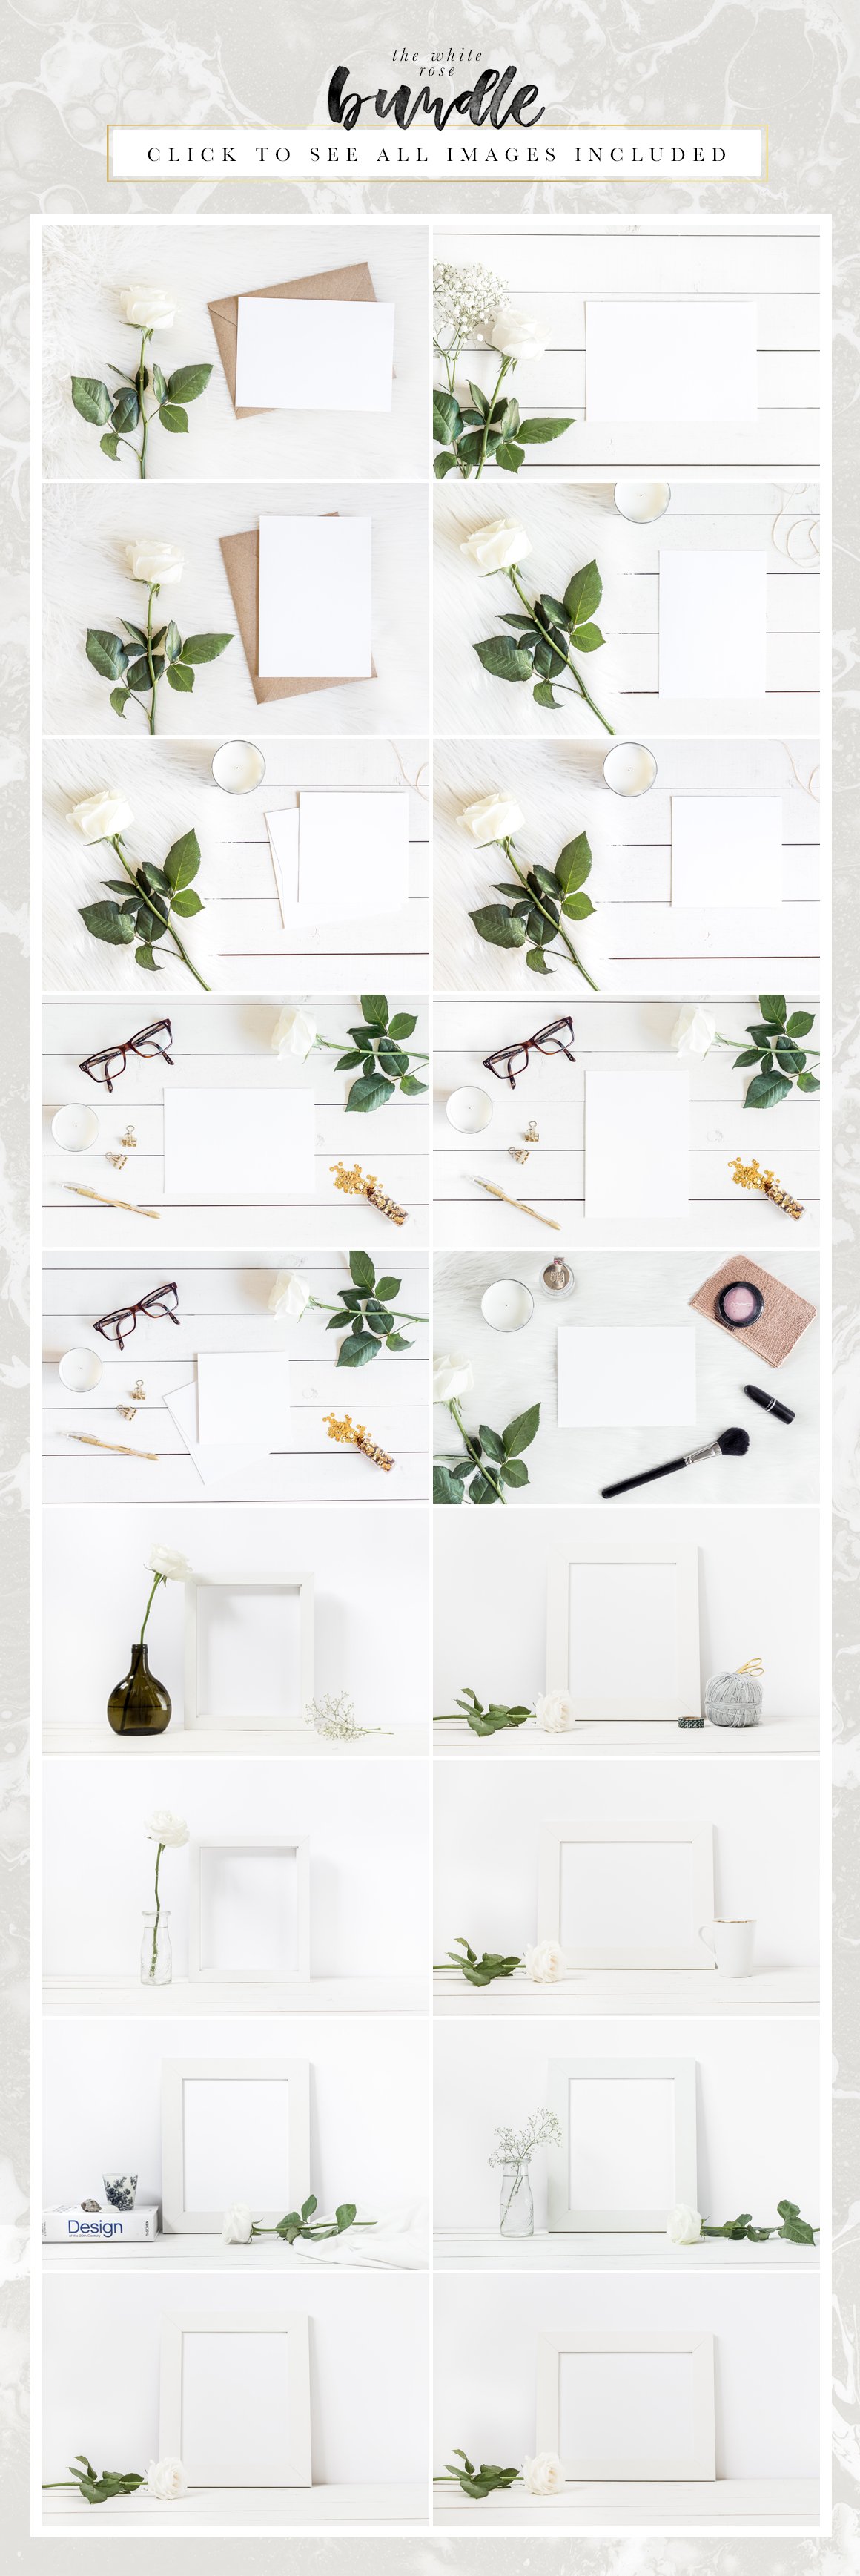
The White Rose Bundle with 18 Mockups!
Perfect to display your artwork, calligraphy or lettering piece on many platforms, such as your website, blog, online store, Instagram, Facebook, etc.
All our photos are taken in natural light and carefully styled with small objects and natural elements. We put our love for minimalism and simple life into our work and we hope it can reflect your style too.


WHAT IS INCLUDED IN THIS PURCHASE
- 18 high resolution PSD file with a smart object layer
- 18 high resolution JPG file (blank art, without “your design here” text applied)
Paper formats:
- 2 5×7 (127 x 178mm) card mockups (1 vertical and 1 horizontal)
- 5 A5 (148 x 210mm) card mockups (2 vertical and 3 horizontal)
- 3 5×5 (127 x 127mm) card mockups
- 6 8×10 (200 x 250mm) frame mockups (4 vertical and 2 horizontal)
- 2 7×9 (185 x 235mm) frame mockups (both vertical)
IMAGES DIMENSIONS
- Smallest: 4172x2782px @300dpi
- Biggest: 5528×3694 @300dpi
REQUIREMENTS
You will need photo editing software that supports PSD files with layers and smart objects, such as Adobe Photoshop or Affinity Photo to be able to easily add your design into the mockups.
If you don’t have a photo editing software with the features above (Canva users, for example), you can still use the JPG files provided, but please note that you won’t be able to use the smart object feature to add your design into the mockups. You will have to adjust your design manually in the proper space on the image.
IMPORTANT
Please note that this bundle is not a scene creator.
The PSD files are composed by the background layer and the smart object layer (paper/frame) only.
The props are not moveable.
Feel free to edit the image and make changes such as applying a filter or cropping it to best fit your needs.
HOW TO USE SMART OBJECTS AND REPLACE YOUR DESIGN
1. Open the PSD file in Photoshop.
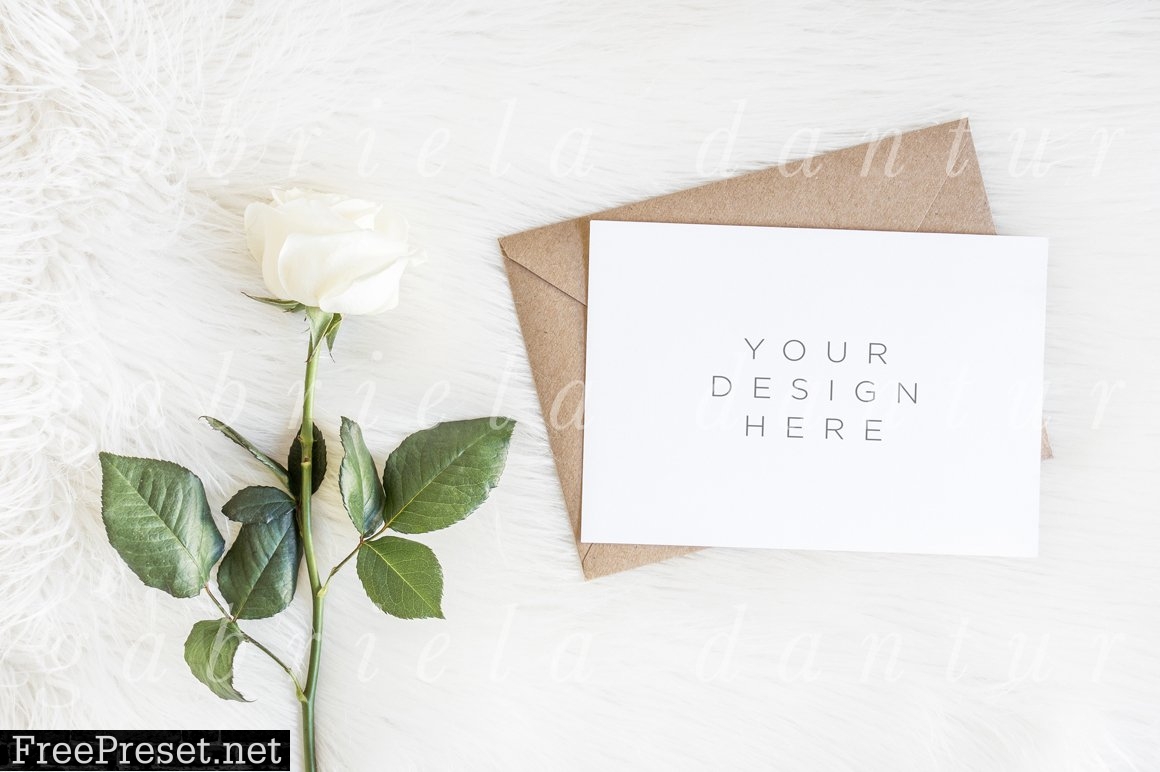
2. Double click on the “Your Design Here” layer. It opens a new window.
3. Insert your design into this window and position it. Click save and close the window.
4. Go back to the window of the original PSD file. You will see your artwork there, placed exactly into the paper. Save your file and you’re ready to go!