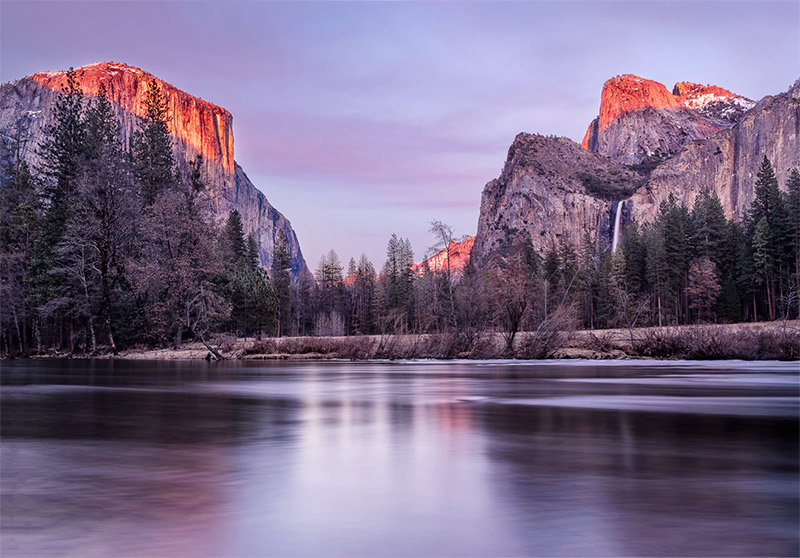
Yosemite National Park by Rodrigo Soares / Unsplash License
National Parks are not only popular with tourists, they’re also among the best locations for landscape photographers. Our national parks are filled with plenty of natural beauty, but if you want to come away with the best photos, you need to be prepared.
In this article, you’ll find a collection of tips that will help you to get the most out of your trip to a national park and come home with photos that you love.
You may be interested in our detailed photography guides to these parks:
→ Related reading: 7 Sites and Apps for Researching and Scouting Photography Locations
1. Plan Ahead
In order to get the most out of your time photographing a national park, it is critical that you plan ahead. Planning is an important part of any landscape/travel photography trip, but it’s especially important when you’re headed to a national park. Here are a few reasons why:
- Most national parks are BIG. Getting from one location to another can take a few hours and may not even be that easy.
- Because the parks are so big, you can easily miss out on some of the best locations if you don’t plan.
- You won’t be able to drive to every location that you want to photograph. You’ll need to know how to get to the places you want to photograph.
- Planning will help you to prioritize so you get to see and photograph the things that are most important to you.
- National parks tend to draw a crowd. Planning can help you to avoid the worst crowds, or at least minimize their impact on your work.
2. Consider Seasons and Weather
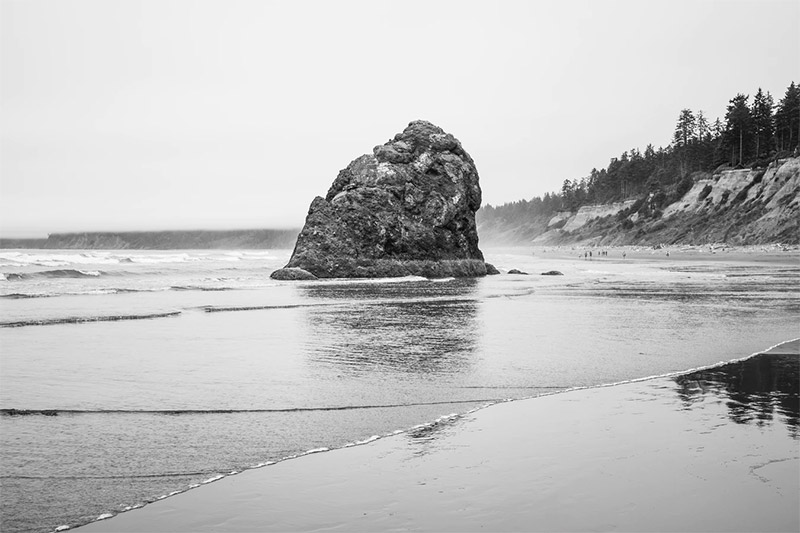
Olympic National Park by Ryan Stone / Unsplash License
When you’re planning your trip, seasons and weather should play a big role in when you go. If you’re traveling with family you may not have as many options, but if you have some flexibility with your schedule, make sure that you are going during an optimal time.
Of course, each park will be different, so research things like the average temperature and typical weather at different times of the year. Also, consider what you want to photograph and the seasonal highlights of the park throughout the year.
Aside from just the weather, timing will have a big impact on the crowds as well. Most parks tend to have the biggest crowds in the summer, so you may want to keep that in mind.
Some parks will also have limited windows for certain locations or activities. For example, Going-to-the-Sun Road in Glacier National Park is only open part of the year due to snow. The dates depend on the weather, but it may not open until late June and it typically closes in October.
3. Capture the Iconic Shots
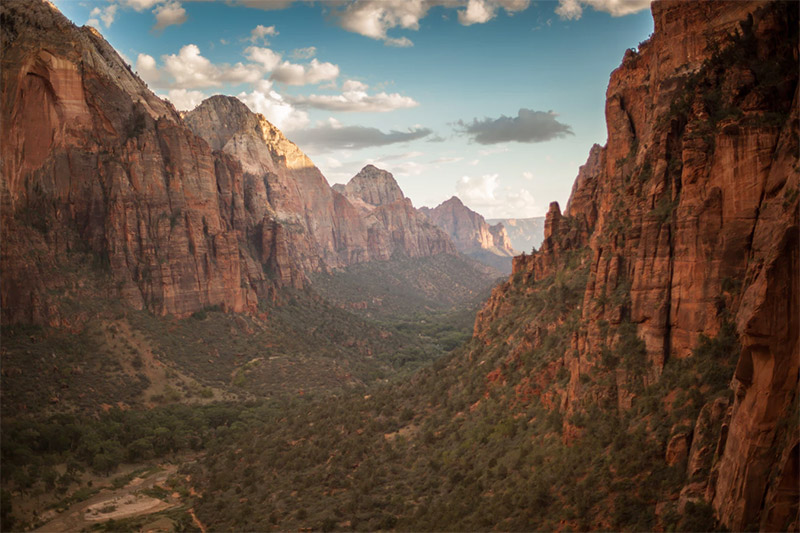
Zion National Park by Jamie Hagan
Most national parks have a few locations or views that are very recognizable. As a photographer, you’re probably more interested in coming away with photos that are original and unique, but don’t disregard the iconic shots.
If you sell prints or license your photos, many people will be interested in the iconic shots, so it’s a good business move to go ahead and capture them for yourself.
4. Get Off the Beaten Path
Although it’s a good idea to get the iconic shots, don’t stop there! The majority of national park visitors stick to the locations and views that are easy and convenient. Roadside overlooks, prominent locations with plenty of parking, and the most well-known spots in the park that can be easily reached.
Some visitors are in a hurry and don’t have time for anything else. Others aren’t able to hike or travel to harder-to-reach places. Some visitors simply don’t know about other spots in the park. And some don’t want to go to the trouble of getting to other locations.
If you want to come away with unique photos and get the most out of your trip, you’ll need to get off the beaten path. This usually involves hiking, and thankfully, most national parks have plenty of trails that are well marked and well maintained.
With a little bit of effort you can get views that most tourists will not see. For example, at the Grand Canyon you can hike to the bottom of the canyon. The views along the trail or at the bottom give you a different perspective than most travelers see at the popular viewpoints from the rim. Another option is simply to walk along the rim or the roads and explore a little. Instead of taking the shuttle bus, you can walk from one viewpoint to the next and you’ll find some opportunities for great shots along the way.
→ Related reading: How to Photograph Iconic Locations Without Being Cliché
5. Research Sunrise and Sunset Locations Ahead of Time
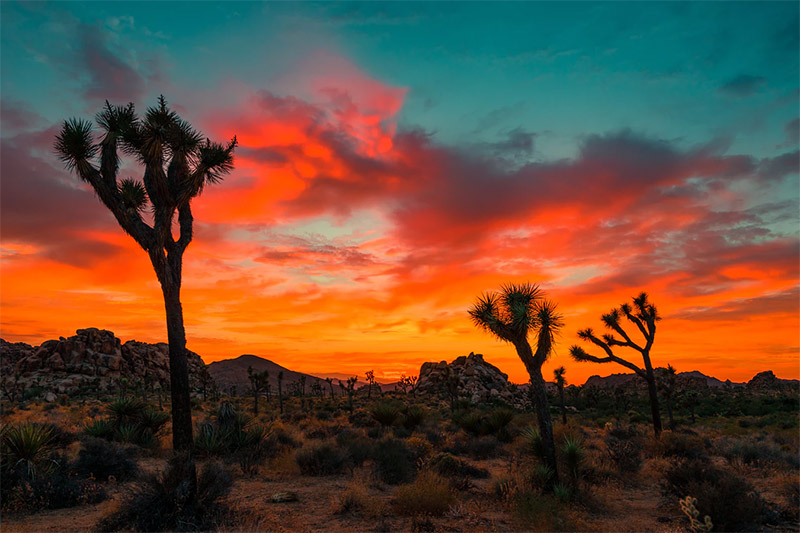
Joshua Tree National Park by Sasha Stories / Unsplash License
When you are planning your trip, make sure that you are researching the best spots in the park for sunrise and sunset. These golden hours and blue hours are generally the bets time for landscape photography, so you’ll want to make the most of each sunrise and sunset.
All of our national park location guides include information about recommended spots and views for sunrise and sunset. The last thing you want is to be scrambling to find a good view before the day’s best light is available. Be sure that you are close enough to your preferred spot to get there in time for the best light.
6. Have a Method of Tracking Your Photos
When you get home from your trip to a national park, you’ll probably have hundreds or thousands of photos. You may not remember where every photograph was taken, and even if you do remember right now, you’re bound to forget some of those details over a period of time.
When I’m headed to a national park, or some other destination where I’ll take a lot of photos, I turn on the GPS tracking on my camera. If your camera has this functionality, it’s an awesome feature. You can easily find the exact location a photo was taken if it is tagged with GPS coordinates.
If your camera does not have GPS tracking, you should come up with some way to record the general location of the photos that you’re taking. You could use a notebook and simply record the ranges of file numbers of the photos you take at different places in the park. For example, you could write that photos from one file number to another were taken along a certain trail.
At some point, you’ll probably be interested in knowing where a particular photo was taken.
7. Sleep in the Park, or as Close as Possible
Because parks are so big, it’s best to stay overnight inside the park, or as close to an entrance as possible. Some parks have cabins or other rooms available for rent, and almost all parks have campgrounds. If that is not an option, book a place to stay close to an entrance.
Since you’ll want to make the most of each sunrise and sunset, it can mean very early mornings, and in some cases, late nights. Even if you are staying inside the park, getting to your preferred spot for sunrise can take some time. The longer a drive or hike you have, the earlier you will need to get up. When I visited Acadia National Park in June of 2017 and the sunrise was around 4:40 am, I was glad I stayed near the entrance to the park. I was getting up between 3:00 – 3:30 every morning, depending on where I wanted to be for sunrise. It would have been even earlier if I wasn’t as close to the park.
8. Be Sure to Check the Surrounding Areas

Mono Lake by werner22brigitte / Pixabay License
National parks are filled with beautiful landscapes, but the beauty doesn’t end at the boundaries of the park. Many national parks are surrounded by other points of interest that you may want to visit on the same trip. Here are a few examples:
- Mono Lake is near Yosemite National Park
- Big Cypress National Preserve is next to Everglades National Park
- Horseshoe Bend is not too far from the Grand Canyon
These are just a few examples. Regardless of what park you are visiting, be sure to research the surrounding areas so you don’t miss out.
9. Use Batch Processing
Since you’ll be taking so many photos, processing those photos can be a time-consuming task. The best way to save time is to use batch processing. Lightroom offers a few options for processing multiple photos at once.
Another way to speed up your photo editing is to apply a preset to multiple photos. This could be a preset that you create, or it could be a preset that you’ve purchased. Our Landscape Legend Lightroom Presets come with a guide to batch processing that can help to save many hours of work on the computer.
10. Be Respectful
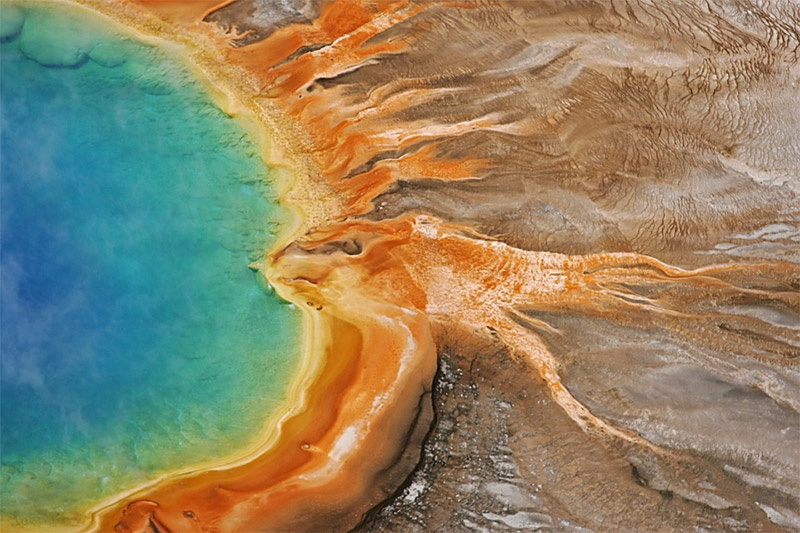
Yellowstone National Park by skeeze / Pixabay License
While you are visiting the national park, be sure to respect the other visitors as well as nature. Be courteous to tourists and photographers that you come across.
Respecting and taking care of the nature of our parks is also a big issue. There have been incidents at many parks, but issues at some parks like Yellowstone and Death Valley have received a lot of attention. Don’t do anything that will damage nature or interfere with wildlife.
Now that we’ve covered these tips, you should be ready for a great trip! One final tip is to remember to have extra batteries, chargers, and memory cards. A car charger adapter can be a great item to have with you.
Photo license links: Unsplash License, Pixabay License