Night sky photographs are absolutely stunning when properly shot. Long exposures allow the stars and the Milky Way to shine through, and pairing a gorgeous landscape with a spectacular night sky is a sure-fire way to capture an amazing shot.
But night sky photography is not easy. You need the right tools and equipment, the right techniques, and the right location to capture a jaw-dropping photo of the sky. Not sure how to get started? You’re in the right place. In this article, we’ll go over some of our top tips for capturing spectacular night sky photographs.
Make Sure You’ve Got The Right Equipment
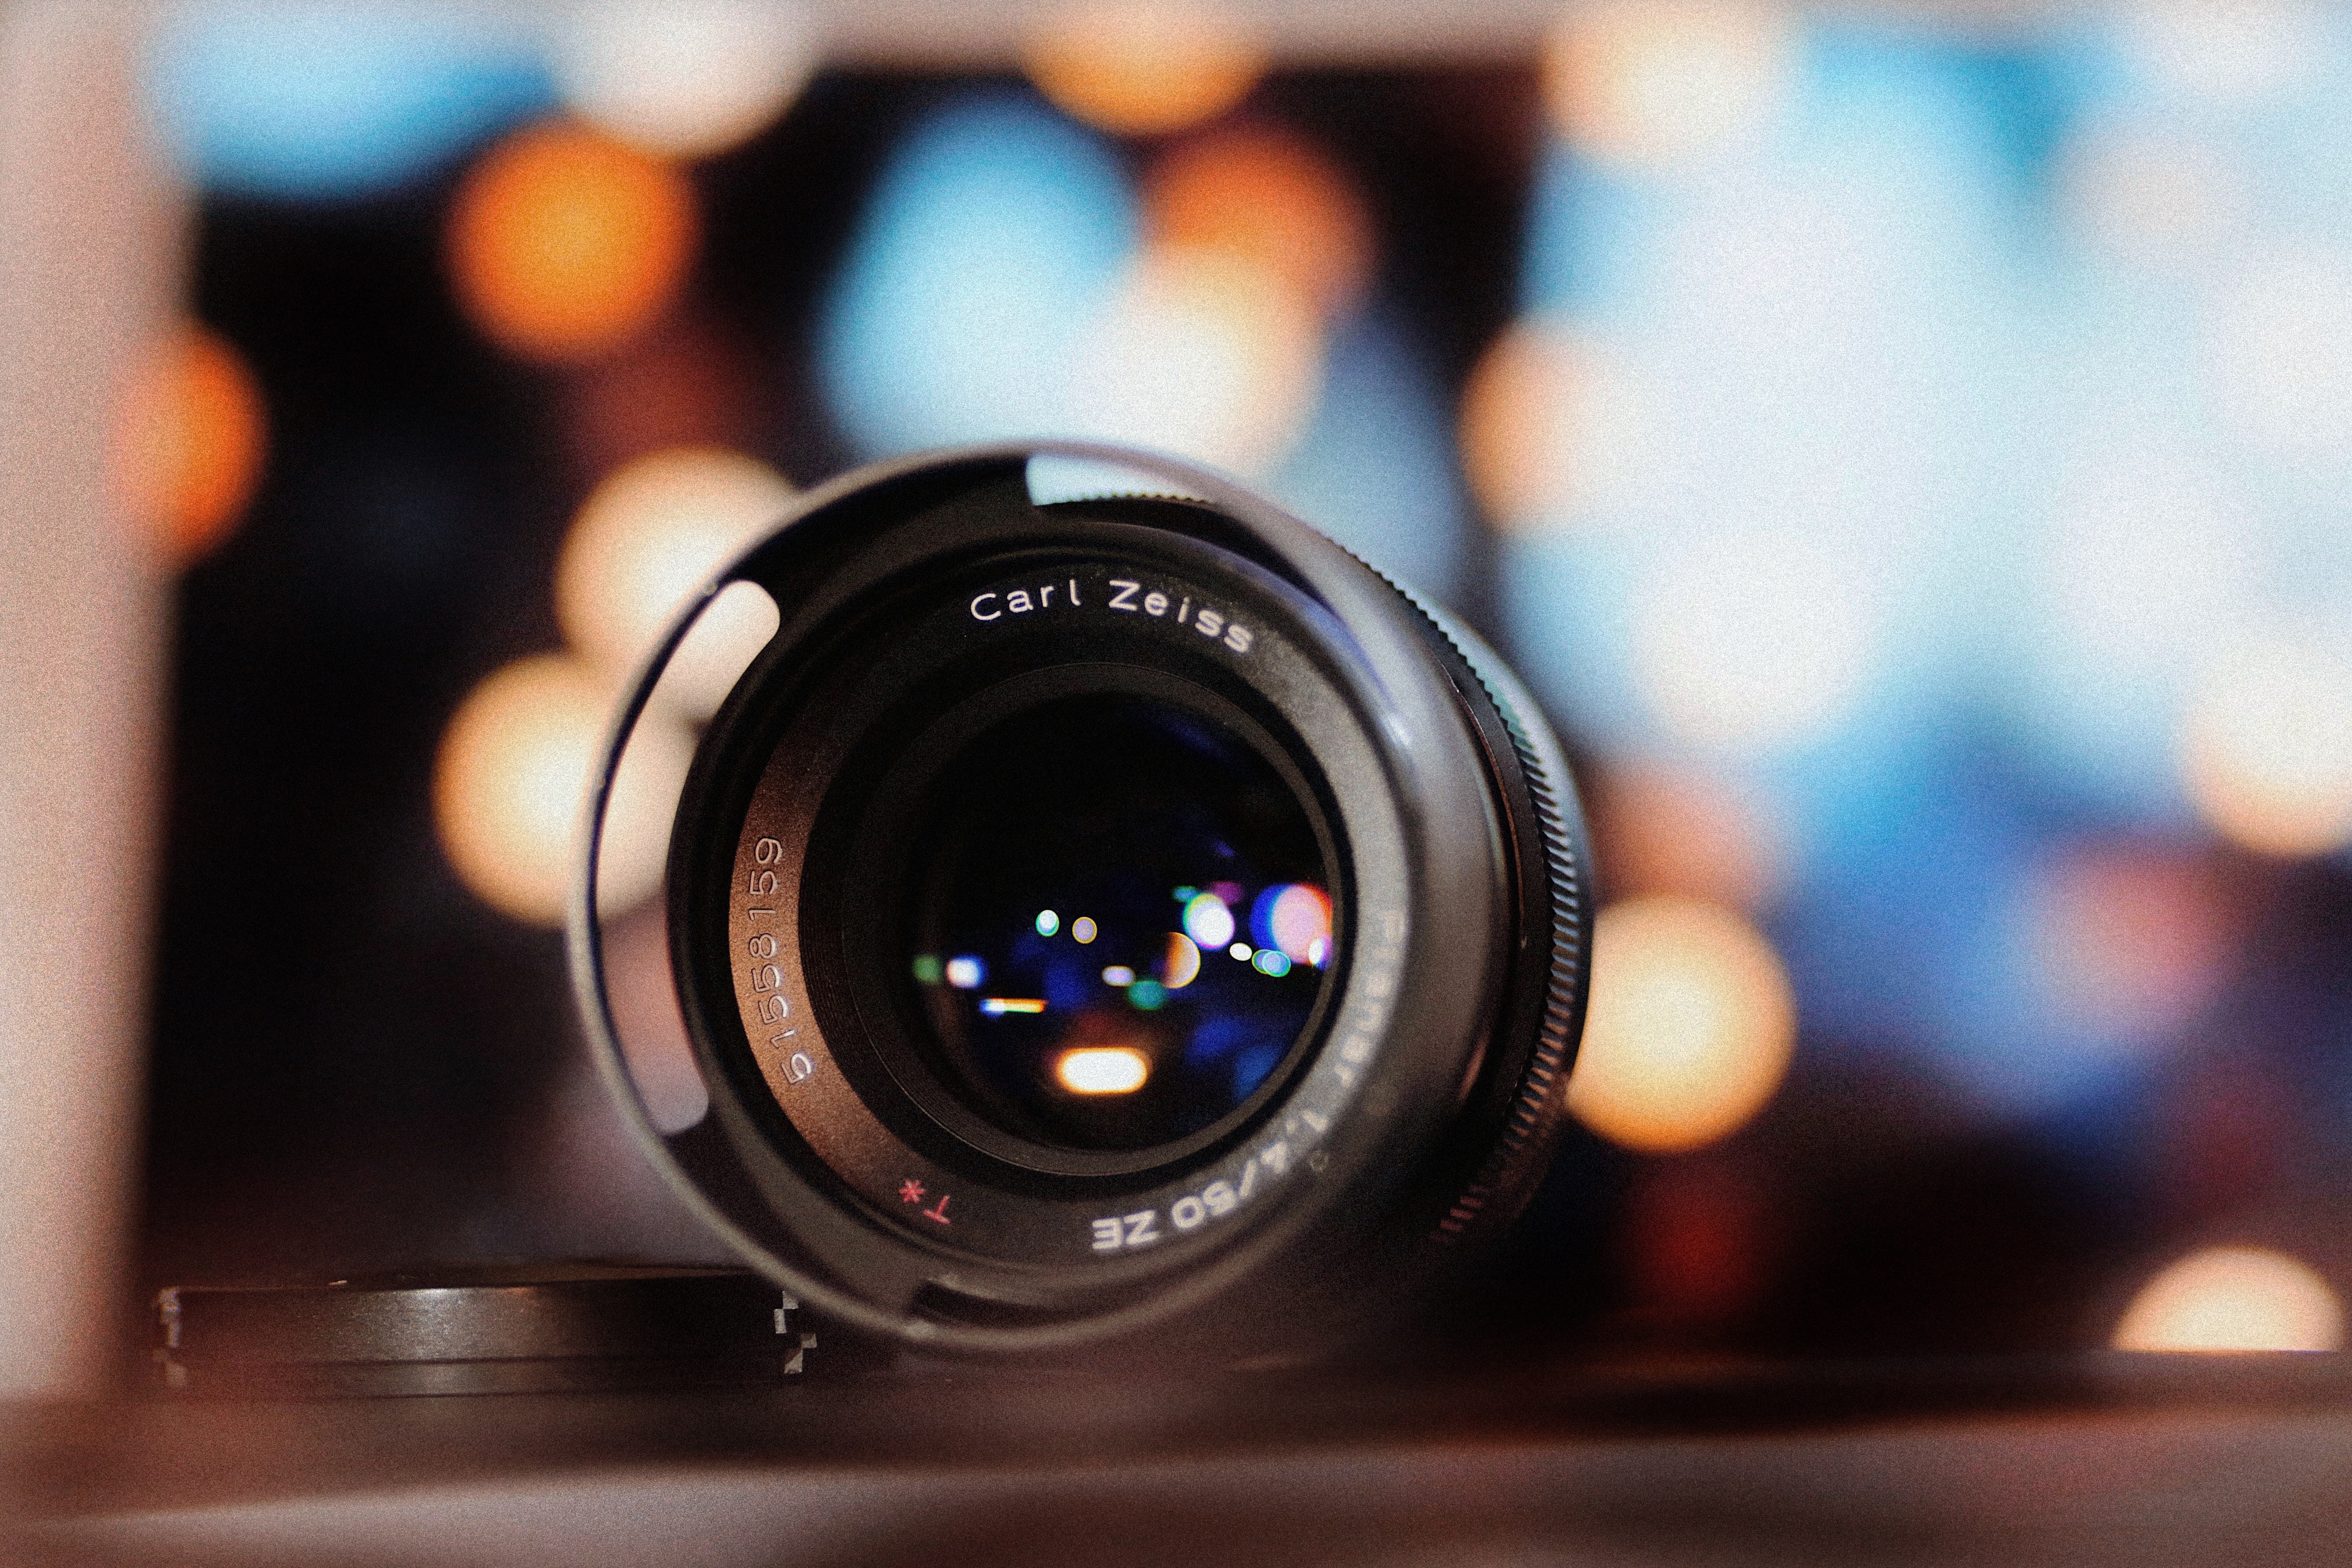
Photo by Alphacolor | Unsplash License
First, you’ll need to make sure that you have all of the equipment you need to photograph the night sky properly. For starters, we recommend:
- A full frame camera – DSLRs are preferred, but a mirrorless camera will also work. We recommend avoiding crop sensor cameras, because they will not be able to capture as much detail of the night sky. In addition, your camera must support an aperture of between f/2.8-f/4 for best results.
- A wide angle lens – A lens between 14mm and 20mm is recommended for astrophotography. If you’re using a crop sensor camera, you can use a wide angle lens between 10 and 17mm.
- Tripod – A long exposure is a key component of astrophotography, so a high-quality tripod is indispensable. Don’t cheap out, here – a high-quality tripod will stay with you for years, and provide you with a stable, reliable platform from which you can shoot.
This is all of the basic gear you need to take great shots of the night sky. Naturally, there are other things you can invest in – but those are for more specialized shoots, so you don’t need them if you’re just starting out. We’ll discuss those tools – like star trackers – later in this article, so keep reading if you’re curious!
Get As Far Away From The City As You Can
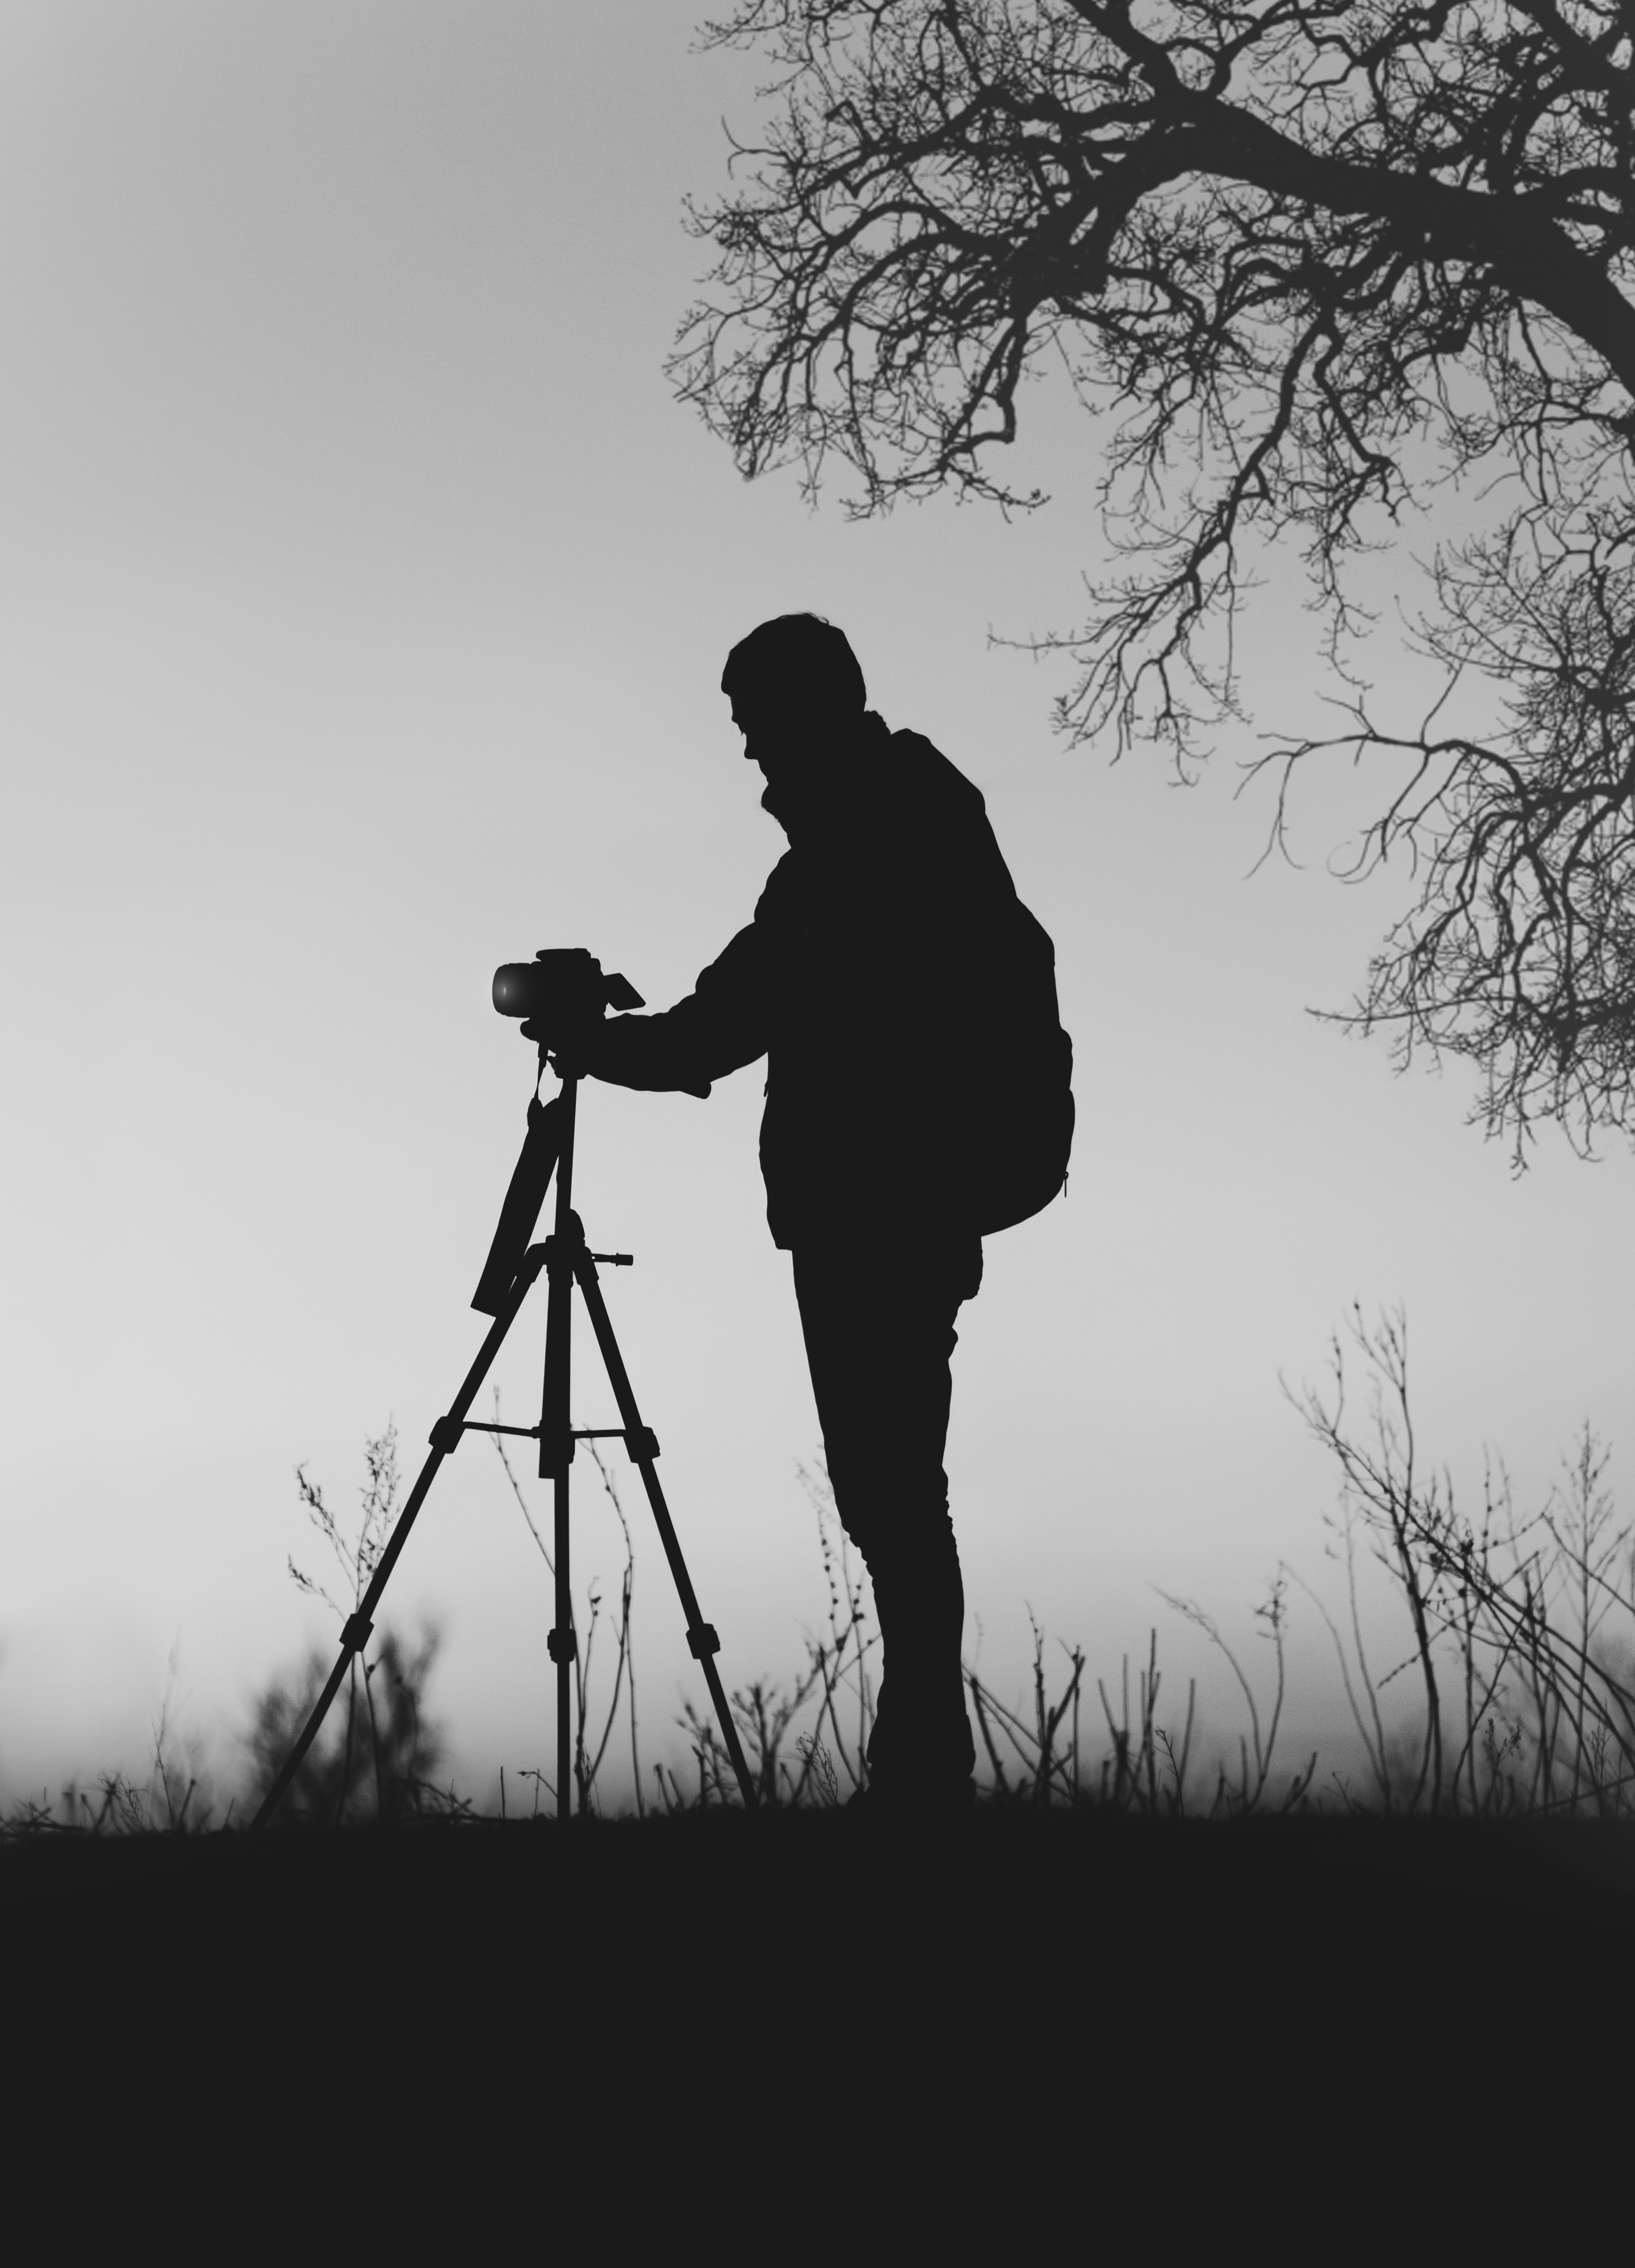
Photo by The Nigmatic | Unsplash License
When it comes to astrophotography, artificial light is your worst enemy. Even the light from a small town can completely blow out the stars in your photo during a long exposure, so you need to get as far away as you can from cities, towns, and suburbs. Your goal is to find an area with minimal light pollution – often a wilderness reserve or state park.
How can you find out where you should shoot? Light Pollution Map and Dark Site Finder are both very useful tools for doing so. These maps use geographical information overlaid with light pollution data. The darker, the better – so find a few sites that are within driving distance of your home, and have minimal light pollution. Trust us, the results are well-worth it.
Shoot During A New Moon (If You Can)
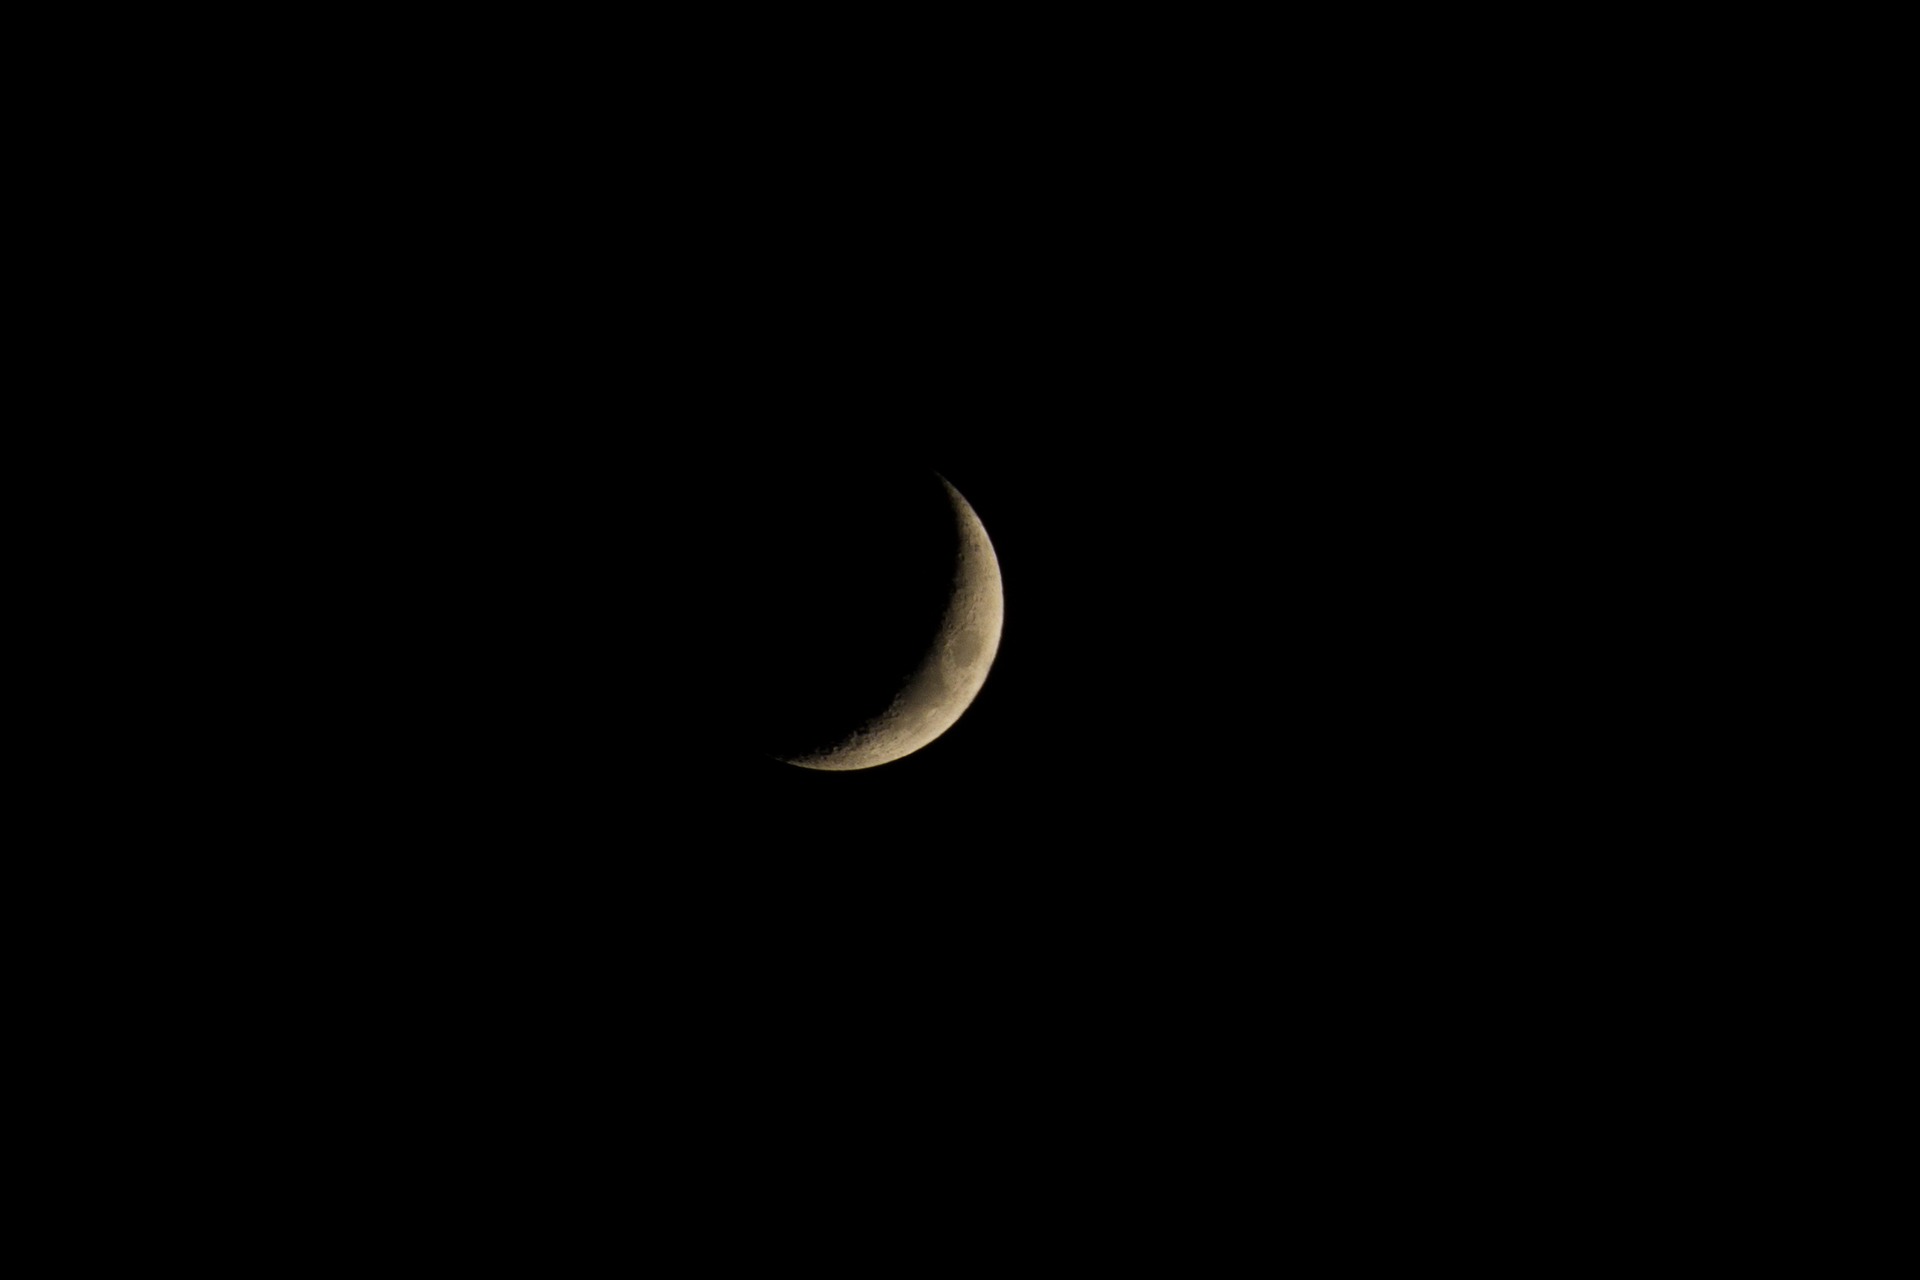
Photo by by Khusen Rustamov | Pixabay License
The other best piece of advice we have when you’re shooting the stars is to try to schedule your shoot during a new moon – when the moon is completely invisible in the sky.
Why? Because the moon is extremely bright, and will ruin your long exposures. The moon shines at a magnitude of -12.7. By means of comparison, Sirius is the brightest star in Earth’s sky, and shines at a magnitude of -1.46.
If you can, do your best to shoot during a new moon. If you can’t do so, try to shoot as close to a new moon as possible, and shoot an area of the sky where the moon is not present.
Alternatively, you could make the moon the subject of your photo – in which case, you should aim to shoot as close as you can to a full moon.
Strike A Balance Between The Stars And Foreground
Photo by Thomas Ciszewski | Unsplash License
The best night sky photographs do not focus exclusively on the stars. Sure, a photo of the Milky Way is astonishing in its own right – but the effect is really boosted when there is a good balance between the stars and the foreground.
For example, shooting at a lake which reflects the stars can really make your photograph more interesting. Trees, mountains, and hills are all interesting foreground features, too. Silhouetting a cliff or a forest against the backdrop of the stars is a great way to provide your photograph with a bit more context and contrast.
You may also want to consider light painting your foreground, if you want it to be brighter than the sky, and bring out some of the detail.
Fine-Tune Your Camera Settings
Photo by ShareGrid | Unsplash License
Every photographer has their preferred settings for shooting night skies – and you will be no different, once you’ve had the opportunity to practice and take some shots for yourself.
But if you’re just starting out, you can begin with these settings, and then fine-tune them yourself until you get the results you want.
- Exposure time – 25 seconds. You can boost this to 30 seconds, if you wish, but if you go over 30 seconds, you’ll need a shutter bulb, because most DSLRs have an automatic time limit of 30 seconds for your exposure.
- Aperture – You want your aperture to be the widest it can possibly be, to capture all available light. This means an f/2.8 aperture for most high-quality DSLRs. If your camera does not go this high, you can try an f/4 aperture with a longer exposure time, but some detail may be lost, and you may get more photo artifacts.
- ISO – Set your ISO at 1600. The whole idea of using a long exposure, wide aperture, and tripod is that you do not need a high ISO setting to get crisp, clear photos. Using a high ISO will result in unacceptable graininess, so we don’t recommend messing with this setting too much.
- White balance – We recommend between 2800°K-4000ºK. However, you should check the histogram after your first couple of shots, to make sure the photograph is being properly exposed. It can be difficult to balance the foreground and background properly without a bit of fine-tuning.
With these settings, you can get some great basic shots. As you gain more experience with astrophotography and night sky photography, you can make your own adjustments, and find the settings that are right for you. Don’t be afraid to experiment – that’s half the fun!
Consider Investing In Specialized Gear

Photo by Vincent Guth | Unsplash License
If you really enjoy night sky photographs and astrophotography, you may want to invest in some specialized gear, which can really help take your photographs to the next level, such as:
- Light painting tools – As mentioned above, you can add light painting to the foreground of your photos, if you’d like to bring out more detail and brightness from a foreground object, like a tree, hill, or another such subject. You can use standard flashes with colored filters, or bring along a few different flashlights, and experiment to see which ones offer the best results.
This is a good place to start if you’re on a budget, because light painting tools like extra flashes and remote triggers are relatively inexpensive – and you may already have some! - Fisheye lens – Fisheye lenses can take in an enormous amount of light, and provide spectacular results when used for night sky photography. Because the stars are so far away, they will not be warped, but objects in the foreground will be distorted – which can provide you with some interesting artistic effects and opportunities.
- Star tracker – If you really love taking photos of the night sky, a star tracker is a pricey – but essential – addition to your photography kit. A star tracker does exactly what it says. It tracks the position of the stars, allowing for a more crisp, clear photograph.
The Earth is constantly rotating, even during the 25-30 seconds that you are taking a photograph. That means that even a shorter exposure will become slightly blurred, because the stars will move out of position slightly.
A star tracker is a special mount which attaches to your tripod and rotates at the same speed as the Earth – but in the opposite direction. This allows you to take extremely precise images of the night sky, and to expose a photograph for minutes at a time without any blurring or shifting due to star movement.
Photo by Rhand McCoy | Unsplash License
You don’t need these pieces of equipment to take night sky photographs, but if you’re passionate about astrophotography, you may want to think about expanding your gear budget, and picking up one of the above items.
Follow These Tips – Improve Your Night Sky Photography!
Night sky photography is an art, and great art takes practice to perfect. But with these tips, you can make sure that you have the right gear and settings, and that you’re ready to start taking better night sky photographs. So think about what you’ve learned, and how you can use this advice next time you head out on a clear night to capture some gorgeous skies and landscapes!
Photo license links: Unsplash, Pixabay