If you don’t control the background, you’re not controlling your image. In this video and article, I’ll share 7 different ways to control your background and give you better images. These are simple techniques to master to improve your photography.
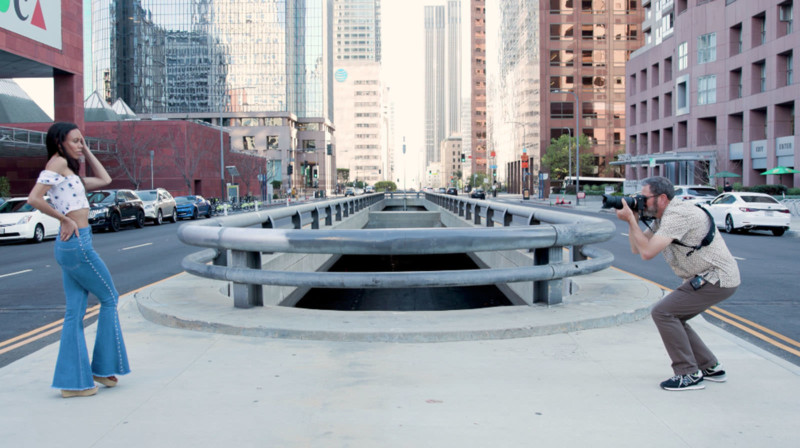
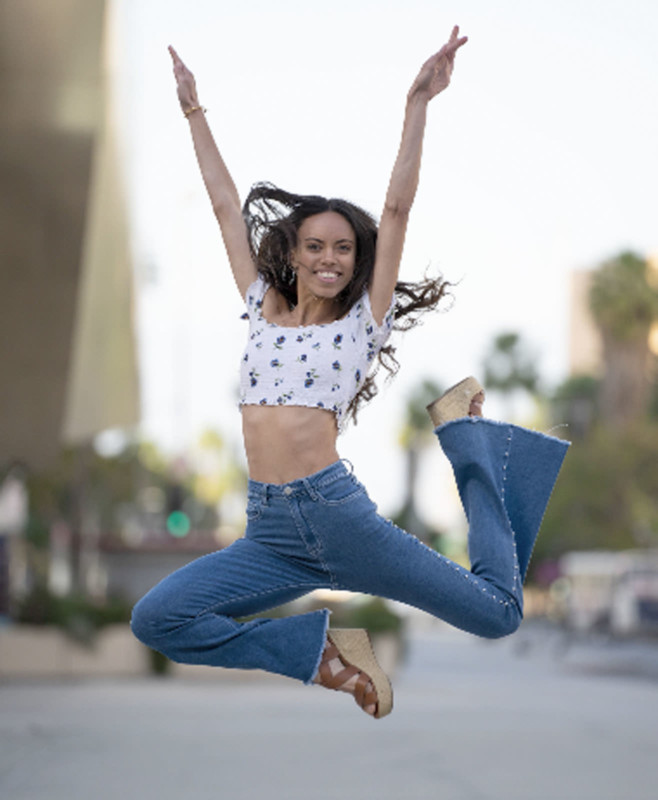
We’re down here in Los Angeles and I have model Jenny Crespo with me, and we’re going to take a look at backgrounds. I’ve wanted to do this lesson for a long time. Because, when I look at student work and when I look at my own images, nine times out of 10, the thing that kills it is the background.
I’m going to use a 70-180 millimeter lens. I have so much more control of my background when I’m using that 70-180mm because it allows things to fall out of focus. It makes me have to isolate things. But there are techniques that are going to really simplify that background and make your images so much better.
What do we mean by “simplify the background”? Very clearly, I want the background to be simple. It should not compete with my subject matter. It’s going to give me a beautiful canvas that makes my subject matter the focal point of my image. Great composition means simplicity. My background should be the foundation for simplicity in my image. It can’t be busy and garish and loud and hard. It needs to be soft and needs to disappear — it just needs to be a soft, simple element in your composition.
1. Use a Shallow Depth Of Field
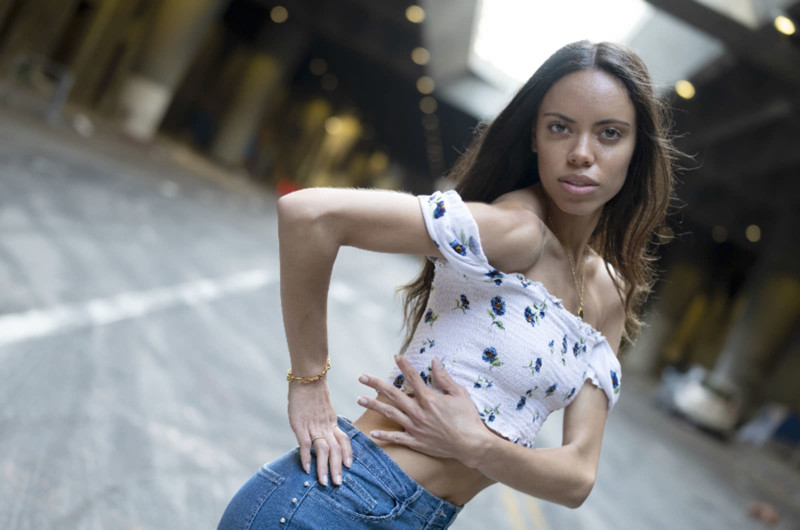
One of my go-to ways to get a simple background is just simply by focus. A long lens with a shallow depth of field gives you a beautiful bokeh out-of-focus canvas behind your subject matter and it just looks really wonderful. A lot of people shoot at f/16 and the situation in the background is busy.

It’s just too lit. It just looks terrible. Even if you’ve got a lot of sunlight back there, that shallow depth of field is going to make that all melt together, and it’s going to look wonderful. That’s one of the reasons I choose the 70-180 millimeter lens — it’s so I can let the entire background fall out of focus so easily. It’s almost hard for it not to be and that’s what I love about this lens.


2. Shoot Into The Shadows
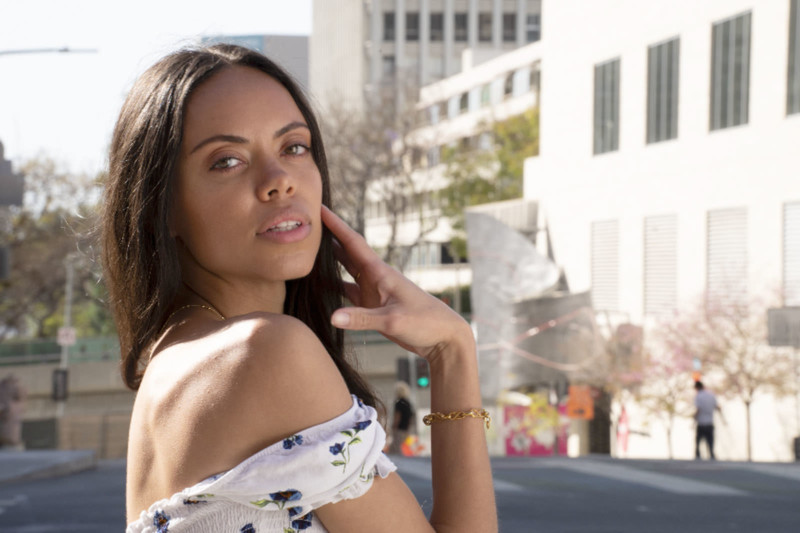
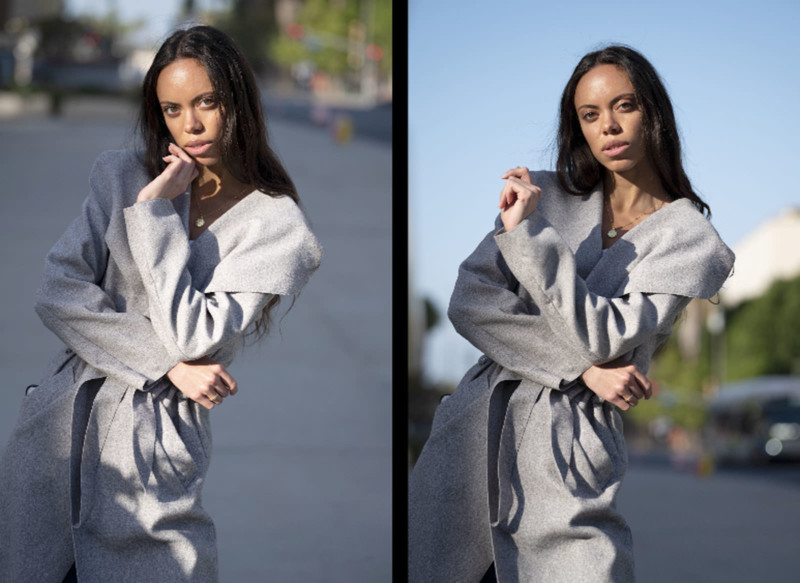
If I’m outside shooting in the sun, I do not want to look into the sunlit side of the buildings and the trees. Right now I’m looking back at the sunlit side. Even though I put a translucent on her face, if I take a couple of shots here, the background is so busy. All I have to do is swing around her 180 degrees, all the way around.


When I swing around to this side, I’m now looking into the shadows of the scene. The shadow of the buildings, of the trees, everything, even the cars in the front of me here are all in shadow. Now that makes my background darker. I’ve got a nice rim light on her hair, which separates her from that background. And it just gives me a much more simple background and a beautiful image.
I’m not in a beautiful place, but I’m getting a beautiful image because I’m letting the background fall out of focus and shooting into the dark shadows back there. And it just makes it so much more successful. It’s really about how you set yourself up in relationship to the light and shoot into those shadows that makes a really nice image. It gives that background a really deep look. It falls out of focus and looks wonderful.
3. Use Solid Color Backgrounds
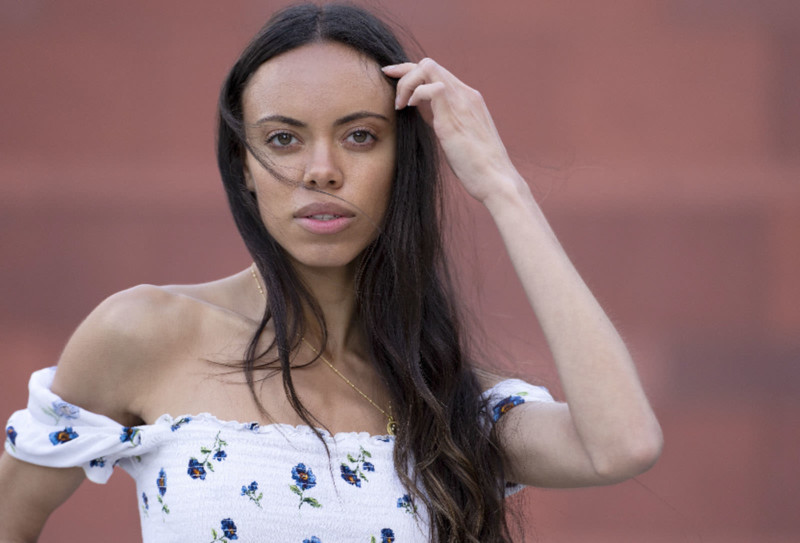
A lot of times it’s just a matter of being aware of your surroundings. I can photograph her against this tree, which is just so busy. But look for simple, solid-colored backgrounds.


That gives you a nice wash of color in the background that is all the same, and shoot away. And especially if you can just drop to a really shallow depth of field, which I’m going to do, it just looks excellent.
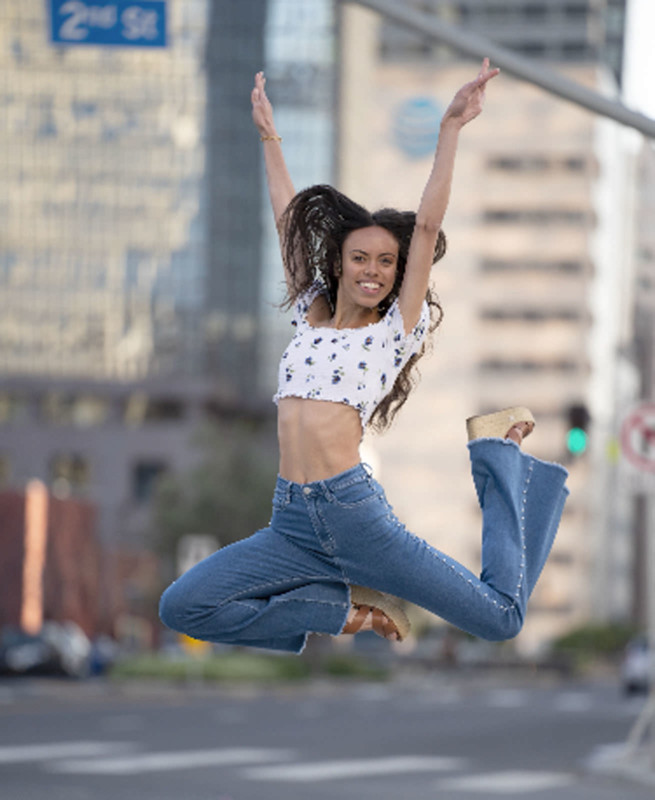
4. Use The Sky
If you want to simplify your background are you shooting at eye level? I’m looking at her and I’m seeing the street and the trees and everything is just so busy back there. But there’s tons of blue sky above her.

If I come down, I’ve now pushed her figure up into that blue sky. I’ve got a beautiful blue canvas behind her and it simplifies and isolates her wonderfully. It’s a great way to get a simple background, just take a knee.

5. Use Zoom Lens For Flexibility
The Tamron 70-180mm is light enough that I can handhold this thing and shoot on that longer lens without any problem, especially with the stabilization in the Sony A1. It’s just an easy platform to work with. It’s lightweight, and I can handhold it.

6. Use Leading Lines
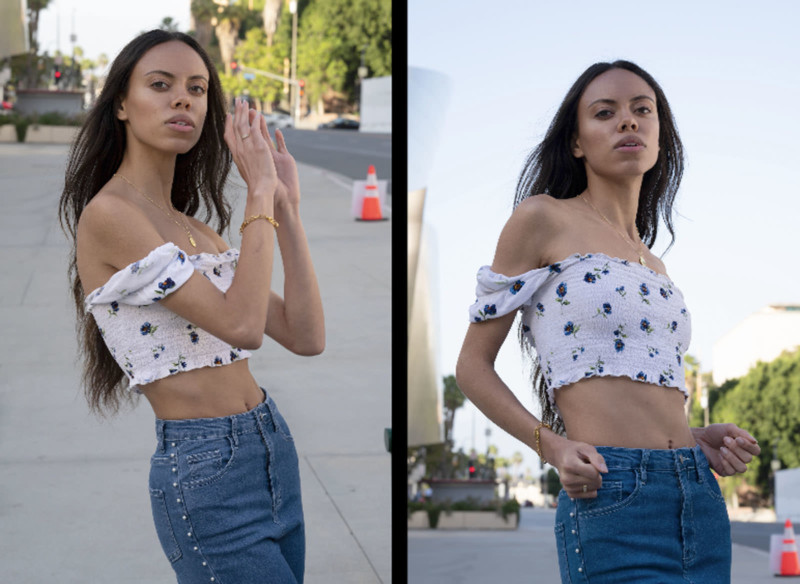
In this situation, the background is very busy. Rather than trying to get rid of my background, I’m going to use that background as a leading line. Right now I’m looking into just that wall.


If I just swing myself around slightly and I bring her out to the middle, I can see all of this. Now the scene has vanishing lines behind her. They become leading lines right into my subject matter. It strengthens the composition and just looks fabulous.
7. Use Smoke
I often use smoke to simplify the background. If I’m shooting a fantasy portrait or something, I have complete control of my setup. I’ll put a wall of smoke back there when I’m shooting outside because it just simplifies that background.
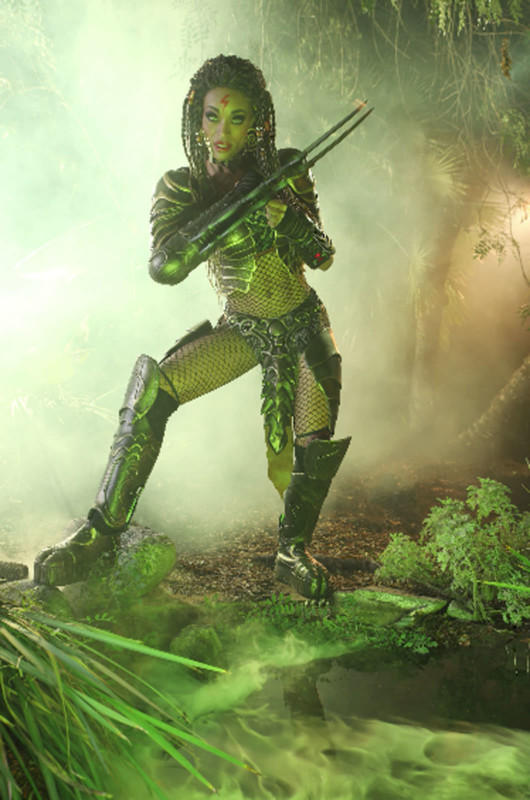


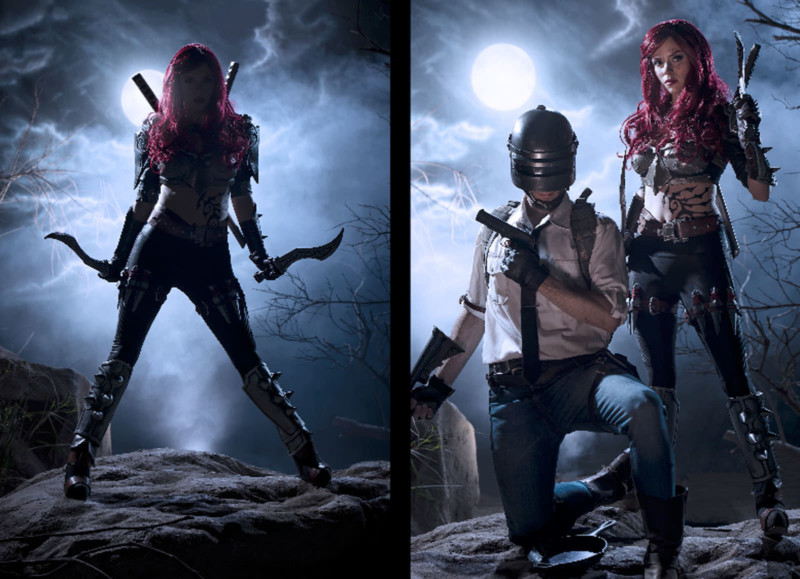
It looks like a mottled backdrop. Recently, I shot a commercial where they had a World War II scene in it. We set up in our backyard and I didn’t want to see the pool in the background, so we put smoke back there.
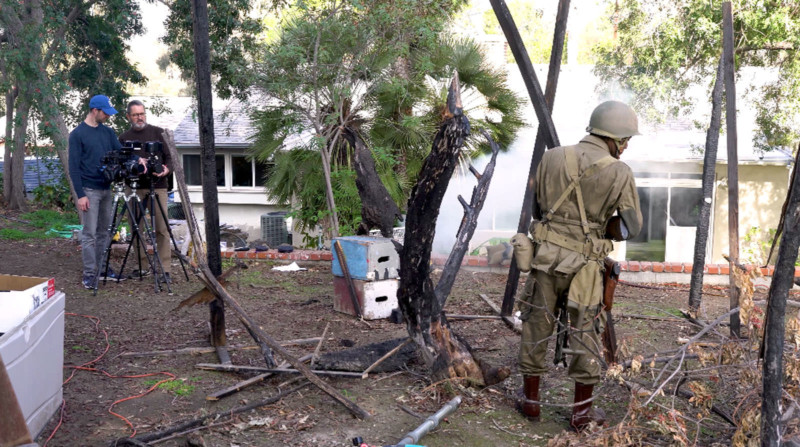

I got all the things in the foreground and then the smoke just covered up the pool and the trees and everything in the background.

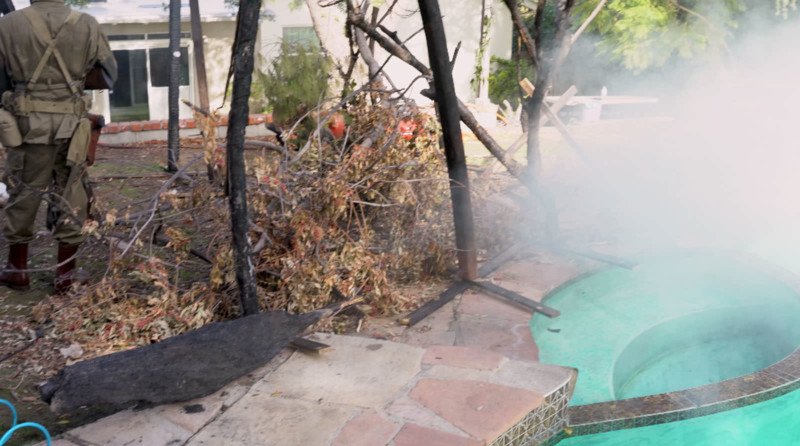

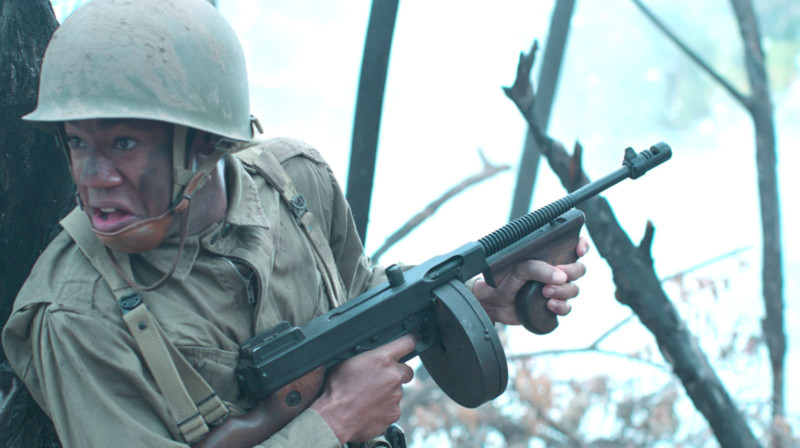
And it isolated our subject matter and the stuff in the foreground and it looked fabulous. Smoke just isolates and gets rid of things you don’t want to see, like a pool in the middle of a World War II scene.
If you pay attention to your background, try to simplify that background using one of the ways we talked about here today your images are going to become much stronger.


Your composition will become stronger. Your image is going to be much more powerful. So try these out, practice them, see if you can apply them to your own work.
Keep those cameras rollin’ and keep on clickin’.
P.S. If you enjoyed this article, subscribe to our YouTube channel for more content like it.
About the author: Jay P. Morgan is a commercial photographer with over two decades of experience in the industry. He teaches photography through his company, The Slanted Lens, which runs a popular YouTube channel. This review was also published here.