Photo by StockSnap / CCo
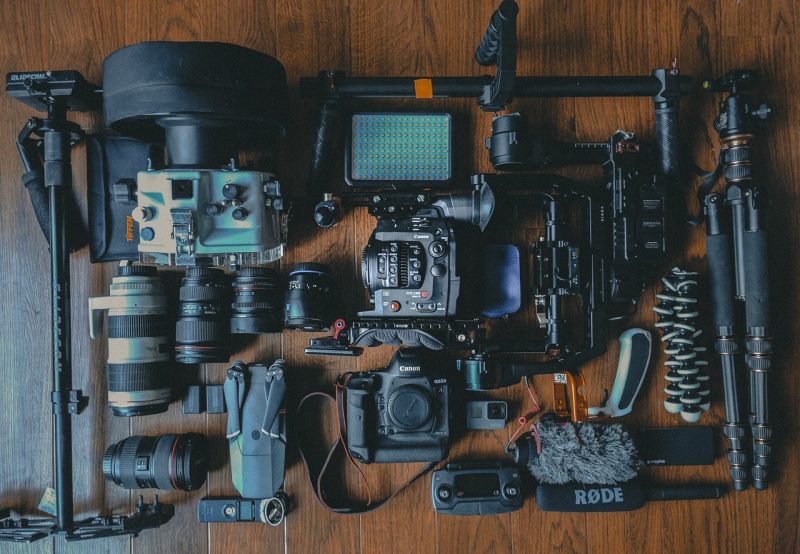
Image stabilization is an incredibly important tool that new and even intermediate photographers don’t always think about. Handheld photography is easier than ever nowadays and it just feels and looks natural. Plus, who wants to carry around a bulky tripod or even monopod? People who want the sharpest images possible, that’s who. We’re going to explore three of the most common forms of image stabilization below, but it’s also good to discuss what it is and why it matters as well.
What is Image Stabilization and When do We Need it?
The words “image stabilization” are pretty straightforward. We’re using a tool, either physical or electronic, to stabilize our camera and keep our images from showing any sort of motion blur. Motion blur is not always a problem. But when the light levels become challenging, shutter speeds slow down, and the environment becomes hazardous or active, we need to give it some thought. If we’re selling our images (or just really want the best possible quality at the moment) then any sort of blur will become a major pain when viewing the photo in larger sizes.
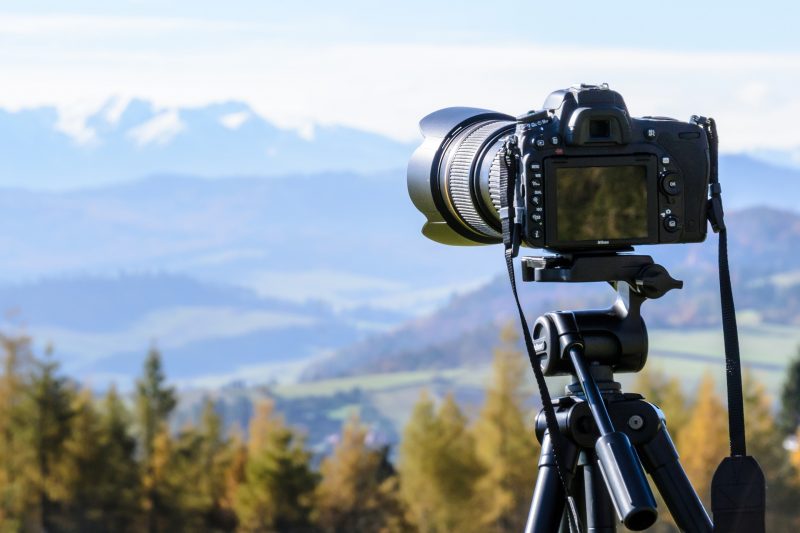
Photo by PhotoMIX-Company / CCo
Image Stabilization Equals Freedom of Composition
Photographers can normally correct for the lack of light or sudden motions that would cause blur by adjusting shutter speed. If I’m shooting handheld I have to be aware that no matter what pose I strike my hands aren’t capable of staying perfectly still. Therefore I can increase my shutter speed so that these motions won’t cause the subjects to look blurry.
But what if it’s an overcast day? Then I need to ensure my shutter speed isn’t so fast that my images are underexposed. So depending on the light levels and how still or active I need to be, I’d want to use a slightly faster shutter speed than I otherwise would for a given scene. And of course, I need to make adjustments to aperture and/or ISO as necessary since I’m reducing the amount of light hitting the sensor with my shutter speed increase.
→ Related reading: An Introduction to the Exposure Triangle
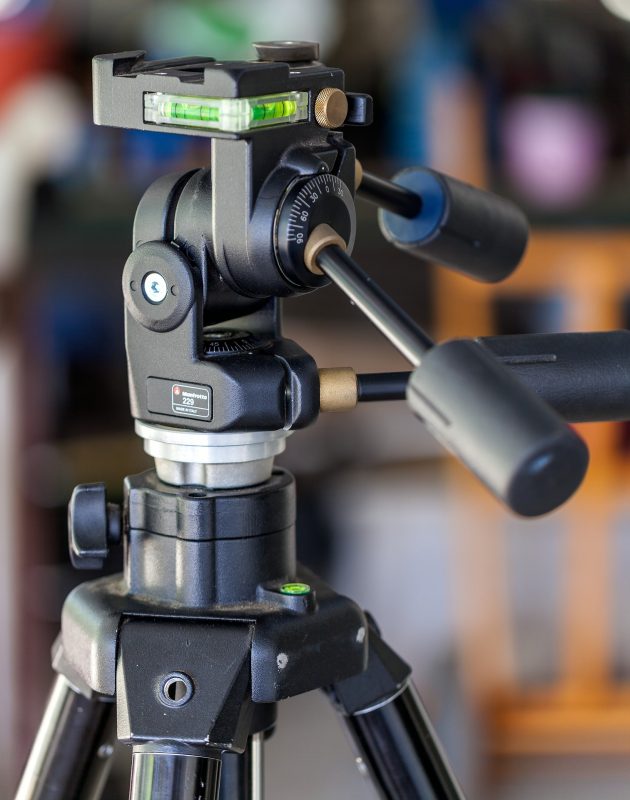
Photo by robertwaghorn / CCo
But if I’m using some form of image stabilization then many of those headaches go away. I have a patch of stable ground underneath the camera that lets me focus solely on the motion of my subjects and the ambient light levels. One less factor to think about. But which form of image stabilization is right for me?
Tripods, the Classic Choice
Tripods are the gold standard in image stabilization because of how uncomplicated they are. You create a tower that your camera sits on that’s as stable as the environment it’s in. Tripods are incredibly useful for any sort of photography but landscape photographers especially will find them to be nearly mandatory.
With a tripod, I can step away from the camera and use a remote shutter to remove even the motion blur that comes from pressing the shutter button. This gives me the sharpest possible image and if you’re a pixel peeper a tripod will make a huge difference.
But the main downside is that tripods are bulky and not very quick to set up. Fortunately, over the years, another tool has come about that addresses this very issue.
→ Related reading: 11 Steps to Tack-Sharp Landscape Photos
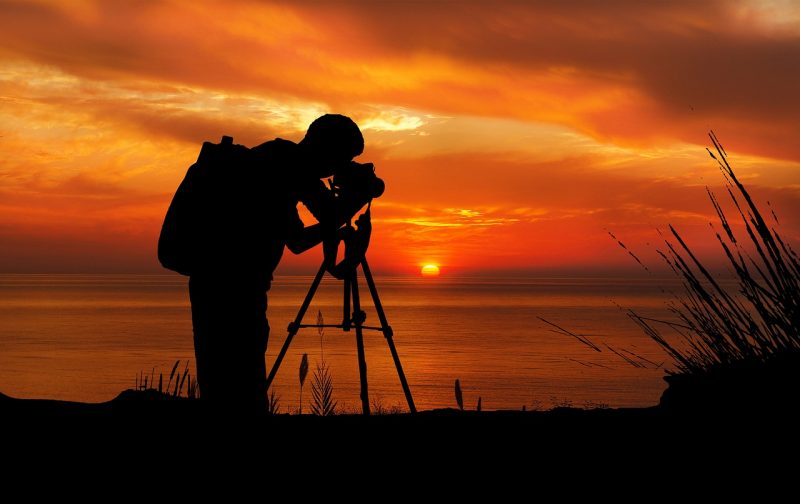
Photo by Kaz / CCo
Monopods, the Alternative Choice
Monopods are exactly what you might guess, even if you’ve never seen one before. Mono means they have a single leg, so they’re meant to be held in hand for a quick instant of increased stability. You won’t be taking many selfies with a monopod. But they have a significant advantage in speed over tripods.
Monopods are very popular with event, sports, and wildlife photographers because they don’t take nearly as much time to set up as a tripod. While you don’t get a solid platform to shoot from, you also aren’t tied down by having to adjust and collapse three legs. Instead, you get a single boost to stabilization and then you can quickly follow the action as needed. Neither monopods or tripods are superior to one another; it simply depends on your needs as a photographer.
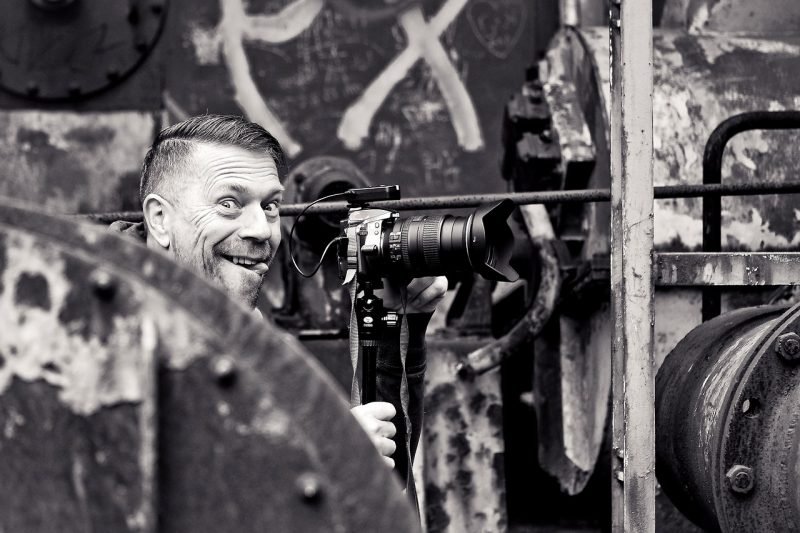
Photo by MichaelGaida / CC0
Built-In Image Stabilization and You
Nowadays many, if not most, modern digital cameras have some form of image stabilization built in. These come in two forms: digital and hardware IS. Digital IS uses software to either predict and counter motion blur as it forms or edits it out after the photo has been taken. While this approach is better than nothing it’s generally inferior to hardware IS. Hardware image stabilization is found both in interchangeable camera lenses and within the cameras themselves, usually as sensor elements that physically move and correct for unwanted motion. The nice thing about these forms of IS is that they allow photographers to keep shooting handheld and not have more gear to carry around.
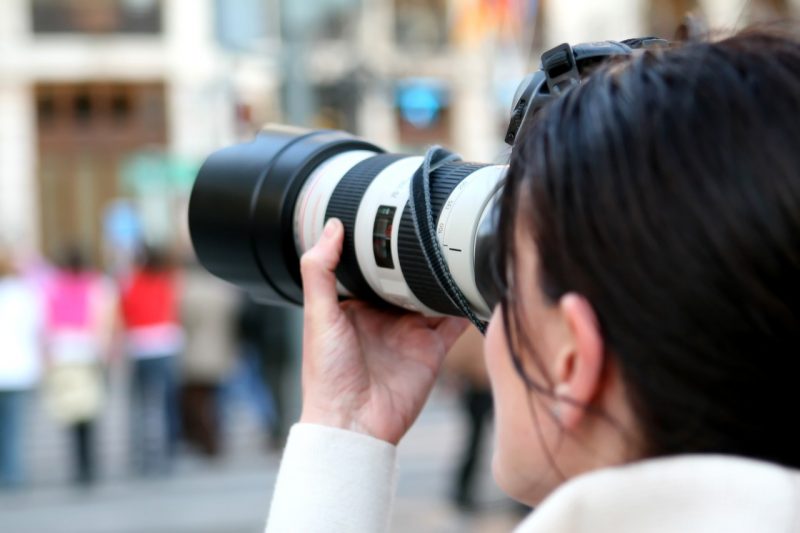
Photo by Meditations / CC0
Usually, built-in image stabilization is expressed as “stops” of light. To understand this, we should take a look at a shutter speed scale. Going from 1/500ths of a second to 1/250ths of a second is one stop of light reduction. By doubling the speed my shutter opens and shuts at, I’ve halved the amount of light hitting my sensor. If my camera or lens has three stops of image stabilization then for a scene where I’d normally need a shutter speed of 1/500ths of a second to have little chance of motion blur I could instead use 1/60ths of a second and have the same chance of motion blur.
It’s important to remember that IS can’t negate motion blur because it’s a random element that the camera can’t control. It doesn’t know if your hands will shake to the left or right but it can do its best to correct for either one. Also, image stabilization becomes increasingly less useful the slower the shutter speed becomes. Shooting handheld at 1/2 of a second is almost certainly going to be blurry no matter how many stops of IS your gear has.
Conclusion
Each form of Image Stabilization has inherent advantages and disadvantages. Tripods are still the best by far for creating stability and giving the photographer maximum freedom of composition at the cost of physically being tied to a location. Monopods help mitigate the problem of speed but reduce the amount of stabilization provided. And built-in IS helps photographers continue to shoot handheld but doesn’t really work when slow shutter speeds are required.
Which tool you choose depends on the scene and your overall needs as a photographer; none are superior or inferior to the others. If I’m shooting a waterfall on a bright day built-in IS works fine. But if I want to use neutral density filters and a long exposure to create a smooth water curtain effect then a tripod is mandatory. It all depends on you.
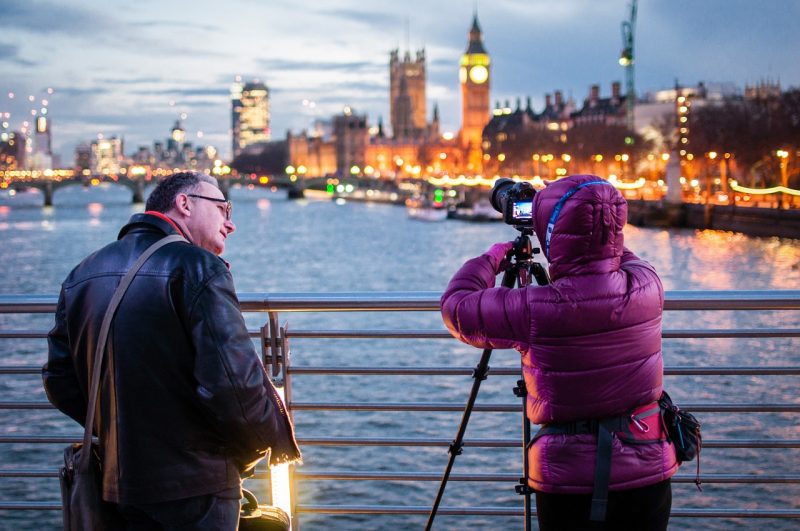
Photo by Free-Photos / CC0
Photo license link: CC0