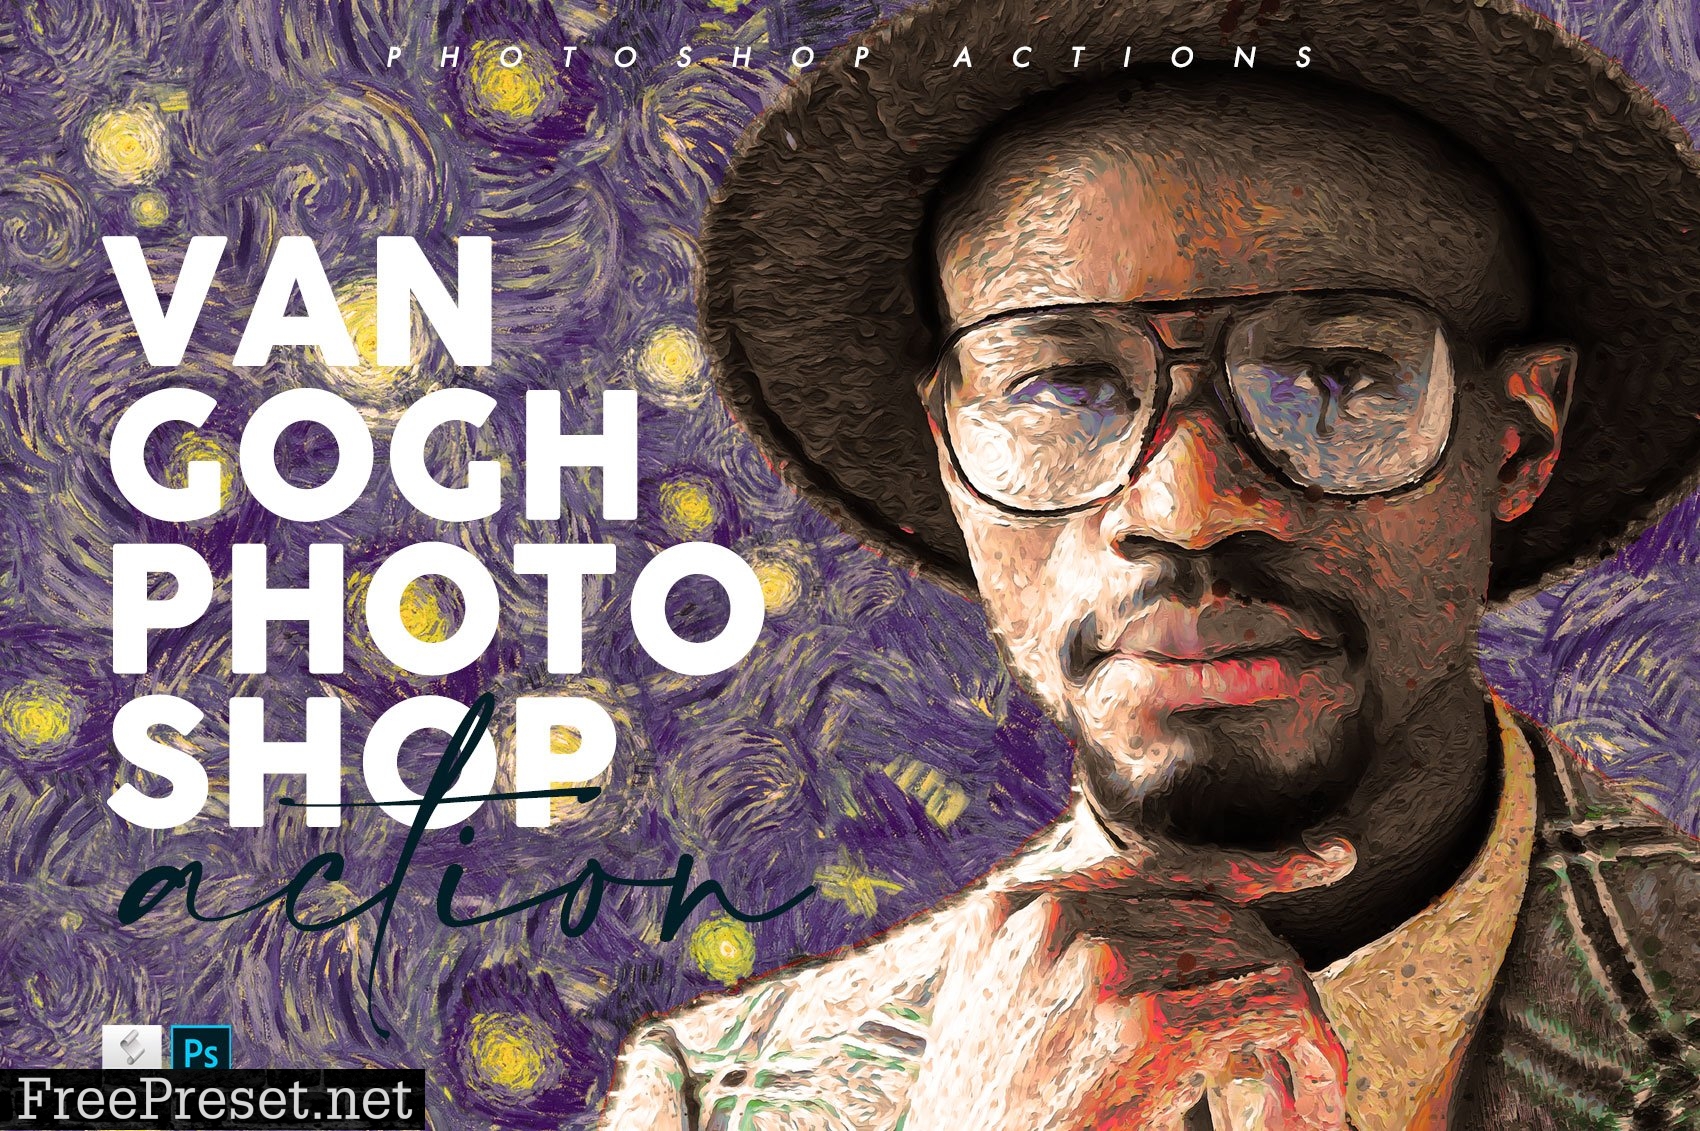
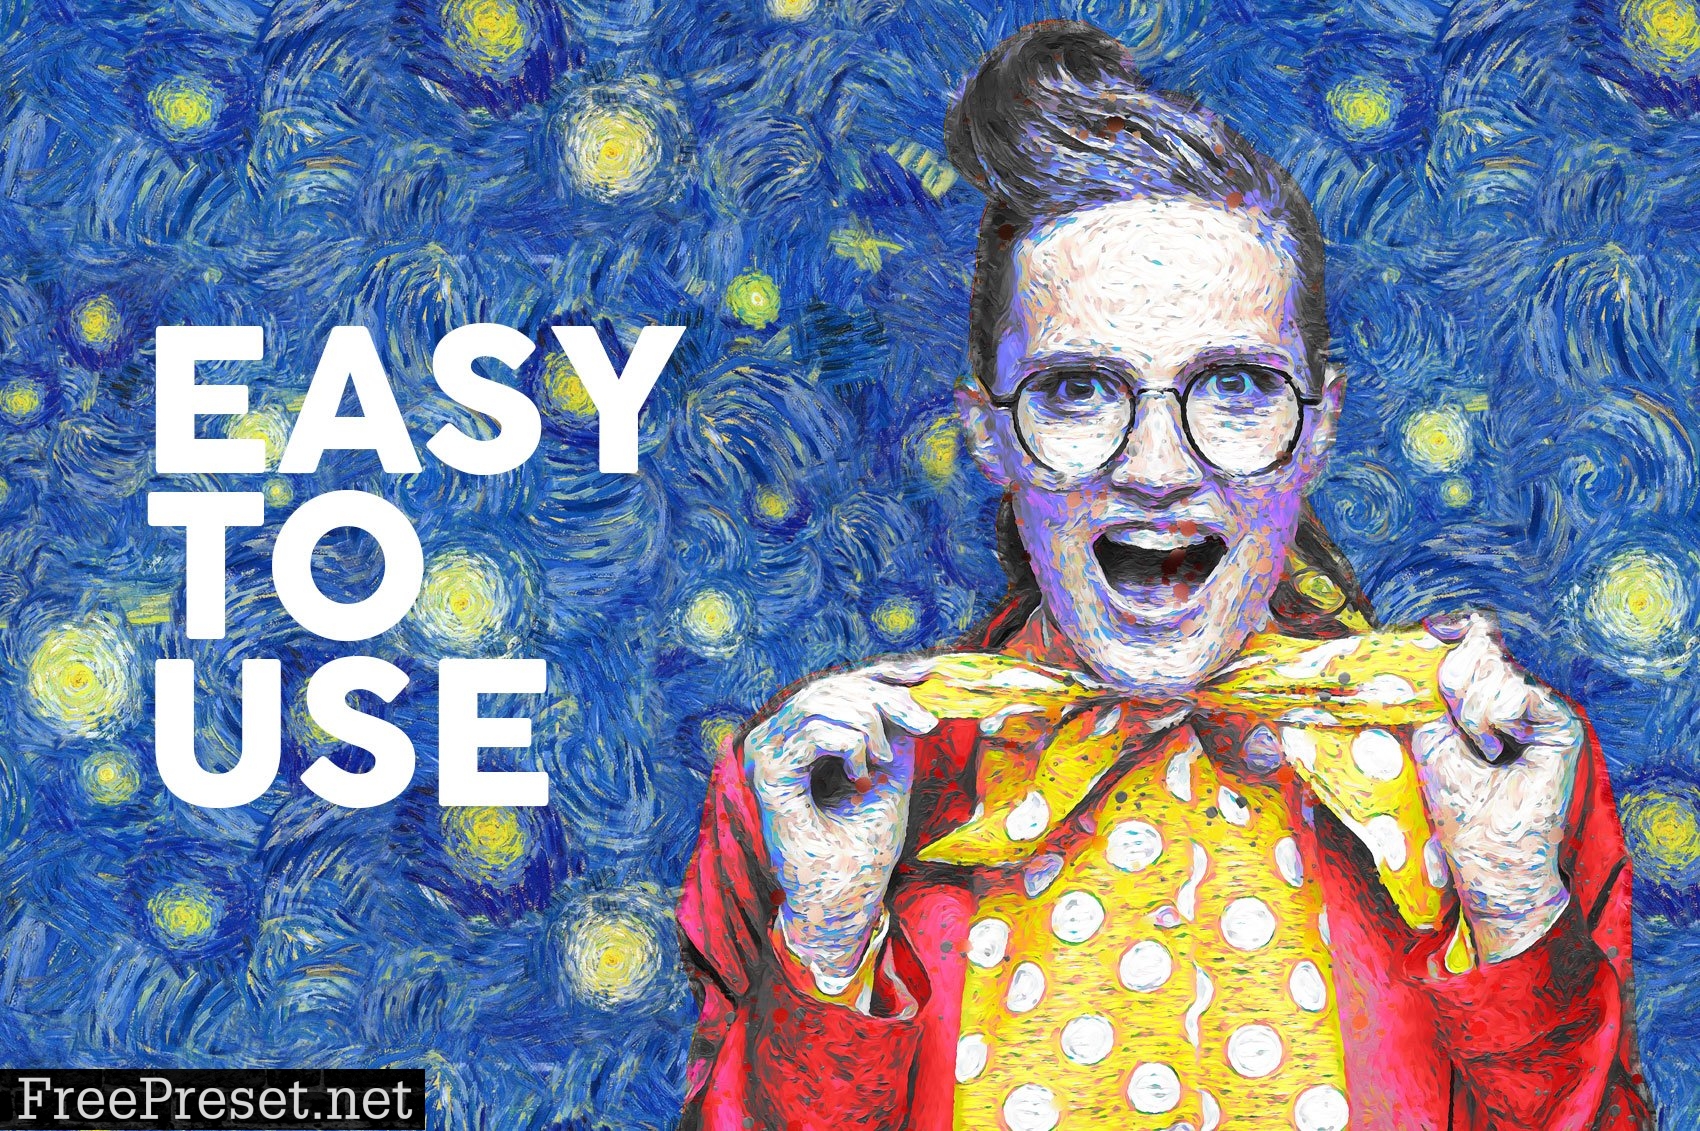
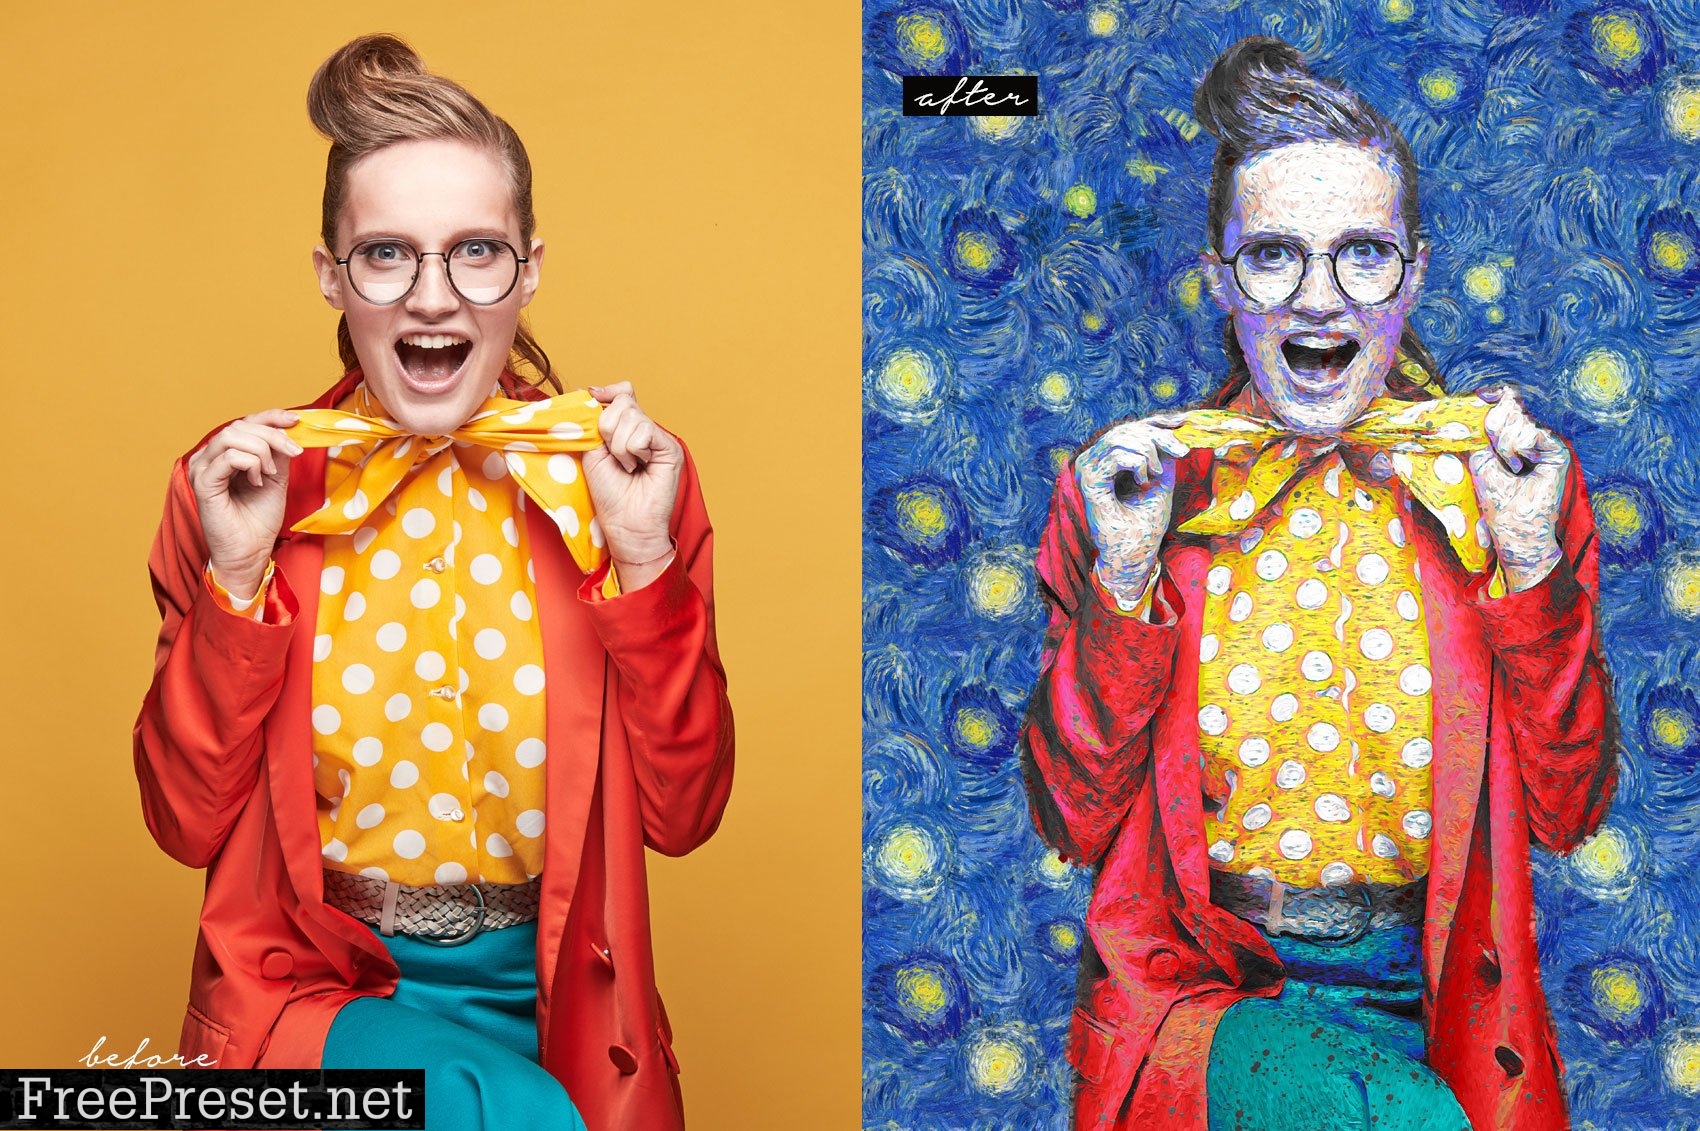
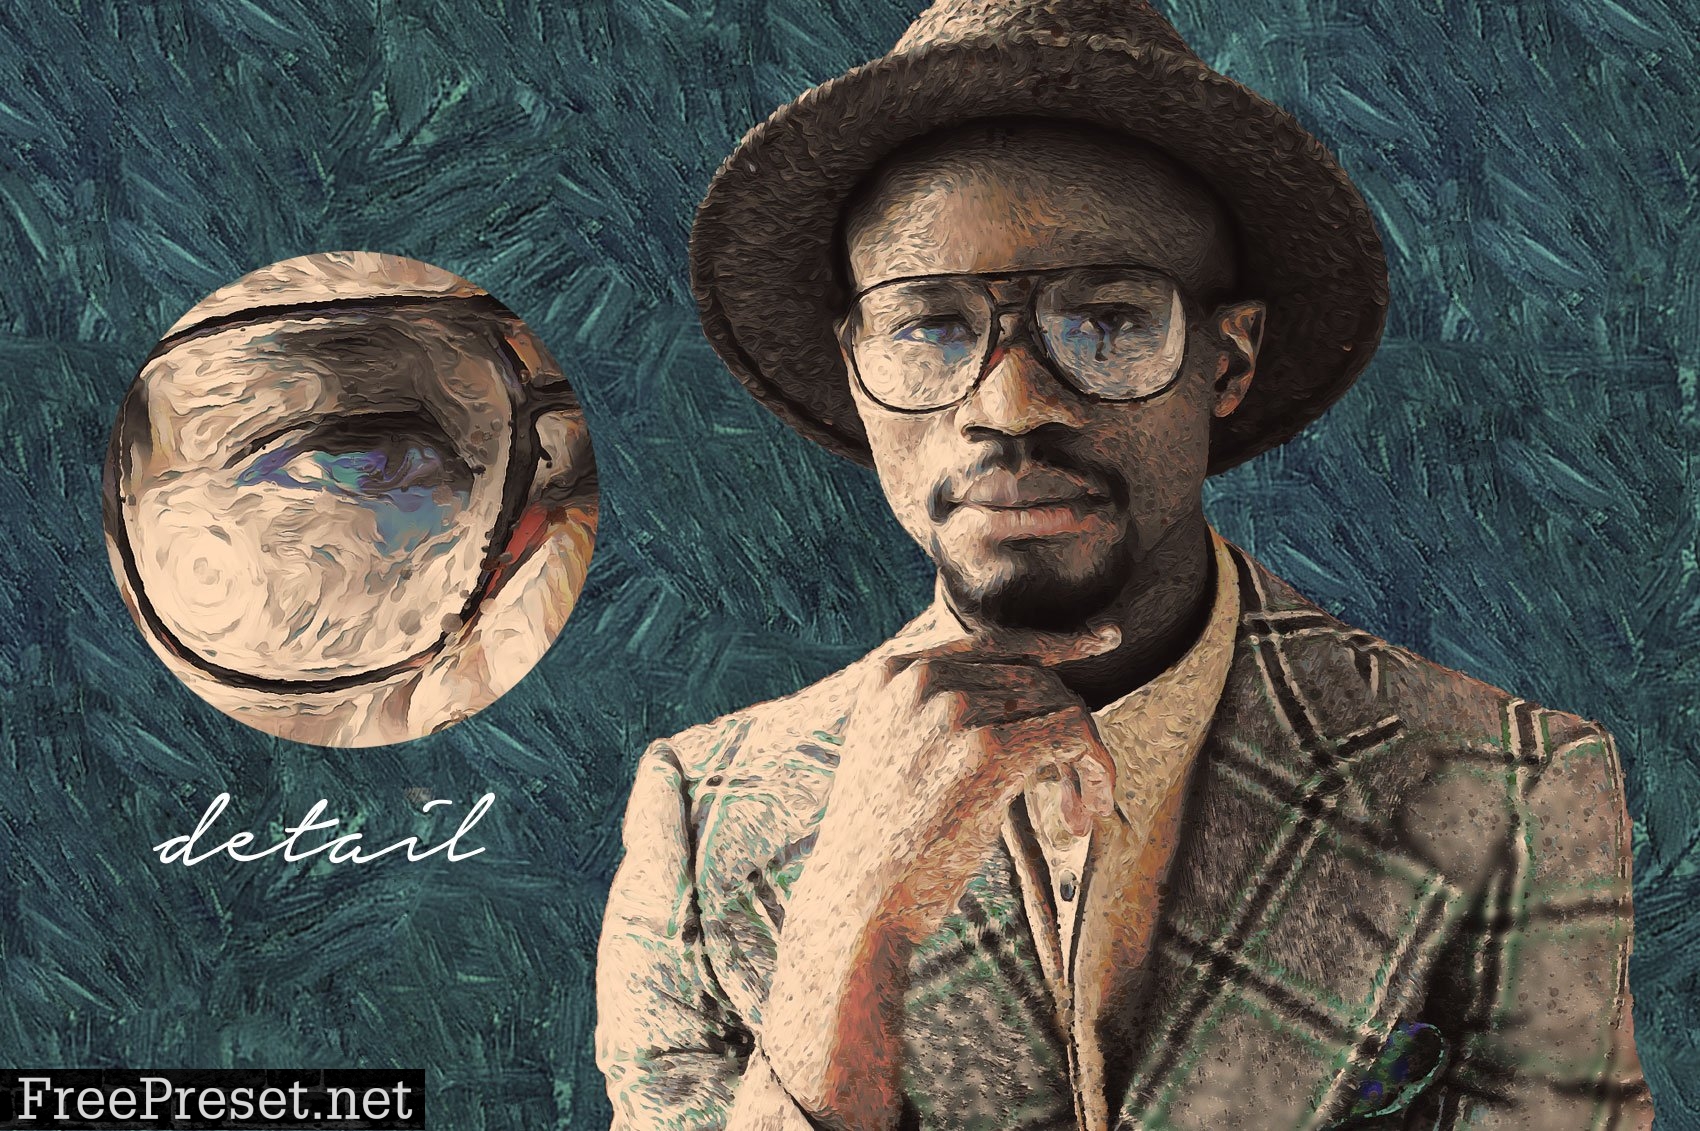
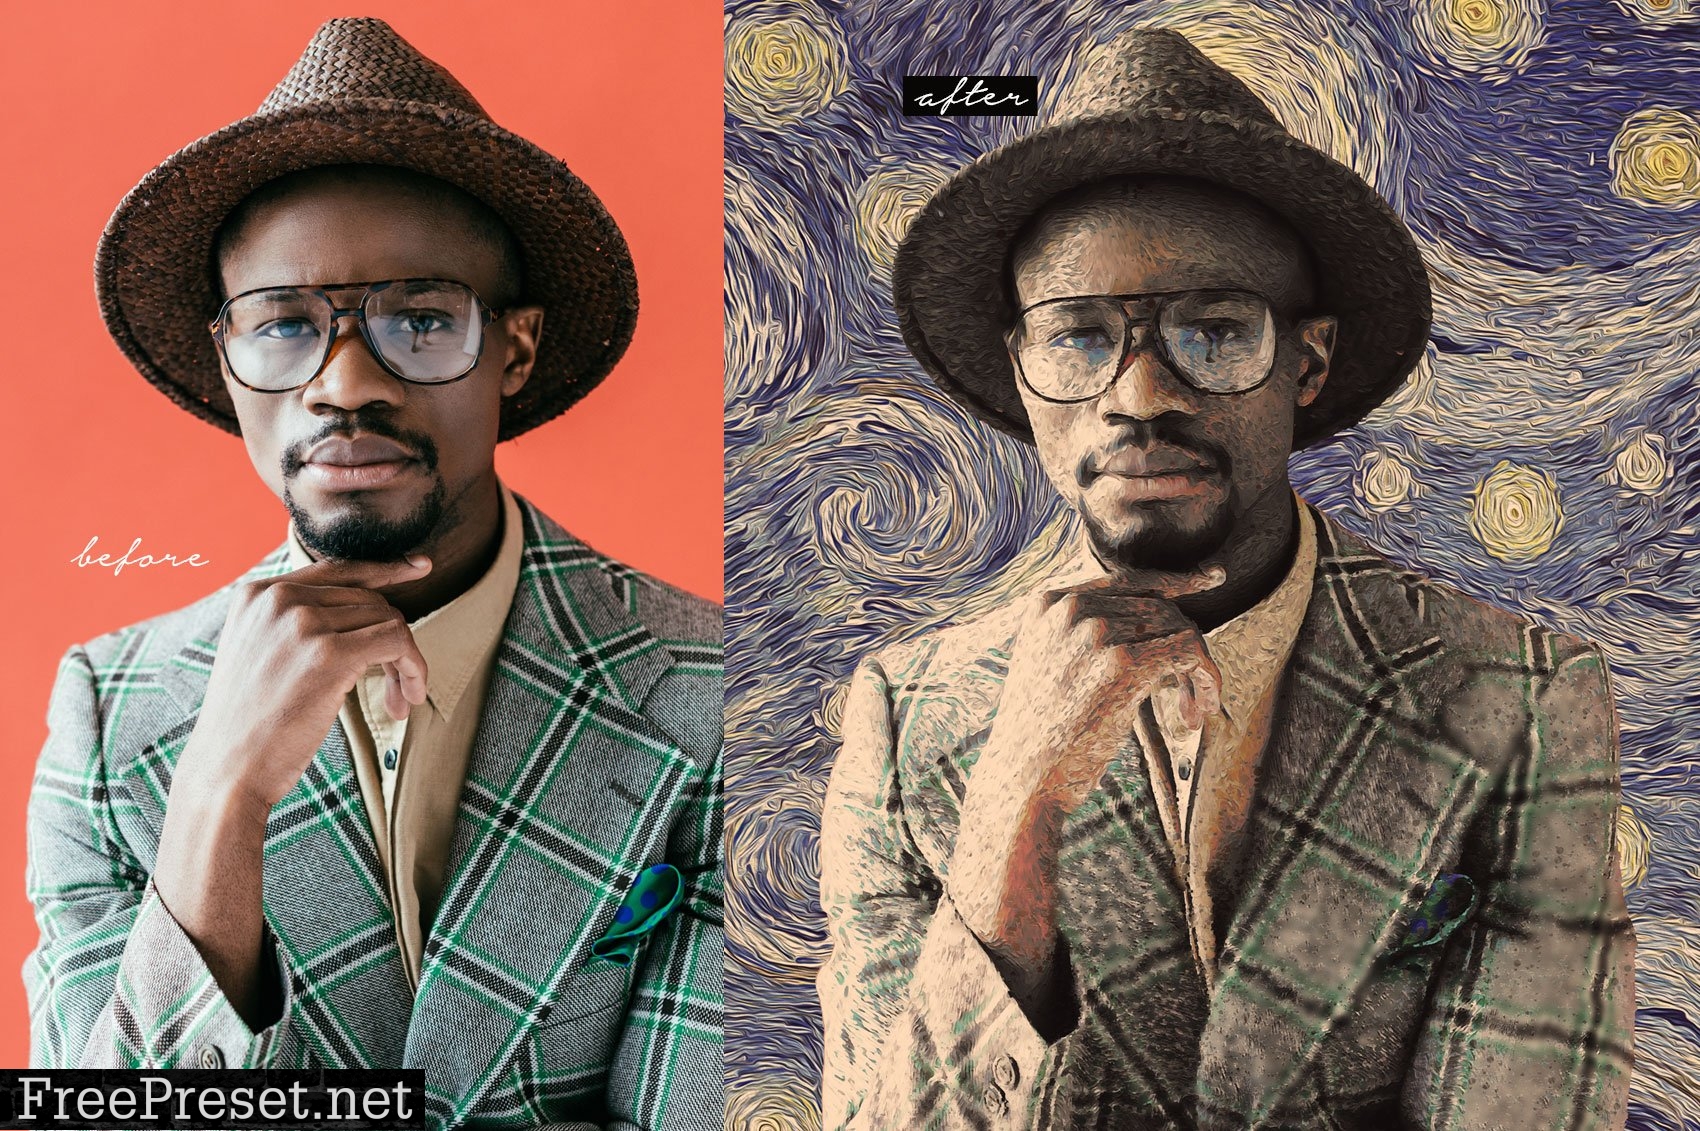
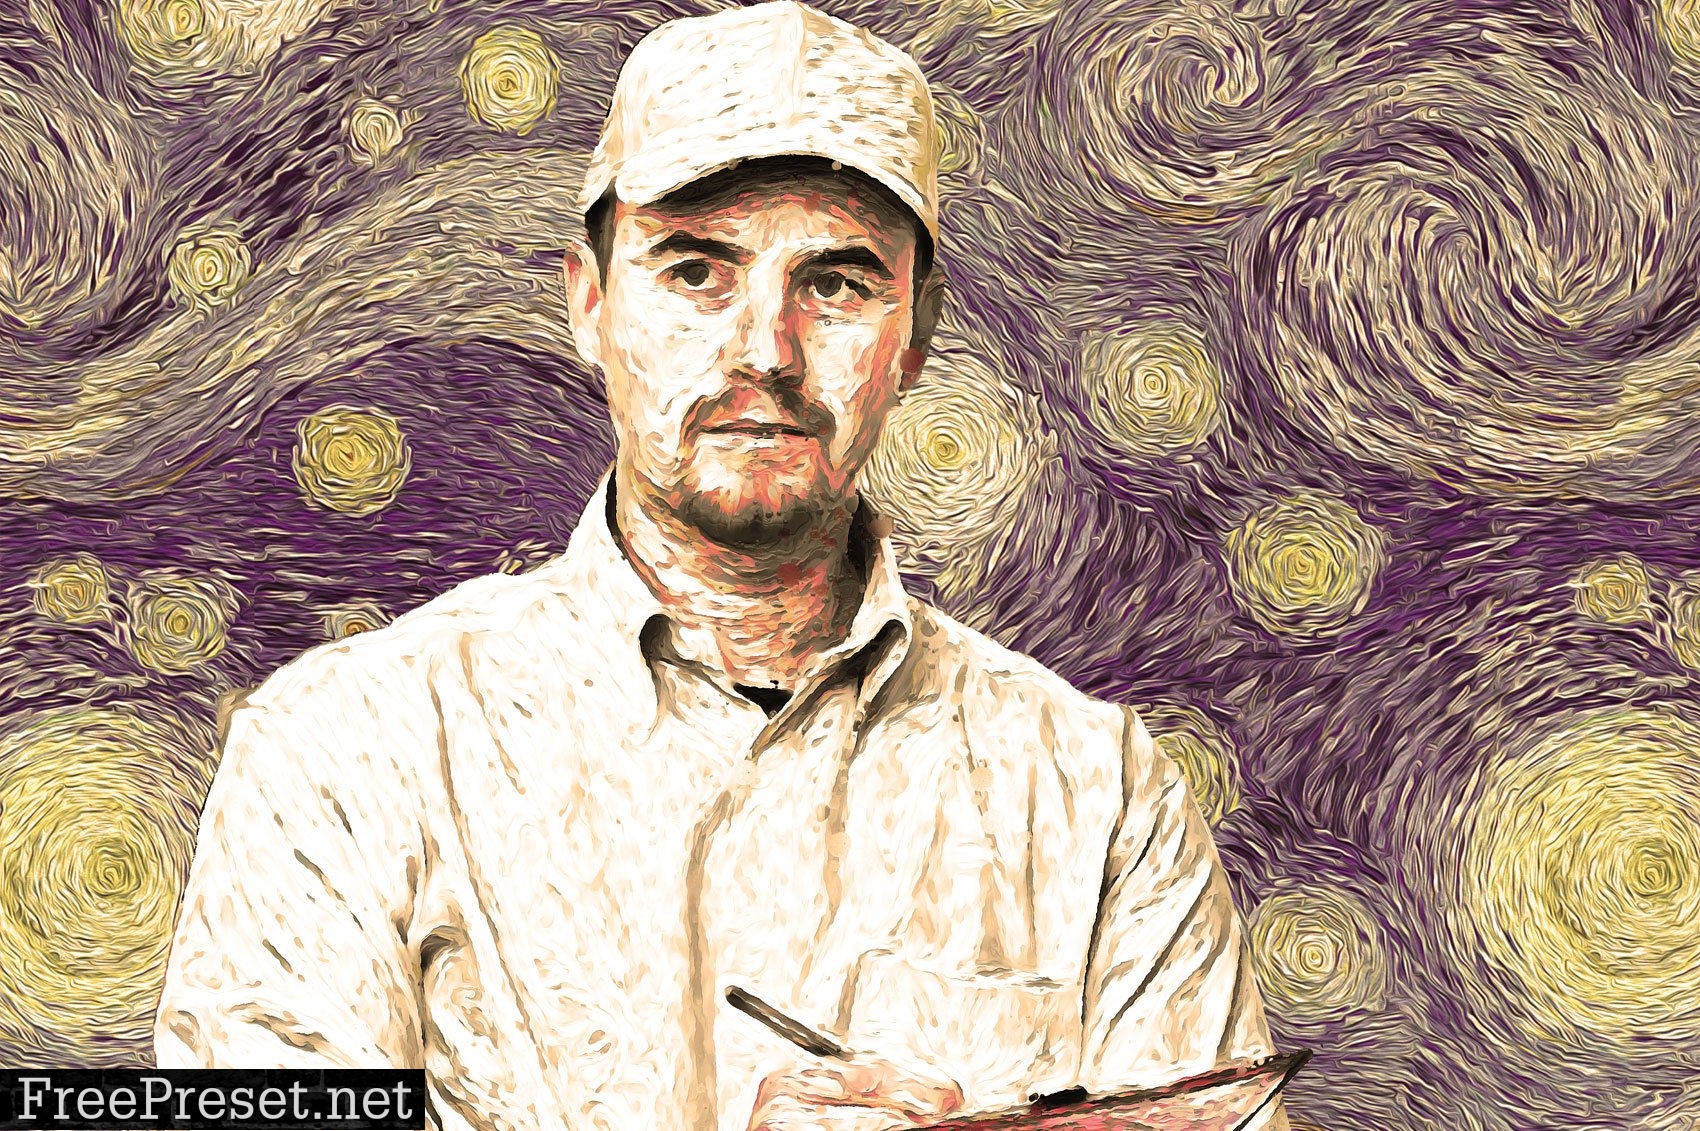
This professional Photoshop action enables you to apply Van Gogh’s starry night effect on your photos and visuals in a few clicks. With this action, it is really easy to create large-scale, high-impact graphics from any good image. Adjust any size, brightness, contrast levels, and saturation to get just the right effect.
Things To Check and Remember:
- Your photo is in RGB color mode
- Your photo is in 8bit color mode
- This action has been tested and works on Photoshop CS6, CC to CC2021 (tested in the English versions)
- You are running Photoshop in the English language.
- If you are experiencing errors, try resetting your Photoshop preferences. To do this, hold down Alt, Ctrl, and Shift keys (Mac: Command, Option, Shift) while starting up Photoshop. A dialog box will appear asking if you wish to delete the preferences/settings file.
- Avoid using small resolution images. For the best results, use Photos between 1500px – 3000px high/wide. Chances of the action running into errors will increase the lower you go under 1000px high/wide. Photos with good color variation and contrast will work best.
- Avoid brushing onto mainly black areas on a photo. The effect is not very prominent when applied to mostly dark areas of a photo.
- Remember that adjusting your photo resolution will determine how wide the parts spread out. If you run the action at 72DPI, then the parts will be quite close – if you run it at 300DPI, the parts will be spread much wider. Please refer to a video tutorial for the demonstration of this.
How To Install The Action:
- Inside Photoshop, go to the ‘Window’ menu and select ‘Actions’. A window will now appear to the right-hand side.
- Inside the Actions window, click on the top right-hand corner icon to reveal the drop-down menu. From here select ‘Load Actions…’. Select the action which came with the download.
- The action will now appear in the actions panel.
How To Use The Action:
- Open a photo to work with
- Leave the photo layer locked and set as the ‘Background’. To set your photo as the Background, select your photo layer and go to the menu ‘Layer’ — ‘New’ — ‘Layer from Background..’. Please refer to the video tutorial if you need more help here.
- Create a new layer above the background layer called ‘brush’. MUST be all lowercase.
- With the ‘brush’ layer selected, brush onto the areas of your photo that you want to apply the effect to.
- Play button found at the bottom of the action panel or play :).
Password Unzip : Freepreset.net
The file is compressed using Zip or Rar format...please use Winrar to extract this file
If you found the link was error , please comment !!!