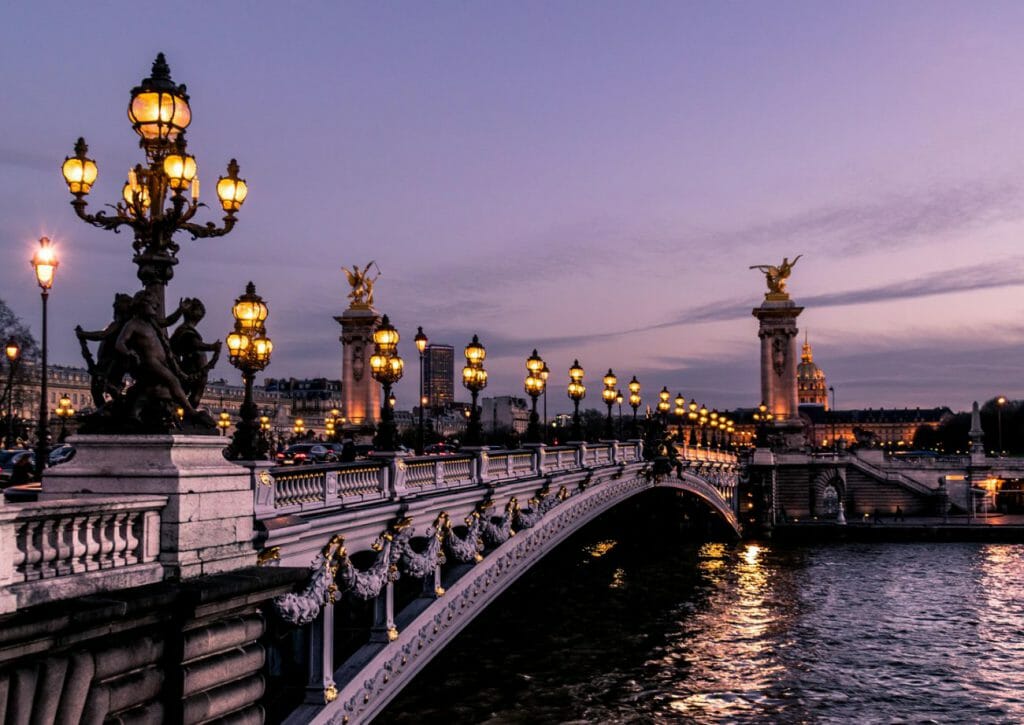
Have you ever wondered how photographers get beautiful golden hues in their images? Shooting during the golden hour is the key to securing those types of shots.
Composition and lighting are fundamental cornerstones of photography. We all know good light is key to capturing amazing photos.
Indoor lighting conditions can be controlled using artificial light, your camera’s flash, and even reflectors. Outdoor lighting, however, can’t be controlled, so you have to work with what nature gives you.
One gift it does give is the golden hour (or ‘magic hour’); a short window of magical light which happens twice a day (provided the weather is not overcast).
When Is the Golden Hour?
So what it the golden hour in photography?
it’s the period of time shortly after sunrise or before sunset. The duration depends on the seasons and your location, as well as the local weather.
It’s essentially the warm sunlight that occurs when the sun is between the horizon and 6 degrees above it. This is greatly influenced by the time of year and location.
Northerly places, such as Iceland and Norway, are famous for their exceptionally long sunrises and sunsets. The golden hour in winter and summer lasts much longer than an hour in such locations.
Destinations closer to the equator, on the other hand, are known for their swift sunrises and sunsets; they’ll experience much shorter golden hours.
Golden Hour Characteristics
How do you find the golden hour? There are three key features of the golden hour, all of which combine to create amazing photographic conditions.
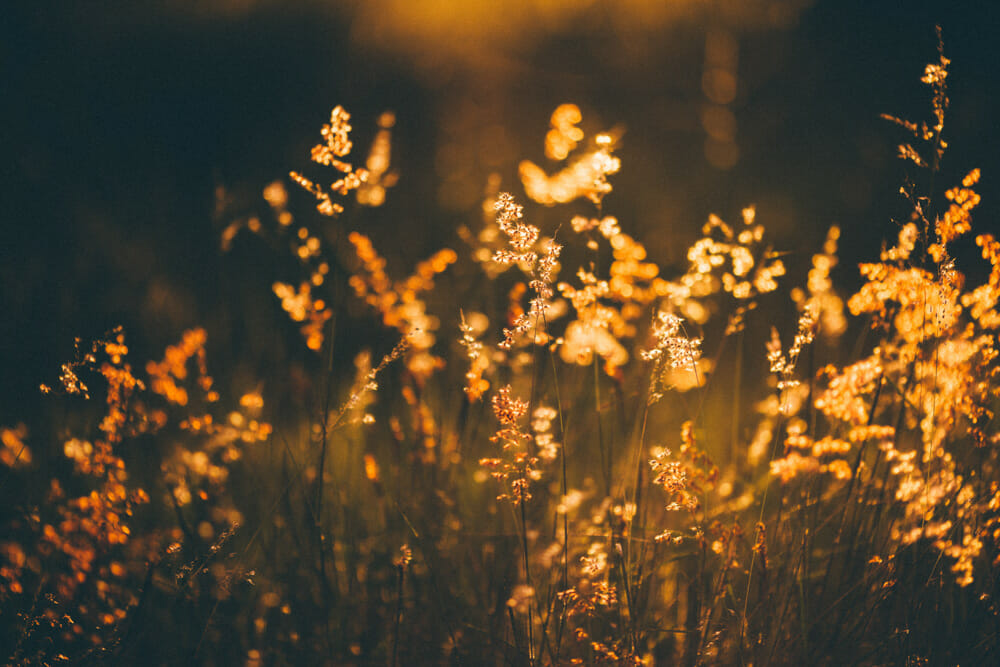
- Warm colors: sunlight is in the orange and yellow range of the color spectrum during the golden hour, which is why it’s called that.
- Low angle of the sun: this is what defines the golden hour. A low angle creates softer light and longer shadows.
- Diffused light: when the sun is close to the horizon, light has to travel further than when it’s high in the sky. The atmosphere acts like a light diffuser, which makes the light less intense and ‘softer’. It reduces harsh contrast, which makes it easier to capture an evenly exposed image. It also filters out blue light to give mainly warm colors.

Calculating Golden Hour
Although the golden hour is not a set amount of time, there are ways to track when it will happen near you.
Your smartphone is a useful tool. Most weather apps should tell you the times of sunrise and sunset at your desired location. You can work out roughly the best time to set up and take the shot from that.
Related Article: Best photo editing apps
If you want more precise results, you could consult a golden hour calculator, which calculates exact details of the golden hour in your location from longitude and latitude coordinates. It shows you the minute when the magic hour starts and when it ends. It’s an incredibly useful tool for photographers who are serious about their art.
Plan your Shoot in Advance
Landscape photography and portrait photography are the two main genres of photography which benefit most from the golden hour.
Whichever type you shoot, it’s important to plan your session properly.
Check the golden hour times of your destination and scout out your location beforehand. Walk around the area, check out possible vantage points, snap some test shots and figure out where the sunset will be on the horizon.
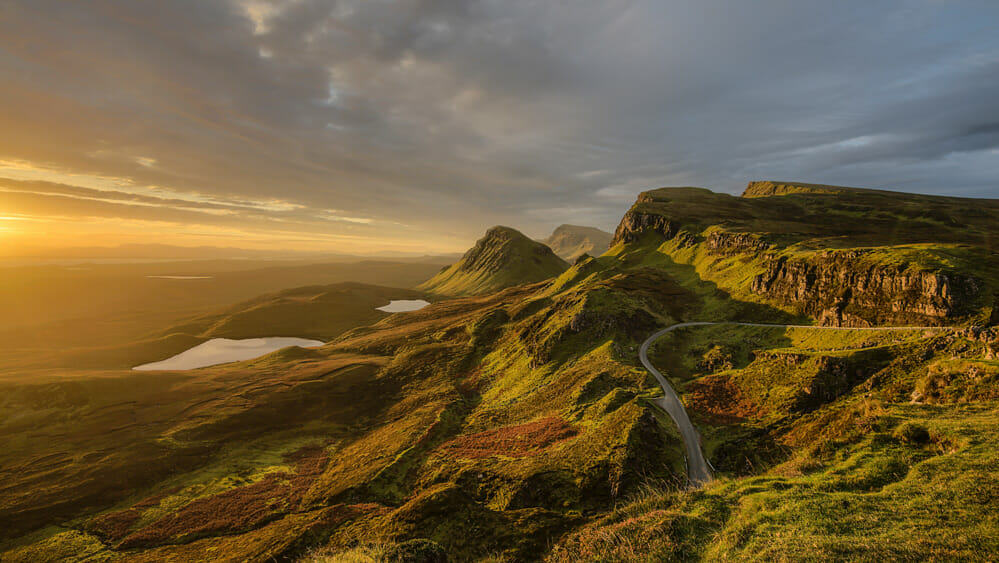
The Golden Hour in Landscape Photography
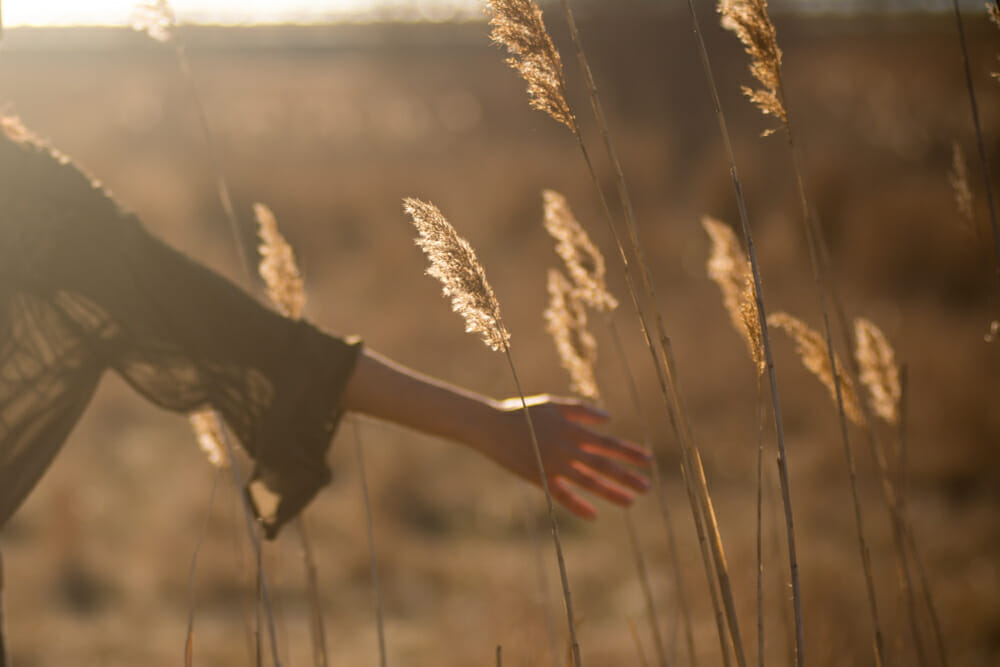
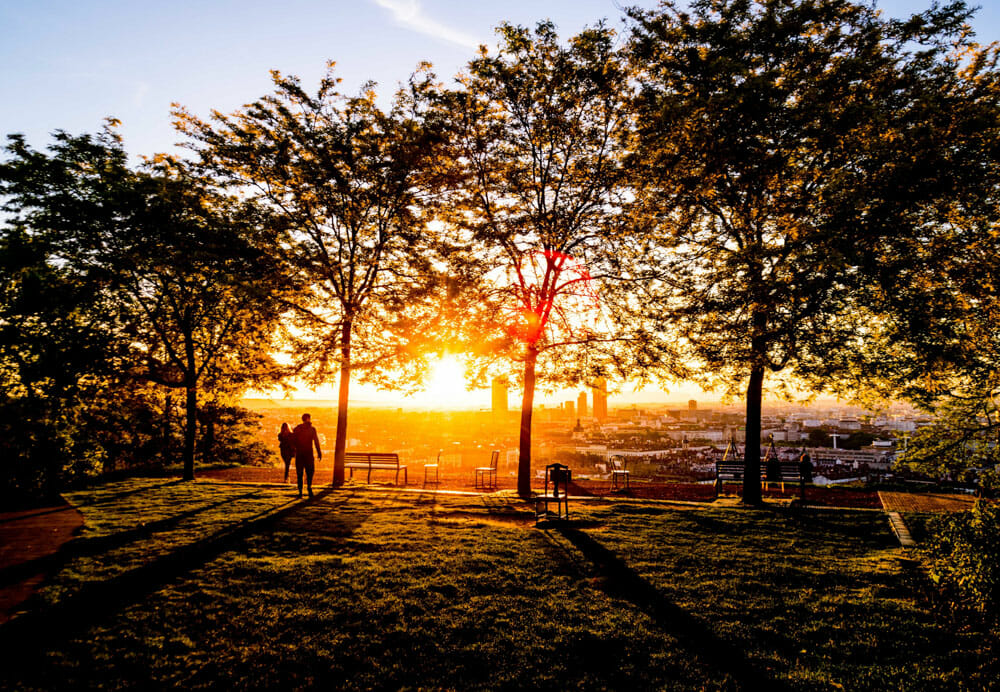
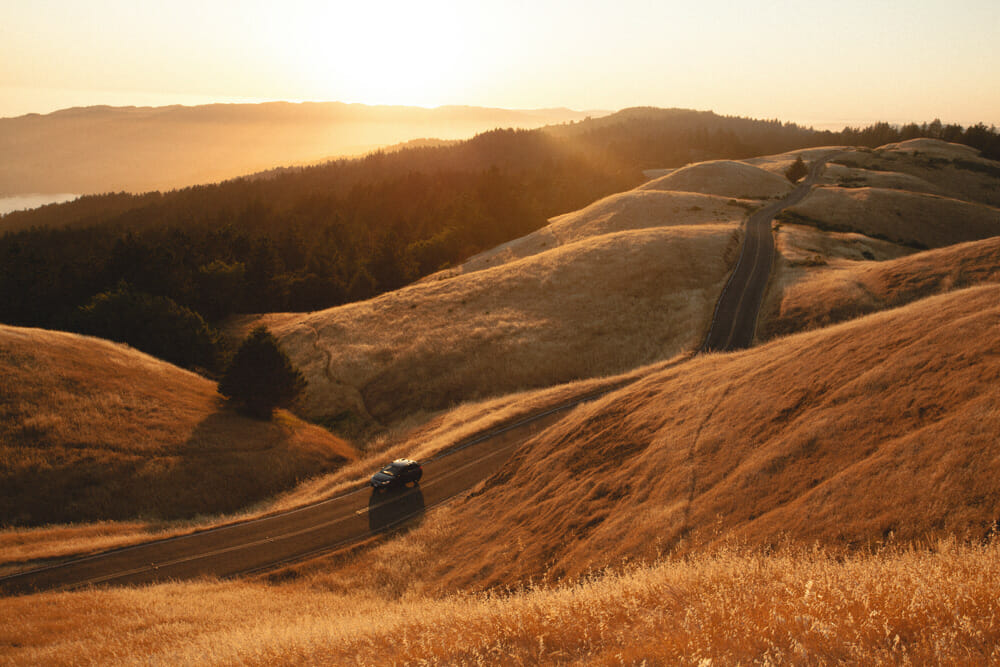
Landscape photography lends itself beautifully to the golden hour. Entire vistas can be transformed by the low angle light; shadows are longer, which add depth and texture to the scene, and the landscape will be lit with a lovely warm glow.
It’s the best time of the day for long exposure photography thanks to the low light available, but you will need to bring a tripod. A longer exposure will smooth out the water and extend the clouds. That means it’s the perfect time to shoot waves, rivers, waterfalls and other moving subjects, such as people or cars.
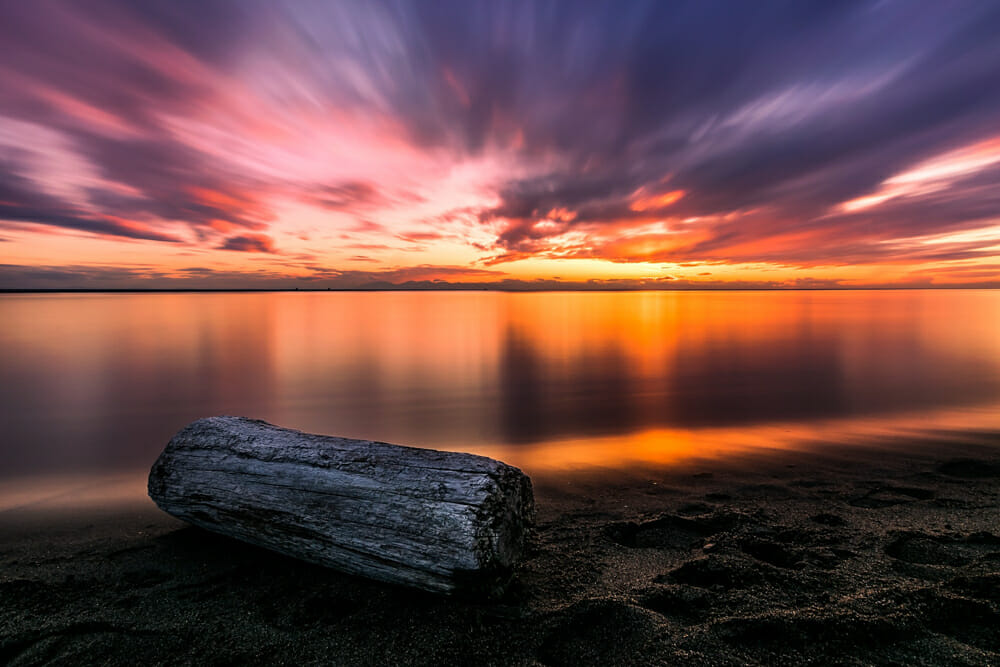
You can also photograph silhouettes perfectly during the golden hour, as you will be able to shoot directly into the sun; a task which is virtually impossible at any other time of the day.
If you are shooting wide landscapes, it’s best to position yourself so that the sunlight hits the scene from the side. This brings out the shadows and details in the image far better than if you faced directly away from, or towards, the sun.
The Golden Hour in Portrait Photography
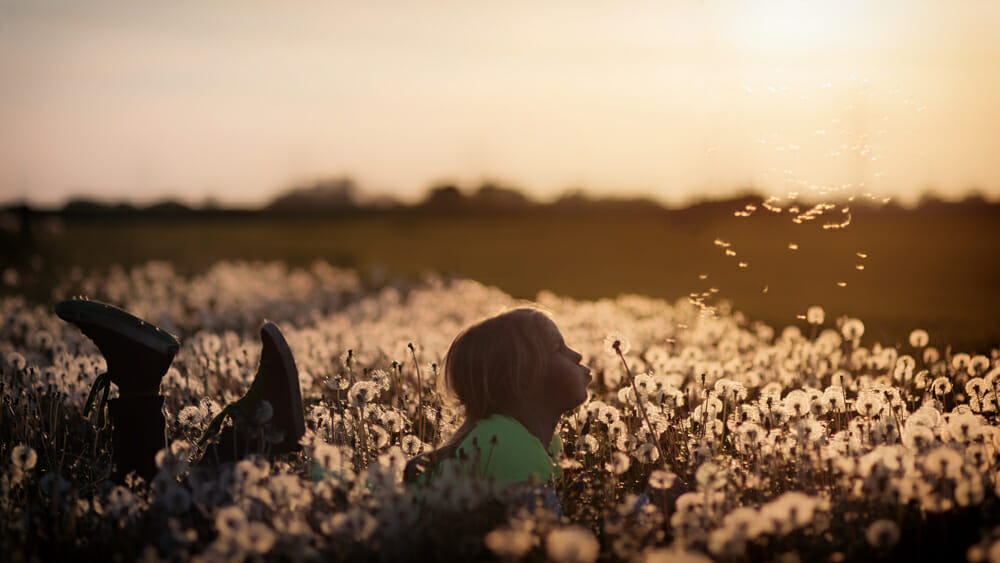
Portrait photography is also the perfect genre for golden hour images.
The warm, even light softens faces and skin tones, making skin look smoother. While the lower intensity of the light allows your models to look towards the sun without squinting.
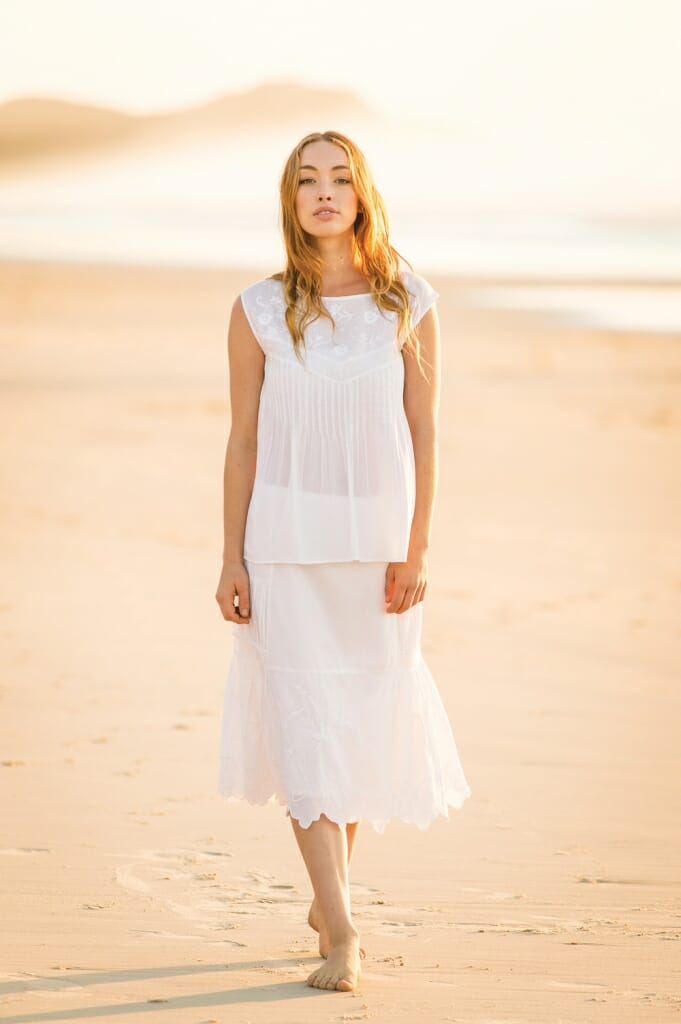
The golden hour is also a gift when it comes to backlighting your models. If done well, this can create a wonderful halo effect–a magical golden glow–around the edges of your subject.
Note that the sun doesn’t necessarily have to be directly behind your subject, side light can be equally as effective. Just make sure that you shoot against a darkish background to bring out the halo effect.
What is the Blue Hour?
But don’t pack away your kit as soon as the sun has gone down. If you do, you’ll miss out on another great lighting opportunity–the blue hour.
So what time is the blue hour?
This is the hour before sunrise or after sunset, which is characterized by a distinct blue color.
So if you get to your destination before sunrise, or you can stay after the sunset, play around in the beautiful blue hazes. There is less light during these times than during the golden hour, but there is still enough to play with.
This time suits itself really well to taking shots of cityscapes, as lights will be turned on in buildings and on streets. Seascapes lend themselves exceptionally well to this color hue too.
Checklist for Successful Golden Hour Photography
- Make planning your priority: check exact golden hour times and arrive well in time to set up. If possible, scout the area out the evening before.
- Bring a tripod: it’s a great time to capture some lovely long exposures. Check out PhotoBlog’s best travel tripods to find the right one for you.
- Use your time wisely: if you’ve scouted out the location beforehand, you’ll know the best angles to shoot from. This will save time, as your shooting window may be quite limited.
- Be patient: don’t just grab two or three photos and leave. Stay for the entire duration of the golden hour; you’ll notice the light change as the sun climbs or drops.
- Don’t banish the blues: it would be a missed opportunity if you did not check out what happens during the blue hour. This is an especially great time to photograph skylines, traffic or seascapes.
- Dress for success: make sure you wear warm clothing at sunrise, as this is typically the coldest time of the day. It will be especially cold if it has been a cloudless night.
Head out to Harness the Hues
So these are the secrets to harnessing the beautiful light of the golden hour in your photographs.
You too can utilize that small time frame to capture some luscious landscapes or poignant portraits. Have fun and play; it’s a wonderful way to add depth and dimension to your images.
Now that you’ve learned these tips for stunning photos, you’re a better photographer.
Guaranteed.
But the fact is, the journey doesn’t stop there. There are more tips, tricks, and secrets–all of which will help you take gorgeous photos.
And if you want to learn all of these secrets, I recommend you sign up for the PhotoBlog newsletter. We send our subscribers all sorts of great stuff–including the tips, tricks, and secrets, straight from the experts. All to help you capture world-class photographs.
Did I mention that it’s all totally FREE?
(Oh, and we’ll send you a natural lighting cheat sheet–designed to help you use light in ways you’ve never considered.)
So to start taking stunning photos, enter your email: