One of the most common photography accessories is a lens hood – a piece of plastic or metal that attaches to the front of your camera lens and makes it look more professional. But lens hoods are about more than looks. Just to name one benefit, they can make a major difference in a picture’s image quality. This article covers everything you need to know about using lens hoods to capture the best possible photos.

Why You Should Use a Lens Hood
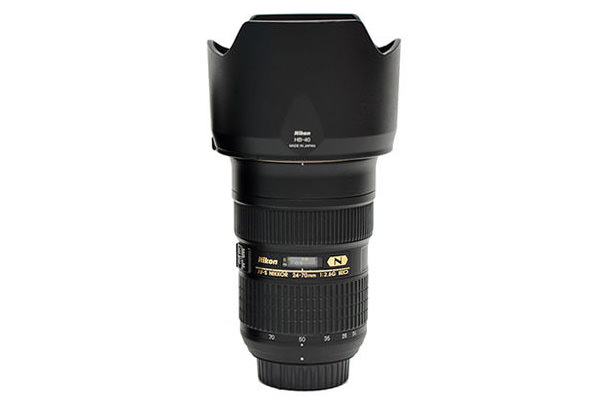
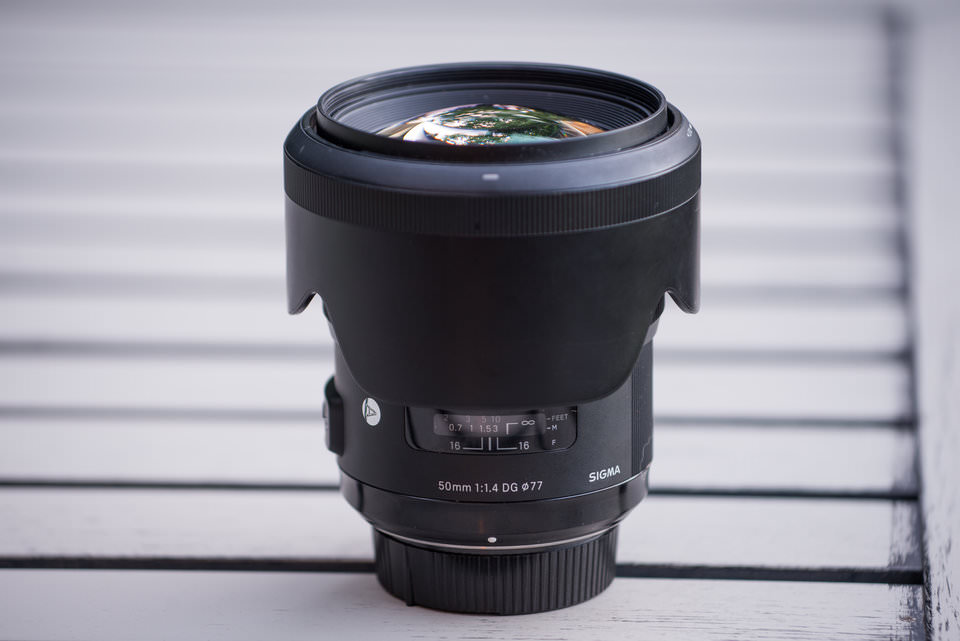
A lens hood, also known as a lens shade, attaches to the front of your lens and blocks stray light from causing flare in your photographs. It also helps protect the lens from damage if you bump into something.
That’s pretty impressive. By simply putting a lightweight accessory on your camera lens, you immediately improve your image quality and lens durability. This is why most photographers use lens hoods whenever they can.
Below, I’ll cover some more specific information about the benefits of lens hoods, including sample photos taken with and without a hood. But that’s the most important thing to know: Use a lens hood whenever possible to get more durability and flare resistance.
1) It Minimizes Flare
The main purpose of a hood is to reduce the amount of lens flare that appears in an image. If you’ve ever taken pictures with bright lights in your photo – especially the sun – chances are good that you have seen lens flare before. Or, maybe you have watched a J.J. Abrams movie! Although lens flare can look good when you’re aboard the starship Enterprise, it’s usually something you want to avoid in everyday photography.
Unfortunately, one big issue with flare is that it sometimes appears even when the source of light is outside your photograph. This is the type of problem you may not even see in the field, only to open the photo on your computer and realize that it has vivid reflections and glare in it. That’s especially true if you’re using a low quality filter, or if your lens has less advanced anti-glare coatings. Some lenses are more prone to flare than others.
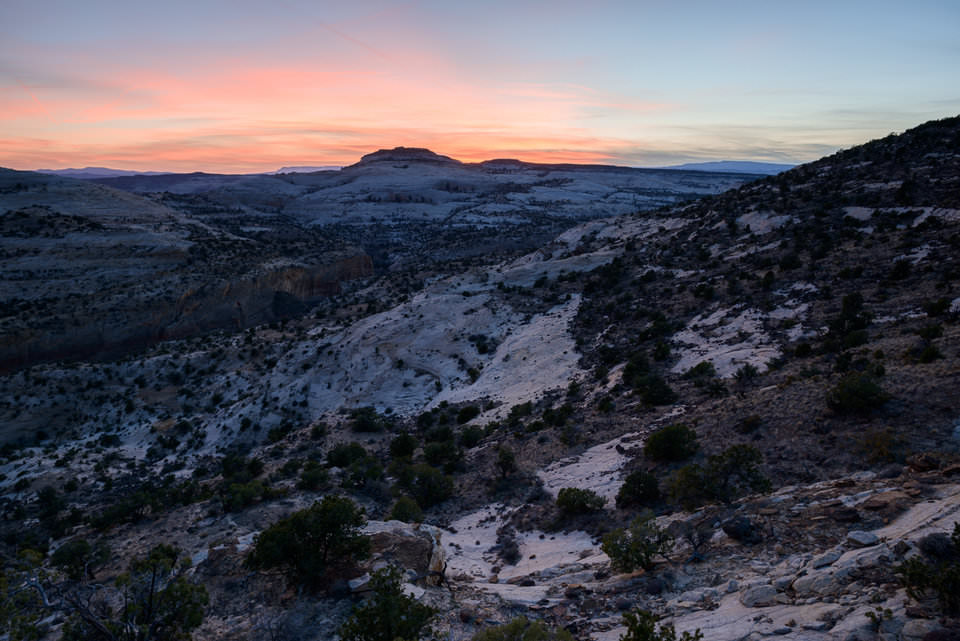
The good news is that lens hoods can help – though, granted, only if the source of light is outside your frame. Here are two example photos side by side, taken without a lens hood (on the left) and with one (on the right). You should be able to see a noticeable difference. There’s a reddish flare in the dark area at the very bottom of the first image, which is gone in the second. The orange, hazy area at the top right is fixed as well:
So, to reduce flare in your photos, it is a good idea to use a lens hood whenever possible.
2) Lens Hoods Add Contrast
Lens hoods don’t only help prevent large spots of lens flare and discoloration. They also improve the overall contrast and colors in a photo.
Personally, this is why I almost always use lens hoods (more on the “almost” below). Used properly, they never hurt your image quality. This is true even when you aren’t in direct sunlight. Any stray sources of light that strike your front element could cause reduced contrast in an image.
In the comparison photos above, the difference isn’t just that the second photo has less flare. Take another look at the grass at the bottom right of the frame, which has significantly more contrast in the photo with the lens hood. Keep in mind that the exposure settings are identical in the two photos. The shadows in the second image are darker because they aren’t washed out.
Depending upon your lens, these differences may stand out even more. I used the Nikon 35mm f/1.8 FX for the comparison above, which is pretty flare resistant. If you have older glass or cheaper coatings, it’s especially important that you bring along a lens hood. I’ve taken several washed-out pictures in the past because I didn’t use one. Don’t make the same mistake!

3) They Protect Your Lens from Damage
Aside from image quality, the other main purpose of a lens hood is to help protect your lens from bumps, scratches, fingerprints, and other sources of damage. If you ever drop your lens, a hood isn’t guaranteed to save the day, but it is far better than not using one at all. I’d rather have a cracked lens hood than a cracked front element.
Personally, I have stopped using UV filters (clear filters) on my lenses for protection, relying just on the lens hood instead. I’m not saying you should do this as well – some people swear by UV filters, especially from higher quality brands – but that it is one possibility.
This extends beyond major damage, too. Lens hoods also help keep debris off the front of your camera lens, which is very useful for taking pictures in rain or snow. If I’m planning to be out in harsh weather conditions, I always triple-check and never leave home without a lens hood.
When Not to Use Lens Hoods
Despite all this, there are a few specific cases where you may not want to use a lens hood for your photography, or may not be able to do so. The three main situations are:
- You actually want a flare effect in the photo – that’s self explanatory
- The lens is intended for a smaller sensor, and you’re capturing part of the hood in your photos
- You’re using certain filters or accessories on your lens, preventing you from attaching a hood
- The lens hood is catching in the wind and making your photos blurry
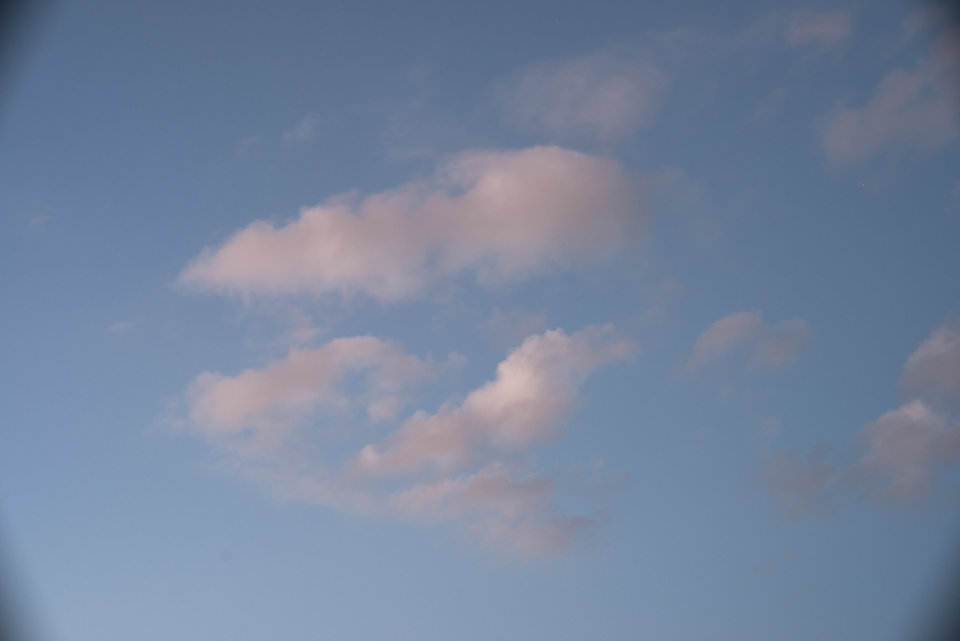
To start, it won’t usually be the case, but there certainly may be times when your goal is to capture flare in a photograph. The image below, taken with an infrared camera, has an insane amount of flare – but it gives the photo some character. In cases like this, you’ll probably want to take off the lens hood:

NIKON D800E + 14mm f/2.4 @ 14mm, ISO 100, 1/30, f/13.0
Other times, you may need to remove the lens hood in order to avoid capturing it in your photo. This is most commonly the case when you’re using a lens meant for smaller-sensor cameras, such as a Nikon DX lens on an FX camera. However, a few lenses – like the Nikon 8-15mm f/3.5-4.5 fisheye – will capture part of the lens hood at the widest focal lengths, and you’ll need to remove it in order to see the whole picture.
A more common situation is when you’re using a lens accessory, such as a filter kit or ring light, which can prevent you from attaching a hood in the first place. If the accessory is crucial for the photo you want, just go ahead and use it; chances are good that your photos won’t be ruined by flare when you do, so long as you’re careful. Personally, the graduated neutral density filter kit I sometimes use for landscape photography doesn’t allow me to use a lens hood. (There are some specialized hoods available for filter kits like this, but they tend to be far too expensive – $200 for the one from Lee Filters, for example.)
NIKON D800E + 20mm f/1.8 @ 20mm, ISO 100, 0.2 seconds, f/8.0
Along with those three main reasons, some photographers remove their lens hood for more specialized photographs, too. If you use on-camera flash, it’s possible that the shadow of the hood will appear in your photos, so you should remove it. Or, you may want to leave the lens hood behind for street photography in order to look less intimidating. I’ve even seen people leave their lens hoods at home so they can save a bit of weight and bulk for long backpacking trips, opting to block the sun with their hand instead.
Lastly, if you take pictures in windy conditions, it is often a good idea to remove the lens hood and minimize vibrations in your photo. This is especially true if you are using a telephoto lens. Personally, when I do landscape photography in windy environments without direct sunlight, I tend to shoot without a lens hood. The same is true when taking pictures from an airplane or helicopter with an open window, in which case you should not use a lens hood.
There may be other special cases, too, depending upon the type of photography you do, and that’s to be expected. Use a lens hood by default, but you know better than anyone else when it just won’t work for your photography.
Round vs Tulip Hoods
The two main types of lens hoods available today are tulip hoods and round hoods. Here’s how they look side by side:
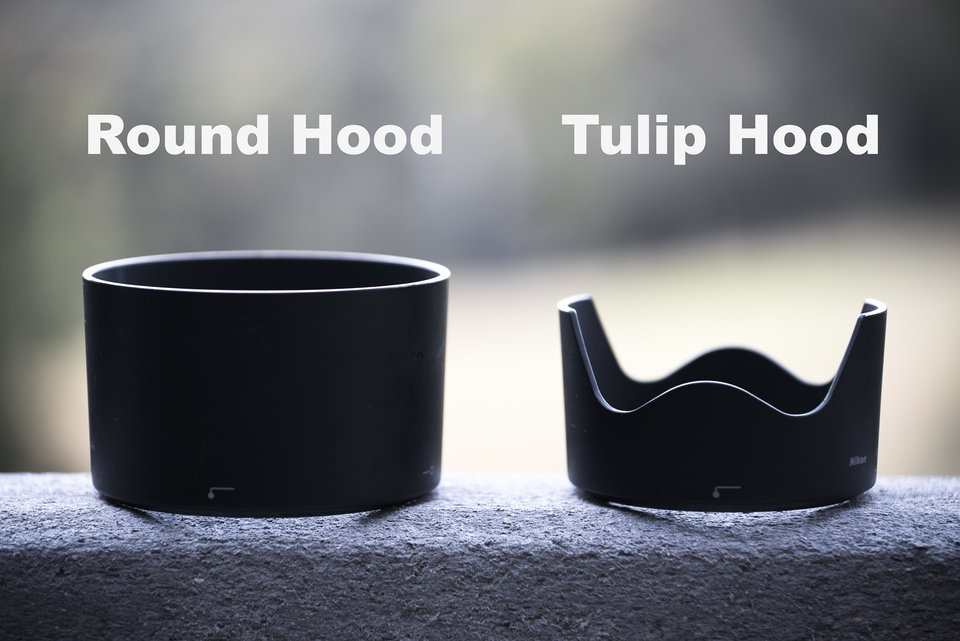

Tulip hoods, also called petal or flower hoods, look more interesting – but why do they have that shape? The simple answer is that they’re designed to block every last bit of ambient light. Because camera sensors are rectangular, the petal hood design is ideal; its notches allow as much room as possible for the four corners of an image. This also means that you need to put a tulip hood on perfectly. If it’s rotated incorrectly, you’ll probably end up capturing part of the hood in your photo:
Round hoods have a simpler design, although they generally aren’t quite as effective. That’s because a petal hood is really just a round hood with extensions to maximize its coverage area.
This isn’t to say round hoods are bad. Many telephoto lenses, especially primes, use a round hood rather than a tulip design, and they work just fine – far better than nothing. At the end of the day, just use whatever hood came with your lens, and you’re unlikely to be disappointed.
Also, note that hoods on zoom lenses are only tailored to the widest focal length of the lens (for the most part). Otherwise, you’d capture the edge of the hood each time you zoomed out. So, when you use a zoom – whether it has a round or a tulip hood – pay attention to flare at the longer focal lengths. You may need to block the sun with your hand if the lens hood isn’t enough.
Storage and Transportation
When you travel, you’ll probably want to store the lens hood in such a way that it takes up as little space as possible. Although they’re usually lightweight, hoods can be surprisingly bulky if you just throw them in a pocket of your bag.
One good method is to remove all your lens hoods and stack them within each other. This doesn’t always work, but it is possible with some lens sets, and it makes things much more compact. I do this when I travel with my 20mm f/1.8, 35mm f/1.8, and 70-200mm f/4 Nikon lenses, since all of these hoods fit neatly together.
Another alternative is simply to reverse the hood on your particular lens. Aside from some wide angle lenses where it’s built in, nearly every hood on the market can be reversed for transportation, making it look something like this:
Although that’s a bit bulkier than the lens on its own, it’s not bad. Personally, if I’m not able to stack my lens hoods while traveling, I simply reverse them in order to save some space.
What If You Don’t Have a Hood?
Not all lenses come with a hood. In particular, many kit lenses don’t include one, such as the 18-55mm zooms from Nikon and Canon. If that’s the case for you, is it worth spending money to buy a lens hood separately?
On one hand, a lens manufacturer’s own hoods can be surprisingly expensive. Cheaper lenses usually have hoods that retail for $25 or so, with some (especially high-end supertelephotos) being far more expensive. If you have the Nikon 800mm f/5.6 lens, I hope you don’t lose its hood. The replacement costs $1000!
Then again, for more reasonable lenses, you can buy inexpensive off-brand hoods for $10 or so. These might not fit on your lens quite as smoothly, but they tend to work fine. Some people even make their own hoods out of paper or cardboard, which definitely is the cheapest option – although don’t expect them to provide much protection for your front element, if any at all.
One Last Tip
This might sound silly, but don’t take pictures when your lens hood is reversed! You would be amazed by how many people do this because they simply don’t know better. There really is no benefit to taking pictures with the hood on backwards, though. You don’t block any light this way, and it doesn’t protect the front element of the lens much at all. And, most likely, the hood will cover part of your focus or zoom rings, making the lens harder to operate.
The only reason to reverse your lens hood is for storage and transportation. If you actually take pictures when it’s backwards, you’ll look like you don’t know what’s going on.
Conclusion
Hopefully, this article gave you a good idea of when and how to use a lens hood for your photography. It’s a simple thing, but the tiny amount of effort required to use a lens hood could improve the quality of your photos significantly – and maybe even save your lens from getting damaged one day.
If you want to dive more into this topic, you should read our article on lens flare, as well as our counterintuitive tip for eliminating flare when the sun is in your photograph. Do you have any questions or suggestions for using a lens hood properly? Let us know in the comments below!


