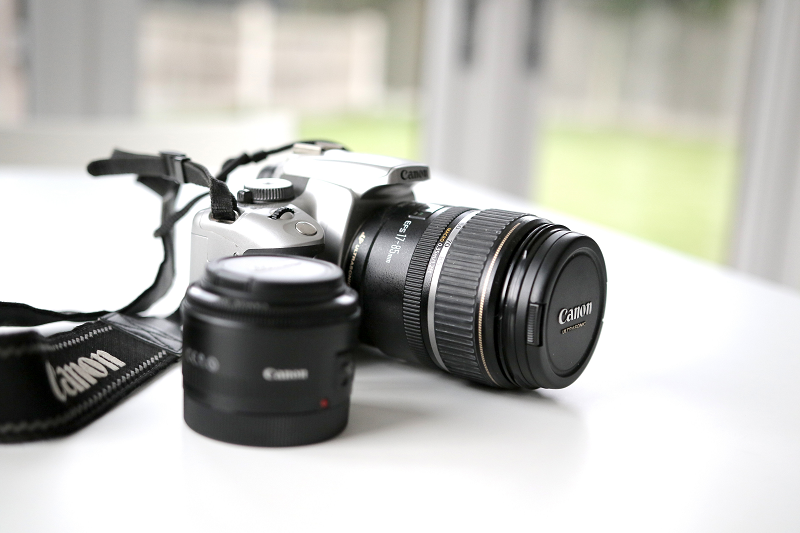
Photo by: Oli Dale
If you are just starting out in photography or getting used to your DSLR, it can be tricky to know where to start.
With so many dials, buttons, and modes, what do you do first? Where do you begin and how can you go about using your camera to get the best results?
Each DSLR comes with a selection of modes and options that are designed to help you capture the best images possible –but of course, that will depend on how well you’re able to use them!
If you’d like to get familiar with your camera’s basics, here’s a look at what you should know to capture the best images possible.
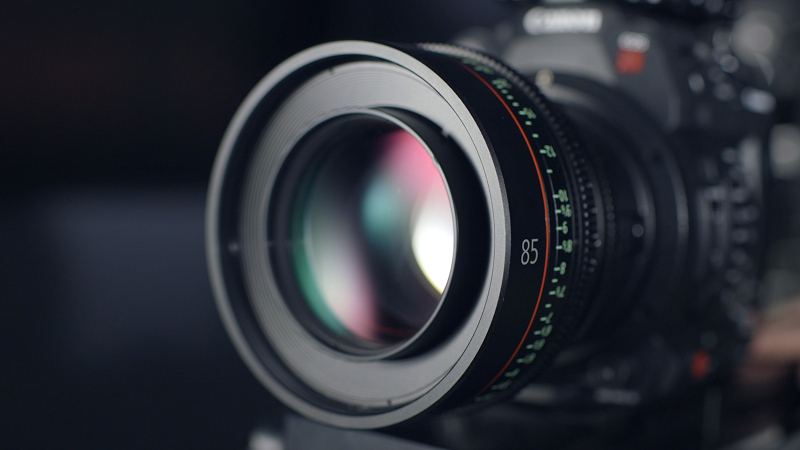
Photo by: ShareGrid
Exposure
Understanding exposure and how it works is essential when it comes to using manual or any of your camera’s semi-automatic modes.
There is more that takes place inside your camera than meets the eye, and learning how all the components work together can help you improve your photography and understand how to create and capture better images.
Here are the three key elements that, together, create your image’s resulting exposure.
• Aperture
The aperture is the size of the opening in the lens. The aperture controls is the amount of light that is allowed inside your camera’s lens. The lower the f-stop, the wider the aperture, and the more light is allowed in.
• Shutter Speed
The shutter speed determines how long the shutter will stay open. The longer it is open, the more light is allowed to pass through. A fast shutter speed allows less light in, while a long shutter speed allows more.
• ISO
Finally, the ISO determines how sensitive your camera’s sensor is to the light. The higher the ISO the more ‘grain’ or ‘noise’ your image will have.
These three components work together to give you the right amount of light in any situation. Understanding how the exposure triangle works will help to put you in control and can make a big difference in your photography.
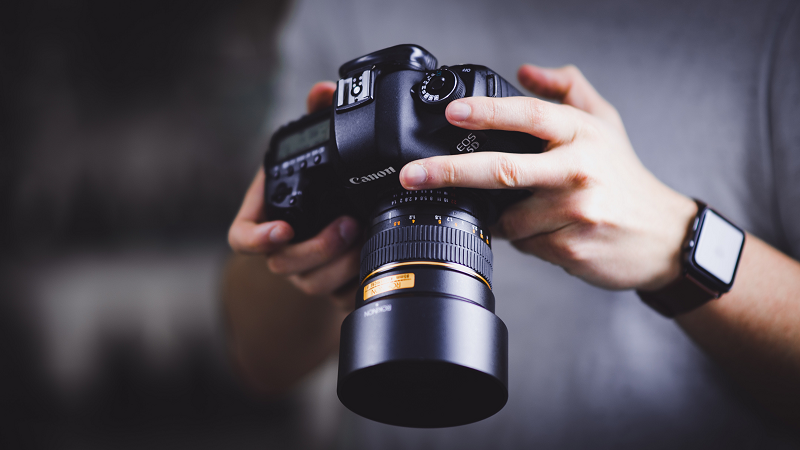
Photo by: William Bayreuther
→ Related reading: Long exposure 101
Shooting Modes
With so many different shooting modes to choose from, knowing and understanding the difference between them is important. Like they say, if you’re just using your camera in auto, you might as well be using a phone camera or point-and-shoot! One of the main benefits of using a DSLR is that it gives you tremendous control over your camera’s settings; allowing you to adjust how exactly how much light reaches the sensor.
Icon Modes
Many point-and-shoots as well as some DSLR cameras have “icon” modes. These appear as icons on your dial. You can usually choose from landscape, portrait, macro, sports, and night mode. These icons are easy to use, but be forewarned: they don’t always produce the best –most reliable results.
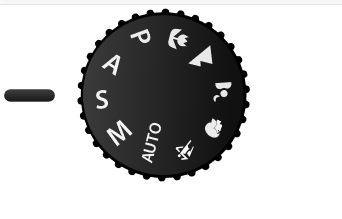
Photo: Wikimedia Commons
Still, if you’d like to give them a try, here’s a brief rundown of each.
• Portrait Mode – Portrait mode uses a wide aperture, drawing the subject into focus.
• Landscape Mode – With landscape mode your camera uses a narrow aperture to keep the entire scene clear and in-focus.
• Macro Mode – With macro mode you can capture close-up details.
• Sports Mode – Sports mode allows your camera to freeze action by using a fast shutter speed.
• Night Mode – When in Night mode, your camera uses a combination of a slower shutter speed and a flash.
Semi-Automatic Modes
Next up, the semi-automatic modes. These modes will give you a lot more creative freedom. These modes are listed as letters on your dial: A, S, and P –or Av, Tv, and P for Cannon.

Photo: Wikimedia Commons
Here’s a look at these modes:
• Aperture Priority (A or Av)
Aperture Priority allows you to adjust the aperture yourself, while the camera compensates with the correct shutter speed. This is a helpful setting when you’d like to control the depth of field, or the amount of your image that’s in focus.
• Shutter Priority (Tv or S)
Shutter speed mode allows you to adjust the shutter speed while the camera adjusts the aperture. This can be a great mode when doing night or low-light photography, when shooting moving subjects, or when capturing images where you’d like to blur movement, or freeze it.
• Program (P)
In program mode, you can set either the aperture or shutter speed, and the camera will adjust the other one automatically to maintain the right exposure.
Manual Mode
Manual mode requires (or allows) you to set all the settings yourself, choosing the aperture and shutter speed as well as the ISO. This setting is the most challenging to master but it’s worth doing if you’d like the most freedom and flexibility over your images.
→ Related readings:
Focus
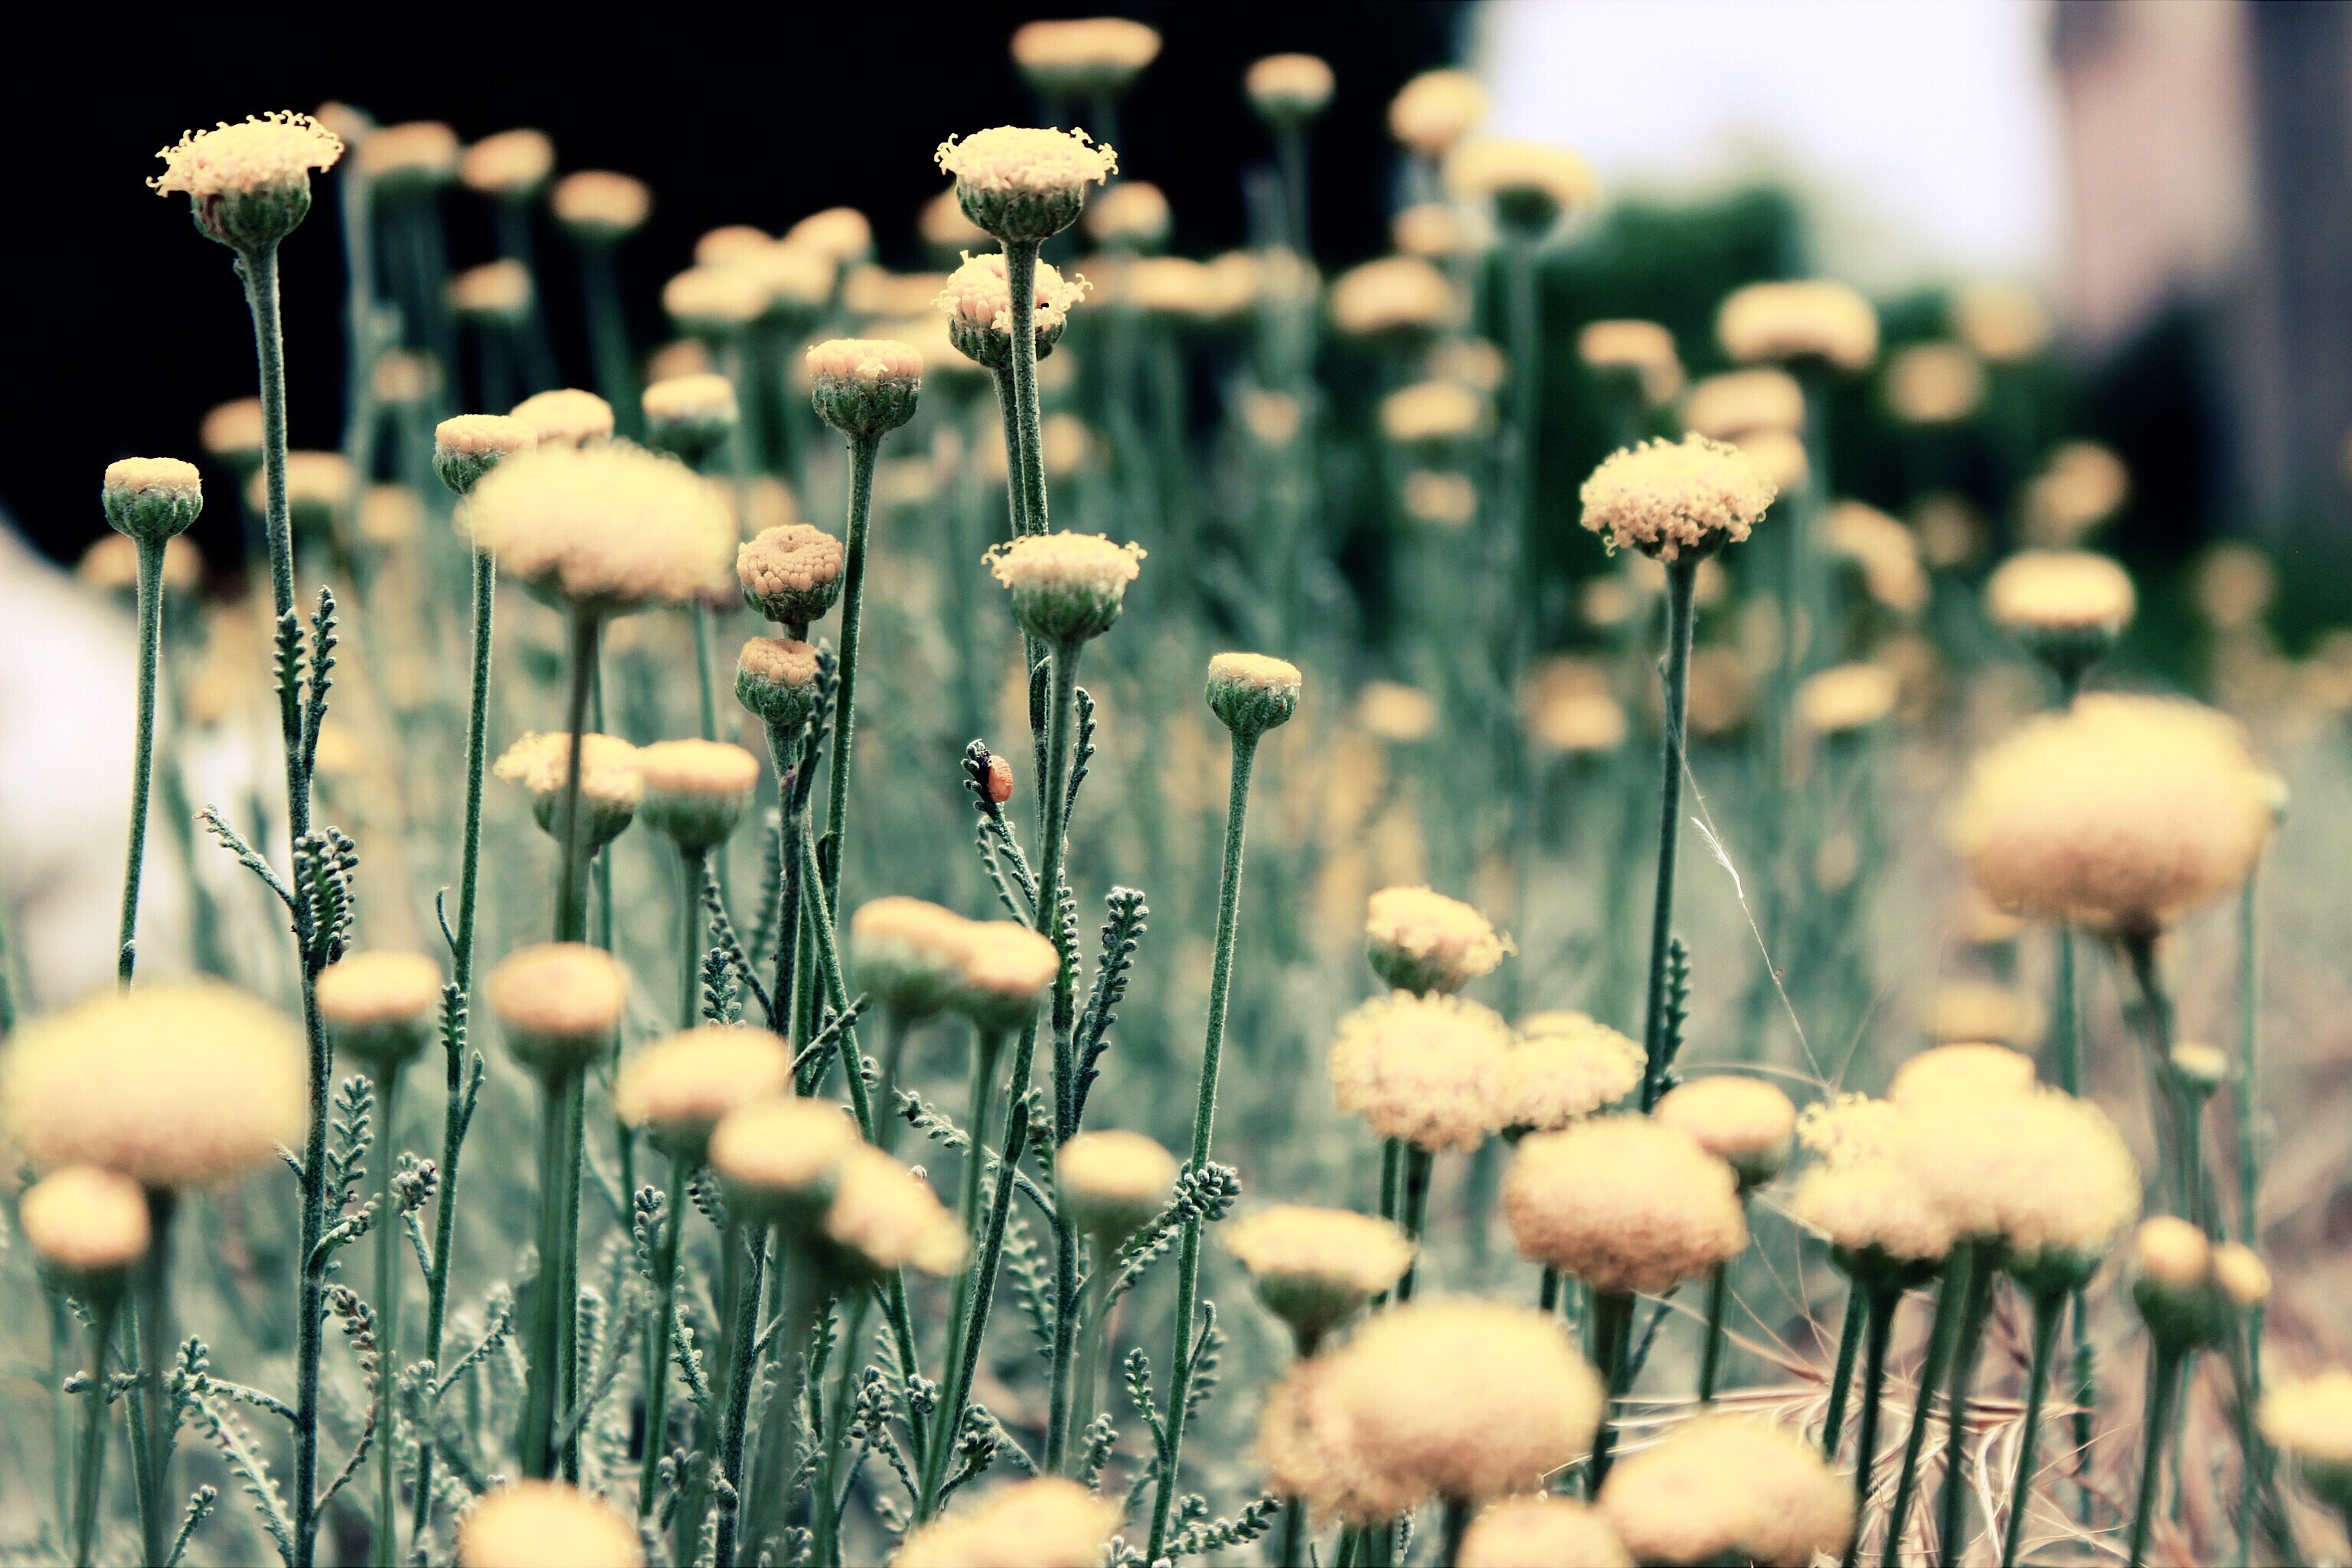
Photo by Mihail Ribkin | Unsplash License
If your image isn’t focused properly, then your image will not be what you were expecting.
Achieving the right focus starts by understanding the focus modes on your camera. Aside from autofocus (which allows your camera to do it’s best at guessing where to focus) there are two modes you should be familiar with.
• Autofocus-Single (AF-S)
As the name suggests, this is the best setting to use when shooting stationary subjects, or those subjects that won’t be moving continuously. Subjects such as landscapes, buildings, or even some portraits can benefit from the AF-S focus mode. To focus, simply press the shutter button down halfway to lock it in for as long as you hold the shutter button. Once you release the shutter, you will need to refocus.
• Autofocus-Continuous (AF-C)
AF-C on the other hand is best used when shooting action shots, such as wildlife. By pressing the shutter release halfway, your focus will be locked onto that specific subject. When the subject moves, your focus will move with it, refocusing each time you take a shot.
While there are a range of various autofocus modes, these two are the most important and useful and will help to get you started. It is also important to not confuse the focus modes with the AF/MF (autofocus/manual focus) switch that is found on your lens. This switch simple allows you to override any autofocus techniques your camera may be using. To make use of the aforementioned focus modes you need to ensure that your camera lens is set to AF.
White Balance
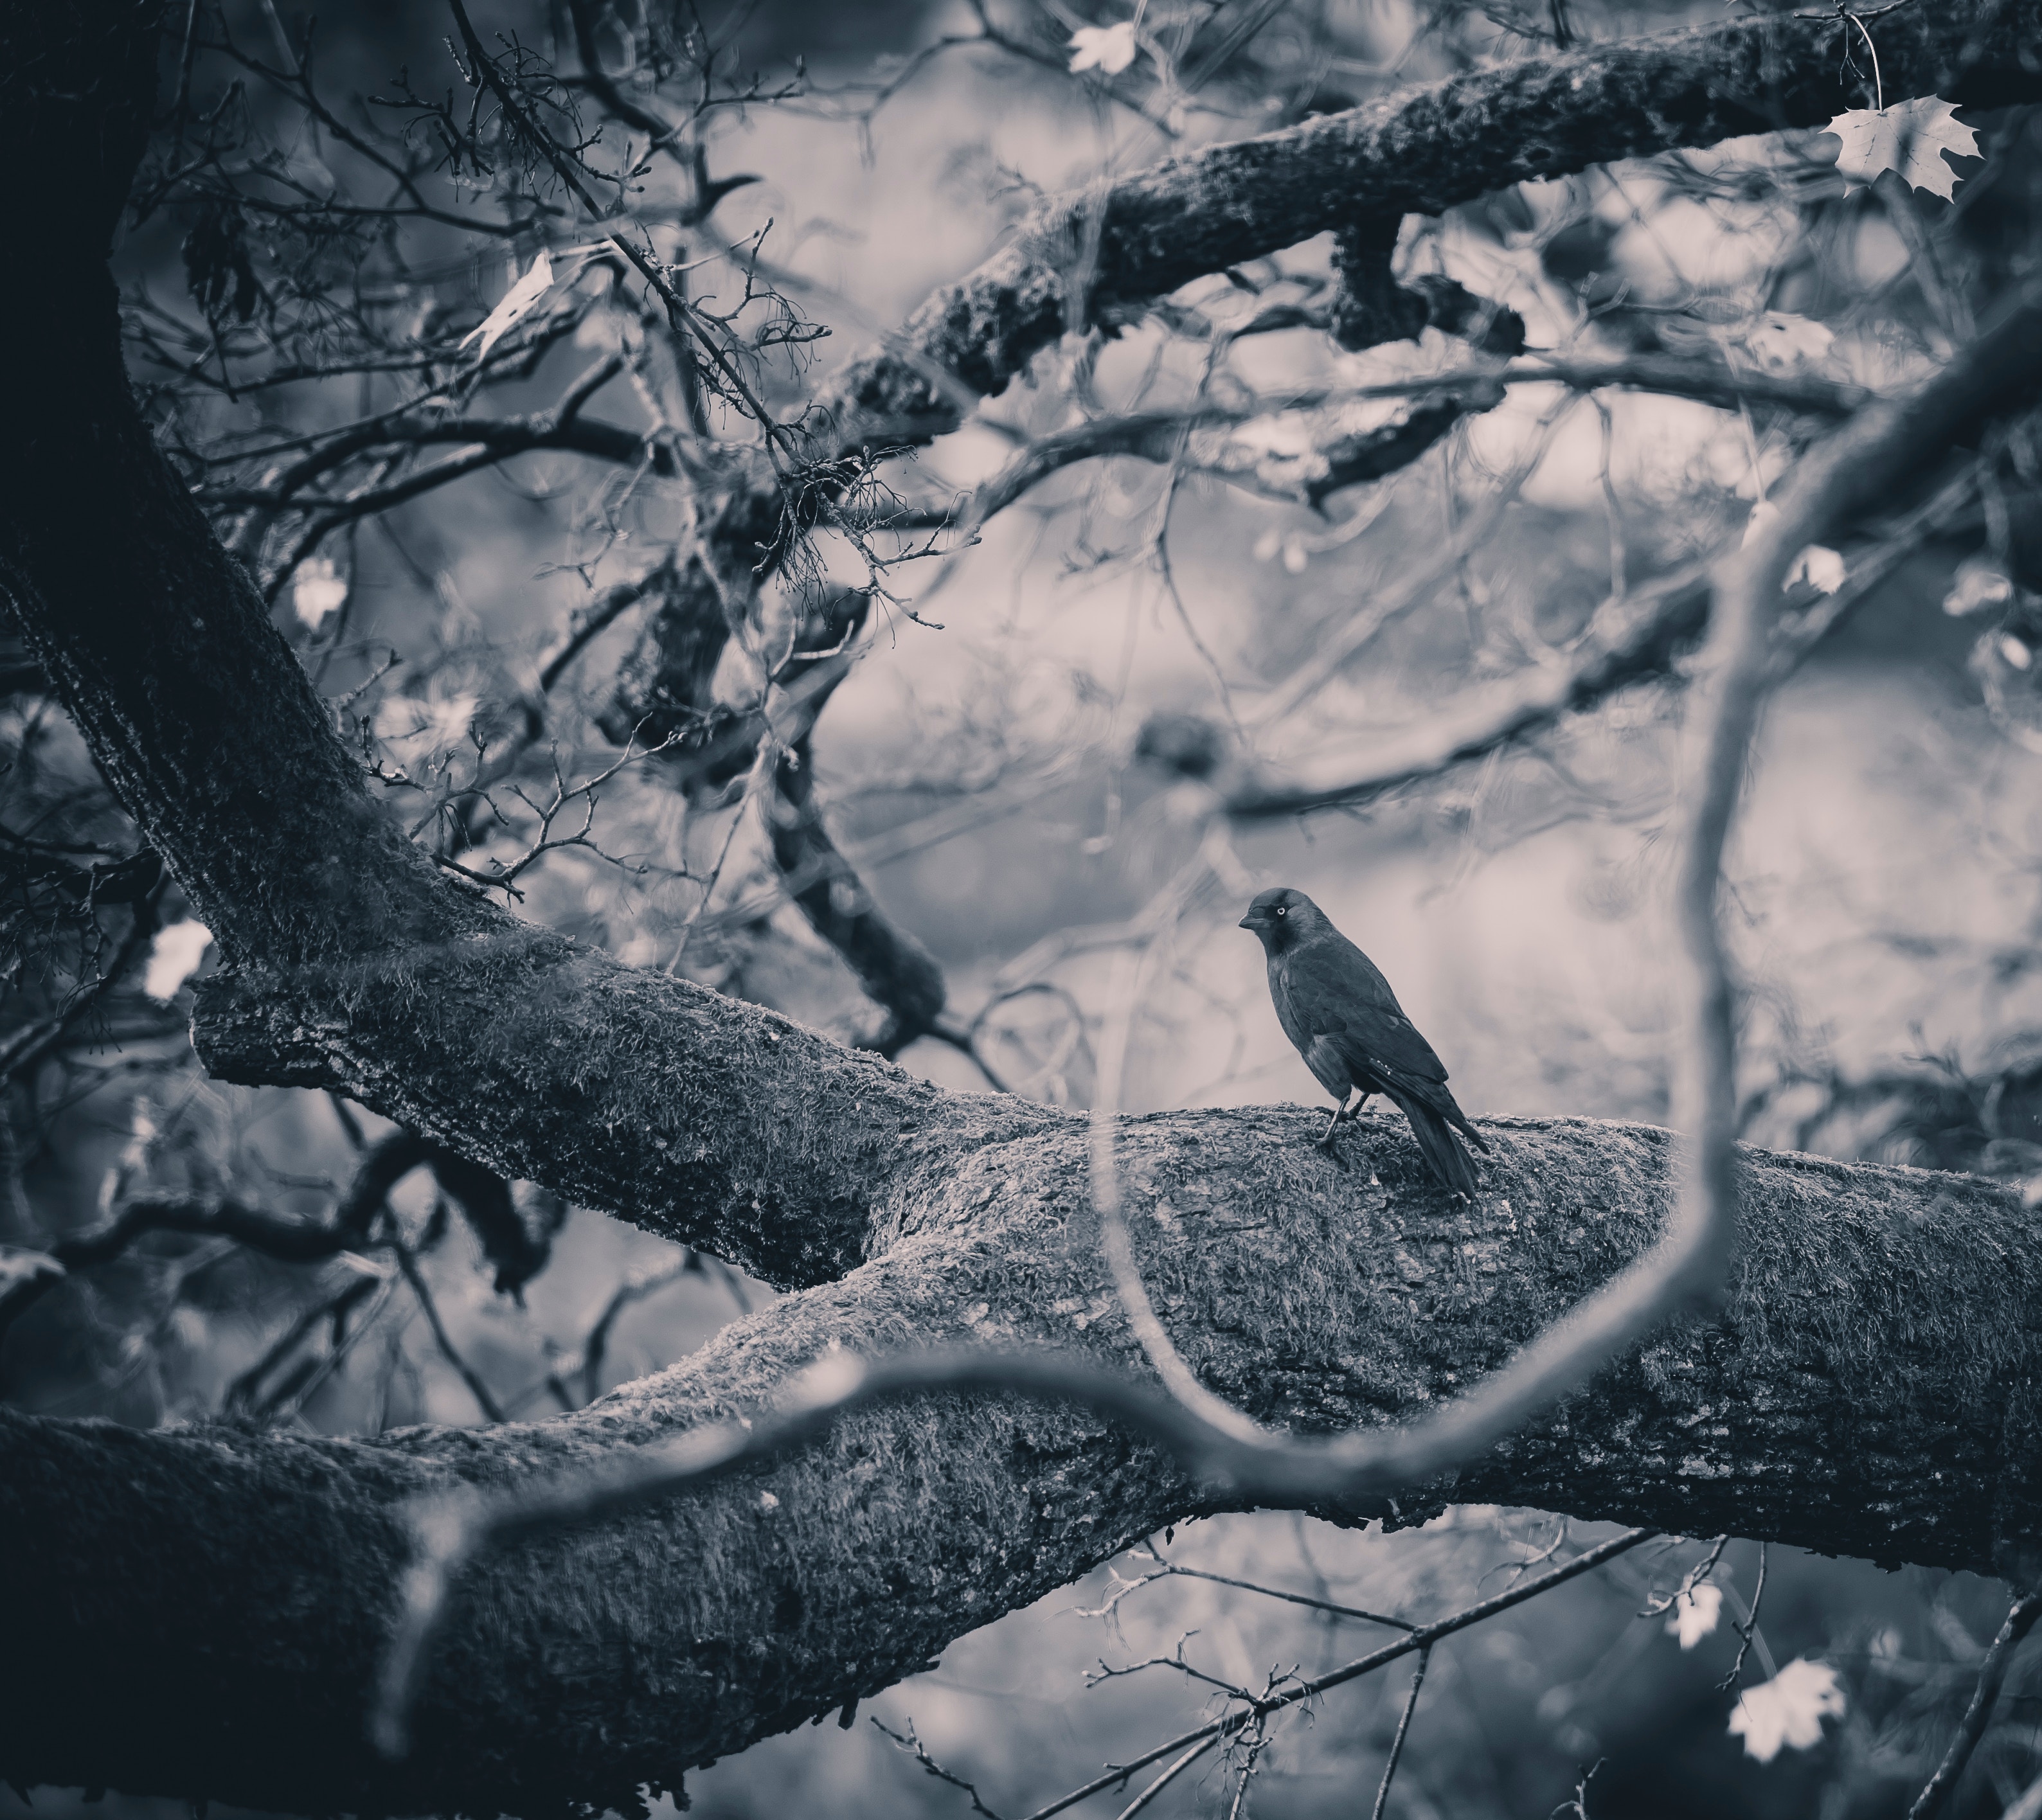
Photo by Janko Ferlič | Unsplash License
The white balance has a significant impact on the color tone of your images. While looking at your photographs, you may notice a certain color cast to them, perhaps a blue or orange hue that wasn’t in the original scene. This most likely, is due to your white balance settings. Different lighting situations give off different color temperatures and if not handled correctly, can give your image an unappealing hue. Setting the white balance is fairly simple, and can be done either by pressing a button that’s called WB and located at the top of your camera, or by going in under your camera’s menu and shooting settings and changing it there.
If you’re just getting started and not sure where to begin, consider working your way through this list, one setting at a time. You can also try taking a test shot in auto mode, then paying attention to the settings that your camera chose –and looking to recreate the shot, using the same –or slightly different settings. This will help to give you a good starting point that you can use to get familiar with your camera’s settings, before branching out and doing your own.
Once you have familiarized yourself with the settings, don’t be afraid to start trying new things Remember, it takes a lot of time and practice to perfect your techniques, so don’t worry about how your images look at first –we all have to begin somewhere. Start now, and keep shooting! You’ll get there soon enough!
Photo license links: Unsplash