Disclosure: Photography Tipsis an affiliate of Skylum. If you purchase Aurora HDR through our link we’ll be paid a referral commission, at no additional cost to you.
Aurora HDR has been the most popular HDR software for the past few years, and with the new release of Aurora HDR 2018 there are some exciting additions. Aurora is created by Skylum (formerly called Macphun), and they have been busy adding new features and improving other aspects of the program.
I’ve been using Aurora HDR 2018 for a while now, and I wanted to mention a few things that I love about it. The 2017 version became my go-to software for HDR processing least year, and the version is even better! Here are 10 things that you will love.
EXCLUSIVE OFFER: If you purchase Aurora HDR 2018 through our link you will also get our pack of 40 presets as a free bonus ($29 value)! Make sure you purchase through this link and you’ll automatically get our presets as well, plus you’ll get Aurora at the best price available.
1. It is Now Available for PC Users!
Up until now, Aurora HDR has only been available to Mac users. Since it quickly developed a reputation for being the best HDR software, many PC users were disappointed to not be able to use Aurora. The 2018 version will be available for both Mac and PC.
If you’re like me and you use both Mac and PC, you can even download both versions on the same license. You can actually have it installed on 5 computers, either Mac, PC, or both. This also means that if you switch from Mac to PC, or vice versa, you won’t need to buy a new license.
2. Improved Speed
One of the big improvements over the 2017 version comes in terms of speed and performance. The amount of time needed for merging photos is one of the downsides of HDR processing, but Macphun has helped this by speeding up the process in Aurora. I have noticed an improvement in speed on the Mac version (there was no previous version of the PC version to compare to), and that is a welcomed change. When you’re processing hundreds of photos, or more, any time you can save is extremely valuable.
3. Better Results, Right Away
Aurora HDR can be used as standalone software, or as a plugin for Lightroom or Photoshop. Personally, I use it as a Lightroom plugin since I am already in Lightroom for photo management and for processing photos that aren’t HDR merges. Of course, Lightroom has its own built-in HDR merge. While Lightroom’s HDR merge can be pretty useful, the images often come out looking quite flat and bland. Then you’ll have some work to do with the various sliders to get it the way you want. One of the things I love about Aurora HDR (both the 2017 and 2018 versions) is that the photos look much better just based on the initial HDR merge. They don’t look flat, and in many cases I only adjust the sliders a small amount to get the look that I want. And again, saving time in post processing is always good.
4. HDR Enhance Slider
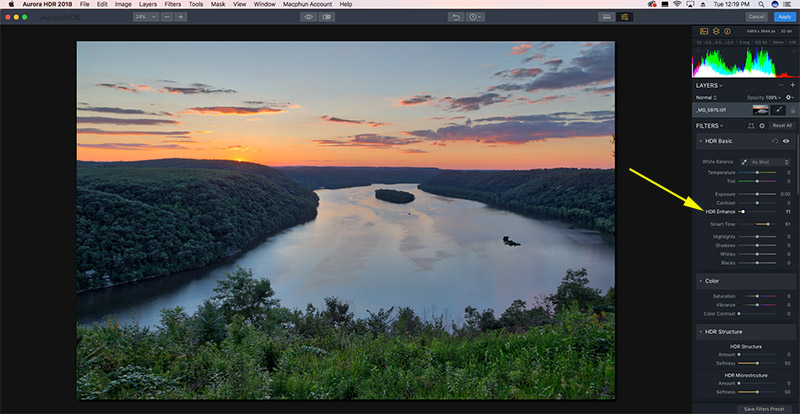
The HDR Enhance Slider
A new addition to the 2018 version is the HDR Enhance slider. This slider is a “smart” slider that impacts a few different things, including clarity. The further you push the slider, the more intense of a look you will get. In general, I only move this slider a small amount, if at all, in order to keep the results looking natural. But when you want to push an image, this is a great slider to start with.
5. History Panel
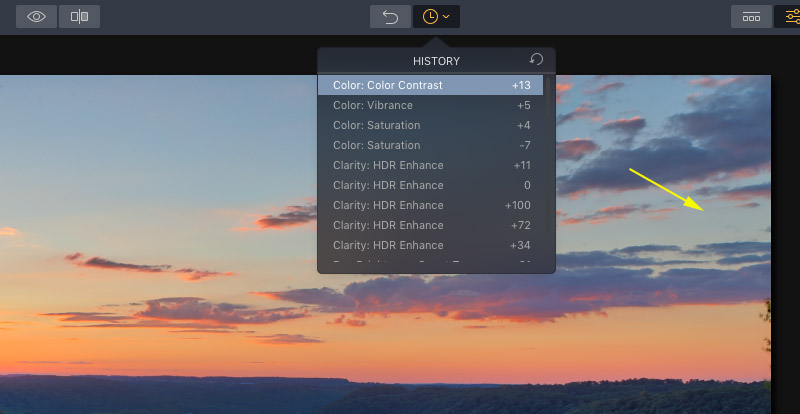
History Panel
The history panel is a big addition to the 2018 version, even if it is not the most-talked-about feature. With the history panel you can easily go back to any step or stage in the processing of your photo.
6. Lens Corrections
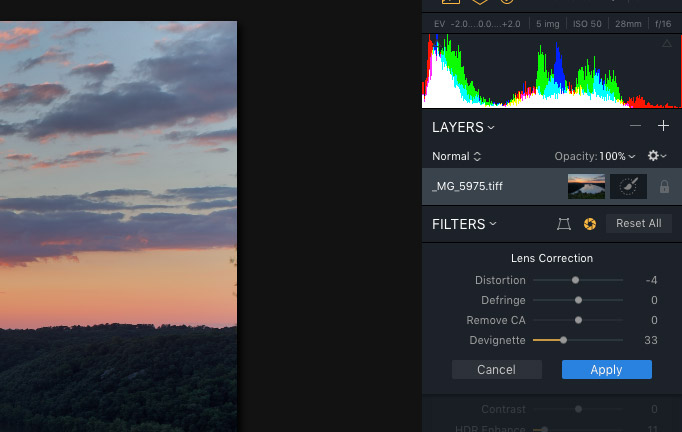
Lens Corrections
Another somewhat quiet, but important, addition in 2018 is the lens correction options. The previous version had no lens correction options. Now you can use the sliders to remove distortion and vignetting from a lens. This is a feature I was hoping for, so I was excited to see it become a reality with the new version. Although Aurora HDR 2018 does have these lens correction options, it does not have an automated option, like Lightroom does, where the corrections are automatically applied. I would love to see this is a future update, but for now I’ll be satisfied with the sliders.
7. New Interface
The user interface has been re-designed for Aurora HDR 2018. Although, personally I thought the 2017 user interface was just fine, this new interface is also attractive and intuitive.
8. Dodge & Burn
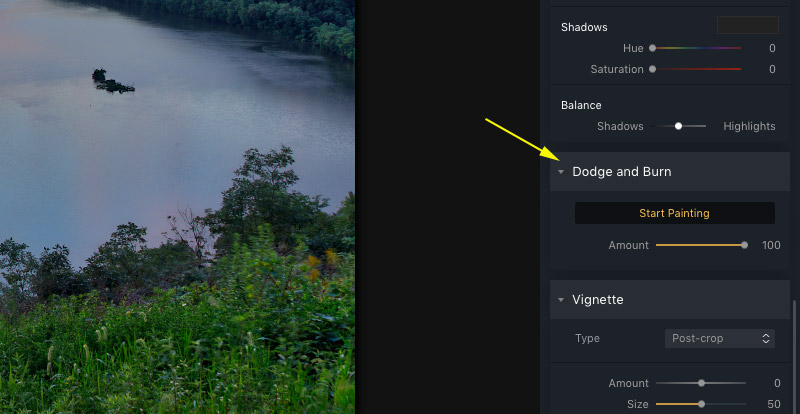
Dodge and Burn
The previous version included functionality for adjustment layers and a brush tool, which is extremely useful for local adjustments. But the 2018 version takes it further with the dodge and burn tool. This is great for putting the finishing touches on your photos.
9. Less Noise
One of the issues I run into at times (not all the time) with Lightroom’s HDR merge is that the photo can suffer from high levels of digital noise. From my experience, and this goes for both the 2017 and 2018 versions, Aurora HDR produces merged images with less noise. Of course, Aurora also has a denoise slider that you can use to reduce noise, but even without using that slider I find the results to be better, in most cases, than those created in Lightroom.
10. Smart Tone
The smart tone slider isn’t new to the 2018 version, but it is one of the features of Aurora that I really love. With the smart tone slider you can either lighten or darken the photo very easily. If you push the smart tone slider to the right, Aurora will lighten the dark areas of the photo without impacting the light areas too much. And if you move it to the left it will darken the photo without impacting the shadows too much. I find this to be a really fast and easy way to work with a photo.
So there is a look at 10 things that I love about Aurora HDR 2018. You can learn more about Aurora HDR 2018 here. And when you are ready to purchase, make sure you come back here and purchase through this link so you’ll get the best price available, plus our pack of 40 presets as a free bonus.