Do you want to capture amazing portraits, but struggle to choose the best portrait photography settings?
You’re not alone.
Choosing proper portrait photography settings is hard–especially when you’re in the middle of a photoshoot.
That’s why we wrote this article. You’ll discover the 6 settings every portrait photographer should know…
…which will get you amazing results at every photoshoot.
Let’s get started!
1. Shoot in RAW for High-Quality Photos
The default file format for most cameras is JPEG.
But…
You should always, always, always shoot in RAW.
RAW files offer far higher image quality–and far more possibilities.
Why?
RAW format preserves all the details that are captured by your camera’s sensor. Whereas JPEG photos are automatically compressed by your camera–losing detail in the process.
Plus, RAW files give you a lot more flexibility when you’re doing post-processing.
You can recover underexposed areas of the frame. You can also modify the white balance.
These are invaluable post-processing techniques! So shoot in RAW.
(If you’re not sure how to change your camera from JPEG to RAW, do a quick check of your camera manual.)
2. Shoot With Autofocus for Sharp Photos
If you want sharp, crystal-clear photos…
…use autofocus.
Most modern cameras have incredibly fast and accurate autofocus.
By using autofocus, you’ll be able to capture moments that you’d miss while trying to achieve focus manually.
You’ll be able to ensure that your photos are crisp–every single time. Even if your subject is moving.
Just be careful to chose your focus point. You want to make sure that you’re focusing on your subject’s face. Ideally, you should lock focus on the eyes.
That way, you’ll capture consistently sharp photos!
3. Underexpose Your Photos for the Best Detail (With Exposure Compensation)
There’s nothing worse than blown out images.
Unfortunately, it is very difficult to reduce exposure after a photo is taken.
An overexposed photo?
It can’t be fixed.
On the other hand, an underexposed photo…
…can be lightened in post-processing. You can reclaim the darker areas of the photo–and end up with a stunning shot.
(That is, if you’re shooting in RAW.)
And that’s why slight underexposure is critical. If you underexpose your photos, you’ll be erring on the side of darkness–and you’ll never overexpose by accident.

That way, your portrait photos will always look beautiful!
To underexpose your photos, you can use exposure compensation. This will ensure that every photo you take is darker overall.
Exposure compensation allows you to dial in various levels of underexposure. Then you can forget about it–your camera will do the rest of the work!
Note: Keep your ISO low, in the 100-400 range. This will minimize any grain added to your photos during the editing process.
4. Use Aperture Priority for Still Photography
Most cameras have four basic modes:
Automatic.
Aperture Priority.
Shutter Priority.
And Manual.
In most cases, I recommend you use Aperture Priority.
You see, Aperture Priority allows you to set the aperture on your camera–and the camera automatically chooses the shutter speed and ISO.
(The aperture is a hole in the lens that lets in light. It’s generally referred to in terms of f-numbers: f/5.6, f/8, f/16, etc. The lower the f-number, the more light let in by the lens.)
Now, the aperture determines how much of the frame is sharp. This is referred to as the depth of field.
Landscape photographers often use a very narrow aperture (in the f/16 range) to capture an image that is sharp throughout.
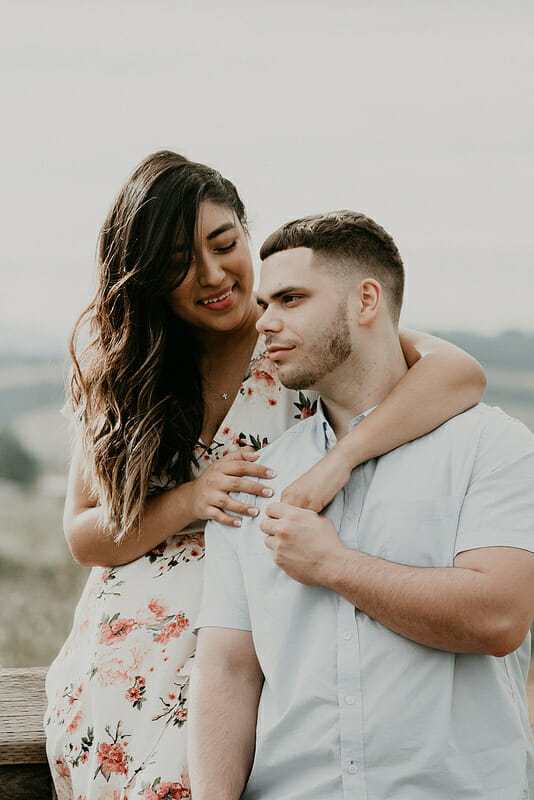
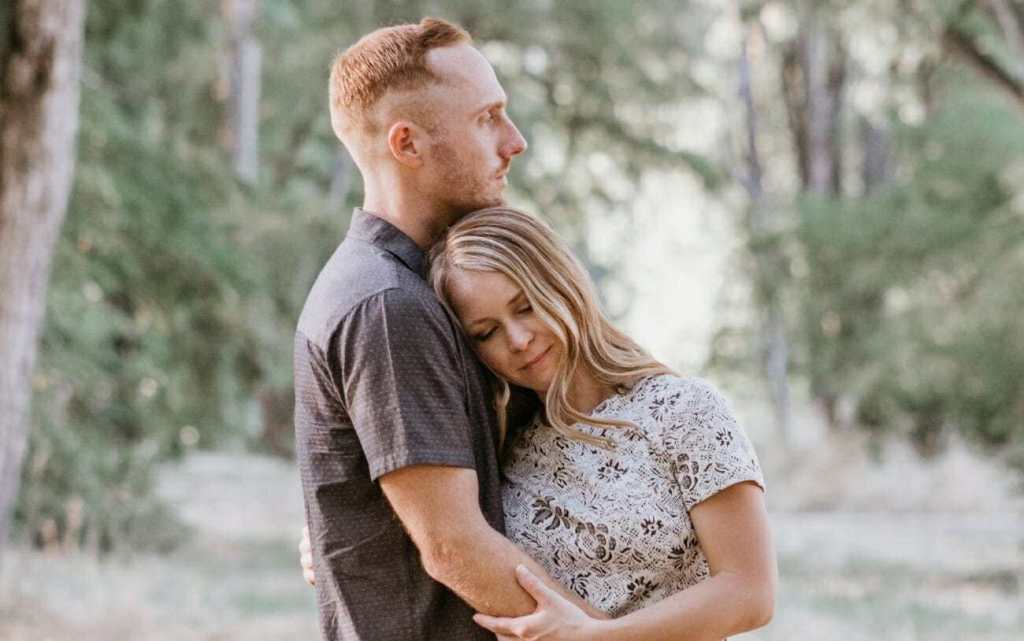
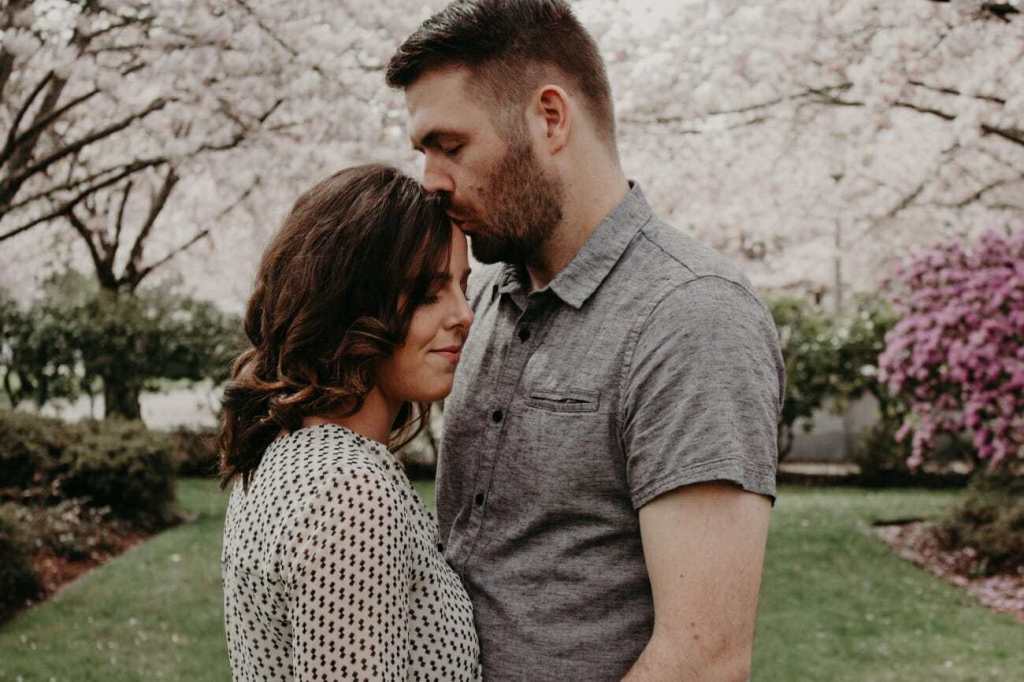
Whereas portrait photographers generally use a wide aperture to create a beautiful background blur.
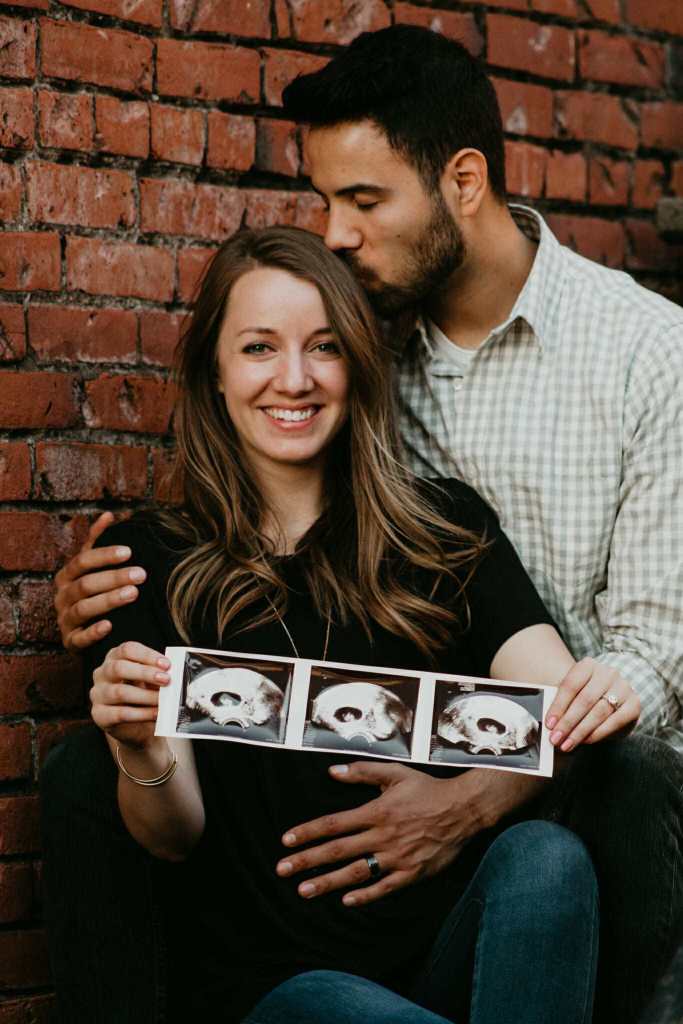
Aperture Priority is best when your subject is staying relatively still–such as during couple shoots, or low-key portrait shoots. In such cases, you don’t need to control the shutter speed. You just need to set the aperture!
In general, I recommend an aperture of around f/2.8 to f/4. This will ensure that the background is nice and blurry–while keeping your subject sharp.
So keep Aperture Priority as your default camera mode, especially when you’re shooting unmoving subjects.
However, you sometimes need to capture action shots.
Which brings me to my next tip…
5. Use Shutter Priority for Moving Subjects
Shutter Priority mode allows you to set the shutter speed–and your camera will set the aperture and ISO.
(The shutter speed is the length of time the sensor is exposed to light. The faster the shutter speed, the less light the camera takes in. Faster shutter speeds are better for freezing motion.)
Now, Shutter Priority is great for shooting moving subjects.
Why?
Moving subjects require a carefully chosen shutter speed. After all, you need a shutter speed fast enough to freeze the action–but one that won’t result in an overly dark photo.
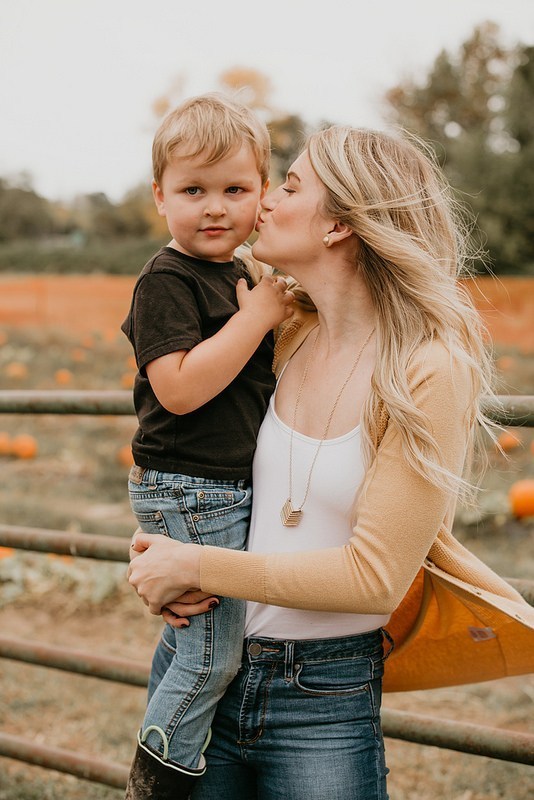
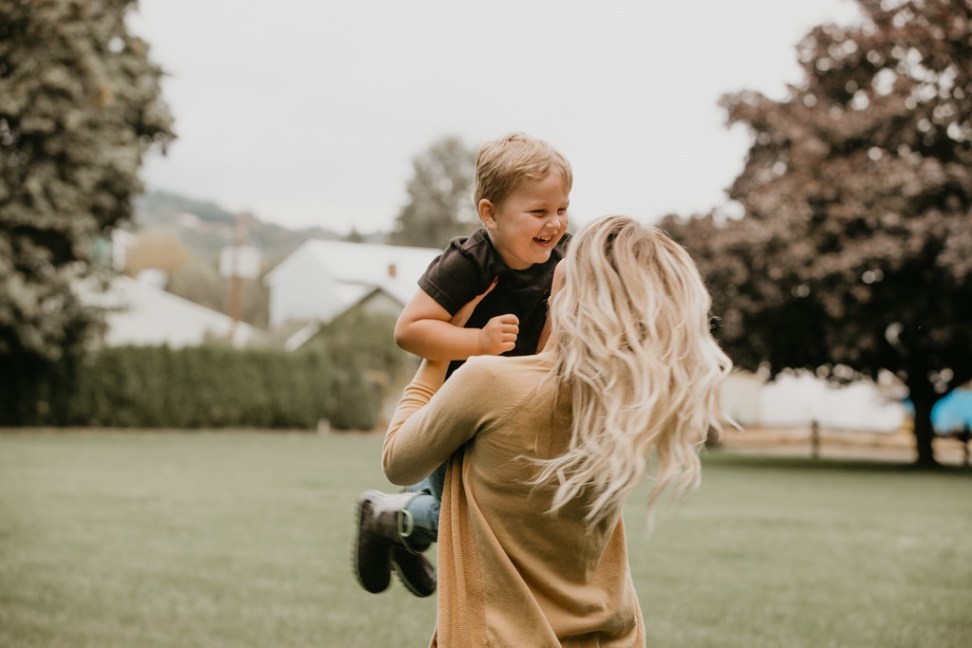
So, if you’re shooting child or action portraits, I recommend you use Shutter Priority.
For fast-moving people, choose a shutter speed in the 1/500s to 1/1000s area. That way, you’ll be sure to capture a sharp photo.
6. Shoot in Manual Mode if the Light is Low
Aperture Priority is great for still subjects.
Shutter Priority is perfect for moving subjects.
So…
When should you use Manual mode?
First of all, let me explain:
Manual mode allows you to choose both the shutter speed and the aperture. It also allows you to select the ISO setting (higher ISO settings will brighten your photos, but will also add some grain).
Manual mode gives you ultimate control over your photos.
Now, cameras are good at reading the light. So you can generally trust your camera to do a good job in Aperture Priority or Shutter Priority mode.
However, I recommend you switch to Manual mode in one situation:
If you’re shooting in low light.
When the light is low, it’s very easy to get images that are too dark (if your shutter speed is too fast). It’s also easy to get images that are blurry (if your shutter speed is too slow).
Finally, it’s easy to get images that are grainy/noisy (if you choose an ISO that’s too high).
So that’s why Manual mode is necessary. You have to carefully select a shutter speed, aperture, and ISO–that will get you well-exposed, sharp, grain-free photos.
This will take a bit of experimentation. And I recommend that you decide on the perfect Manual mode settings before you start asking your subject to pose.
It’ll be worth it, in the end.
Portrait Photography Settings: Next Steps
Now that you know the best portrait photography settings…
…you’re all set to take some amazing portrait photos!
So schedule some portrait sessions.
Take a lot of photos.
And think about your settings!
Have any more essential portrait photography settings? Share them in the comments!
Download FREE Photography Lighting Cheat Sheet
Subscribe and get a free downloadable photography lighting cheat sheet