So you just got your first camera, or maybe your first “real” camera with a removable and interchangeable lens. That’s fantastic, congratulations! Now what?
In this article, we’ll cover 8 of the most important things you need to know now that you have your first camera.
Things like setting it up properly, which options to choose, what accessories you should also get, and more.
Here’s a short summary of what you’ll learn:
- Setting the date and time.
- Putting the battery and memory card in the camera – warnings and cautions.
- What accessories you absolutely need for your new camera, and which ones you can get later.
- Attaching or changing the lens – what you need to know.
- What file size, file format, and color settings to use and why.
- What Shooting Modes to start with for now and why.
- How to get your photos from the camera to the computer, and then what happens next.
- Where to go next to learn about photography and your camera.
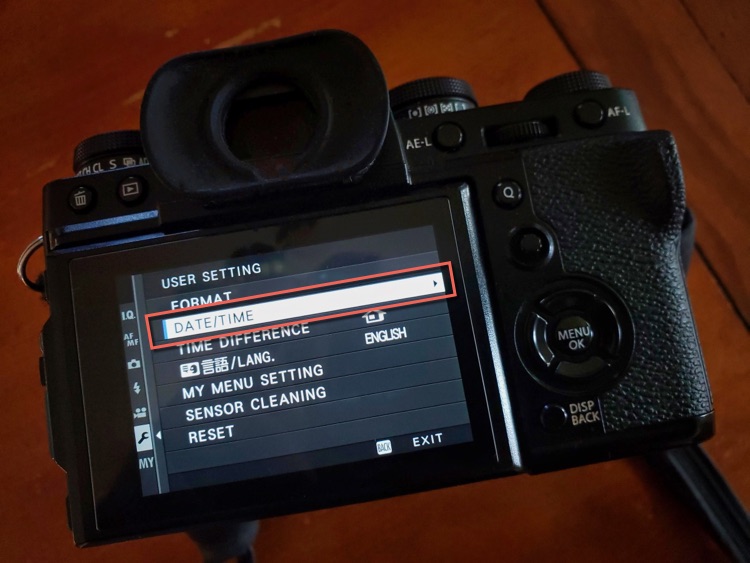
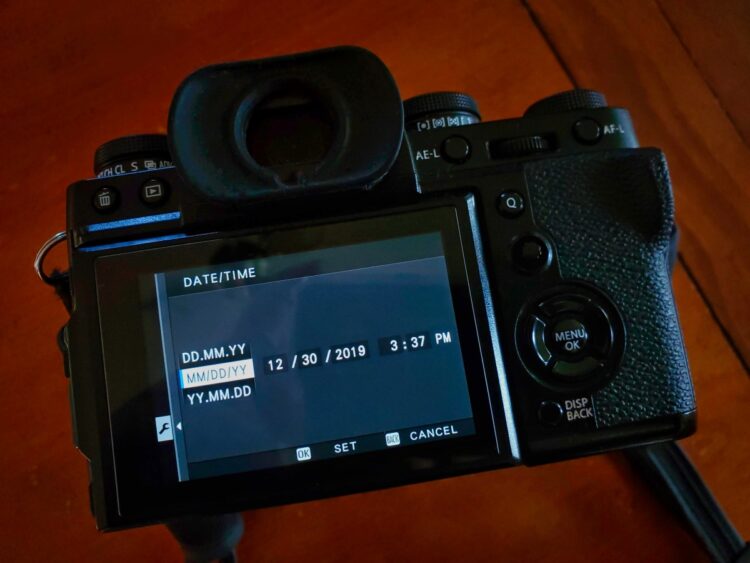
#1 Set the date and time
By setting the correct date and time, that allows the camera to properly timestamp your images.
This one seems pretty straight forward but many people skip this step and regret doing so later.
Time and date information goes into what’s called the metadata (hidden information) of your image file. Later, that will help you search for images taken on a certain date, or sort them out in the order they were shot.
So take a moment and do that first, before you take any photos.
It will be a setting in the menu system of your camera. Look for a button on the camera that says MENU. Start there.
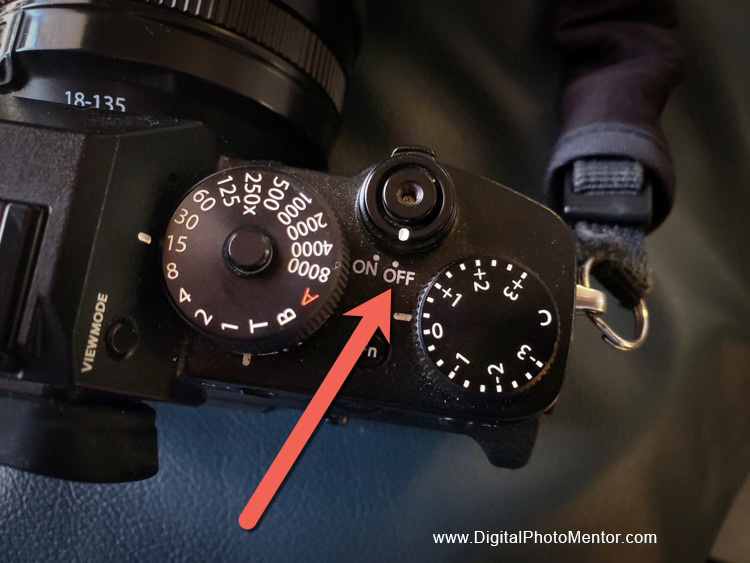
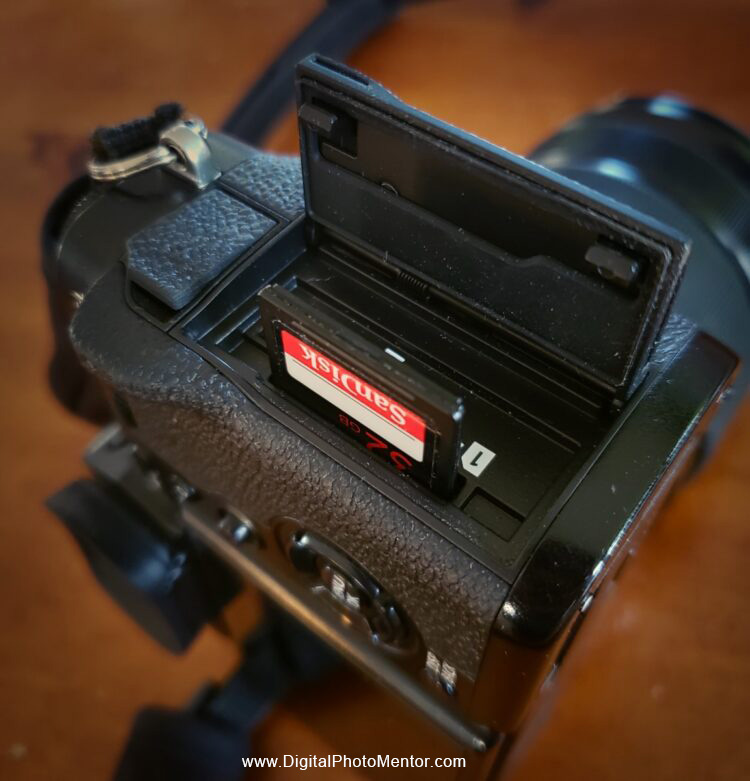
#2 Put in the battery and memory card
Again this seems pretty basic but there are a couple of things you need to know here.
First of all, always turn the camera off whenever you are changing either the battery or the memory card. Doing so with the camera turned on can cause camera errors, card crashes, or may corrupt your images (meaning they are lost or damaged).
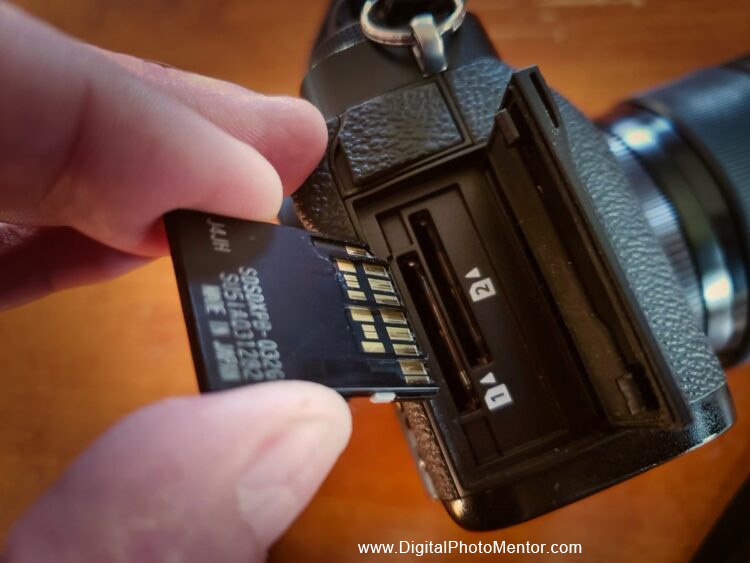
Secondly, make sure you put the battery or memory card in the right way around and never force it.
If it isn’t going into the slot easily, try turning it around (or rotating it – battery). Ensure the contacts on the battery or card are connecting with those inside the camera and they are not getting damaged.
Lastly, a bonus tip: store your batteries and cards in a safe, dry, place.
Put them somewhere they won’t get crushed or bent, or overheated (batteries can become damaged or explode). This will ensure a long life for both and safe usage for you.
#3 Which camera accessories are essential?
Following along with the tip above about storing your batteries and cards properly is getting the right accessories. There are a few things that you’ll want to get right away to go along with your new camera, and a few others that can wait until later.


Essential accessories
Here is a shortlist of the things that I feel are must-haves for your new photography hobby.
- Memory cards (you almost can’t have too many). Get ones that are fast and are a decent size. If you’re just getting started you don’t need 128gb pro cards. I recommend 32gb or 64gb size cards from Sandisk. They make the best cards and I’ve never had a single issue with one of theirs. Cheaper cards can fail which means you could lose your photos. Don’t risk it. Note: I have had issues with Lexar brand cards and tend to avoid them.
- Extra camera batteries – you want to have a least two, three is better because you never want to run out of power when you’re taking photos.
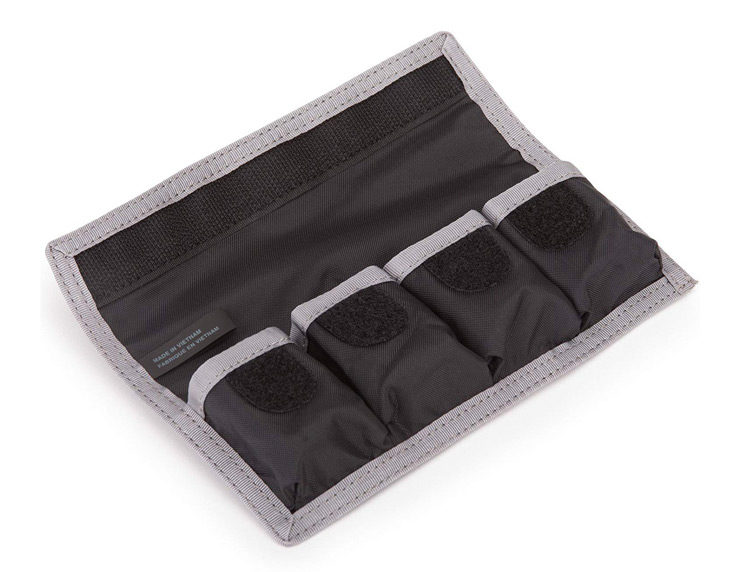
- A memory card wallet (to store them properly so they aren’t damaged or lost).
- Battery storage pouch (also for proper storage). If you are going to travel on an airplane with your camera and batteries you’ll need something like this to keep them separated to meet airline and TSA safety requirements.
- UV filter for your lens (this will protect the front lens element from dust, fingerprints, and damage). Don’t buy the cheapest brand, get a good one by ProMaster, B+W, or Lee Filters.
- A good and comfortable camera bag. You can choose from shoulder bags, sling bags or backpacks. Get one that feels comfortable when you put it on fully packed (go to a camera store to do try out bags), and one that fits all your stuff inside easily. Don’t skip this one because your camera bag will also double as storage for your gear when you aren’t using it, and make sure it’s all in one place so you never lose anything.
I personally have the Lowepro Flipside Trek BP 250 AW Backpack (it’s a great little bag for traveling) and the Think Tank Shape Shifter 15 V2.0 (but it’s likely bigger than you need if you’re just starting, it holds my 15″ laptop as well as my camera gear). Manfrotto, MindShift, F-stop, Pacsafe, Peak Design, Tamrac, Temba, Thule, and Think Tank all make really good bags that should last you a lifetime. - A cleaning kit to keep your camera body and lens in top shape. At the very least, get a few good lens cleaning cloths for the glass, and some of the wet kind for stubborn dirt.
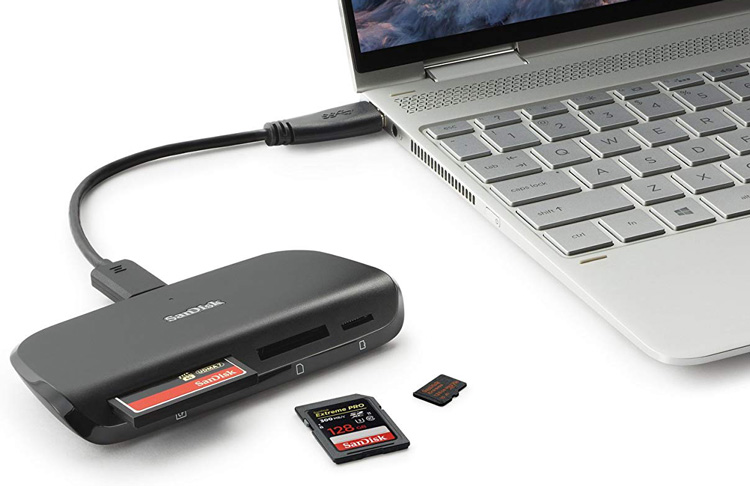
- Card reader – I’ll cover this later in the article, but just know that it’s the better way to transfer your images instead of connecting the camera to the computer via a USB cord.
Optional accessories
- Rain covers for your camera and your bag (some camera bags come with one, so look for that feature). You need to be prepared to protect your camera if you’re caught in the rain.
- Bubble levels – you can add one on top of your camera on the hot shoe to help you keep your shots level.
- An upgraded camera strap – the ones that come with most cameras are not all that comfortable or secure. Look at some other options.
- An extra battery charger – if you have more than one battery it’s nice to charge them both at once. So getting a dual charger (available for some camera models) or a second one is a good idea as well.
- A tripod – when you’re ready to take your photography up a notch, getting a good solid tripod will help you out with this. Read: Stress-Free Tips for Buying a Camera Tripod
- Upgraded lenses – this is another item that eventually you will likely want to upgrade. Kit lenses are good and can do a lot, but they can be limiting. But don’t rush to the store just yet. Figure out what you like to shoot, get the most of the lens or lenses you have now, and then determine your next step. Patience grasshopper!
I’ve made a handy list of accessories for you on Amazon, check it out here. Refer to the notes above and decide which ones are essential for you to get right away.
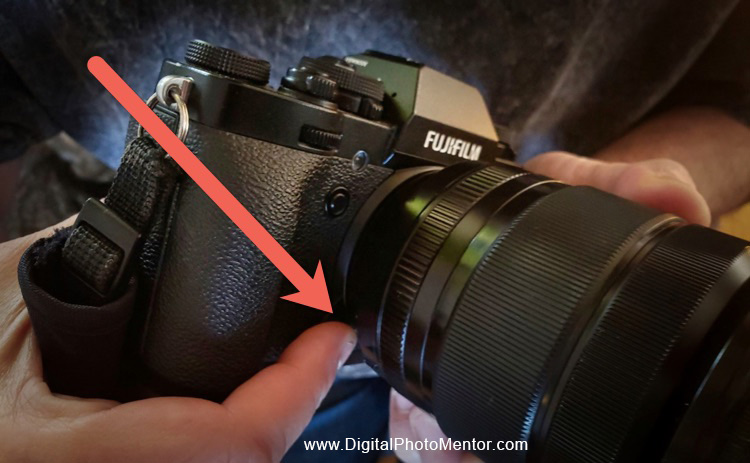
#4 Attaching a lens to your camera
If you bought a camera with a lens included, it’s likely already attached. But if you have a second one, or decide to add a new one to your bag at some point you’ll need to know how to change it properly.
There is a button on your camera body that will unlock the lens.
First, have the other lens ready to go with the rear lens cap already removed. Then, push and hold that button and rotate the lens until it comes off.
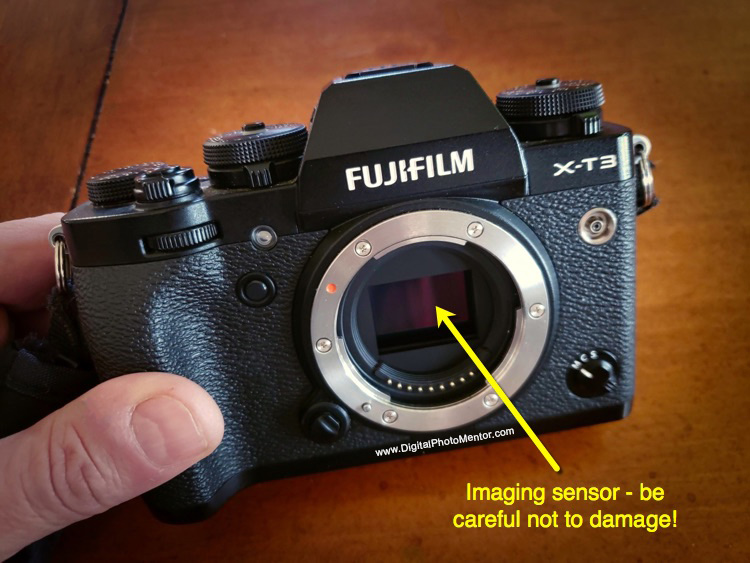
IMPORTANT: Never put the lens down on a dirty surface or put the rear element face-down. That would put the electronic contacts in danger of being scratched or damaged. Always take care to place the lens front element down on a clean surface (as in the image below), or into your bag.
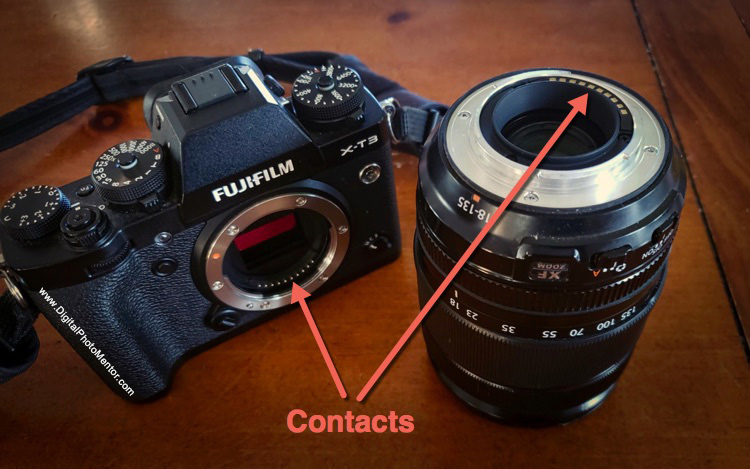
IMPORTANT: Do NOT hold your camera with the opening facing straight up! That allows dust and debris to fall into your camera and it can then get on your sensor which can scratch it (worst case scenario) or at the very least make nasty dust spots on your photos. Instead, hold it with the opening forward or downward-facing until you put another lens onto the camera body.
Mount the new lens by lining up the dots on the lens and the camera body (they’ll be white or red likely). Press the lens flat to the camera body and rotate it until you hear a click.
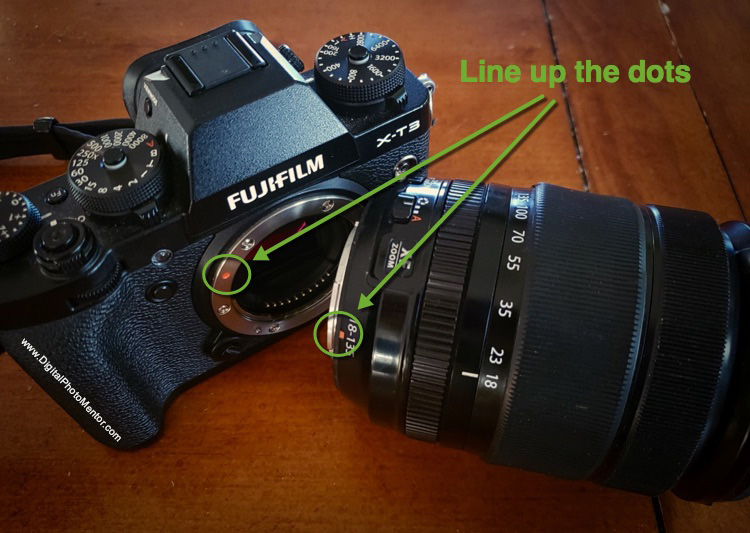
If you do not hear a click it could mean the lens is not on securely which could cause it to fall off (not good). It would also mean the electronic contacts are not touching the camera ones so they can’t “speak” (meaning autofocus won’t work then).
#5 Image size, image quality, and color settings
Now it’s time to choose a few more settings on the camera, these are important ones.
Image size
Most cameras will give you a choice of shooting different image file sizes. ALWAYS choose the largest one, no exceptions!
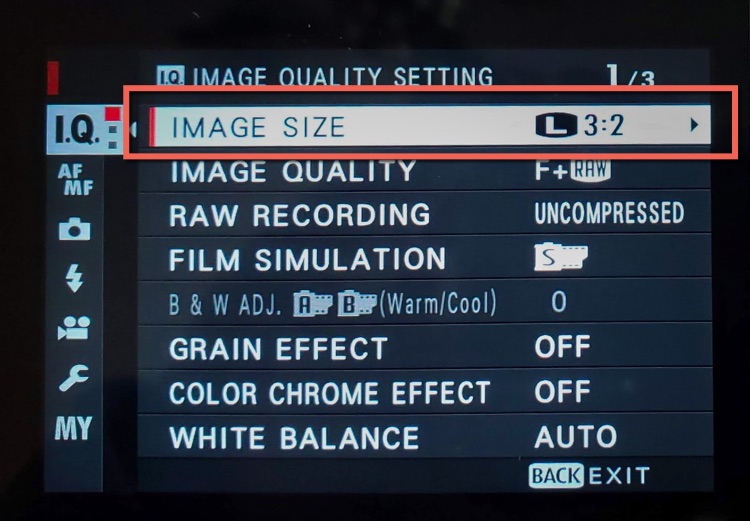
NOTE: If the Image Size option is greyed out that may mean your camera is set to shoot RAW format in which case it automatically defaults to the largest image size as well. So if you see it greyed out, check your Image Quality setting as well.
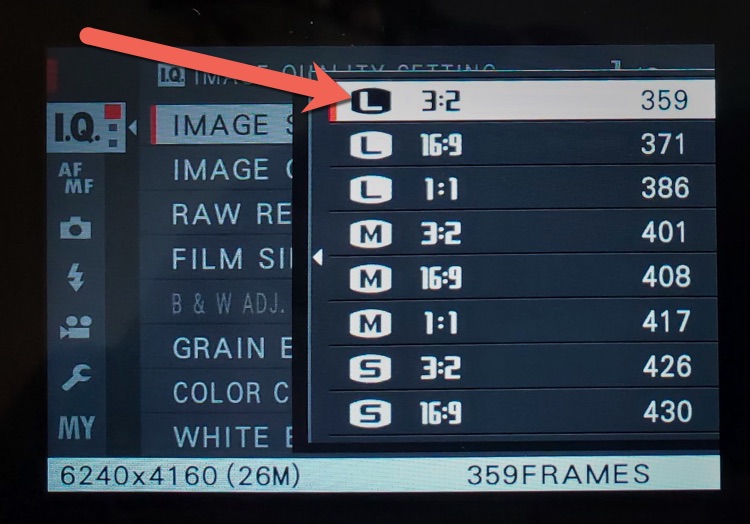
You can always downsize later if need be, but you can’t go the other way.
I’ve seen way too many people want to cry because their favorite photo that they wanted to make a large print for their wall was inadvertently shot in the smallest file size and it isn’t big enough for that. Don’t let that be you!
Image quality or file format
The next choice you have is whether you want to shoot in JPG or RAW file format, or both. It may be called Image Quality or File Format in your camera menu.
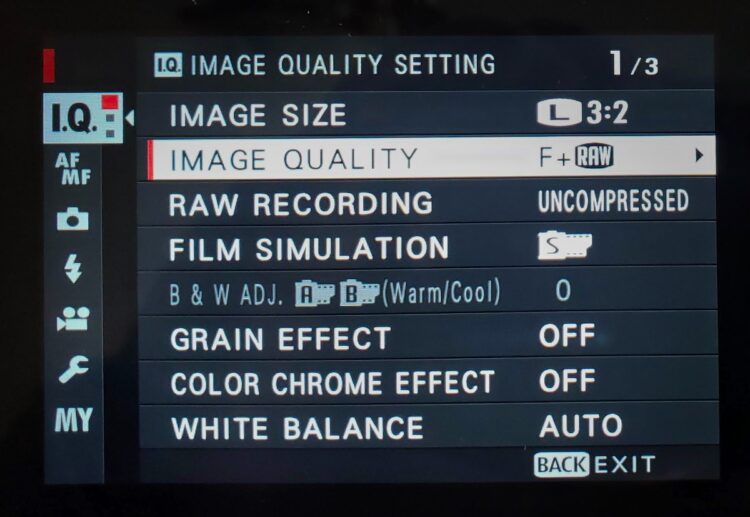
The answer depends on a few things. This is what I recommend:
JPG – if this is your first ever real camera and you have no experience shooting processing images, shoot JPG, at least for now.
RAW – if you have more experience shooting and have done some image processing you can consider shooting RAW format. Just remember that you must process these files using a raw photo editing software. You cannot share them online, send them to friends, or print them.
Read this for more on RAW versus JPG files. Why shoot in RAW format?
BOTH – If you’re on the fence you can set your camera to capture in both RAW and JPG format giving you the best of both worlds. Just note that you’ll likely need more memory cards if you go this route as it will take more space to save both formats.
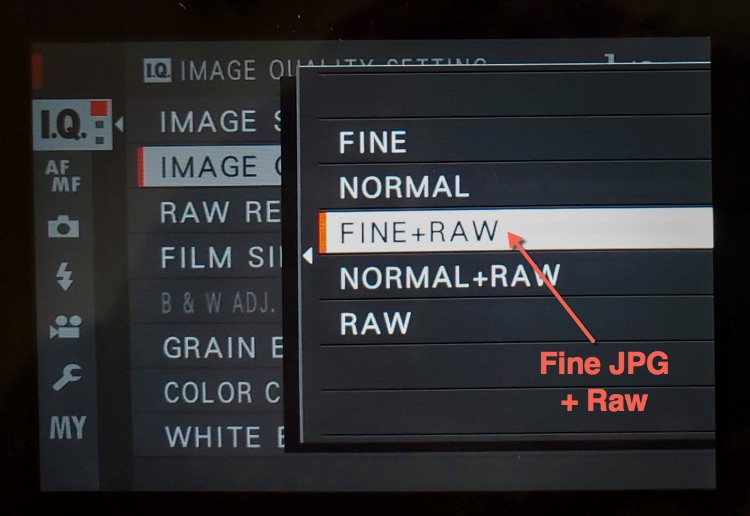
I recommend starting with JPG only, progress to shooting both, and then eventually you can move to only shooting RAW if you want (if that’s your thing and you enjoy image editing, some people don’t and that’s okay too).
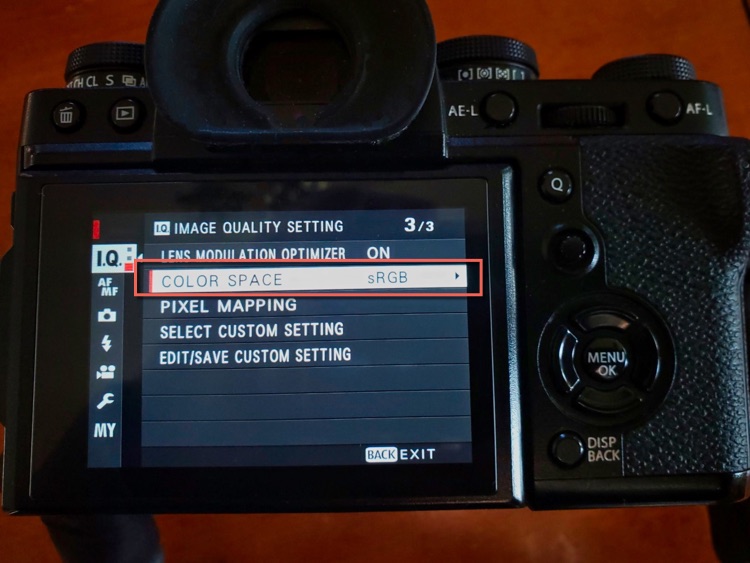
Color settings
The last option you need to choose is what Color Space you want to use. That’s a fancy term that means how many colors will your files contain.
Most cameras will give you two options: Adobe RGB (more colors) or sRGB (fewer colors). So which should you choose? Again it depends.
If you are shooting 100% JPG and have no plans to process your files then set it on sRGB. That is the standard for sharing images online and most labs use that option so you’ll get good prints. It’s the safer choice.
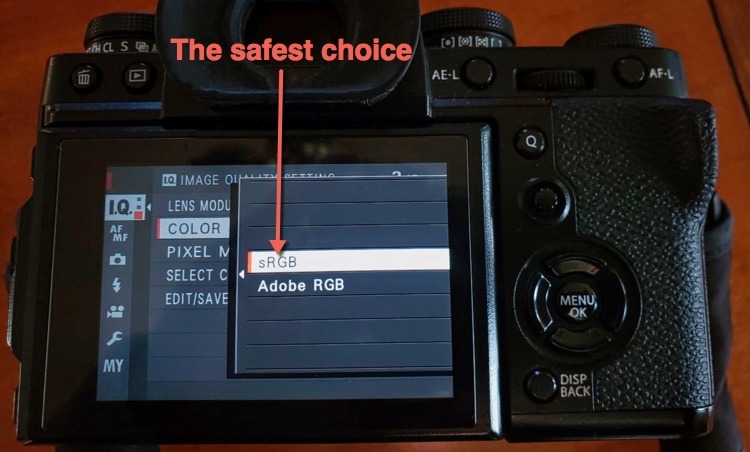
If you are shooting RAW it actually doesn’t matter. I’d still recommend setting it to sRGB because it only applies to the JPG files anyway. With a RAW file, you would actually set that in the processing stage so it’s irrelevant here.
#6 What shooting mode to use
Your new camera should have a dial on top of the different shooting modes available for you to use. You may see one of the ones below or something similar.
The ones labeled as M, A (Av), S (Tv), and P are the creative modes. Those are the ones where you have more control over the exposure settings which allows you to be more creative in making your photos.
But it also means you need to know what they mean, and how the exposure triangle works. You need to have a good understanding of ISO, Shutter Speed, and Aperture as well as how to apply them in different situations.


On the other side of the dial are the more automatic shooting modes. By selecting one of these the camera does all the work for you, all you have to do is press the button.
On some cameras, these modes are represented by little icons as you see above.
The flower is for doing macro or close-ups, the mountain scene is for shooting landscapes, the lady in the hat is for people photos, and the running man is for photographing sports or fast-moving subjects.
I recommend reading about these scene modes in your camera’s user manual to see when to use each one.
If this is your first camera start here. Just choose the one that most closely matches what you are photographing for the best results.
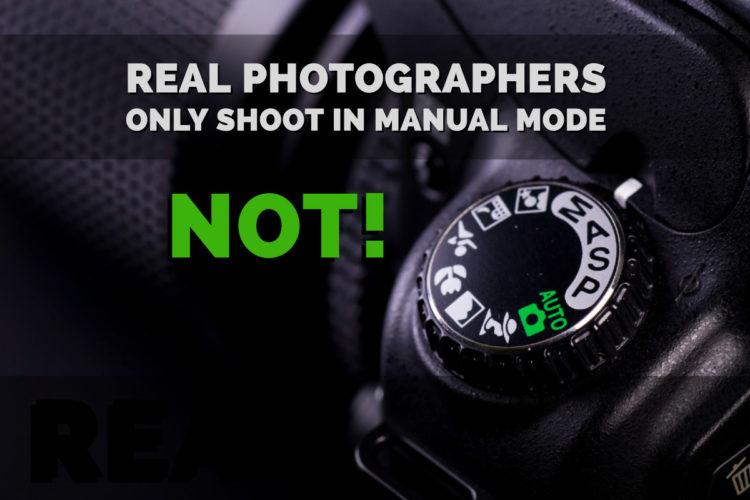
If you want a little more control you can move up to using Program Mode (P) and eventually over to the other side of the dial. You can read more about those modes and when to use them here: Real Photographers Only Shoot in Manual Mode- NOT!
NOTE: I do NOT recommend shooting in Manual Mode right off the bat or that you have to shoot only in that mode. Other photography educators may say to do so but I disagree, read the article mentioned above to see why.
#7 How to download your photos
Now that you’ve hopefully taken a few photos you need to get them off the camera and over to your computer.
That process could be an entire article all by itself so I’ll just give you a few pointers here.
- Use a card reader (see the image above) to transfer the files from your memory card to your computer. Do NOT a cord to connect the camera to the computer. It’s much slower using the cord method, and if your camera battery runs out of juice during the transfer you could lose all your images. Don’t risk it.
- Always copy the files over to the computer from the memory card, do NOT move them.
- Always use the Format Card function in your camera’s menu to erase the memory card and start again (ONLY do this once you have downloaded the card, made a backup, and checked the files on both drives to make sure they’re good). Do NOT delete the images using the computer, or use the Delete/Delete All function on the camera. Those methods will cause the card to run more actions, which in turn could cause card errors or failure in the long run.
- Store your images on an external hard drive, especially if you use a laptop only. Photos can fill up a drive real fast and cause your computer to slow down to a crawl. So start off with a good plan and get some external drives for storage. One for main, one for backup.
- Make a backup copy on another external hard drive before you delete the image from the memory card. (read more here: Tips for Creating Your Best Photo Storage and Backup Plan)
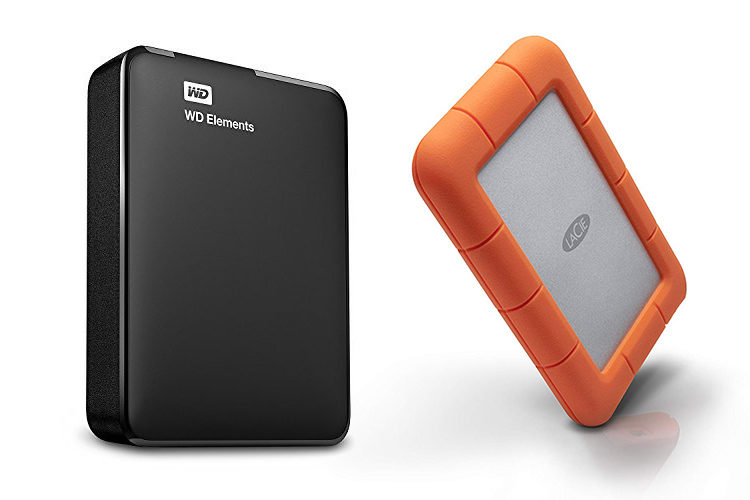
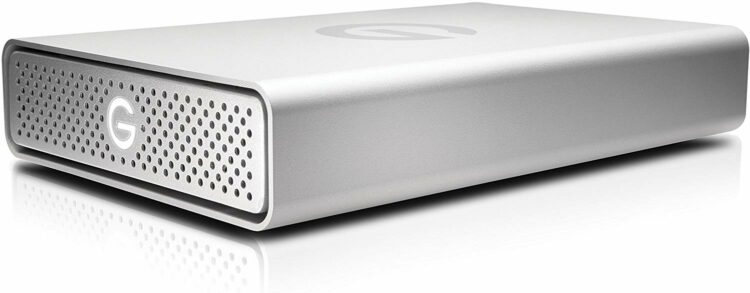
If you need to get a card reader or a hard drive I’ve added some to the recommended list of accessories for you HERE. Get a drive that is big enough to last you a while, 4 TB is a good place to start.
#8 Where to go next
Next, it’s time to start learning more about your camera and photography in general. The exposure triangle is essential to understand, so start there.
Sign up for our FREE beginner email course here. It will walk you through all the steps one by one.
Over to you
Okay now that you have your camera set up and all the bits and pieces you need to get started, it’s time to actually get out and take some photos.
To help get you motivated and give you some ideas of what to shoot we have several photography challenges here on the website. Pick one and just go for it.

Remember above everything else, have fun with your new camera. If you get frustrated with settings or it’s overwhelming, just switch it to Program or one of the Auto modes and keep going.
If the technical stuff is bogging you down, ignore it for a while and focus on learning to see light and work on your composition in order to make more interesting images. Do what you can, and the rest will come if you keep at it.
I’d love to hear about your new camera. Please share in the comment area below what camera you have, if it’s your first one, and what you’re excited to go and photograph with it.
Cheers,