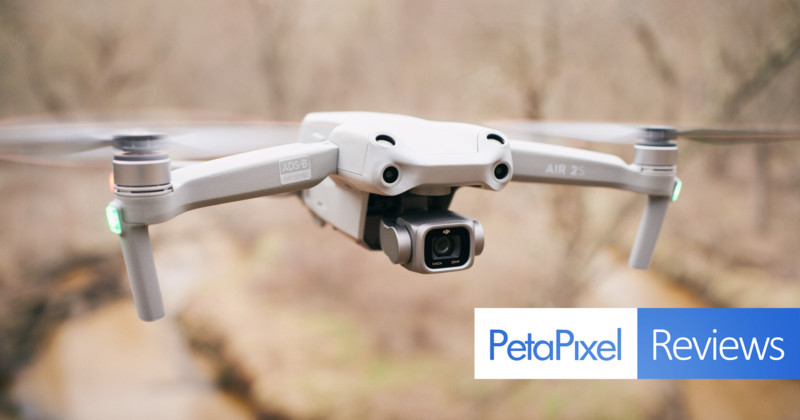
DJI is labeling the newly announced Air 2S its “all in one” drone. When something is claimed to do it all, I always wonder where the sacrifices are being made.
One year ago, DJI released the Mavic Air 2 to favorable reviews. Now, the company has discarded the “Mavic” and added an “S,” yet the Air 2S is just as much of a retooling as it is a revision. The camera switches from having a smaller sensor with a lot of megapixels to a larger sensor with not a lot of megapixels. This is a big leap that splits apart what some may have valued in the Mavic Air 2. However, the Air 2S holds onto the same design elements and adds various improvements to sensors and flight technology.
It’s an Air, but it’s now a different kind of Air.
Design and Ease of Use
At 1.31 pounds (595 grams), the larger 1-inch sensor of the Air 2S adds a touch more weight over the 1.26 pounds (570 grams) of the Mavic Air 2. Clearly, the difference with that is going to be imperceptible as far as carrying it around goes. The new drone also has the same size and look as the Mavic Air 2. The gray plastic housing and moveable parts in the form of propeller arms and the three-axis camera gimbal do make the drone seem fragile, but that feeling dissipated the more I used it and witnessed its abilities in flight.
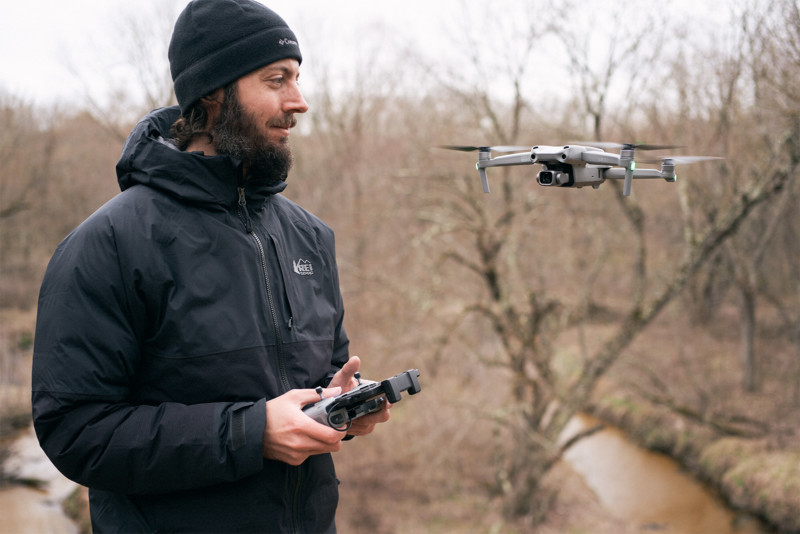
With the propeller arms folded in, the Air 2S can slide into most spots of a photo bag given there are the 7 inches of length or depth needed to fit. In all, it’s not asking for a lot. Likewise, the included remote controller has removable joysticks (and slots to store them) that make it even more compact for storing in any tight spaces. During the review period, I did not have to modify my decently full camera backpack at all to add the new drone and controller to the mix.
Talking more about the controller, it features a straightforward layout that was simple to learn on my own. It’s constructed with the same feeling material as the Air 2S with the addition of rubber grips on the backside for hand comfort. It comes with a few different plug-in adapters to fit different models of smartphones, and everything tucks in neatly when not in use. One part I found confusing was where the over-the-top loud operational beeps and fake shutter noises were coming from on the controller and how to disable them. Turns out most of them come from the plugged-in smartphone even though the controller has its own speaker, and I’d prefer if things were consolidated for simple muting of non-critical warnings.
The controller has an internal battery that can be charged via a USB-C port. Throughout testing, I never saw the battery level dip after a day’s shooting. I’d top it almost off every night simply as part of a system charging of all the drone’s batteries, but if I forgot there was no problem either the next day.
Getting up in the air for the first time was dead simple. The most time-consuming part for me was probably just attaching the propellers. Not that it’s difficult, but as you can imagine the propellers are kind of a major point in the flying process and I was cautious not to somehow mess it up. Even here, though, DJI makes it so easy by color-coding what propeller goes where and stamping on each individual blade which way to turn to lock it in place so there’s never anything to actually remember (a theme that seems to cut through everything while using the Air 2S).
Once up in the air, the Air 2S does have a new advantage in that it now features a topside obstacle sensor in addition to the three other sensors found on the front, back, and bottom. Besides sensing objects while elevating, the topside sensor also benefits the drone as it is flying at higher speed with the nose pitched downward where in effect the topside becomes a frontside sensor. Testing the sensors by flying toward opaque objects without being too reckless, I never saw any hesitation for the drone to reduce speed with enough distance to come to a stop. This can become a little bit of an annoyance when attempting to land the drone near an object as it won’t move as expected by the controls you are inputting, until realizing what’s happening.
Now up to four sensors, 3D mapping of objects for avoidance, APAS 4.0 to intelligently navigate around obstructions, and binocular zoom technology to sense obstacles further away, can you still crash the Air 2S into something? As me and an innocent tree can attest to: yes, you can still find your way into something by doing an automated sideways-flying hyperlapse shot and not creating enough waypoints to avoid obstacles. Line of sight still matters, and as I learned, the perspective from which you are observing matters in ensuring safe flights.
Image Quality
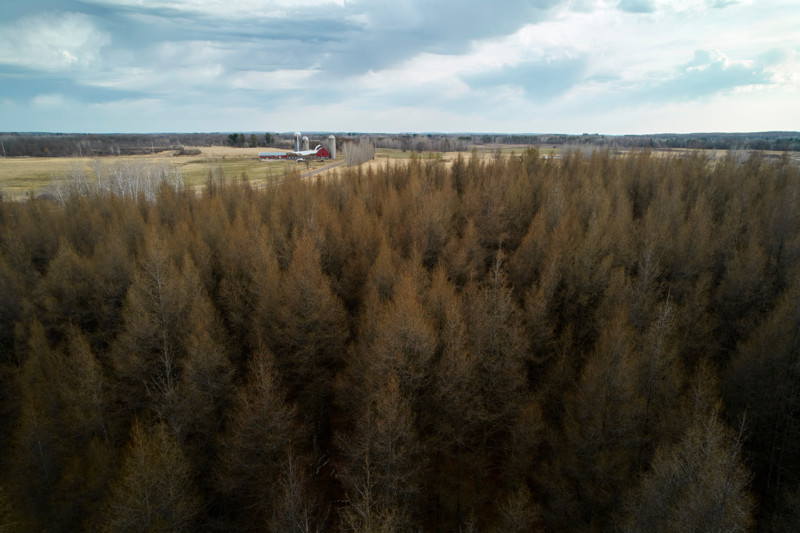
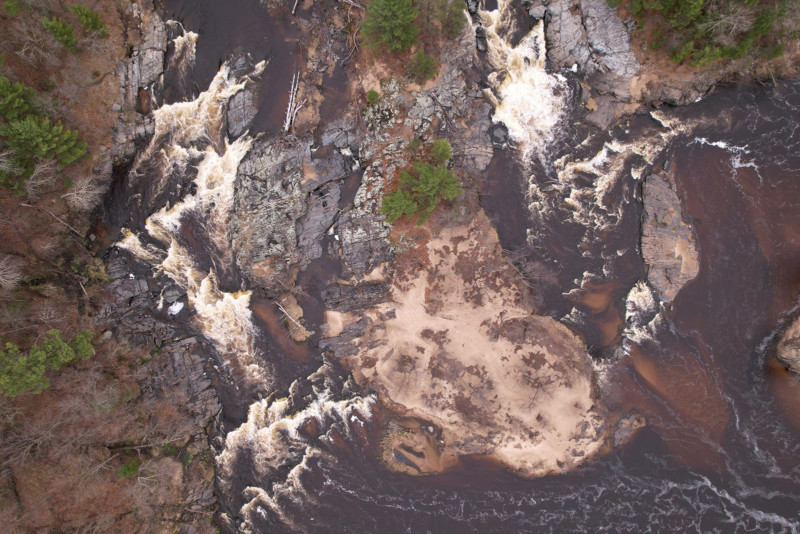
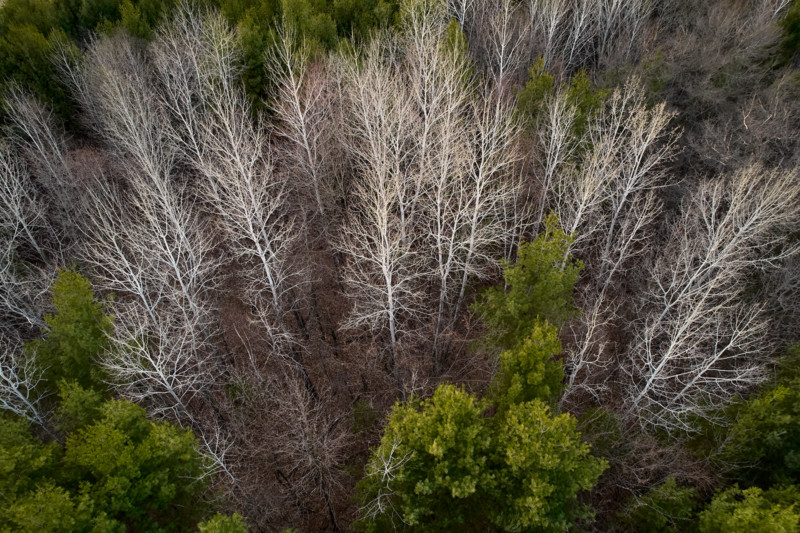
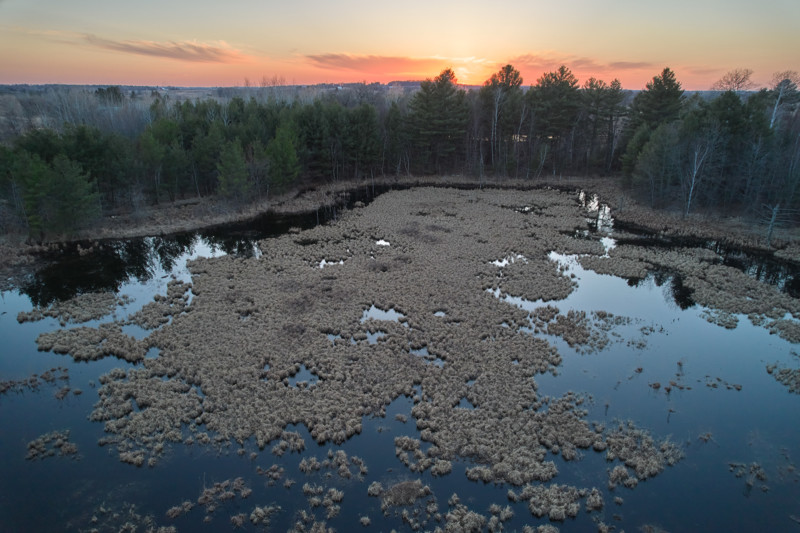
The DJI Air 2S has a 22mm lens (full-frame equivalent) with a f/2.8 fixed aperture that fronts the 1-inch, 20-megapixel imaging sensor. Small sensors shine in good light, and at ISO 100 the fine details and resolving power were impressive. These images are able to step beyond the mobile screens that smartphone photography seems to live and die on, and can withstand scrutiny on larger monitors.
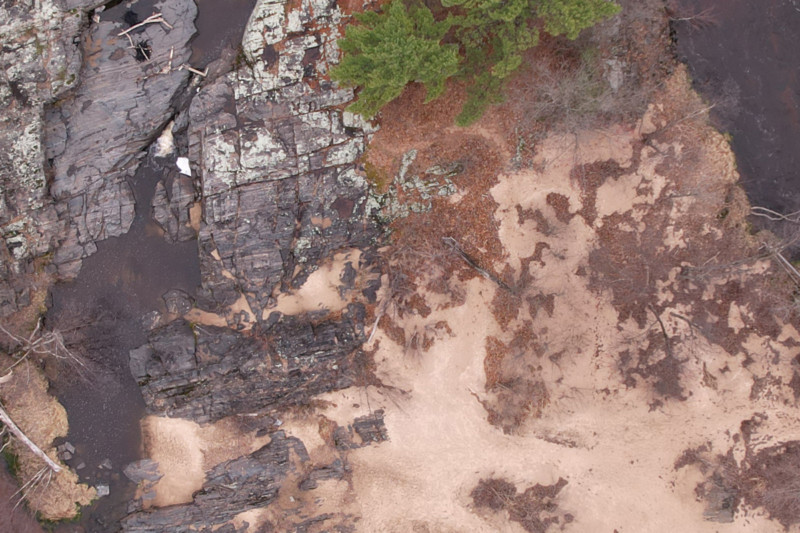
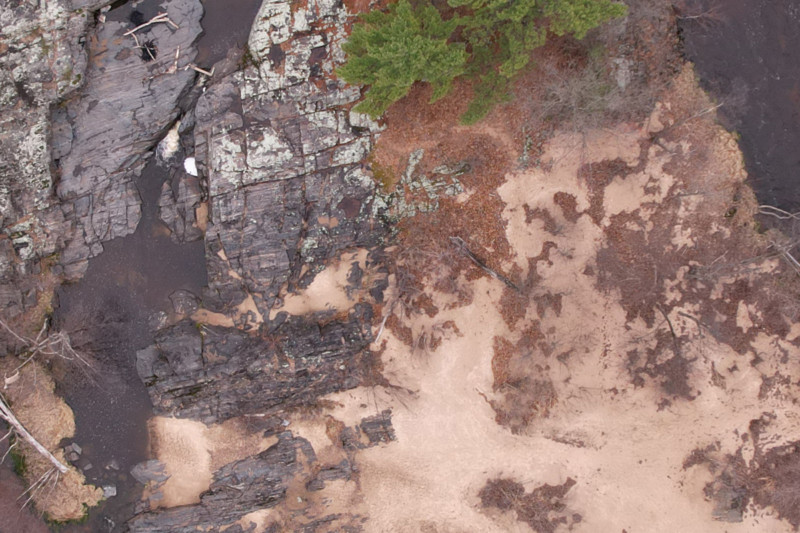
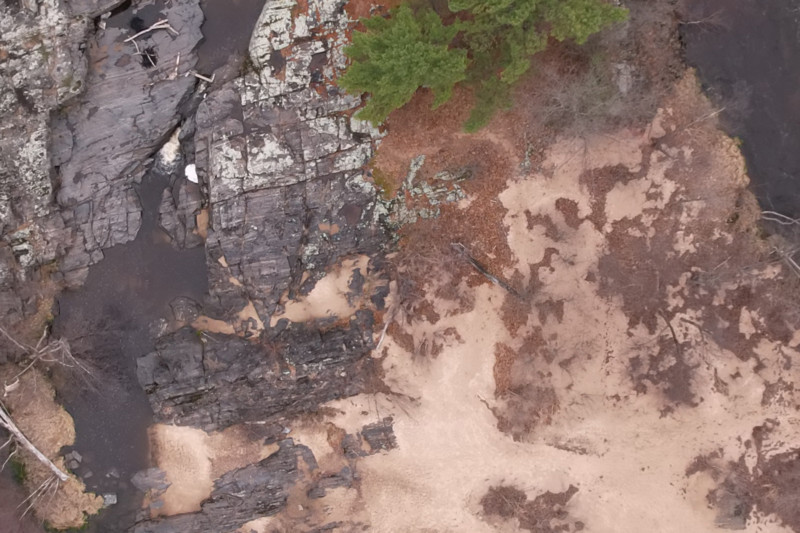
Stepping up from the 1/2-inch sensor of the Mavic Air 2, the Air 2S and its 1-inch sensor has even larger pixel photosites of 2.4µm. This should give the Air 2S a little more breathing room in image quality above its most optimal settings. As we see above in a 100 percent crop of ISO 200, one stop up from base ISO and the image still look good.
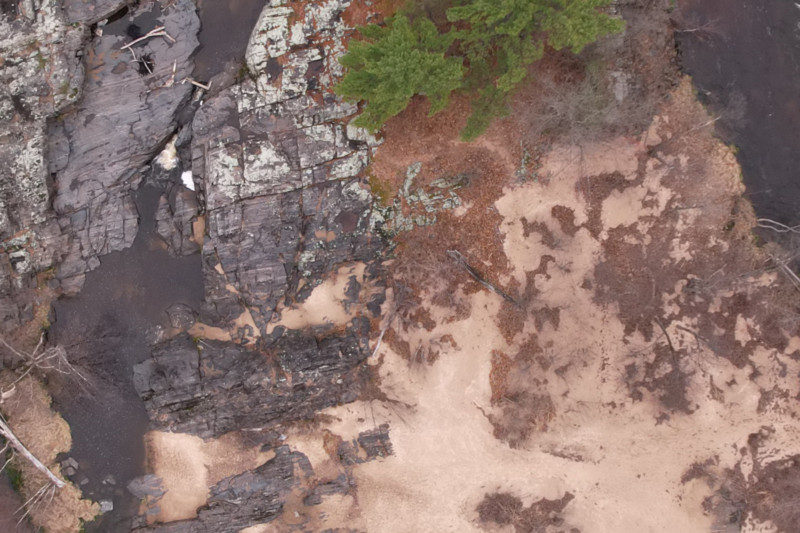
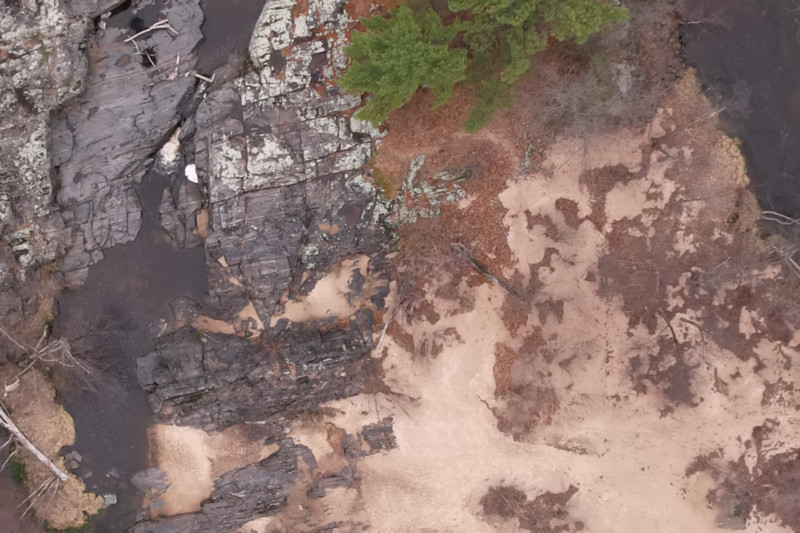
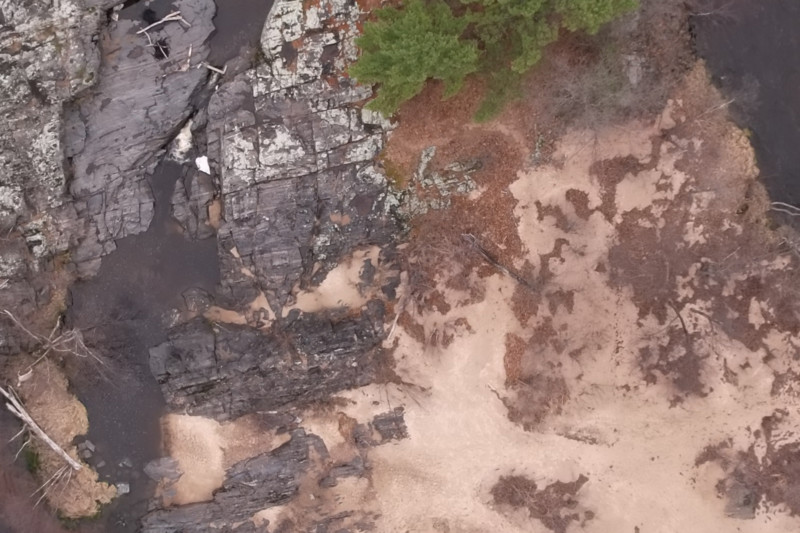
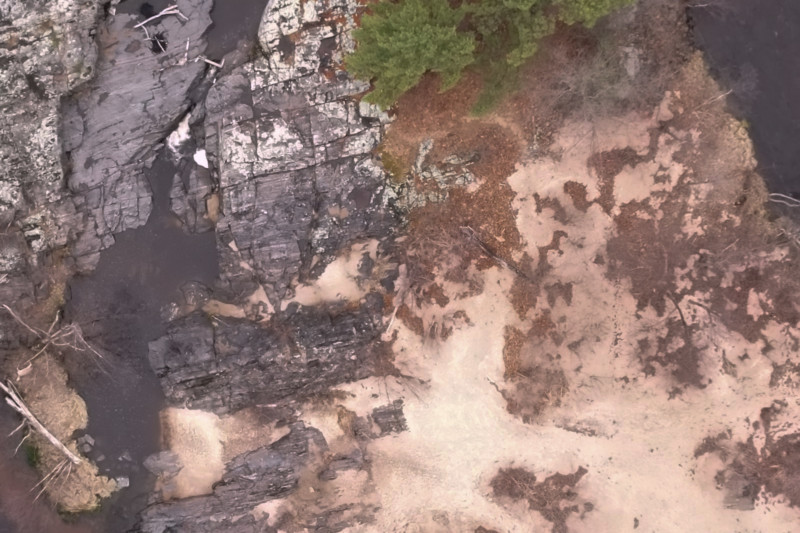
Stepping into the higher ISOs, finer details quickly deteriorate into puddles of pixels. Even by ISO 800, the resolution just isn’t on the same level as ISO 100 or ISO 200 and begins looking like low-grade phone photography. For some shooting, it might be passable, but moving beyond that is not something I see myself repeating after these tests.
One other area of weakness is the corner sharpness. Usually, strong corner sharpness is not necessarily something I hold in high regard if compromises must be made in a lens, but the nature of drone photography does lead to it being more important.

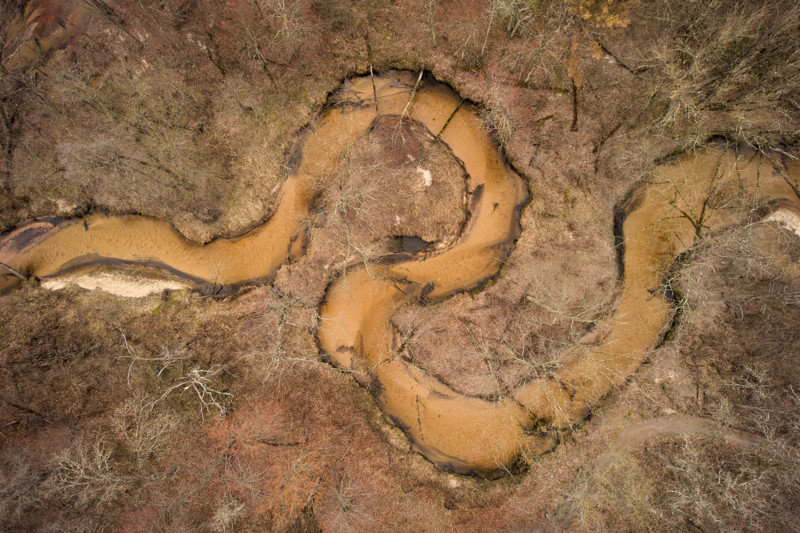
Many people love shooting aerials in the “lay flat” top-down style where everything can look so orderly and interesting from the new perspective, and it’s something where poor corner sharpness can negatively affect the flow of attention toward the center when it’s the relation of all the pieces that matter. Likewise, if you’re incorporating a drone into commercial photography work like real estate or architecture, smudging the edges is not a good look. With 20 megapixels to work with, there is some leeway to shoot further back and crop in past the extremes edges, but not much.
With 12.6 stops of dynamic range when shooting RAW, the Air 2S does play nicely in post-processing. It’s nothing magical when compared to dedicated full-frame cameras that we may also be shooting with of course, but there’s definitely room for pushing and pulling when you need to capture a high contrast scene in one image.
Video Quality
What’s true for stills in the Air 2S can be expanded upon for recording video as the stakes are higher when it’s not just one split second that needs things to come together, but many seconds and beyond. For that, stability is key and the Air 2S delivers. I’m blown away that this small drone can perform such smooth maneuvers where it looks like a camera on rails, even in moderately strong winds. Better yet, it’s nearly effortless to accomplish on the controller once the sensitivity settings are customized in the menu. The “Cine” mode settings out the box are still too jarring, but luckily everything can be fine-tuned in the app to anyone’s liking.
DJI utilizes the 20-megapixel sensor inside the Air 2S to expand its recording resolution up to 5.4K. To my eye, 5.4K on a 4K timeline fits right in with the 4K footage. The advantage with 5.4K, however, is being able to add zoom effects for a more dynamic clip or simply cropping down into a 4K picture to effectively enlarge a subject in the frame without any loss in quality. If slow motion is not necessary, shooting in 5.4K offers a lot of leverage for post work and is my go-to for 24 fps.
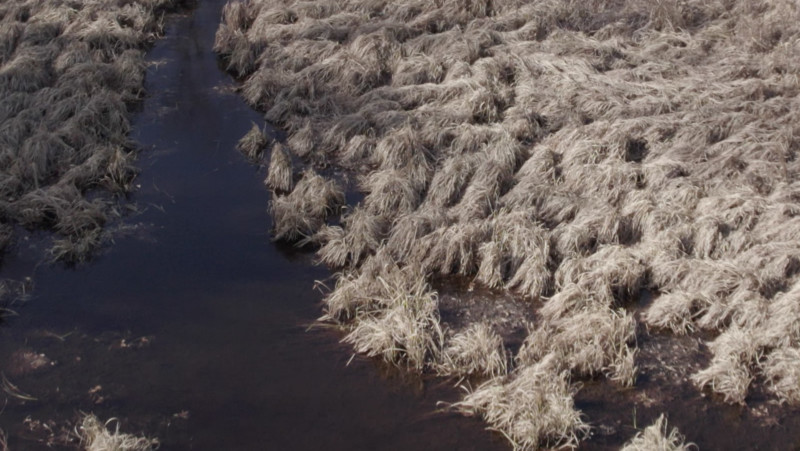
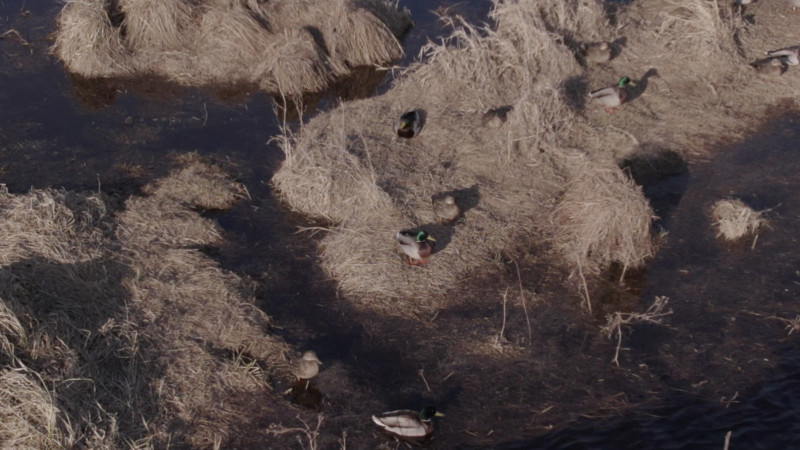
For shooting faster frame rates, 4K at 60 fps is clearly the winner in image quality over 1080p at 120 fps. Obviously, there’s a great difference in the amount of slow motion capability between them, but it’s also a difference between one being good looking and one not so much.

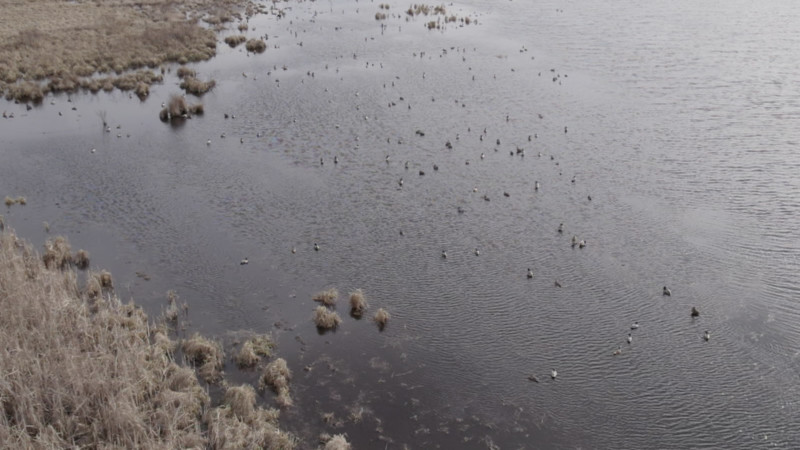
Using the slow-motion mode which records Full HD is noisy regardless of settings, and I’ve seen heavy moire artifacts over rippling water and grass fields. In the second Full HD frame above, this is happening near the center. The flashing effect is extremely noticeable in playback. Neither appears to plague 5.4K or 4K footage.
One of the firmware updates that came to the Mavic Air 2 after release was the ability to digitally zoom, and here with the Air 2S we see it at launch. You may scoff, but digital zoom in moderation has the potential to be indistinguishable and I use Sony’s Clear Image Zoom quite a bit on their cameras. In testing the Air 2S digital zoom capabilities, however, it’s not looking great. Any level of zoom unfortunately does not hold up on a computer screen. That said, if you’re recording to post to Instagram, then it may be of use. As you can see from the comparison below, scaling any of them to a small size hides the monster that is the 100 percent crop under that.
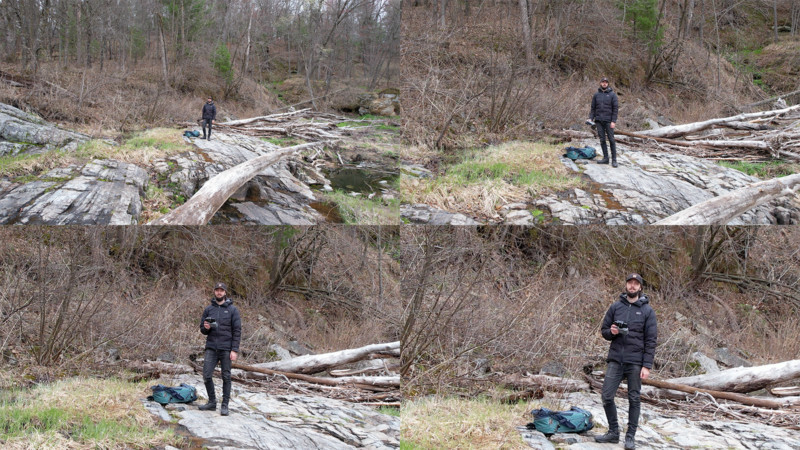
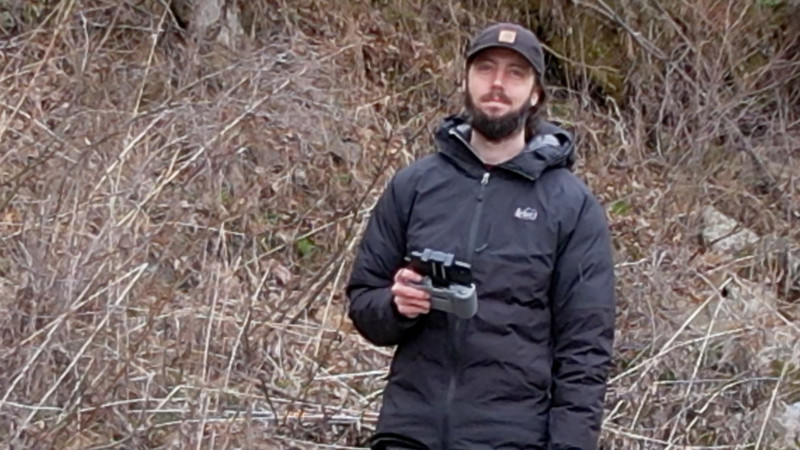
As for video editing, the Air 2S can record 10-bit H.265 files when the color profile is set to D-log or HLG. D-log is the same profile used to get a flatter, low contrast image that would require color correction anyway, and is what I shot with. It honestly surprised me how well the footage held up to grading without getting crunchy. In situations where the dynamic range was too much for the sensor, such as shooting backlit with the sun reflecting off the water (watch the video above), it never got to the point where it was so blotchy that figures moving through it lacked definition. The Air 2S is a very strong performer when it comes to consumer drone videography.
A Drone That Knows Its Priorities
Looking at the most sought-after specs of the Air 2S also reveals its strengths. Thanks in part to the 1-inch sensor, the image quality looks good even when viewed on bigger screens. The 5.4K footage matches quality with 4K, both of which look great and can be pushed and pulled in post-production with help from the 10-bit D-log picture profile.
Its main weaknesses I found are in high ISOs and Full HD footage. For the Full HD 1080p video, it’s fine. They can keep that as it’s not exactly high on my list when 5.4K and 4K are there. While being able to use higher ISOs is never a bad thing, I’d wager most people will be getting away with ISO 100 to 400 no problem for everything they do. Between the added distance a drone requires and the 22mm lens, if freezing motion is the issue it can do so with less shutter speed. Otherwise, I’ve seen no problem in dropping the ISO down and letting the shutter fall where it may. If anything, it’s been a constant fight for me with the Air 2S to knock out more light with neutral density filters.
Are There Alternatives?
The DJI Mavic Air 2 released last year is probably the best to compare to because of how alike and different they are, and there are tradeoffs where the older model might be a better fit. While the Air 2S gets a larger 1-inch sensor with 20 megapixels to work with, the Mavic Air 2 has a smaller 1/2-inch sensor but a big bump of 48 megapixels. More megapixels on the Mavic Air 2 also means it can record 8K hyperlapse videos, but as for standard video recording the new Air 2S beats it with up to 5.4K resolution.
If it’s purely a megapixel war for capturing stills in good light, the Mavic Air 2 has merit to win. But again, the Air 2S also brings the latest safety improvements such as the added topside sensor and APAS 4.0 obstacle avoidance, plus the third-generation OcuSync — now called O3 — for better remote transmission.
Should You Buy It?
Yes. The DJI Air 2S impressed me in all the ways I would actually put the drone to use in my own shooting. Getting up in the air has been made so simple, and the joy of floating around with a new perspective never ceased to amaze me. Seemingly complex filming maneuvers can either be automated with the DJI Fly app or done on my own without much learning curve. Better yet, getting home with what I captured lived up to be worthwhile for the time spent out getting it.