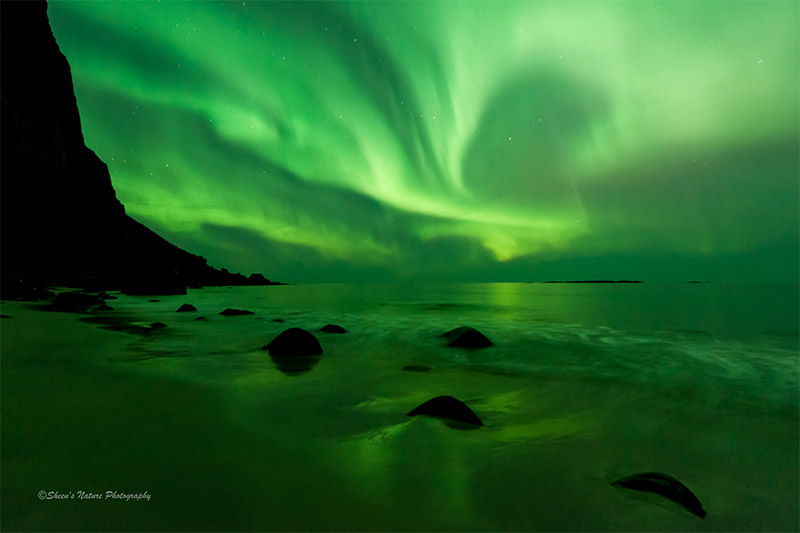
Seeing Green by Sheen Watkins
One look at the Northern Lights (Aurora Borealis) and you’re destined for a speechless moment. For night sky photographers, the northern lights represent an amazing photo opportunity. For others, it’s simply a must-see for those who enjoy night skies and star-gazing. I recently traveled to the Lofoten Islands in Norway. I witnessed one of the most dazzling displays of the Aurora Borealis in fifteen years.
The Northern Lights are unpredictable, beautiful, ever-changing. They are intense and bright, or soft and pail. They may have subtle movements or fill the sky with dramatic dancing.
Let’s meet and photograph her. Or should we refer to Aurora Borealis as a he?
It was in the early 1600’s that Galileo named the Aurora Borealis. Aurora’s name comes from Greek mythology. Roman Aurora is the beautiful goddess of the Dawn. Borealis is named after “Boreas”, the Greek god for the north wind. The science behind the etherial display is a result of solar winds combined with particles in the air energizing the magnetosphere.
Even in areas where the Northern Lights are likely to appear, there are no guarantees. She may offer her display early in the evening or in the middle of the night. She is known for forcing you out of bed at 2 a.m. Or she may appear in the middle of the day when you can’t see her.
I’m sure you’ve noticed that I’ve elected to refer to her as a she. The reason is that she took on many shapes and formations. The image below looked like an angel in the sky while casting a green glow on the mountain.
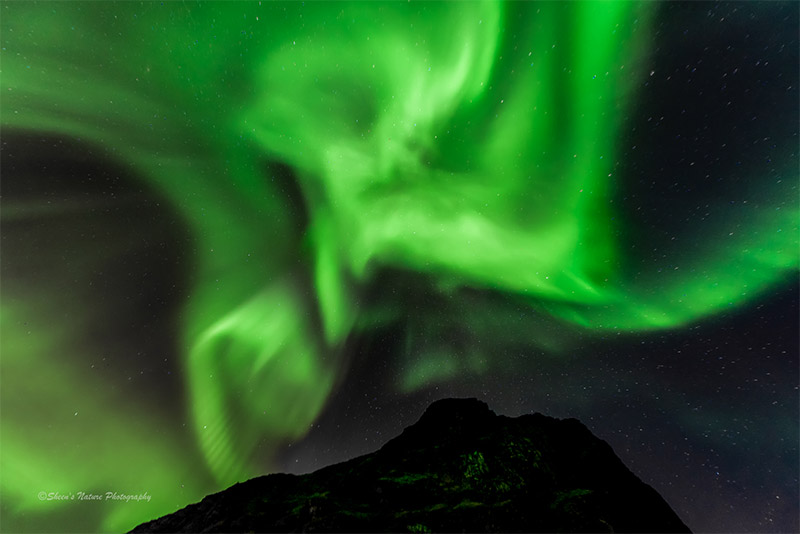
Aurora the Angel by Sheen Watkins
A combination of location, information tools and knowing the right settings for your situation is crucial for seizing the opportunity.
Where can you the see the Northern Lights?
The arctic and antarctic regions provide the highest likelihood to view the Northern Lights. Some of the hot spots include Norway, Iceland, Greenland, Northern Canada and Alaska in the Northern Hemisphere. However, I’ve seen them in Michigan twice. They’ve been present in the northern United States this year on several occasions.
When the conditions indicate an Aurora Borealis may be present, being in an area where it is very dark with clear skies will maximize the viewing experience. Fall, winter and early springtime are the best times of the year.
How do you know when the Northern Lights will be present?
There are two apps I consistently use when searching, planning and tracking Auroral activity. My Aurora Forecast is a free app that provides intel on the current KP index, a snapshot of the best viewing locations at that moment, aurora strength, push notifications and more. There’s information about various Northern Lights tours as well.
The Aurora Forecast is very similar to the My Aurora Forecast app. Both the current and a multi-day outlook has a few more details that aid in planning. Live auroral activity and forecast data is provided by NOAA POES (Polar Operational Environmental Satellites ) and the Geophysical Institute at University of Alaska Fairbanks.
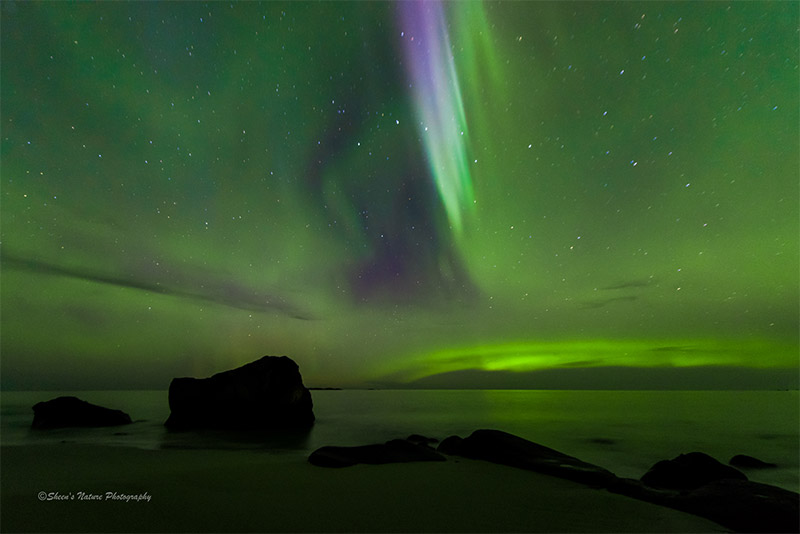
Aurora’s Colorful Glow by Sheen Watkins
What photography tools do you need?
A wide to super wide angle lens is suggested in order to capture as much of the sky, the lights and sense of scale that you possibly can. For the images in this article, I used my Nikon 14-24mm. It was set at 14mm for the entire shoot. While the best lens is the one in your hand, I would recommend using your widest angle lens.
A tripod is a must. Her shape shifting against a dark sky means that there is low light. Since you’ll be working with long shutter speeds and high ISO’s, stability is crucial for clear, sharp images.
A cable release to minimize shutter shake since pressing the shutter may cause some movement at low shutter speeds. Seeing the Aurora is exciting and that extra energy may find it’s way to your shutter finger and create soft images!
Warm comfortable clothes. This one sounds obvious I know. Aurora may provide her show for five minutes or a few hours. Usually, they are seen in cooler to cold weather conditions. I would suggest dressing or having layers of clothing to ensure you can stay out in the elements for an extended period of time.
I was recently given the Scottevest Chloe as an anniversary gift from my husband. This jacket is awesome with the storage pockets, hoodie and comfort. It was ordered to fit snug over a single layer. It served as my outer layer until the temperature dropped to a chilly level then it became a second layer. Perfect for a chilly night.
What settings should you use to photograph the Northern Lights?
Similar to photographing the milky way, the best settings are determined by the strength of the aurora. Here are some steps that will get you started.
1) Open your shutter all the way. A 1.8, 2.8 aperture setting is optimum to let in as much light as possible.
2) Determine your focus point. Using your widest angle or focal length, focus on a point in the distance. Once your focus point is set, switch to manual focus and do not adjust your lens. For my 14-24mm, it was near infinity (the sideways figure 8).
The next two settings are determined by Aurora’s brightness. These two settings may need to be adjusted frequently if Aurora is moving and changing in intensity and color.
3) ISO should be set at a range from 1600 up to 3000. As the Aurora changes in intensity, be prepared to make adjustments quickly.
4) Shutter speed should range from 3 seconds up to 8 maybe 9 seconds. With a weak Aurora, it may need to be a bit longer. However, the longer the shutter is open, the bigger the stars become in the image. They may complement or detract from the image.
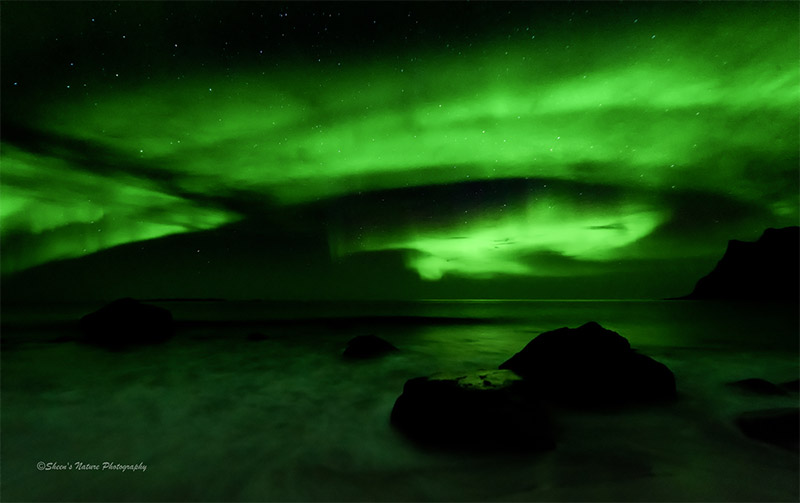
Circle in the Sky by Sheen Watkins
Bonus tip:
In post processing, one of my last steps is to load my near final image into a noise reduction plug-in. I use the old Google’s Nik Software Define and it cleans up the noise nicely.
For those of us in the Northern Hemisphere, the Aurora Borealis has a near twin. ‘Aurora australis‘ means ‘dawn of the south’. Scientists have indicated that both he northern and southern appearances occur nearly at the same time with very similar patterns and hues.
