This post is the first of a three-part series dedicated to teaching sports photography at all levels of competency. In part one I will cover the basics for photographers who are just getting started. Part two will focus on gaining competency for those who have mastered the basics. The final part will be geared towards serious amateurs looking to build a portfolio.
1) Equipment
Just a few weeks ago Nikon announced that it has cancelled production of the new DL line of premium compact cameras. In short, smartphones have made compact cameras obsolete through advanced software, small form factor, and good-enough image quality. One of the few areas that smartphones have had no impact, and likely never will, is sports photography which necessitates the usage of specialized equipment to gain satisfactory results.
Sports photographers tend to be some of the biggest gear heads. The reason is simple: capturing great sports images is much easier when your equipment is top-notch. However, equipment does not make the photographer, and this article is about learning the basics of sports photography, not about how much gear you have.
I started shooting sports with a Nikon D3300 and a Nikon 55-200mm f/4-5.6 lens. Looking back at those images I am pleased by the moments I captured, not fixated on pixel-peeping perfection. All you need to start shooting sports is a DSLR or mirrorless camera with a lens capable of at least 200mm (full-frame equivalent).
2) Before the Event
Most people start photographing sports because they get involved with a school newspaper or their child joins an athletics team. We are inspired by this opportunity to get out there and start creating beautiful images. But, not so fast! It is important that you prepare yourself for the big game before you get on the sidelines.
First and foremost, know your camera and the exposure triangle! Nothing is more frustrating than downloading your pictures and seeing that they are all blurry, out of focus, or over/underexposed. It is extremely important that you know how everything on your camera works before the action starts. Focus settings, automatic modes, white balance, and how to control your exposure are some of the key areas to learn about.
No matter the level of competition you should contact the event coordinator, media representative, or athletics director before you arrive. In most cases there will be no problem with you taking pictures at the event, but your contact may request that you stay away from certain areas and they will certainly appreciate knowing what you are up to when the event starts. For championships and collegiate competitions things can get more restrictive, making prior contact even more essential.
Finally, it is important to understand the rules of the sport you are planning to shoot. The better you know the game, the better your pictures will be. There are dozens of online forums dedicated to teaching the best shooting positions, types of images to look for, equipment to use, and so forth. A quick Google search is all you need.
3) At the Event
You have prepared yourself for the competition; now you are feeling confident and excited about getting some great shots. It is important to remember that as soon as you get on the sidelines with your camera there is an unspoken code of conduct that photographers are entrusted to follow. Let us run through some best practices while you are at the event taking pictures.
- Stay off the field of play while athletes are active or the clock is running.
- Respect the officials, coaches, athletes, and staff at all times. Their jobs are more important than your pictures.
- Refrain from unsportsmanlike conduct or rowdiness (hopefully this is obvious).
- Pay attention to what is going on around you. You do not want to get in the way or get injured because your head is not where it should be.
- Do NOT use on-camera flash. It is very distracting to those around you.
- Introduce yourself. Make connections with other photographers and let the officials know who you are.

One of the most common questions that new photographers ask when shooting sports is, “what should my camera settings be?” There are many answers to this question, but here are some of my suggestions.
Shutter speed: In general, you should try to keep your shutter speed around 1/1000s. For indoor sports in poorly lit venues this may be unrealistically fast. For outdoor sports on a sunny day you can go faster.
Aperture: Larger apertures (smaller f-numbers) tend to work better for sports because they allow more light into the lens and they blur away distracting backgrounds. Something between f/2.8 and f/5.6 is most appropriate.
ISO: Start at your camera’s base ISO (probably 100) and adjust it until you reach a proper exposure. Try not to go above 6400 unless you really have to or you have some fancy gear.
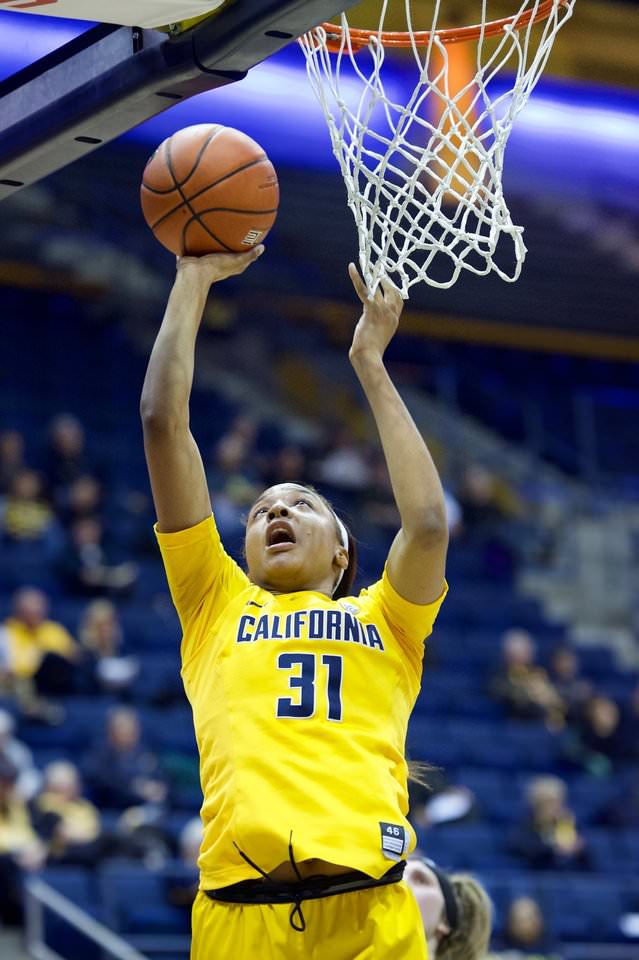
One more thing: when the action is taking place do your best to stay focused on your subjects. It is tempting to check your shots (chimping) after every action sequence, but try not to do this. The reason is very simple: you will miss important moments if your eyes are on the LCD and not on the field. Additionally, you are more likely to get hurt by a foul ball or an out of bounds player when you are not paying attention.
4) After the Event
The competition is over and you are at home downloading your pictures. No matter what your goals for the day were you should look at every album as a learning experience. What went well? What could be improved? What will you change or keep the same next time?
Seeing images on a TV or computer screen is a lot different than seeing them through a viewfinder or on the small LCD on your camera. Small things that you did not notice before will jump out at you. Here are some things to look for.
- Is there any motion blur? Try using a faster shutter speed.
- Are you missing the “peak” action? Try anticipating and not reacting.
- Do the athletes appear too small? Try finding a different shooting position.
- Are you seeing all backs and no faces? Try shooting from the opposite side of the venue.
- Are your subjects out of focus? Try using continuous autofocus and/or dynamic autofocus.
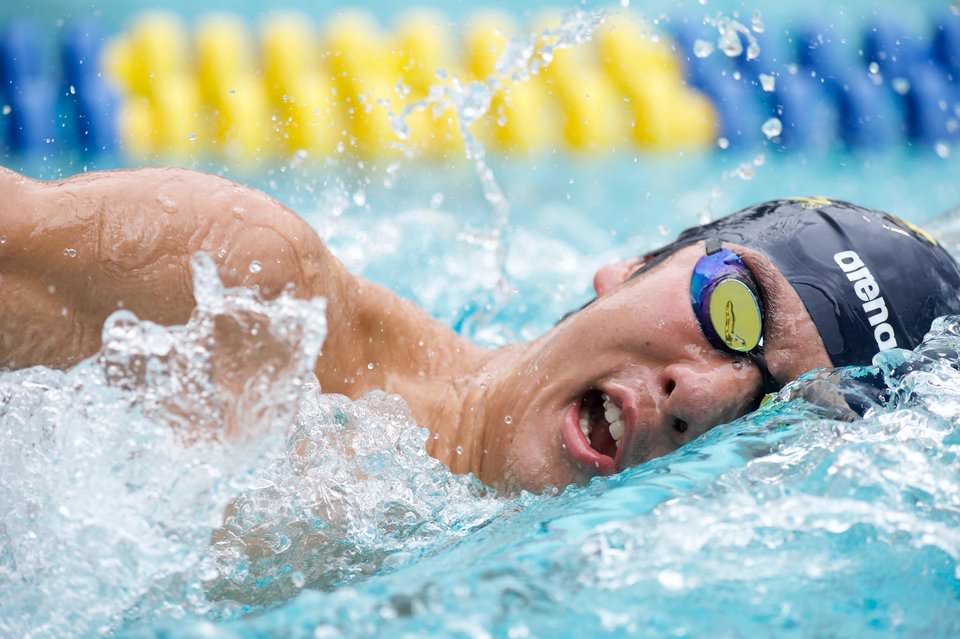
If you accomplished your goals, great! Keep up the good work and take some risks next time. Keep pushing yourself to get more images that you are happy with. If you are disappointed with your results, remember that few people hit a home run on their first attempt. Next time focus on the things that you can control to make your shots more successful. Do not let things that are out of your control, like bad weather or annoying fans, get you down.
5) Closing Words
I hope that you have enjoyed the first of a three part series about sports photography. This is a uniquely action-packed genre that can yield amazing results with a little practice and some patience. Stay tuned for the next segment about enhancing your current skills as a sports photographer.