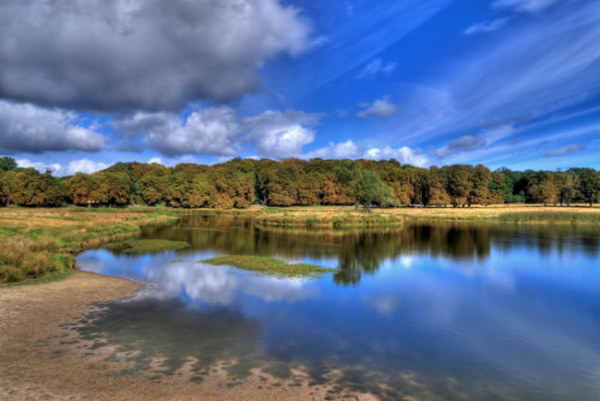
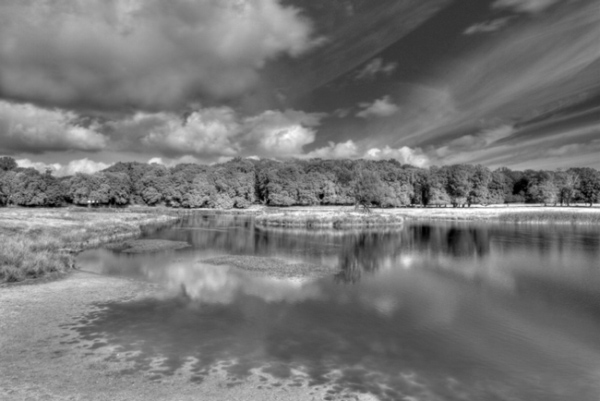
Learn how to convert or change a color image to black and white in Adobe Photoshop using different techniques.
Photoshop offers a wide variety of tools for performing black and white conversions. Some are obvious – like the black and white adjustment layer – and others are more obscure.
Resources
Black And White Adjustment Layer
Let’s begin with the most obvious one: Black And White Adjustment Layer. Choose Layer > New Adjustment Layer > Black & White and click Ok. If you want, you can tweak the available properties (colors) to your liking and improve effect.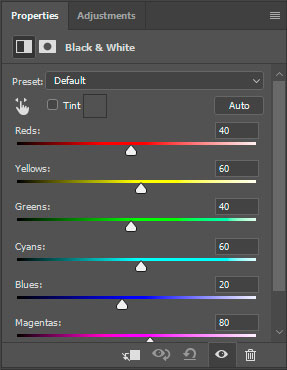
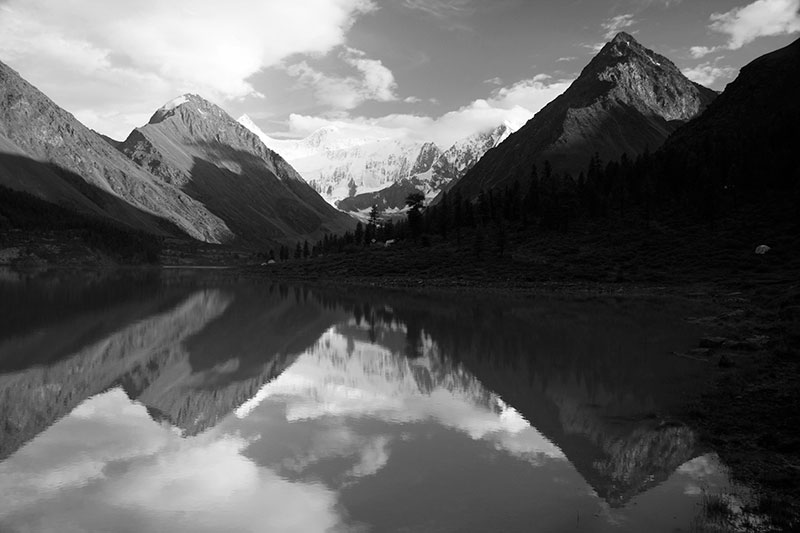
You can see here before and after: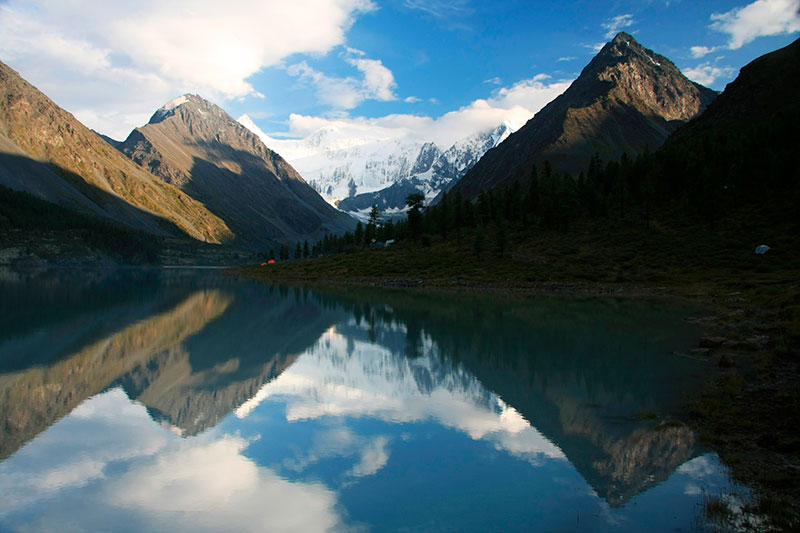
Gradient Map Adjustment Layer
Another option to convert to a photo to black and white is the Gradient Map Adjustment Layer option. Choose Layer > New Adjustment Layer > Gradient Map and click Ok. Go to properties, select a black to white gradient and apply.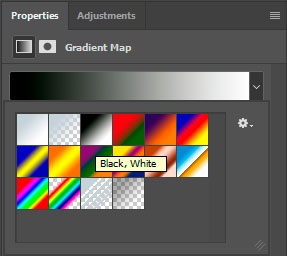
You can see here before and after: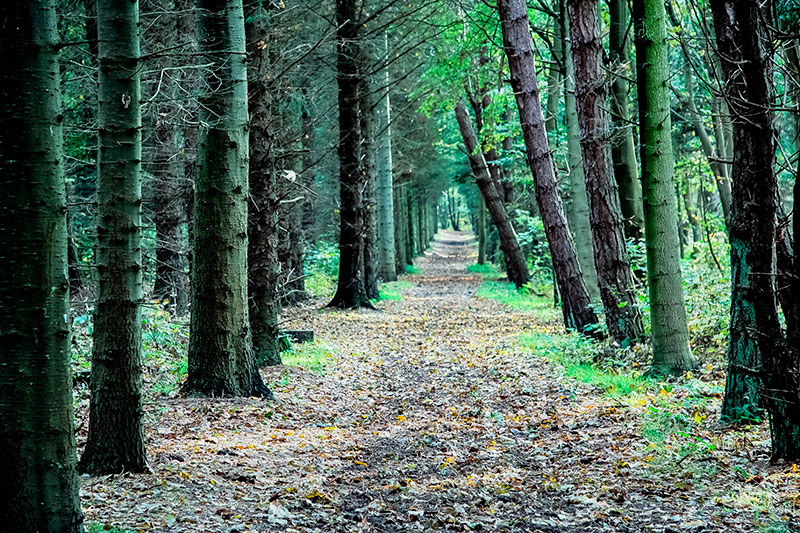
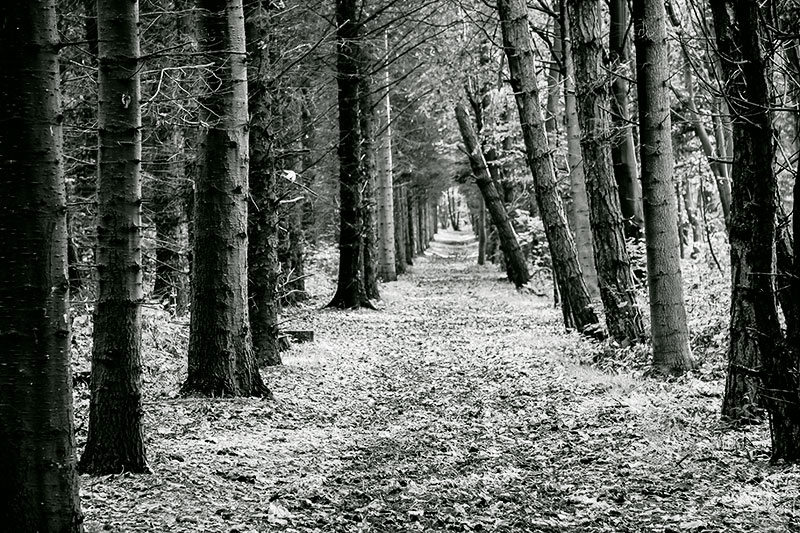
If you want to add a more dark and contrasted look, duplicate the Gradient Map Adjustment Layer (Ctrl + J) and change it’s blending mode to Soft Light. Here’s how it looks: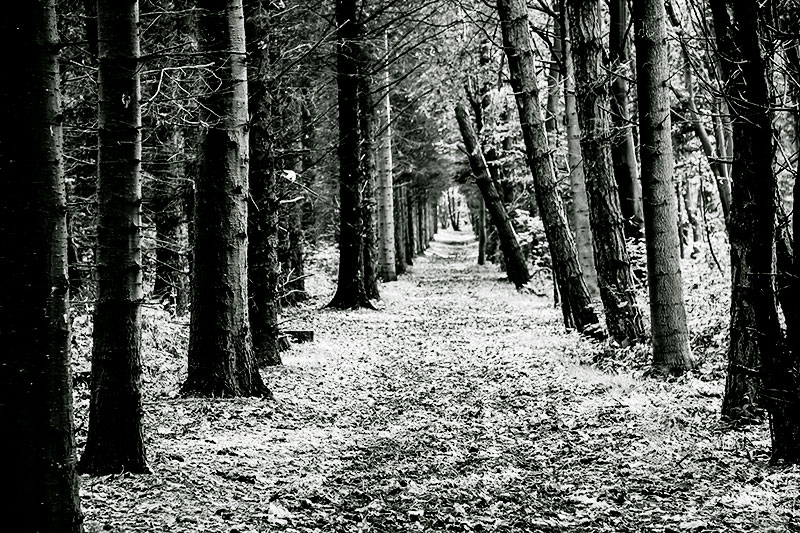
Channel Mixer Adjustment Layer
Channel Mixer Adjustment Layer is another option that you can choose. Select Layer > New Adjustment Layer > Channel Mixer and check Monochrome. Play with the Red, Green and Blue sliders to achieve the effect you want.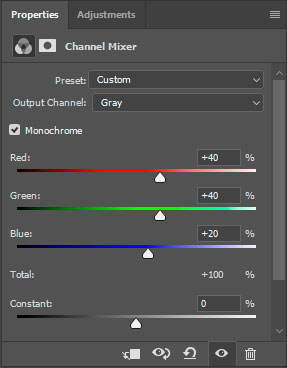
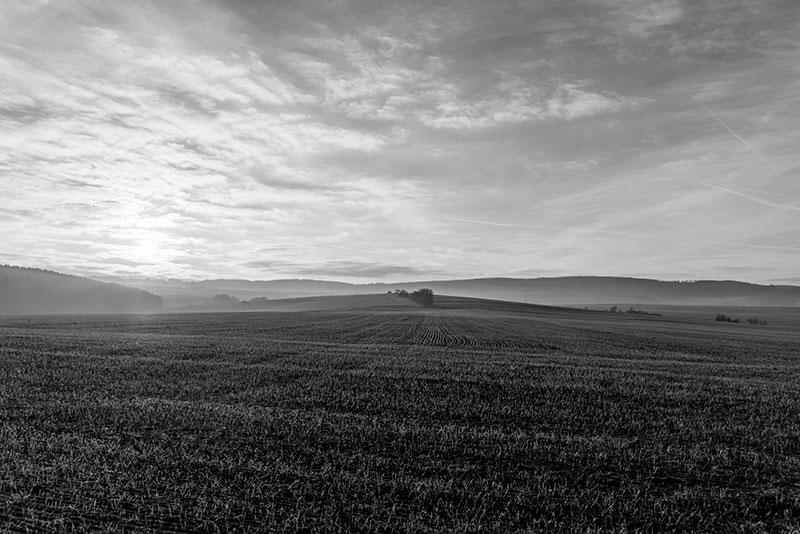
You can see here before and after: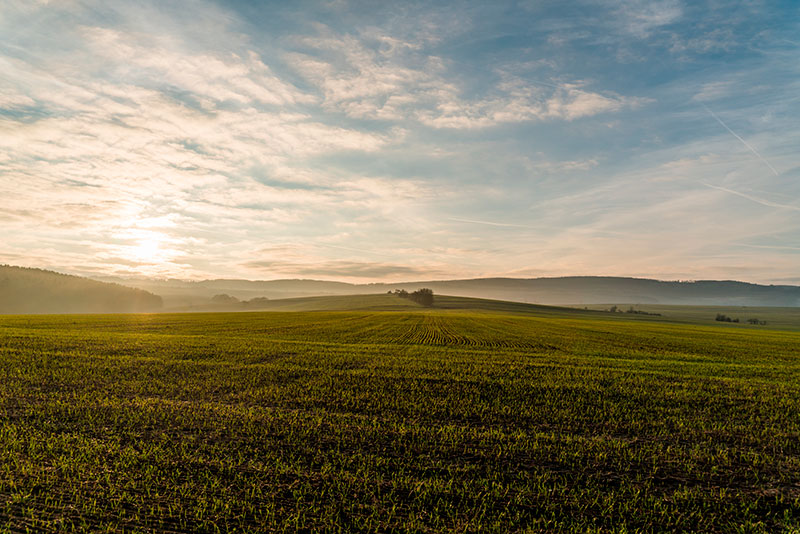
Desaturate
Another option for converting photos to black and white is the simple Photoshop command Desaturate. Select Image > Adjustments > Desaturate (Ctrl + Shift + U) and your image will be converted to a grayscale version. This is the simplest way but it is the least flexible and it doesn’t look so great.
You can see here before and after:

Lab color mode
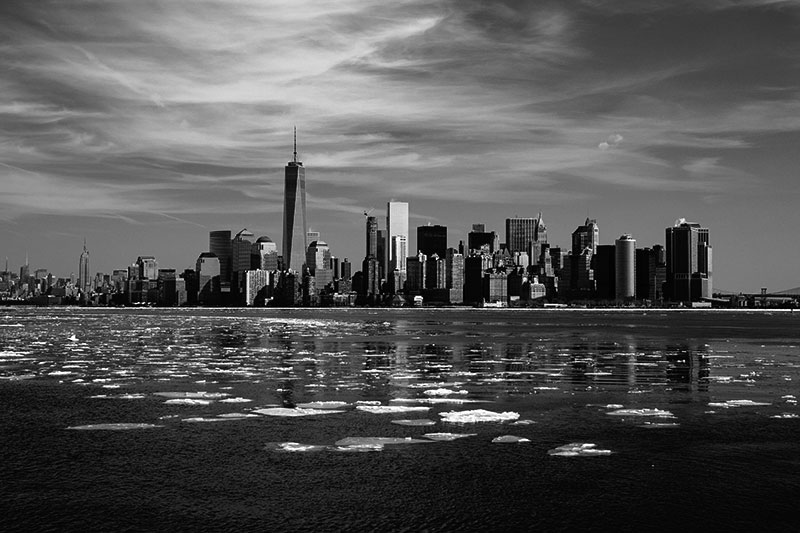
Maybe the most obscure way to convert a color image to a black and white version is by using the Lab color mode. To do this choose Image > Mode > Lab Color. After that discard the color channels by selecting Image > Mode > Grayscale.
You can see here before and after: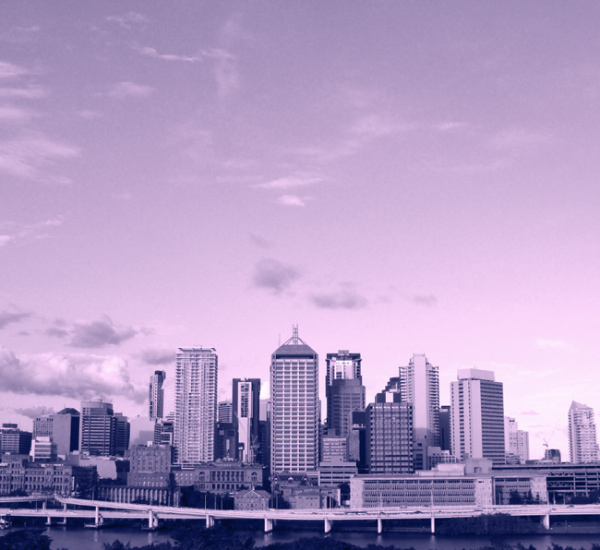
Learn complex/advanced techniques
Those were some simple techniques for converting to black and white. Let me share with you some of the more complex/advanced techniques.
One thing you can do after you’ve done one of the conversions above is to add a monotone, duotone or tritone effect.
One of the simplest and obvious ways to achieve this is to first convert an image to Grayscale (Image > Mode > Grayscale) and afterward choose Image > Mode > Duotone. The options window is pretty self-explanatory so I won’t be covering it.
The way I like to do it involves Blending Modes and Solid Color Adjustment layer. It allows for more unexpected and beautiful results than with the Duotone command. Here’s how to do it:
First convert the image to black and white using one of the techniques from above. Afterwards add one, two or three Solid Color Adjustment layers. Use a different color for each. Now start changing their blending modes. Good blending modes for this kind of toning are Overlay, Soft Light, Color and Color Dodge.
A dark blue Solid Color with the blending mode set to Overlay: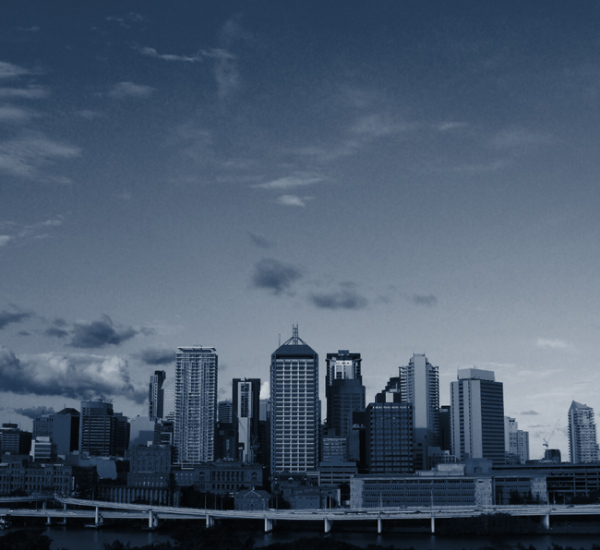
A dark red Solid Color with the Color Dodge Blending Mode and a dark blue Solid Color with the Color Blending Mode for a duotone effect:
Another advanced technique is to simply go through the image Channels (channels hold information about image color and luminosity) by holding Ctrl and pressing 3,4 or 5. Once you find a channel you like press Ctrl + C to copy, create a new layer (Ctrl + Shift + Alt + N) and paste it (Ctrl + V).
You can see here before and after: