In this tutorial, you will learn how to create a disc cover design in Adobe Photoshop.
Final Image
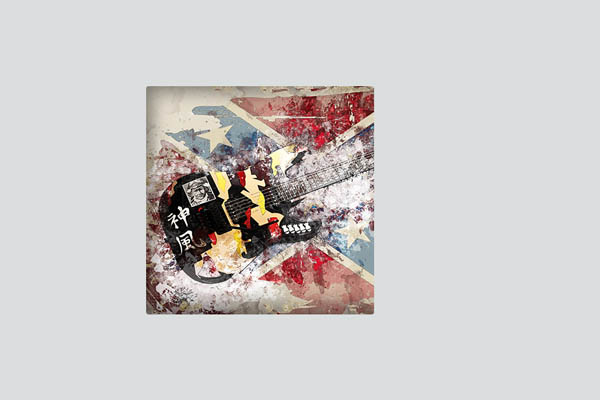
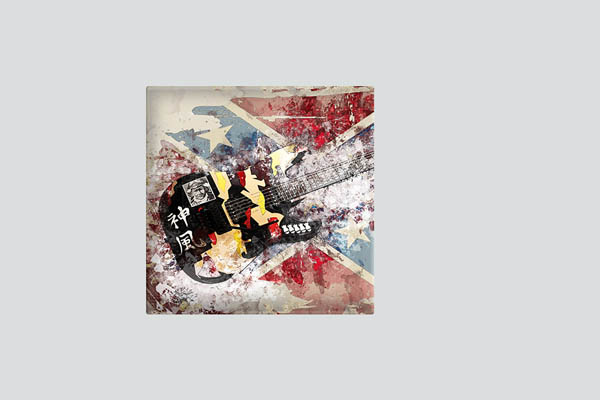
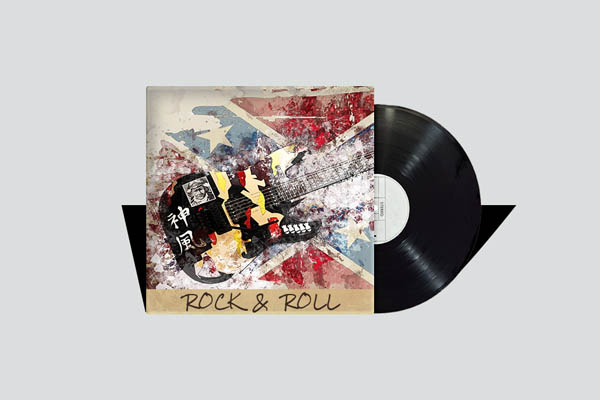
As always, this is the final image that we’ll be creating:

Tutorial Details
- Program: Adobe Photoshop CC
- Estimated Completion Time: 30 minutes
- Difficulty: Beginner – Intermediate
Resources
Step 1
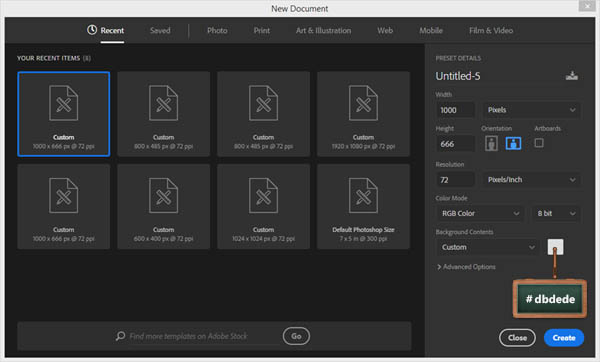
Create a 1000x 666px and make sure that the Background Contents is set to #dbdede.
Step 2
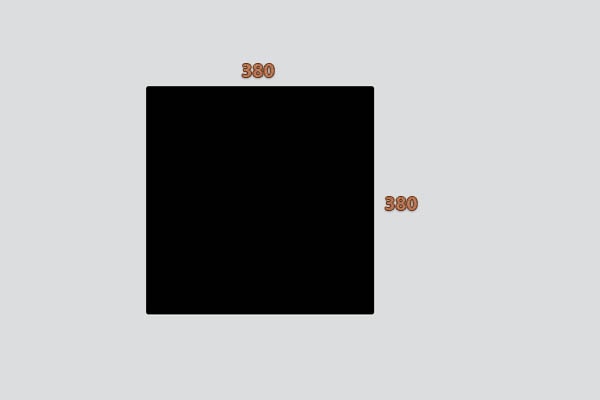
Select the Rounded Rectangle Tool, focus on the top bar and set the Radius to 4px. Move to your canvas and create a 380 x 380 px vector shape.
Step 3
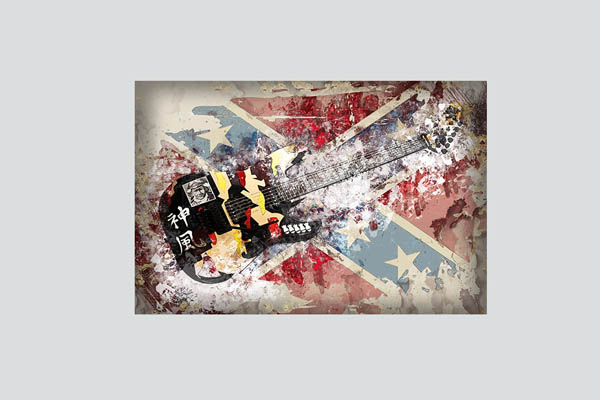
Get cover image and drag it in your work file.
Resize the image until it gets a good looking. Focus on the Layers panel, make sure that this image is above to your vector shape, right click on it and then go to Create Clipping Mask.
Step 4
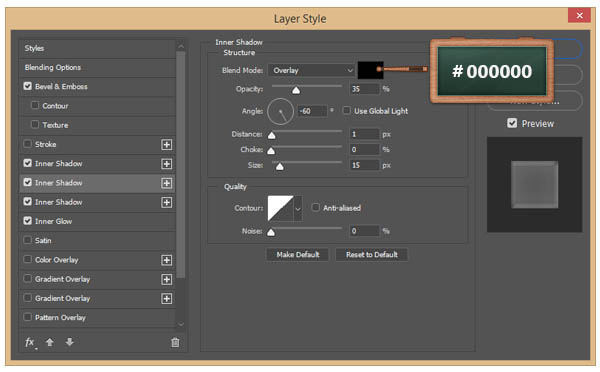
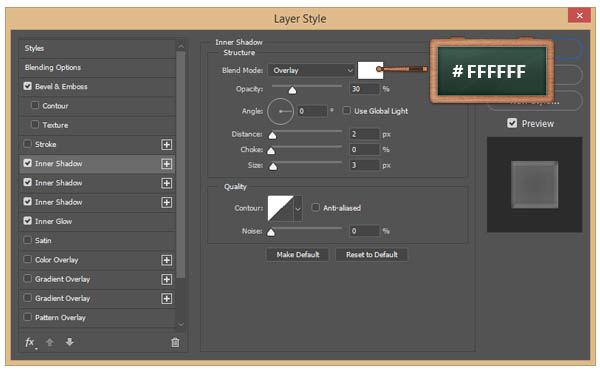
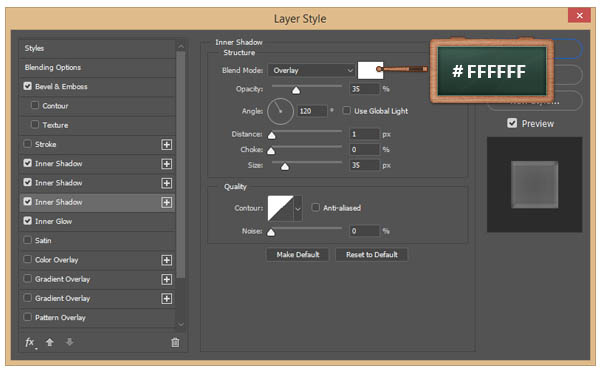
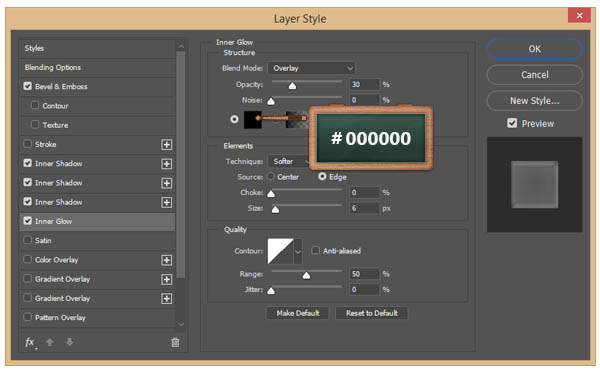
Open the Layer Style window for the existing vector shape and enter the settings mentioned below.
Step 5
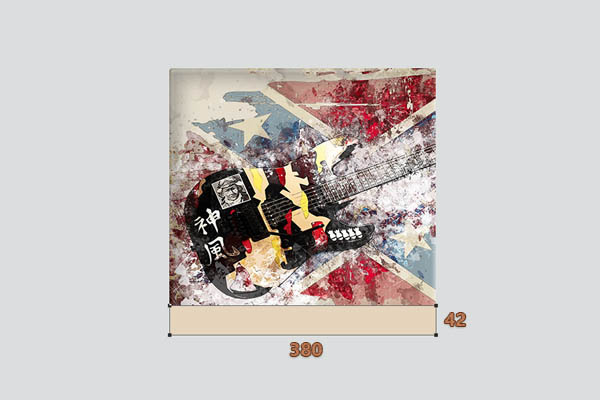
Concentrate on your Toolbar and fill the foreground color with #e5d4bb.
Select the Rectangle Tool, move to your canvas, create a 380 x 42 px vector shape and then place it as shown below.
Step 6
Focus on the Layers panel and lower the Opacity to 88%.
Open the Layer Style window for this vector shape and then open the Pattern Overlay section and enter the settings shown below.


Step 7
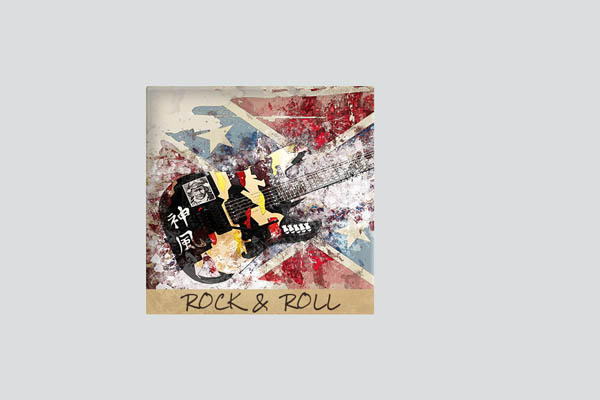
Open your character window ( Window > Character ) and use Rock Salt font.
Change the color to #3a2923, set the size to 24 px and then enter the text as shown below.
Step 8
Get disc image and drag it in your work file.
Resize the disc image until it looks good, and then place it at the right side of the cover disc as shown below.

Step 9
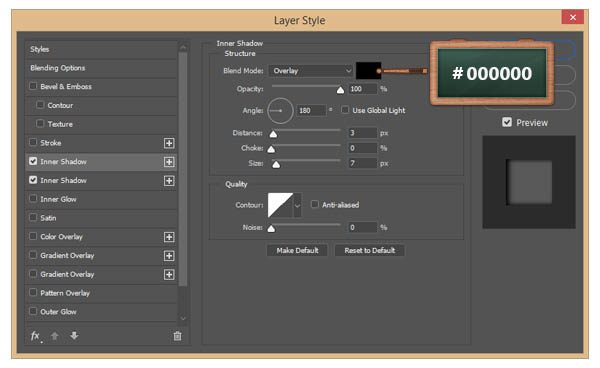
Now we will add a shadow from left to right on the disk image. Open the Layer Style window for it and enter the settings shown below.


Step 10
Pick the Pen Tool, move to your canvas and create a rough vector shape with the color set to #000000. You don’t need to be 100% precise because we are going to blur it in the next step.
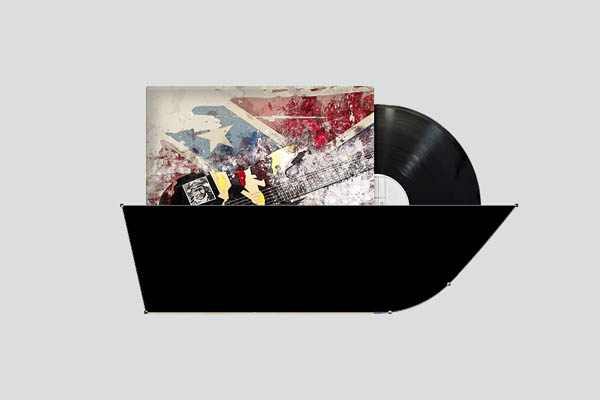
Step 11
Make sure that the vector shape made in the previous step is selected and then lower the Opacity to 50% and the Fill to 0%.
Place this vector shape behind all the shapes, go to Window > Properties, press the Select the Vector Mask button, move to Feather and set it to 8px.

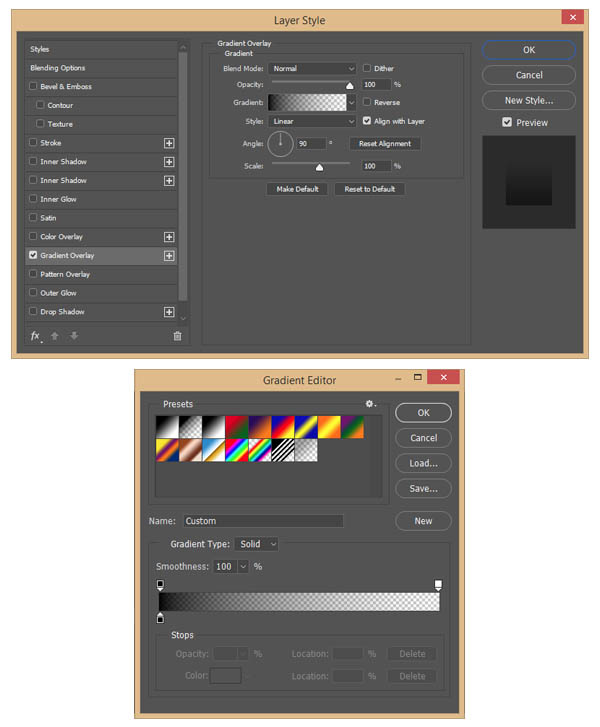
Step 12
Open the Layer Style window for vector shape edited in the previous step, go to the Gradient Overlay section and enter the settings shown below.
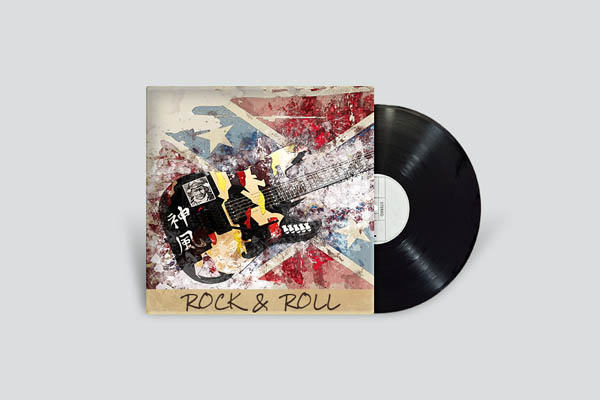
And We’re Done!
Here is how your final result should look.