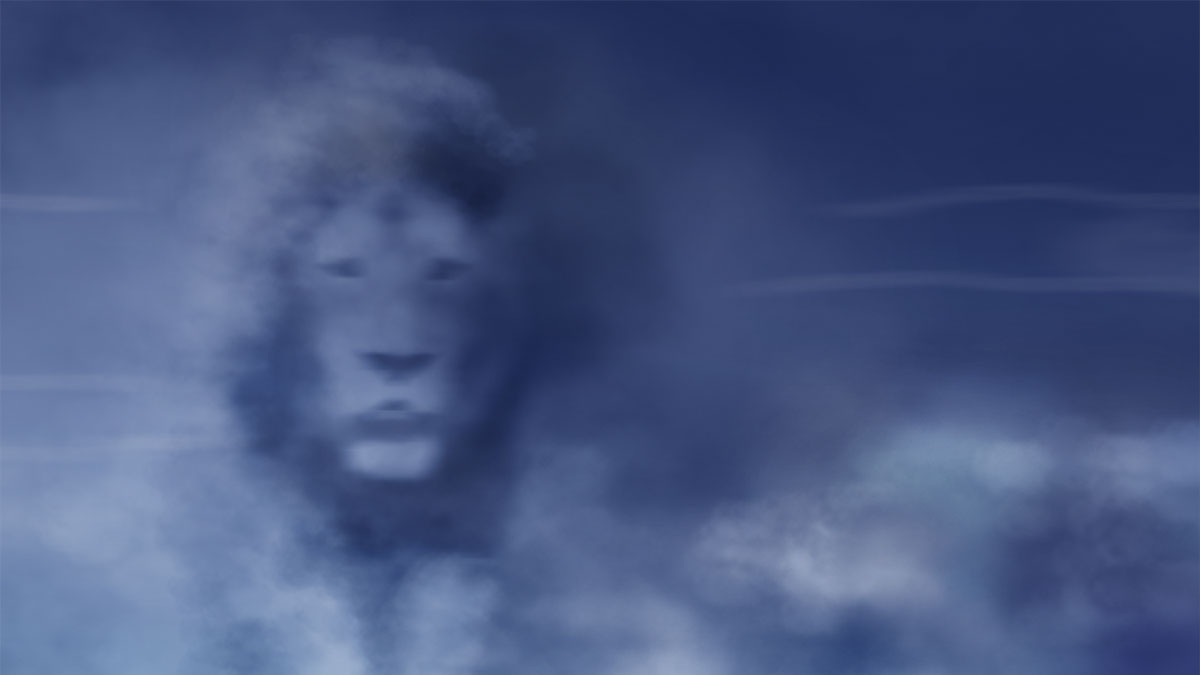
In this Photoshop tutorial, you will learn how to create a figure from the clouds.
Final Image

Resources
- Majestic King
Step 1
To start our Photoshop tutorial we need to create a new document with 500×500 pixels where we will create two brushes. Apply Filter > Render > Clouds.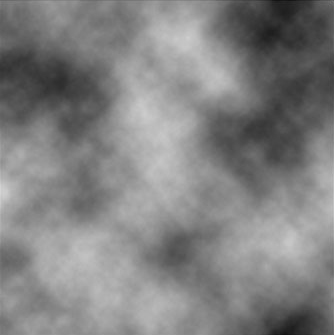
Select Polygonal Lasso Tool (Feather: 30px) to make a selection similar to mine on the screenshot below.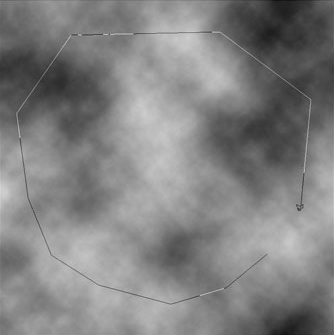
After creating a selection, just invert it with Select > Inverse.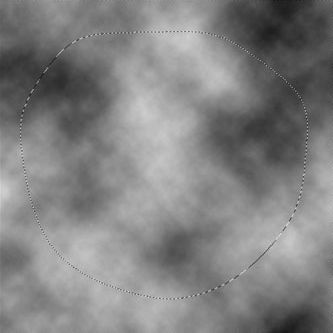
Press Delete button to clear selected area.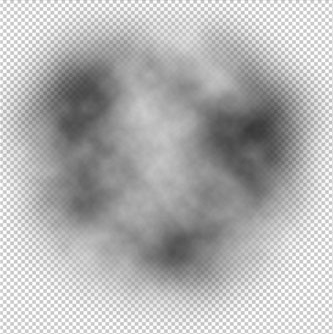
Create a new layer under the current one and fill it with white color. Select the layer with clouds and resize it a bit with Edit > Transform > Scale.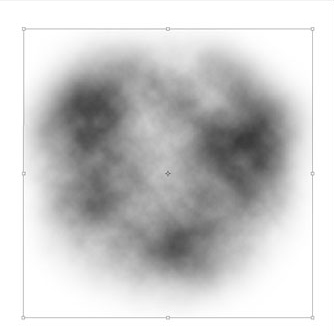
You can see that you need to fix brush borders. To fix this select Eraser Tool and choose a soft edge brush.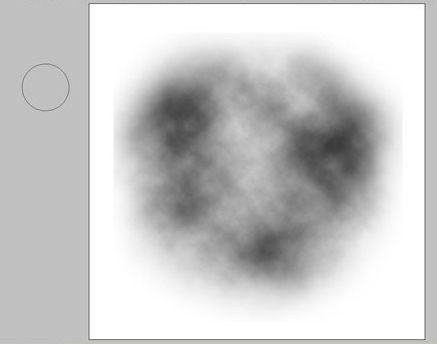
Once you have clear all borders you can delete the layer with white background.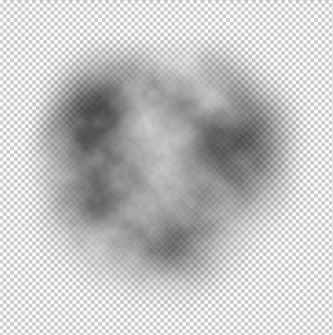
Now save brush with Edit > Define Brush Preset.
Close current document without saving. With Brush Tool selected, press F5 and apply these settings: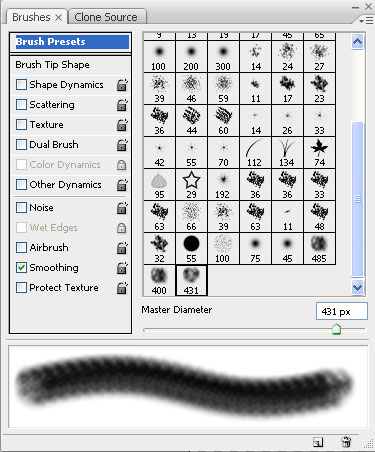
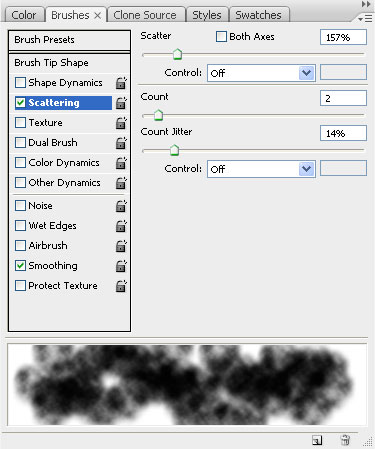
Create a new brush with name Clouds 2 by clicking on the button on the right bottom side.
Step 2
Open photo in Photoshop. Unlock background layer by clicking twice on layer thumbnail on Layers panel.
Create a new layer. Select colors #192559 (Foreground) and #91aac8 (Background) and create a linear gradient (Foreground to background) using Gradient Tool.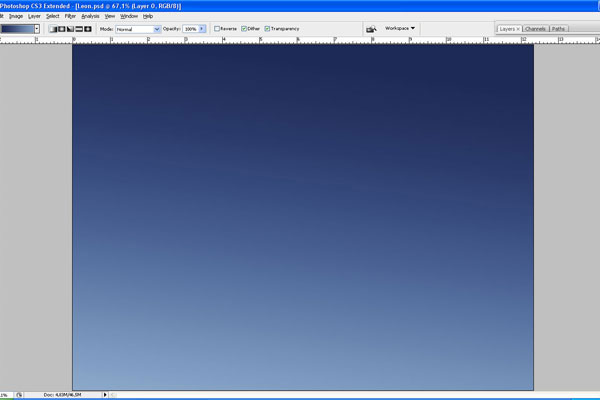
Step 3
Move gradient layer below the lion layer. Select Eraser Tool (Opacity: 56%) and select Clouds 2 brush and start erasing background on lion layer.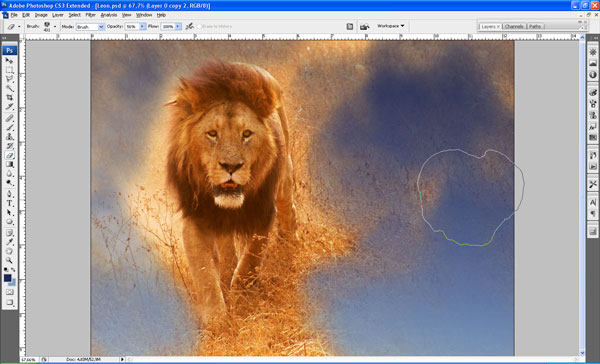
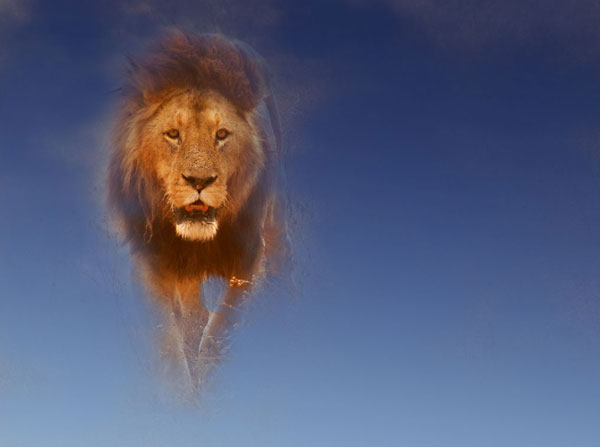
Step 4
After you finished cleaning background around the lion use Image > Adjustments > Desaturate.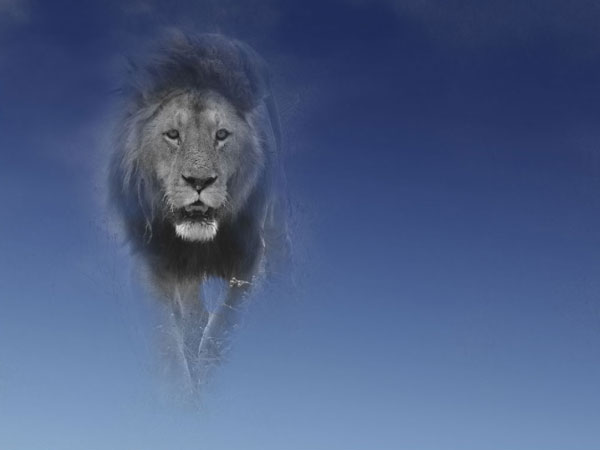
Step 5
Apply Image > Adjustments > Brightness/Contrast: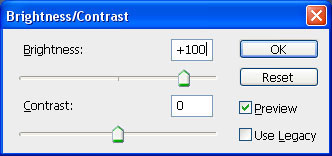
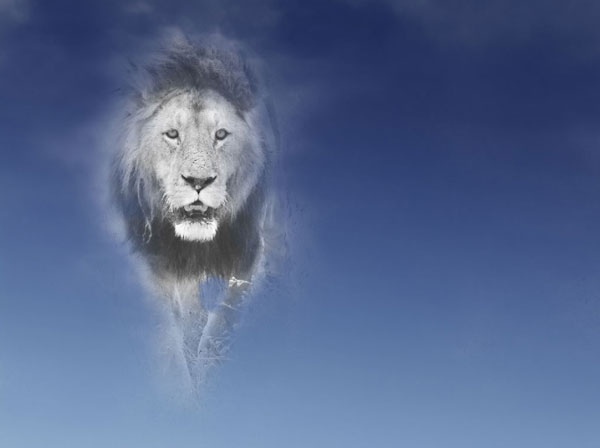
Step 6
Apply Filter > Blur > Gaussian Blur: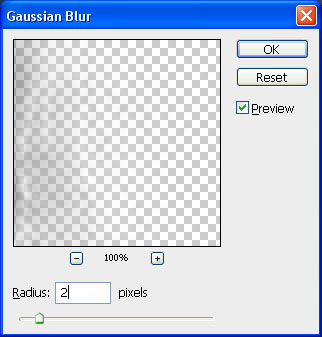

Step 7
Apply Filter > Blur > Smart Blur: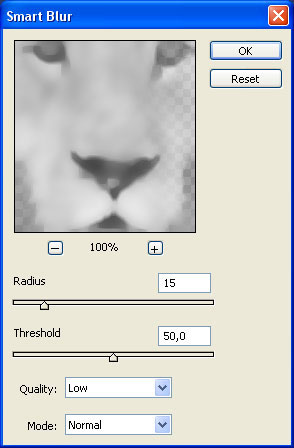
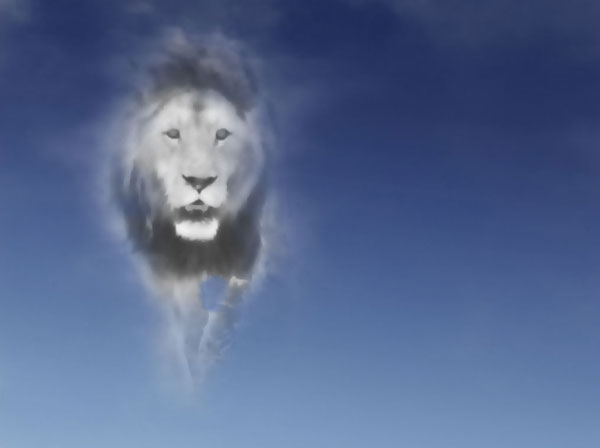
Step 8
Apply Filter > Blur > Motion Blur: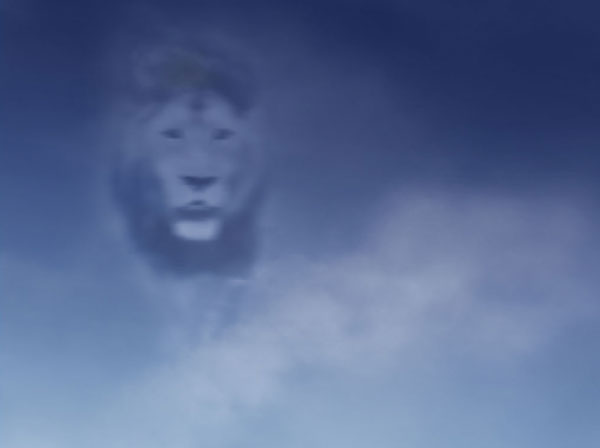
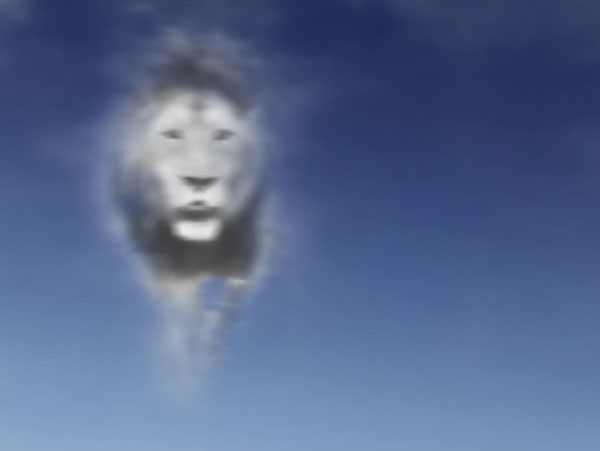
Step 9
Change layer mode to Soft Light for the current layer.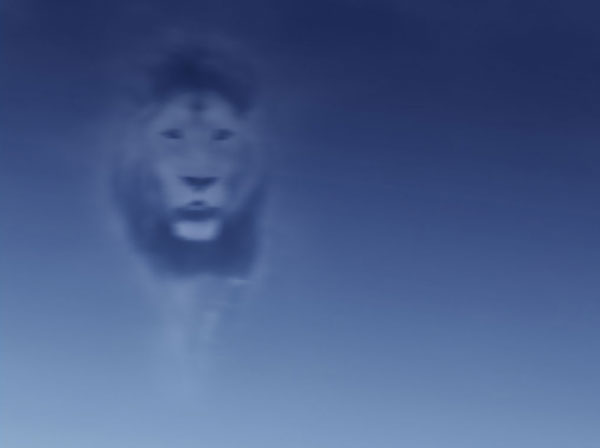
Step 10
It’s time to add some clouds. Create a new layer, select Brush Tool (Opacity:10%) and select Clouds 2 brush with white color (#ffffff).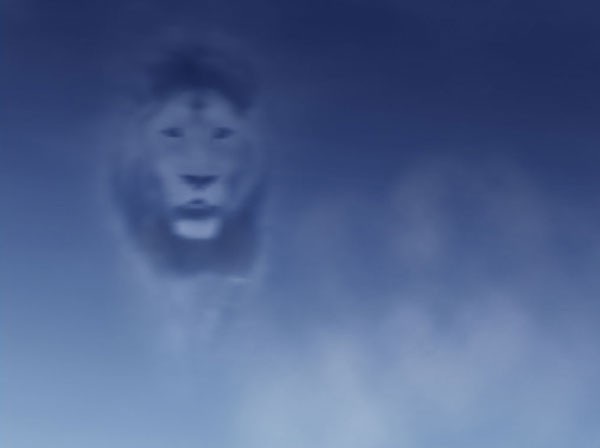
After adding some clouds change brush size and add a few more.
Step 11
We need to add a shadow to the clouds so they look more natural. Create a new layer on top and change layer mode to Overlay. Apply Brush Tool (Opacity: 10%) with Clouds 2 brush and black color (#000000).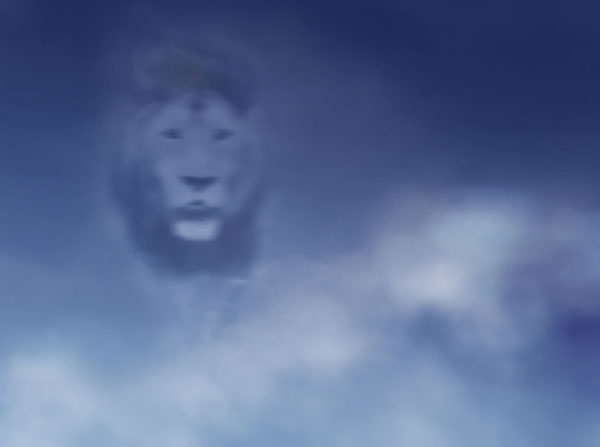
Step 12
Create a new layer on top, select Brush Tool (Opacity: 50%) and now we need to add small clouds. Select white color as foreground, change the brush size to something around 50px and apply like on the screenshot below.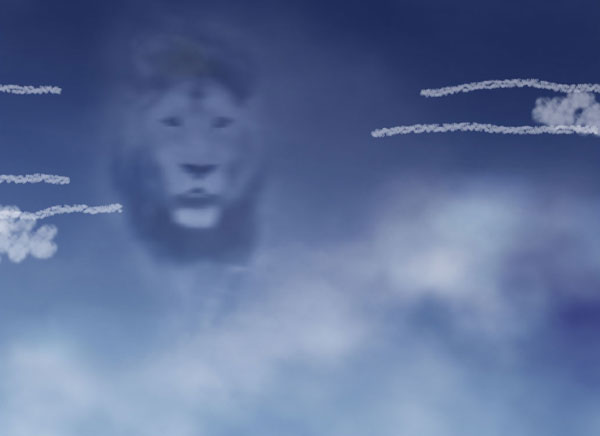
Step 13
Apply Filter > Blur > Motion Blur to this layer.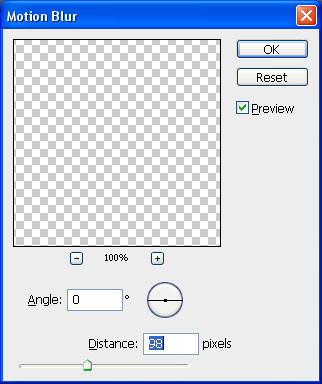
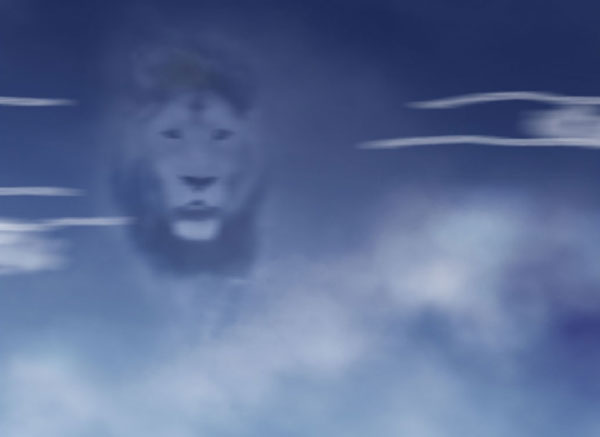
Step 14
Change the current layer opacity to 15%.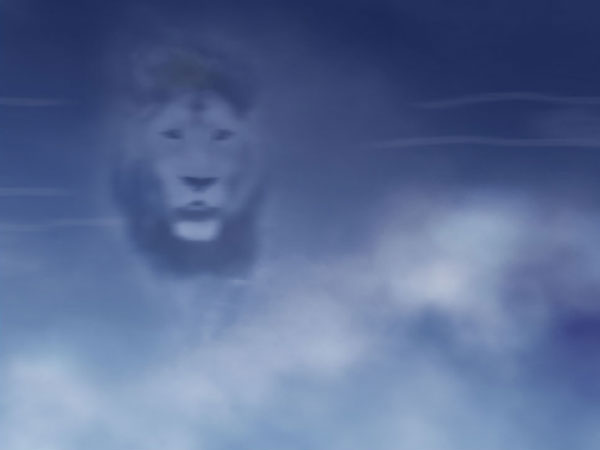
Step 15
To finish our tutorial I would like to stylize clouds a little bit more. Create a new layer and change layer mode to Soft Light. Select Brush Tool with Clouds 2 brush (keep changing opacity and brush size in the process) and highlight all bright areas of the lion (mane, part of the eyes) with white color and opposite side (especially shadows on the face of the lion’s mane) with black color.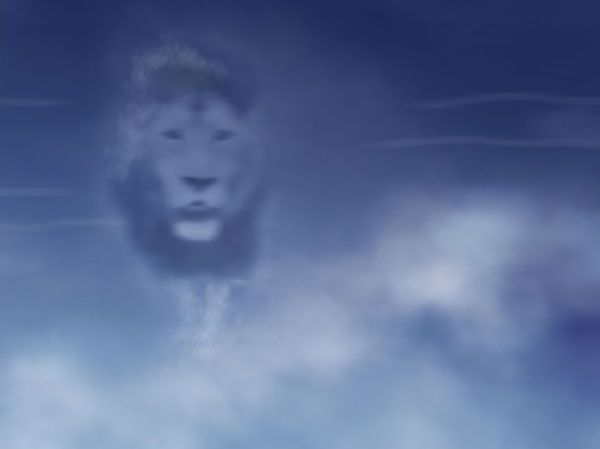
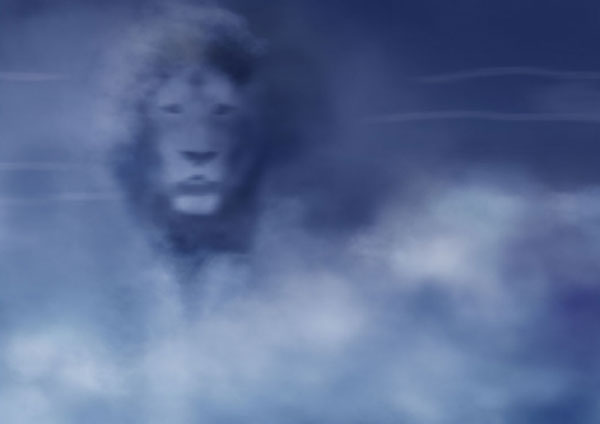
And We’re Done!
And this tutorial is now complete. Hope you liked it!