In this Photoshop tutorial, we will transform a regular photo into a jigsaw puzzle.
A Jigsaw is a puzzle consisting of various pieces of different shapes that have to be fitted together.
This tutorial is aimed at beginners and it’s pretty easy to follow. However, it will require knowledge about the Pen Tool so if you’re not familiar with it follow this tutorial about Photoshop selections for an introduction.
Final Image

Resources
Step 1
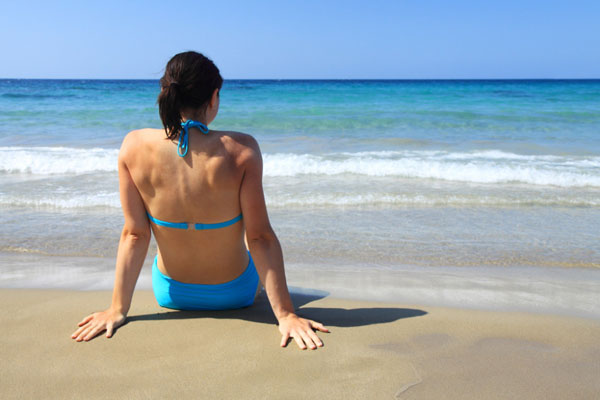
Open the image “Beach”. Let’s create the layer upon which we will place our puzzle. Create a new layer by pressing Ctrl + Shift + Alt + N and fill this layer with a light gray color (#a2a2a2). Name this layer “background”.
Step 2
Select the Brush Tool (B) and choose black as foreground color. Lower the opacity of the brush to 10% and dab around the edges of our newly created layer a few times in order to add some variation.
Step 3
Double-click the Background Layer and press Ok on the New Layer window that appears in order to convert it to a regular layer. (Background layers are special layers that Photoshop creates every time you open a new image. They are locked by default and have certain limitations – like the inability to position them above other layers).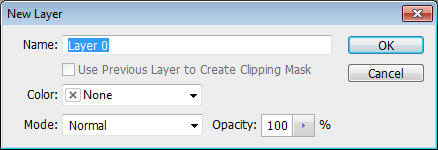
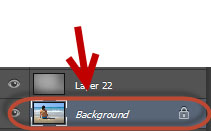
Move this layer above the “background” layer by pressing Ctrl + ] (bracket key) or by simply dragging the layer with the mouse.
Step 4
Now we need to apply the jigsaw texture to our image. Since Photoshop CS6 Adobe doesn’t supply certain presets so we have to download them manually.
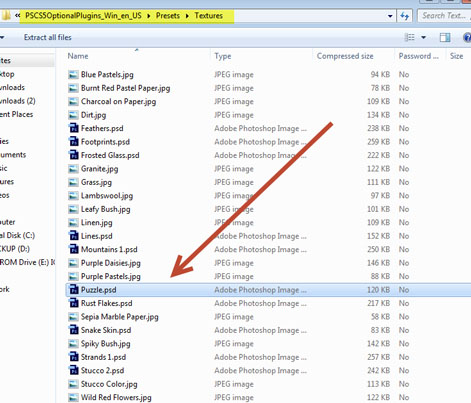
Go to this link and download the plugins folder. Open the archive (it’s archived, so you should have Winrar or Winzip in order to be able to open it) and open the Presets folder. Inside that folder will be a Textures folder – open it.
Inside this folder, you should see a file named “Puzzle.psd”. Drag this file somewhere on your computer – on the Desktop for instance – and remember where you put it.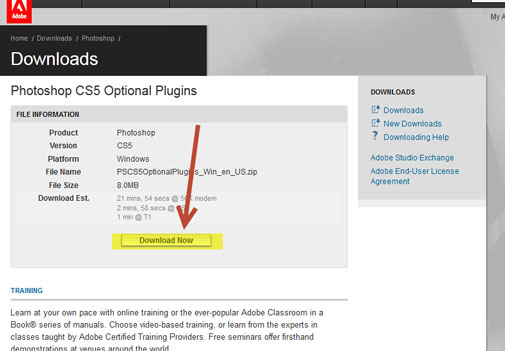
Step 5
Go back to our image in Photoshop and with the beach picture selected choose Filter > Filter Gallery to open the filter gallery window. In here go to Texture > Texturizer and click the little icon with the arrow pointing down to load a custom texture. Select the “Puzzle.psd” file you located in the previous step.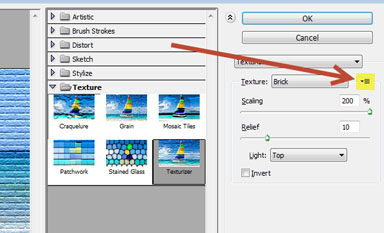
Choose the following settings and press Ok. You should have something similar to my results below.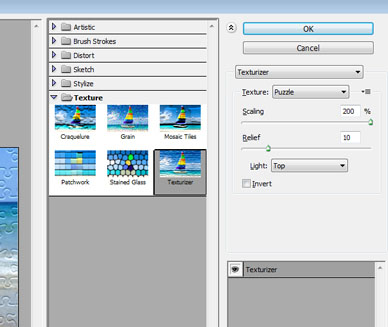
Step 6
Let’s start to make our puzzle look real by hiding certain pieces. First, let’s hide all the pieces in the upper row and the left row. In order to hide parts of our layer, we will need to create a selection first. Regular selection tools (Quick Selection Tool, Lasso Tool) will be quite ineffective because the puzzle pieces have blurry edges so we have to use a more advanced selection method.
This advanced selection method involves the Pen Tool (If you don’t know how to use the Pen Tool follow this tutorial here). Select the Pen Tool (P) and create a Path like shown below:
Step 7
Press Ctrl + Enter to transform the Path into a selection.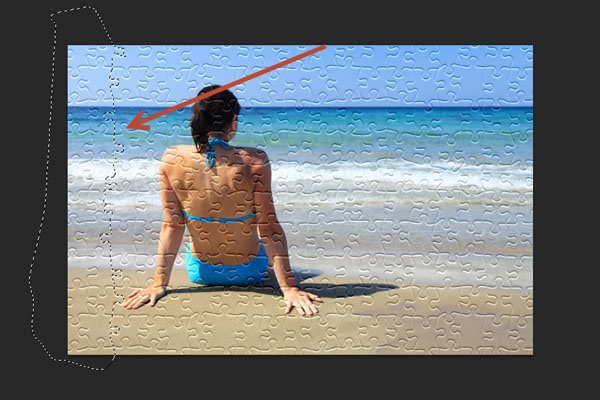
Click the Beach layer in the Layer Palette to make it active and add a layer mask to it by choosing Layer > Layer Mask > Reveal All.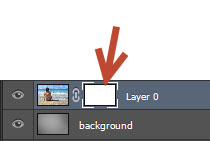
Step 8
Press D to reset colors to their default and click once on the layer mask to make it active. Now press Ctrl + Backspace to fill the selection with black and notice how the left part of the layer disappears (for a tutorial on layers and layer masks go here).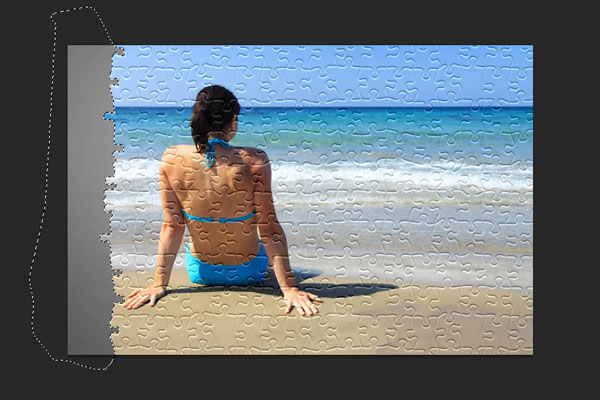

Step 9
Create a path in the upper part of the image and use steps 7 to 8 as a reference to mask the selected region in the layer mask. You should be comfortable by now with the process of creating a selection from a path and masking so I won’t repeat the instructions on how to do it in the following steps.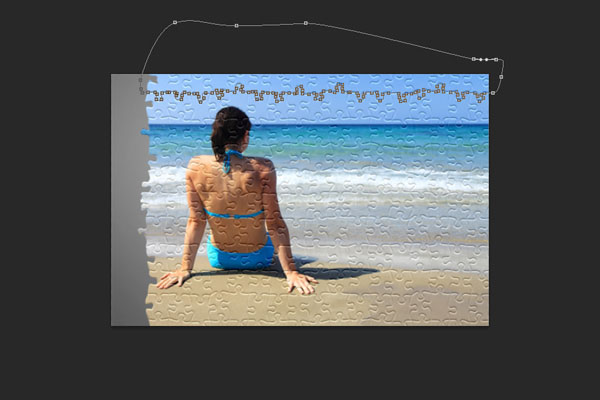
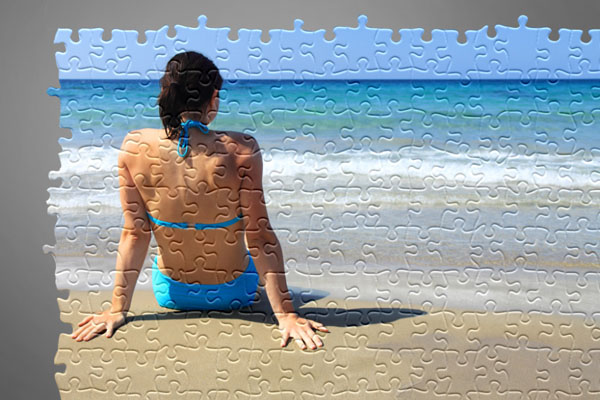
Step 10
Let’s hide some pieces of the puzzle from the picture to make it look more realistic. Use the Pen Tool to create selections and fill those selections in the layer mask of our layer (refer to steps 7 to 8) in order to hide certain pieces of the puzzle like in the image shown below.
Step 11
Looks pretty good already! But let’s improve it a bit more. Let’s take a piece of the puzzle and place it on top our puzzle picture. First, select the Pen Tool and make a selection of a piece of the puzzle.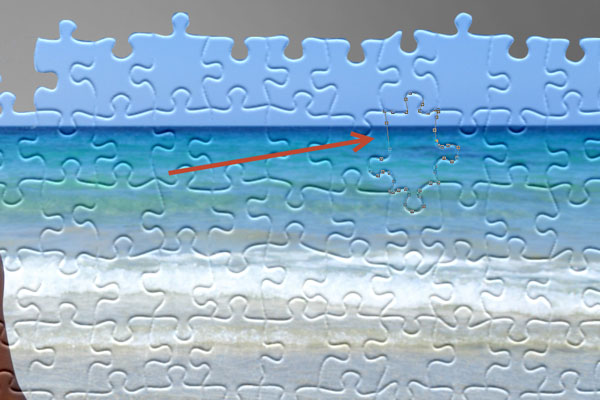
Step 12
Transform the Path into a selection by pressing Ctrl + Enter.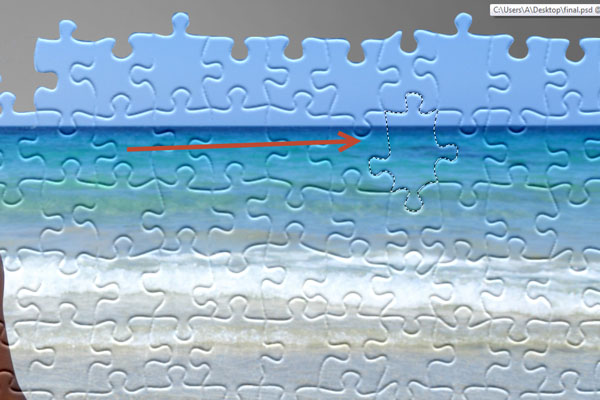
Step 13
Click on the beach layer in the layer palette in order to make it active and press Ctrl + J to make a new layer from selection. This command will create a new layer with our selected piece of the puzzle on it. Name this layer “puzzle 1”.
Step 14
We have the piece of the puzzle on a new layer but we have to hide it on our beach layer otherwise we won’t be able to achieve the desired effect. Click on the “beach” layer to select it and click on the layer mask to make it active. Now click Ctrl + Backspace to fill the mask with the background color (it should be black, but if it’s not press D to reset colors to their defaults).
Nothing seems to happen because although we have hidden the piece of the puzzle on our beach layer the “puzzle1” layer it’s still visible. If you turn off the visibility of the “puzzle1” layer (by clicking on the little eyeball icon to the left of the layer icon) you will see that our masking worked. Turn on the visibility of the “puzzle1” layer.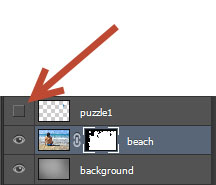
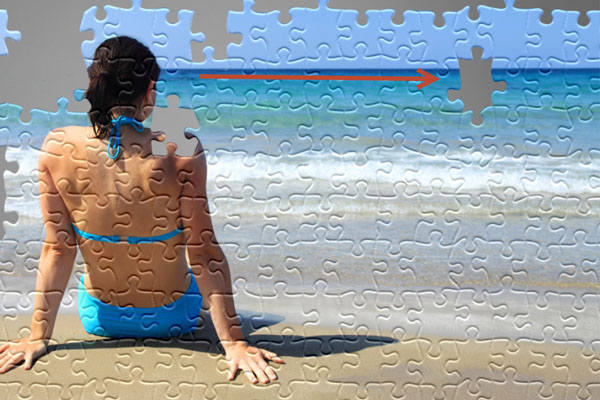
Step 15
Create 3 more pieces of the puzzle (using steps 12 to 14 as reference) and give them appropriate names (puzzle2, puzzle3, puzzle4). Don’t’ forget to hide the pieces of the puzzle in the layer mask of the “beach” layer (by pressing Ctrl + Backspace in the layer mask with black as foreground color). Here’s how your layer palette should look like in shown in the image below.
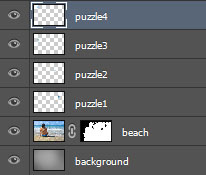
Step 15
Let’s spread the pieces we created over the puzzle. Click on “puzzle1” layer to make it active and press Ctrl + T to enter Free Transform. Rotate and position this layer like shown in the image below.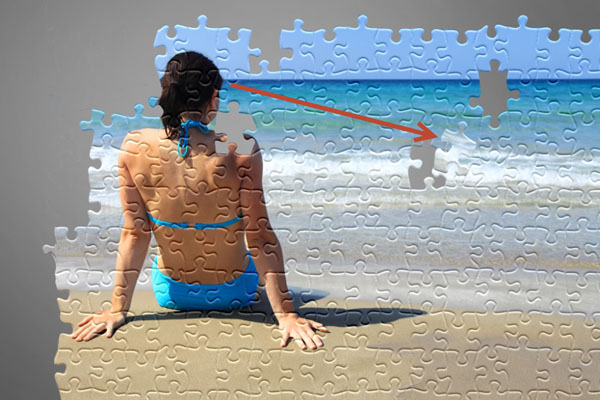
Repeat the step with the other 3 pieces of the puzzle. Place them like I did in the image below.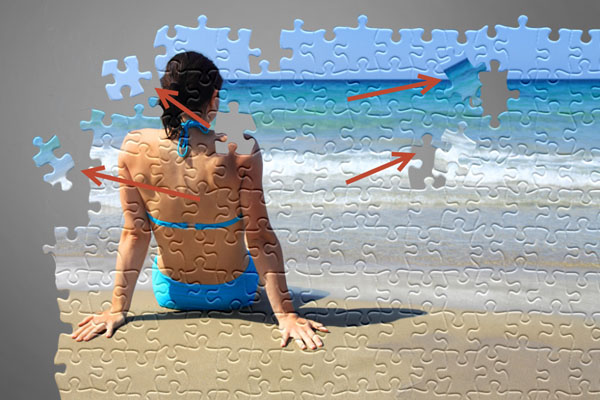
Step 16
We’re almost done. The puzzle looks good but it misses an important thing: shadow. Let’s add some shadow to our puzzle. First Ctrl-click on the layer mask of the “beach” layer to make a selection of the mask.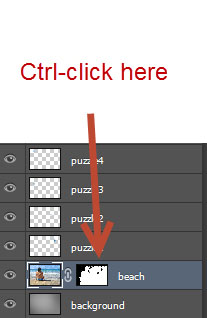

Create a new layer (Ctrl + Shift + Alt + N) and press Ctrl + Backspace to fill the selection with the foreground color (it doesn’t matter what the foreground color – mine is black). Name this layer “shadow”.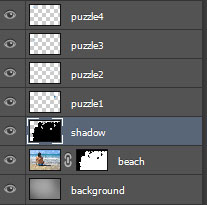
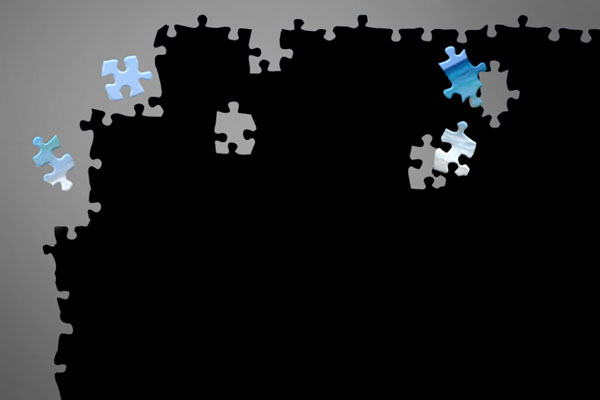
Double-click the “shadow” layer to enter advanced blending mode and add a Drop Shadow effect. Lower the fill to 0% in order to hide the actual pixels but leave the effect visible.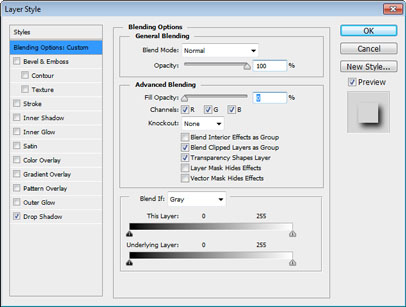
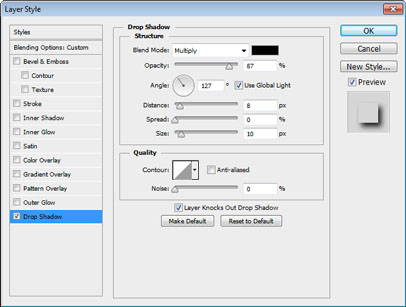

Step 17
Add the same effect to each of the 4 pieces of the puzzle. You can do that by either double-clicking each layer and enter the effect over and over again or you can simply hold Ctrl and drag/drop the effect from the “shadow” layer to each of the pieces of the puzzle layers. Holding Ctrl and dragging an effect will copy that effect while dropping (releasing the mouse) will assign that effect to the layer we’re over with our mouse.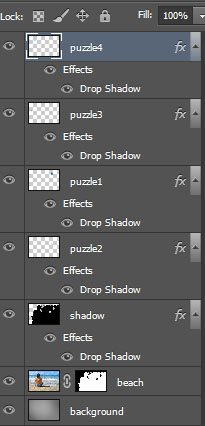

And We’re Done!
We are done with the puzzle.